SPANGLED FAUX SHEARLING COLLAR

As soon as the temperature drops, I am always wearing a fluffy fur collar (most often an acid yellow one!). I love how they feel around my neck, and they improve every outfit. It recently occurred to me that you only need a small scrap of fabric to make one yourself.

I consider this a quick beading project….it took about 8 hours of hand beading (4 episodes of Game of Thrones and half of Gilmore Girls season 5). Yes, every bead and spangle is hand sewn onto this collar - I don’t like to use shortcuts like hot glue when it comes to my fancy accessories! All remaining steps took about 45 minutes, and were mostly completed on the sewing machine.

For this collar, I used a faux shearling from Mood (a remnant from another project), and lined it in heavy poly satin (leftover lining from the brocade jacket in my previous post). The ribbon I used is truly luxurious: a double sided velvet, so there is no “wrong" side of the ribbon. This ribbon was imported from Japan, and I found it at the Hasidic run notions shop near my apartment - they have a really good selection of velvet ribbons. This project can be made with almost any scrap of faux fur and lining, any beads or sequins, and any ribbon (or even fabric made into a tie). As long as you can get a hand sewing needle through the fabric without a struggle, it will work!

HOW TO DIY A SPANGLED FAUX FUR COLLAR:
Ingredients:
A faux fur/shearling remnant, approx 14” x 24” (smaller pieces can be patched together)
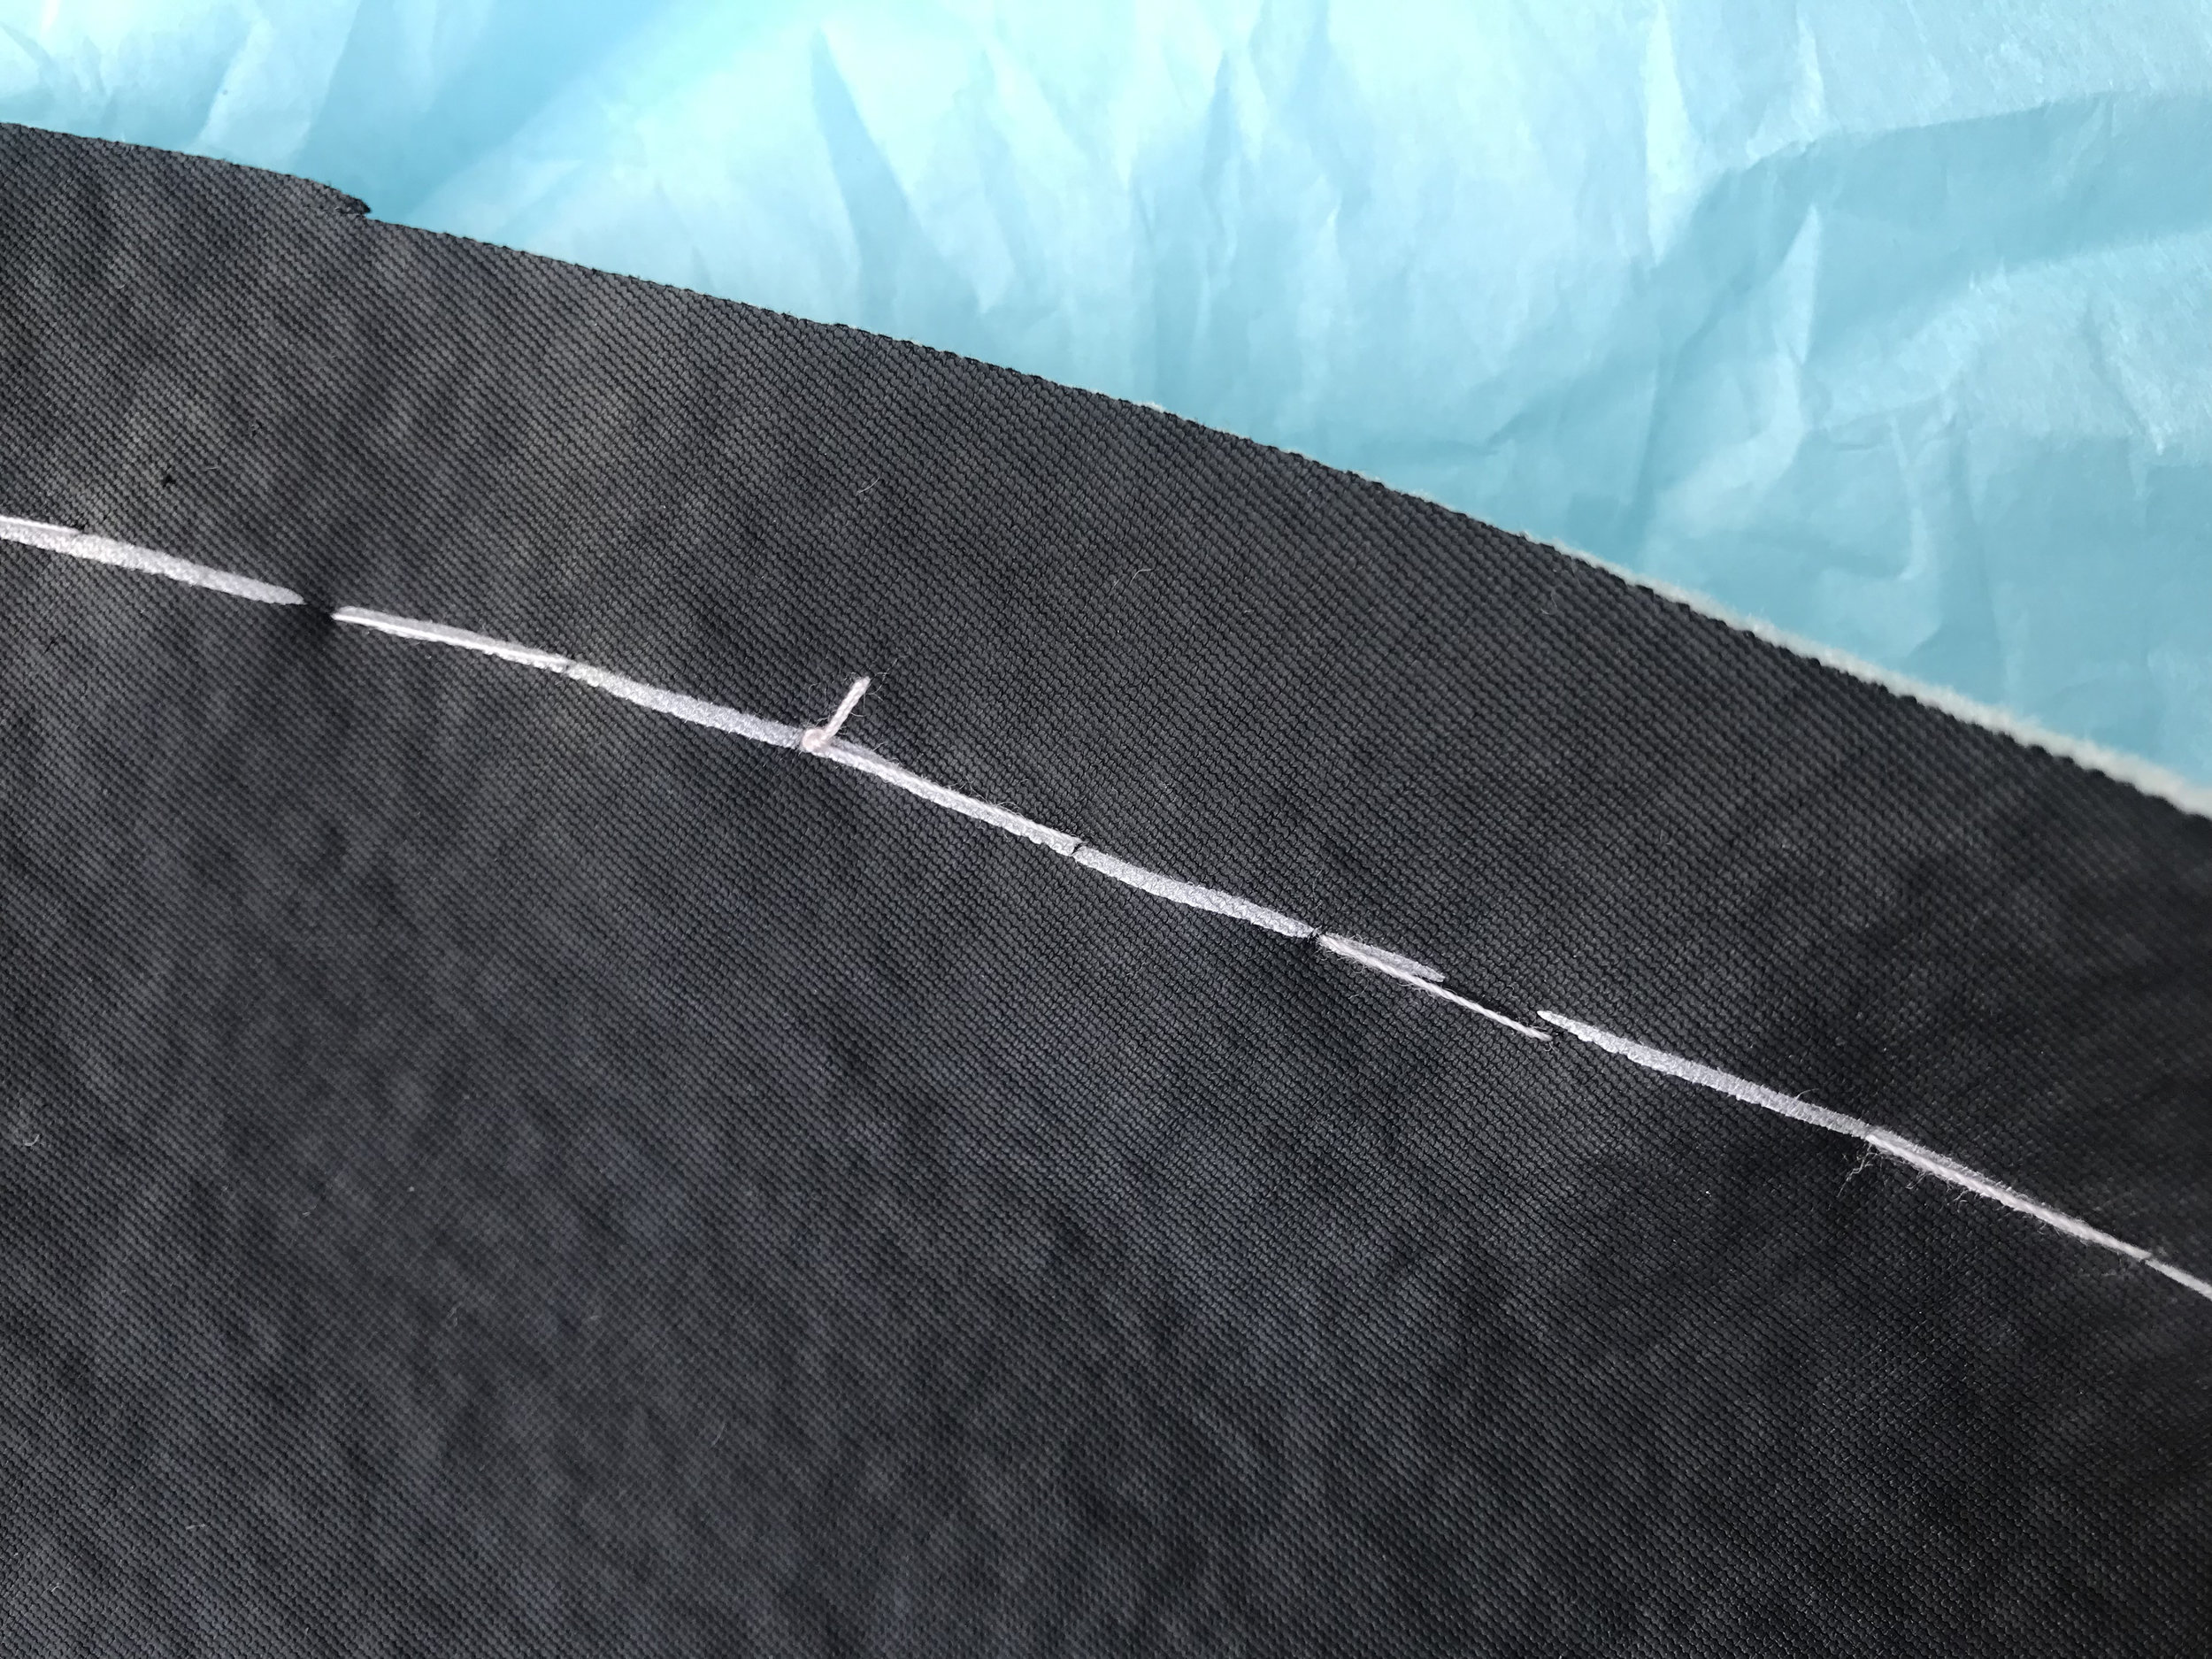
Your favorite marking tool (for this project, I used a silver Sharpie because it won’t bleed through the faux shearling)
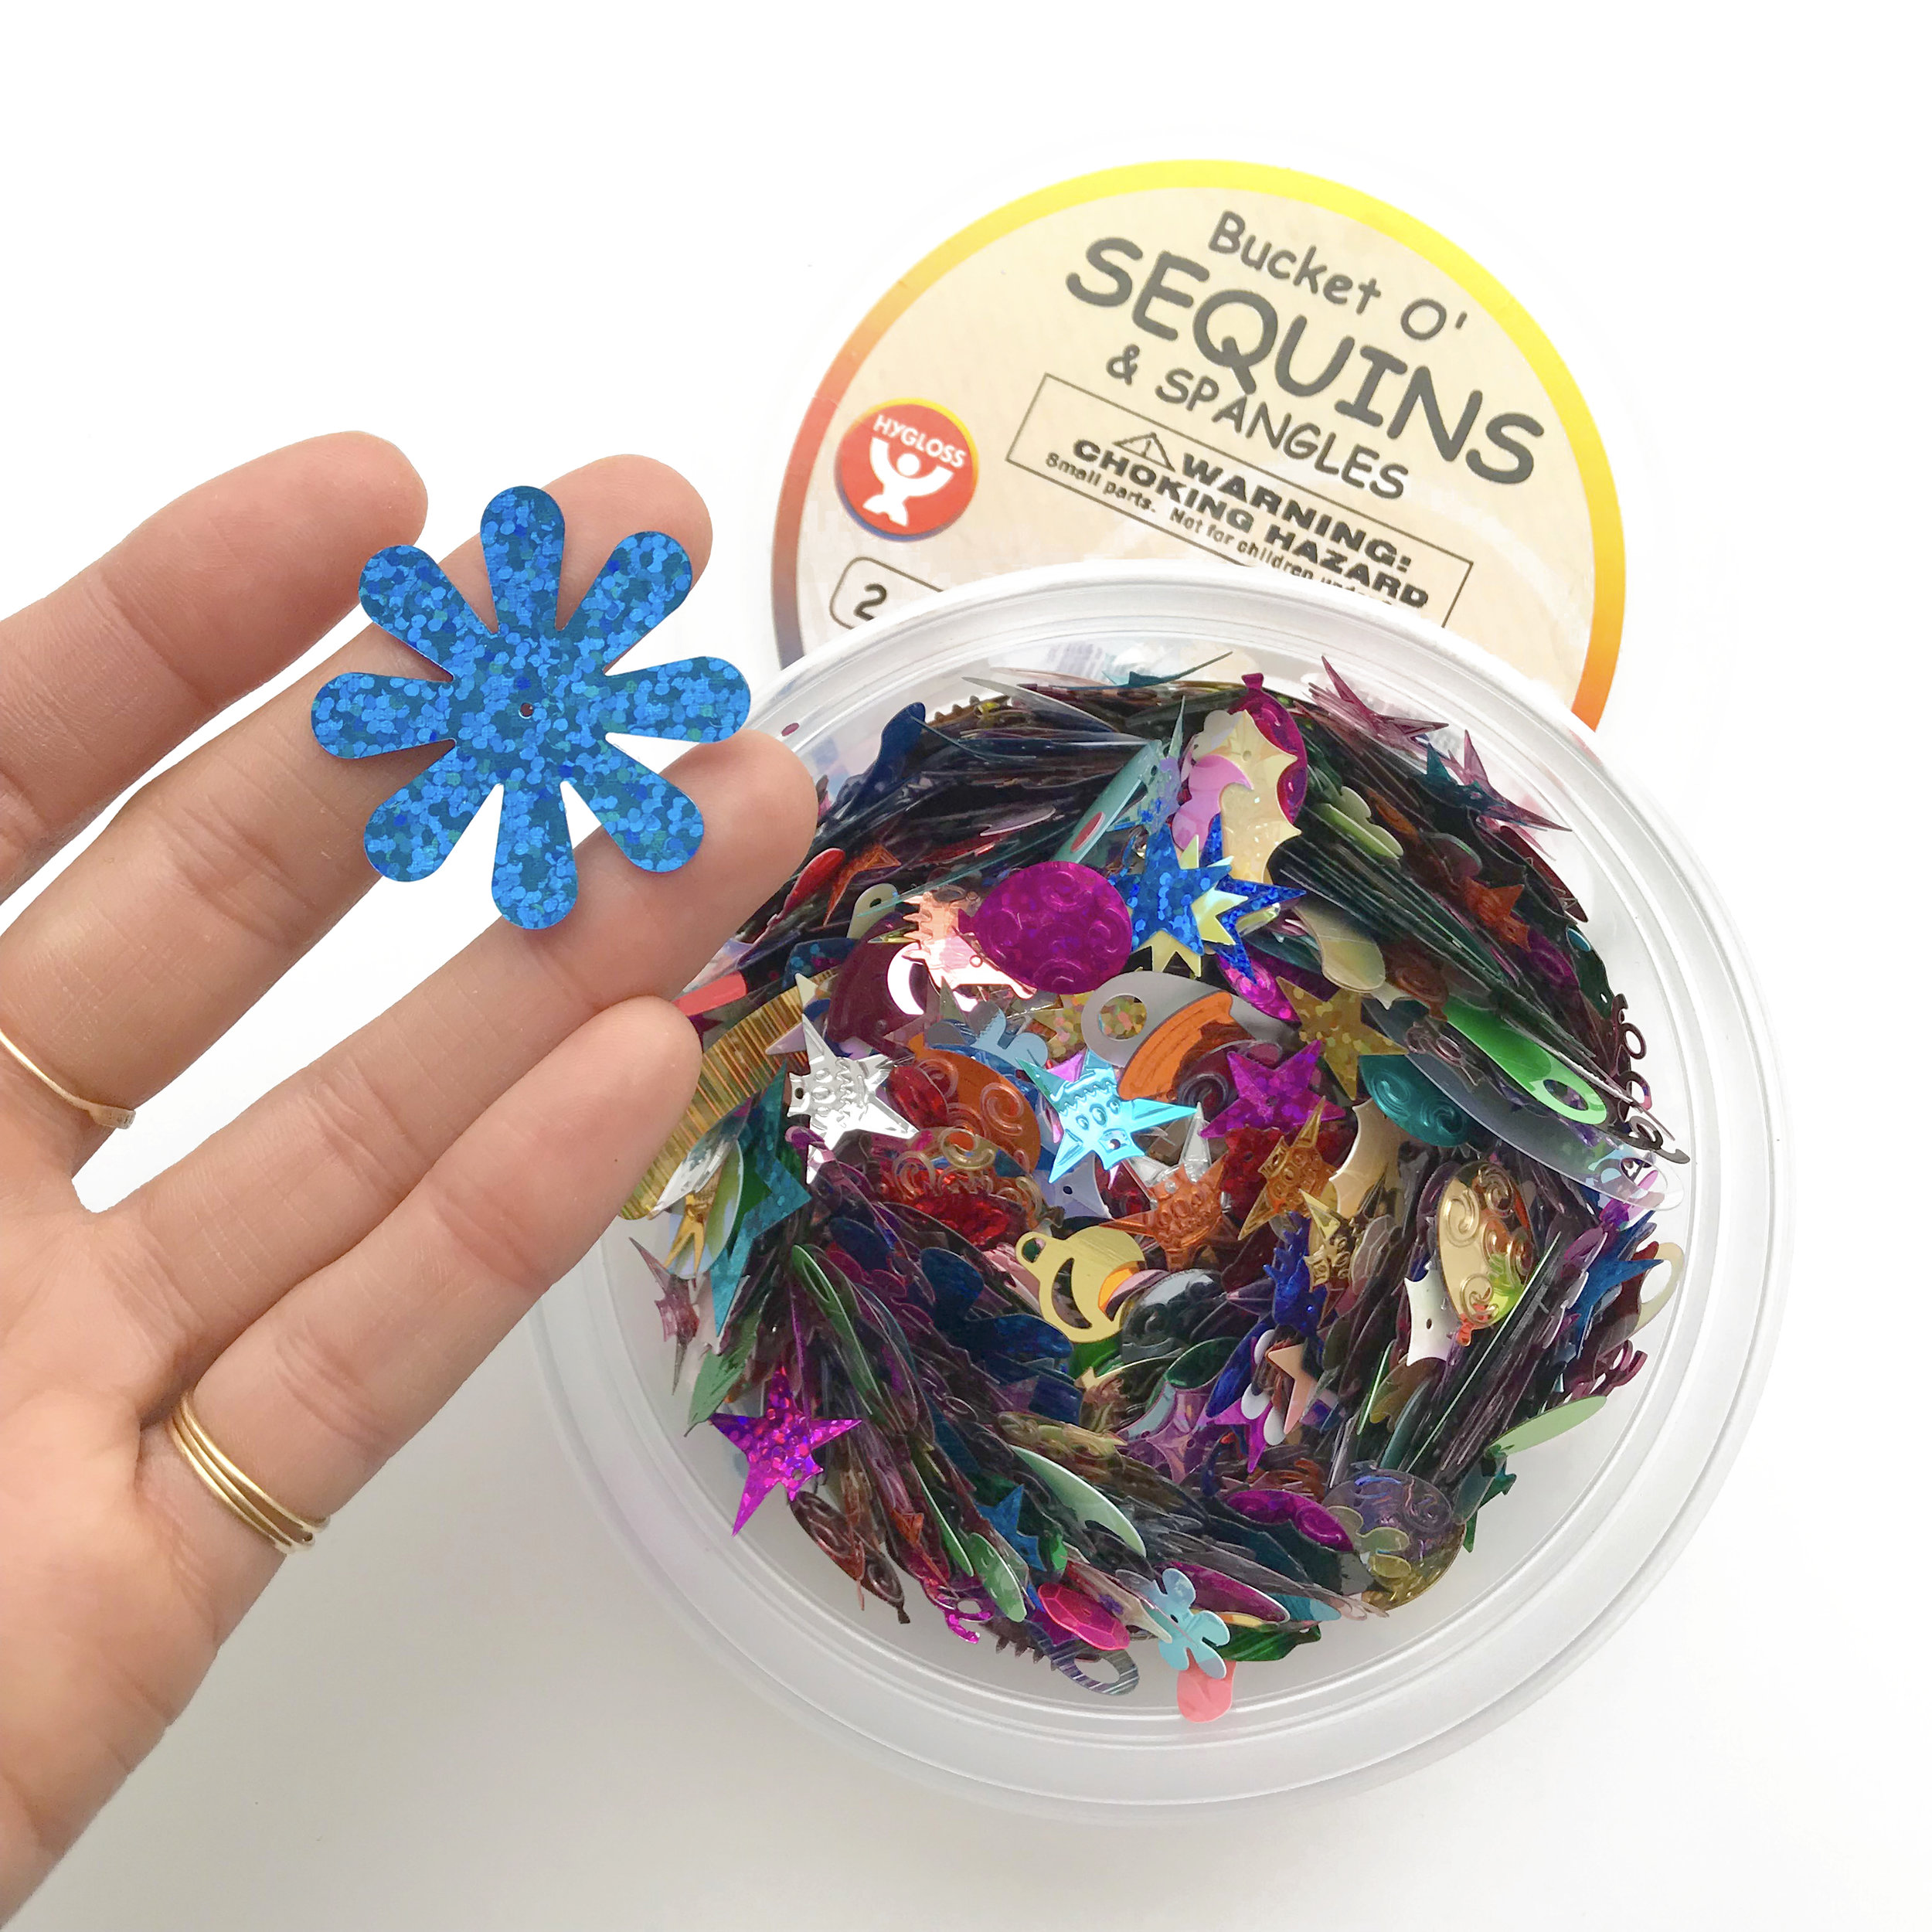
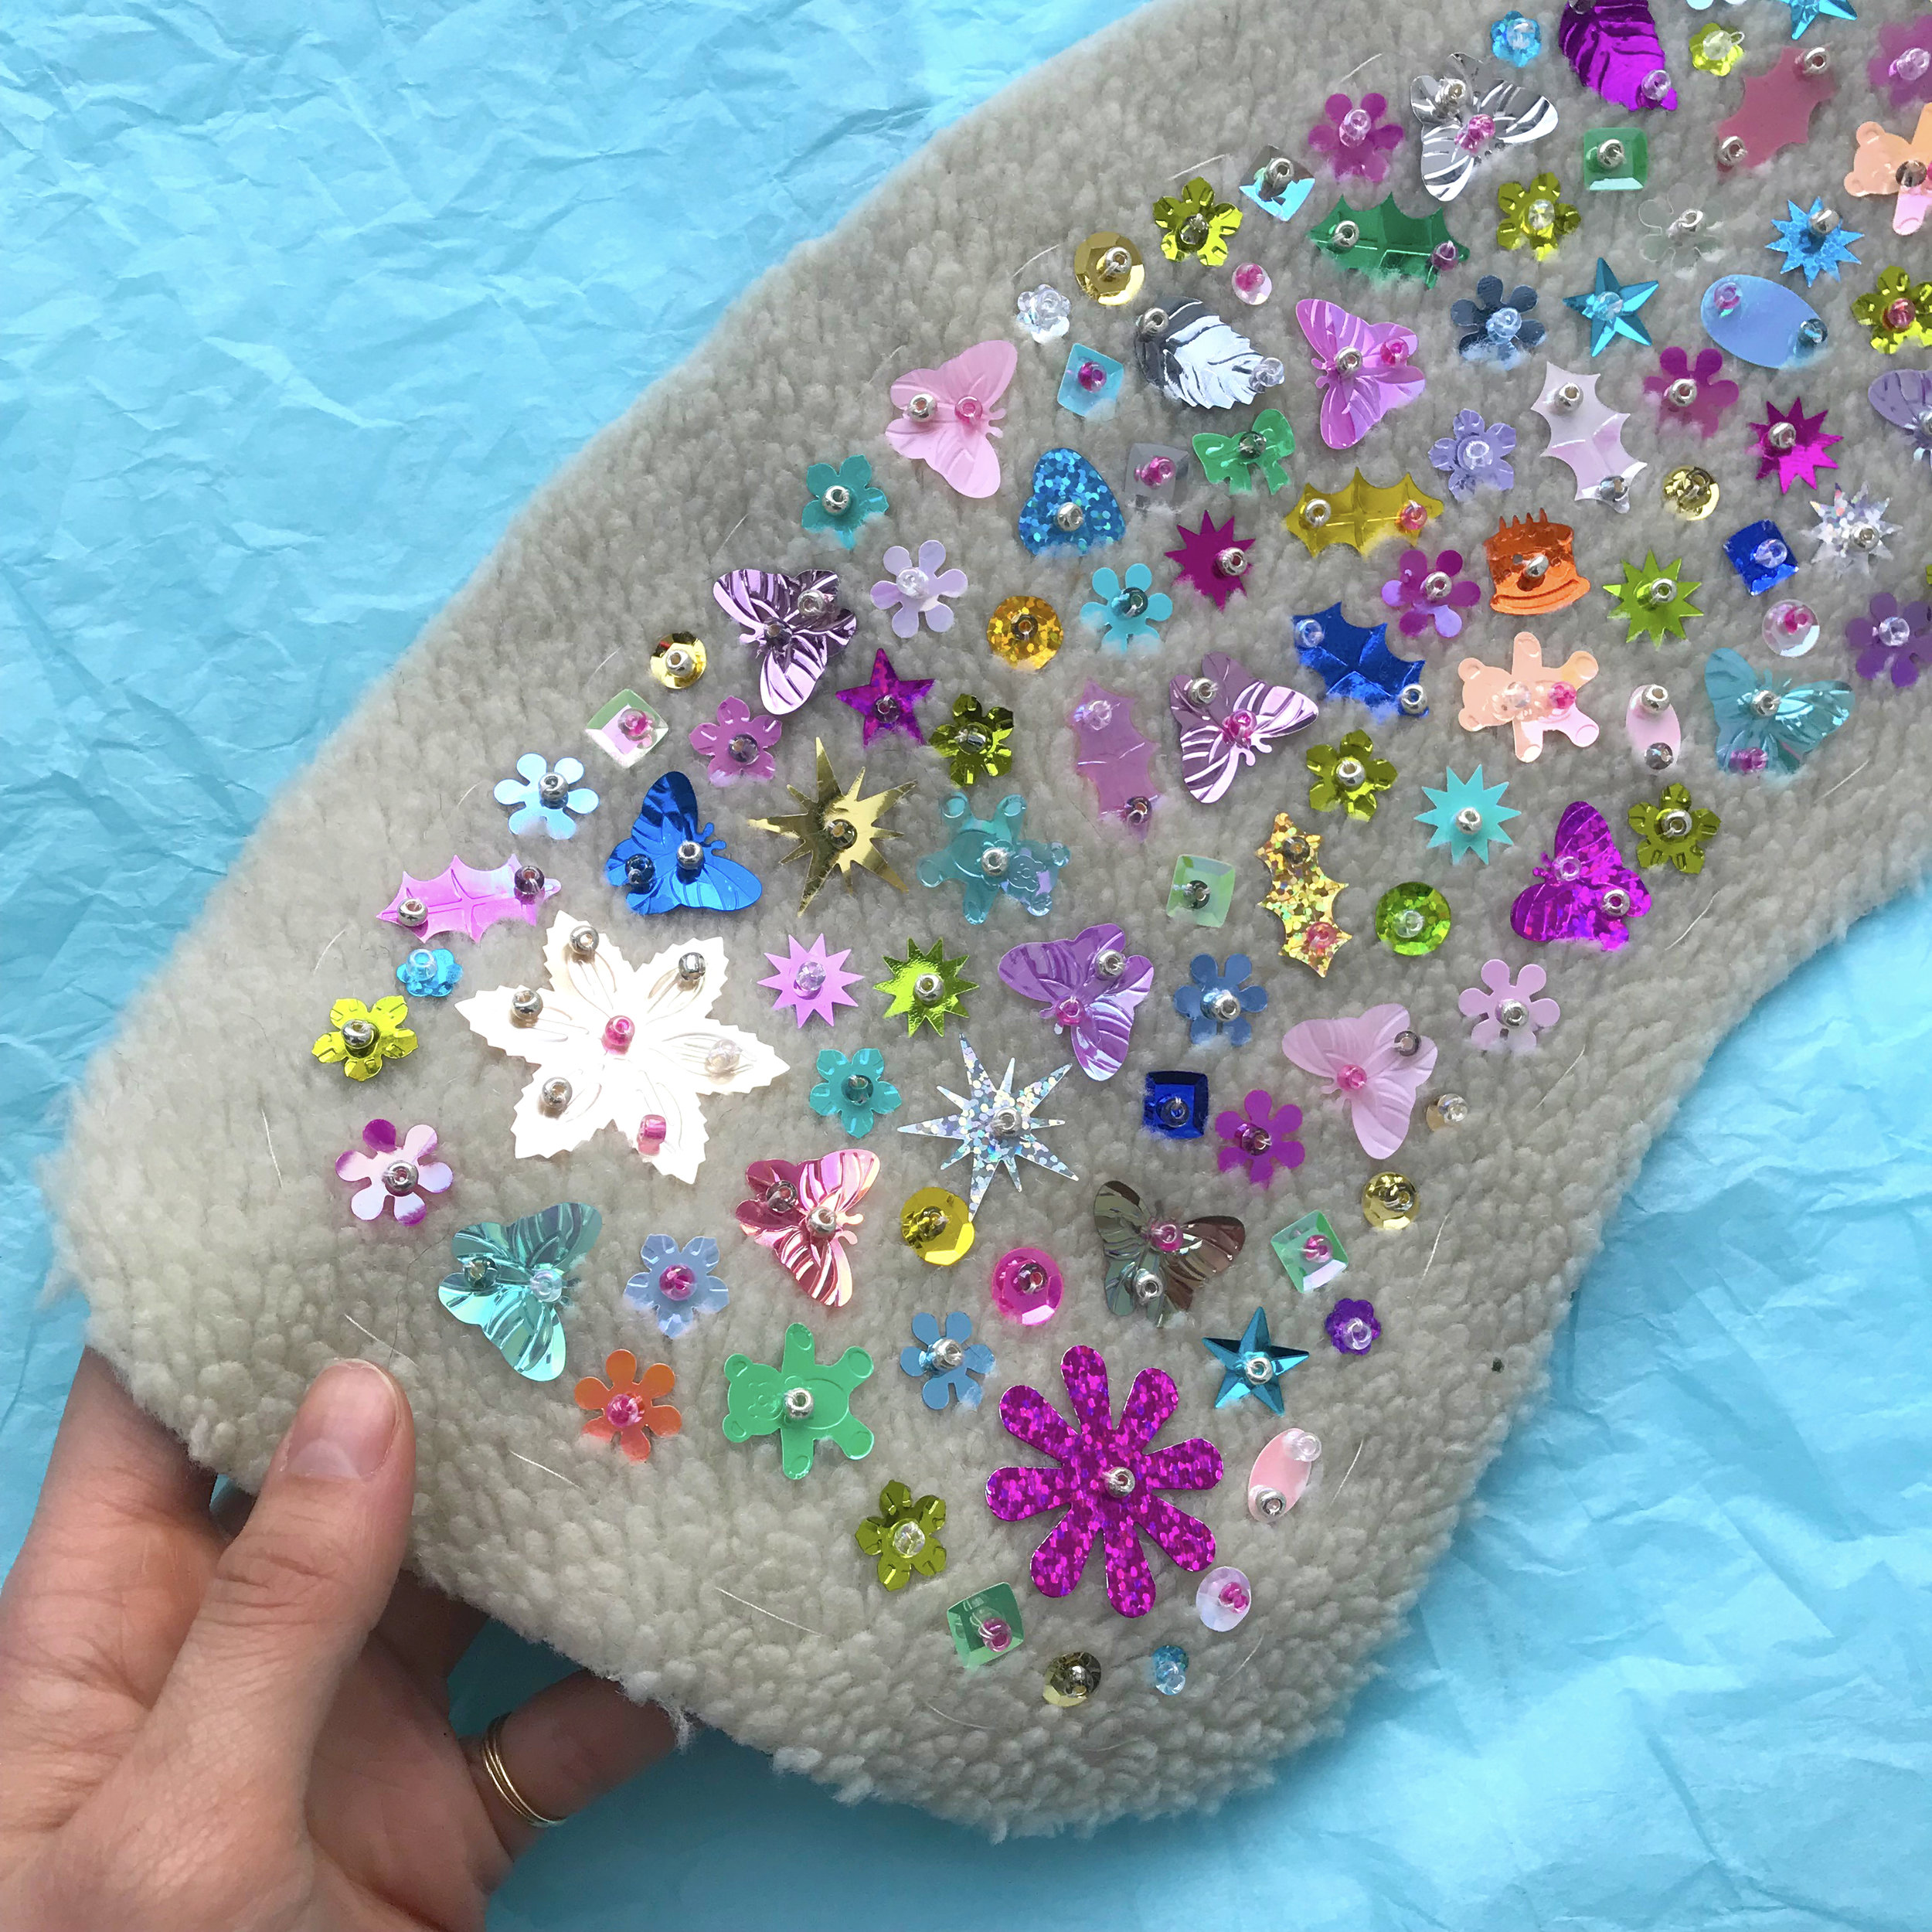
Sequins or spangles - I prefer the cheap mixed tubs available at most craft supply stores, because the shapes are playful and unexpected.
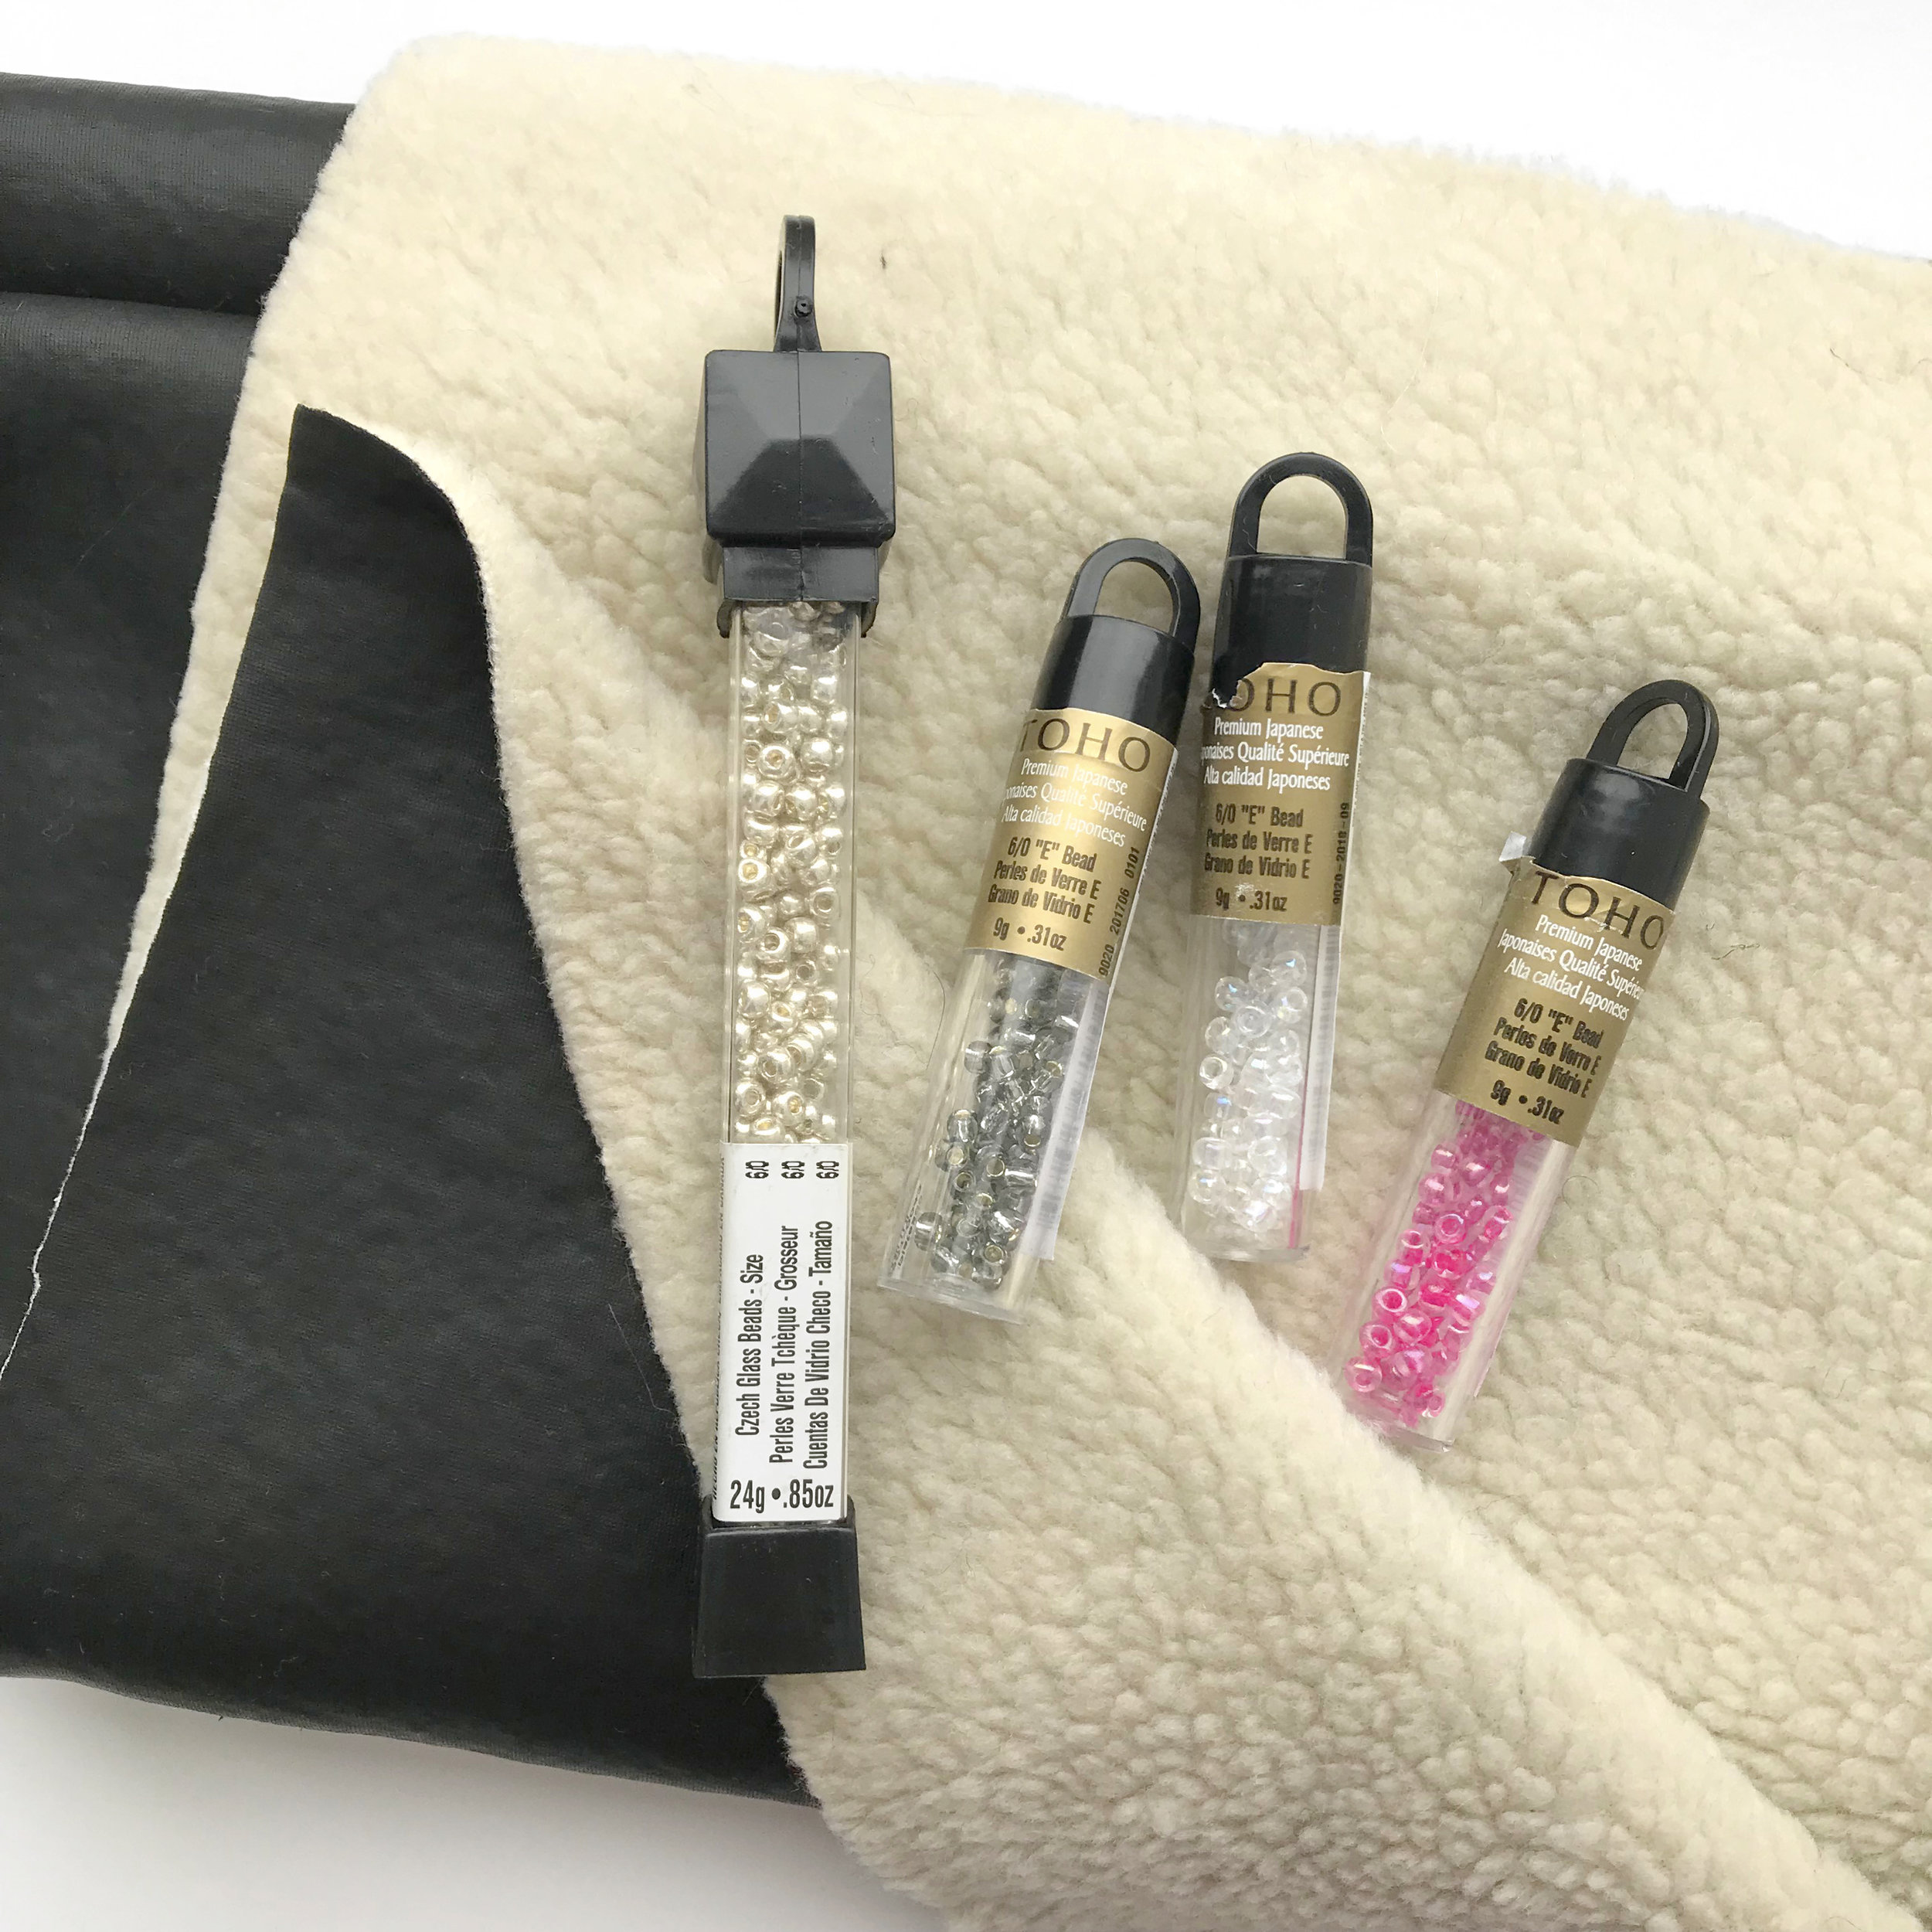
Size 06 (aka size E) glass beads
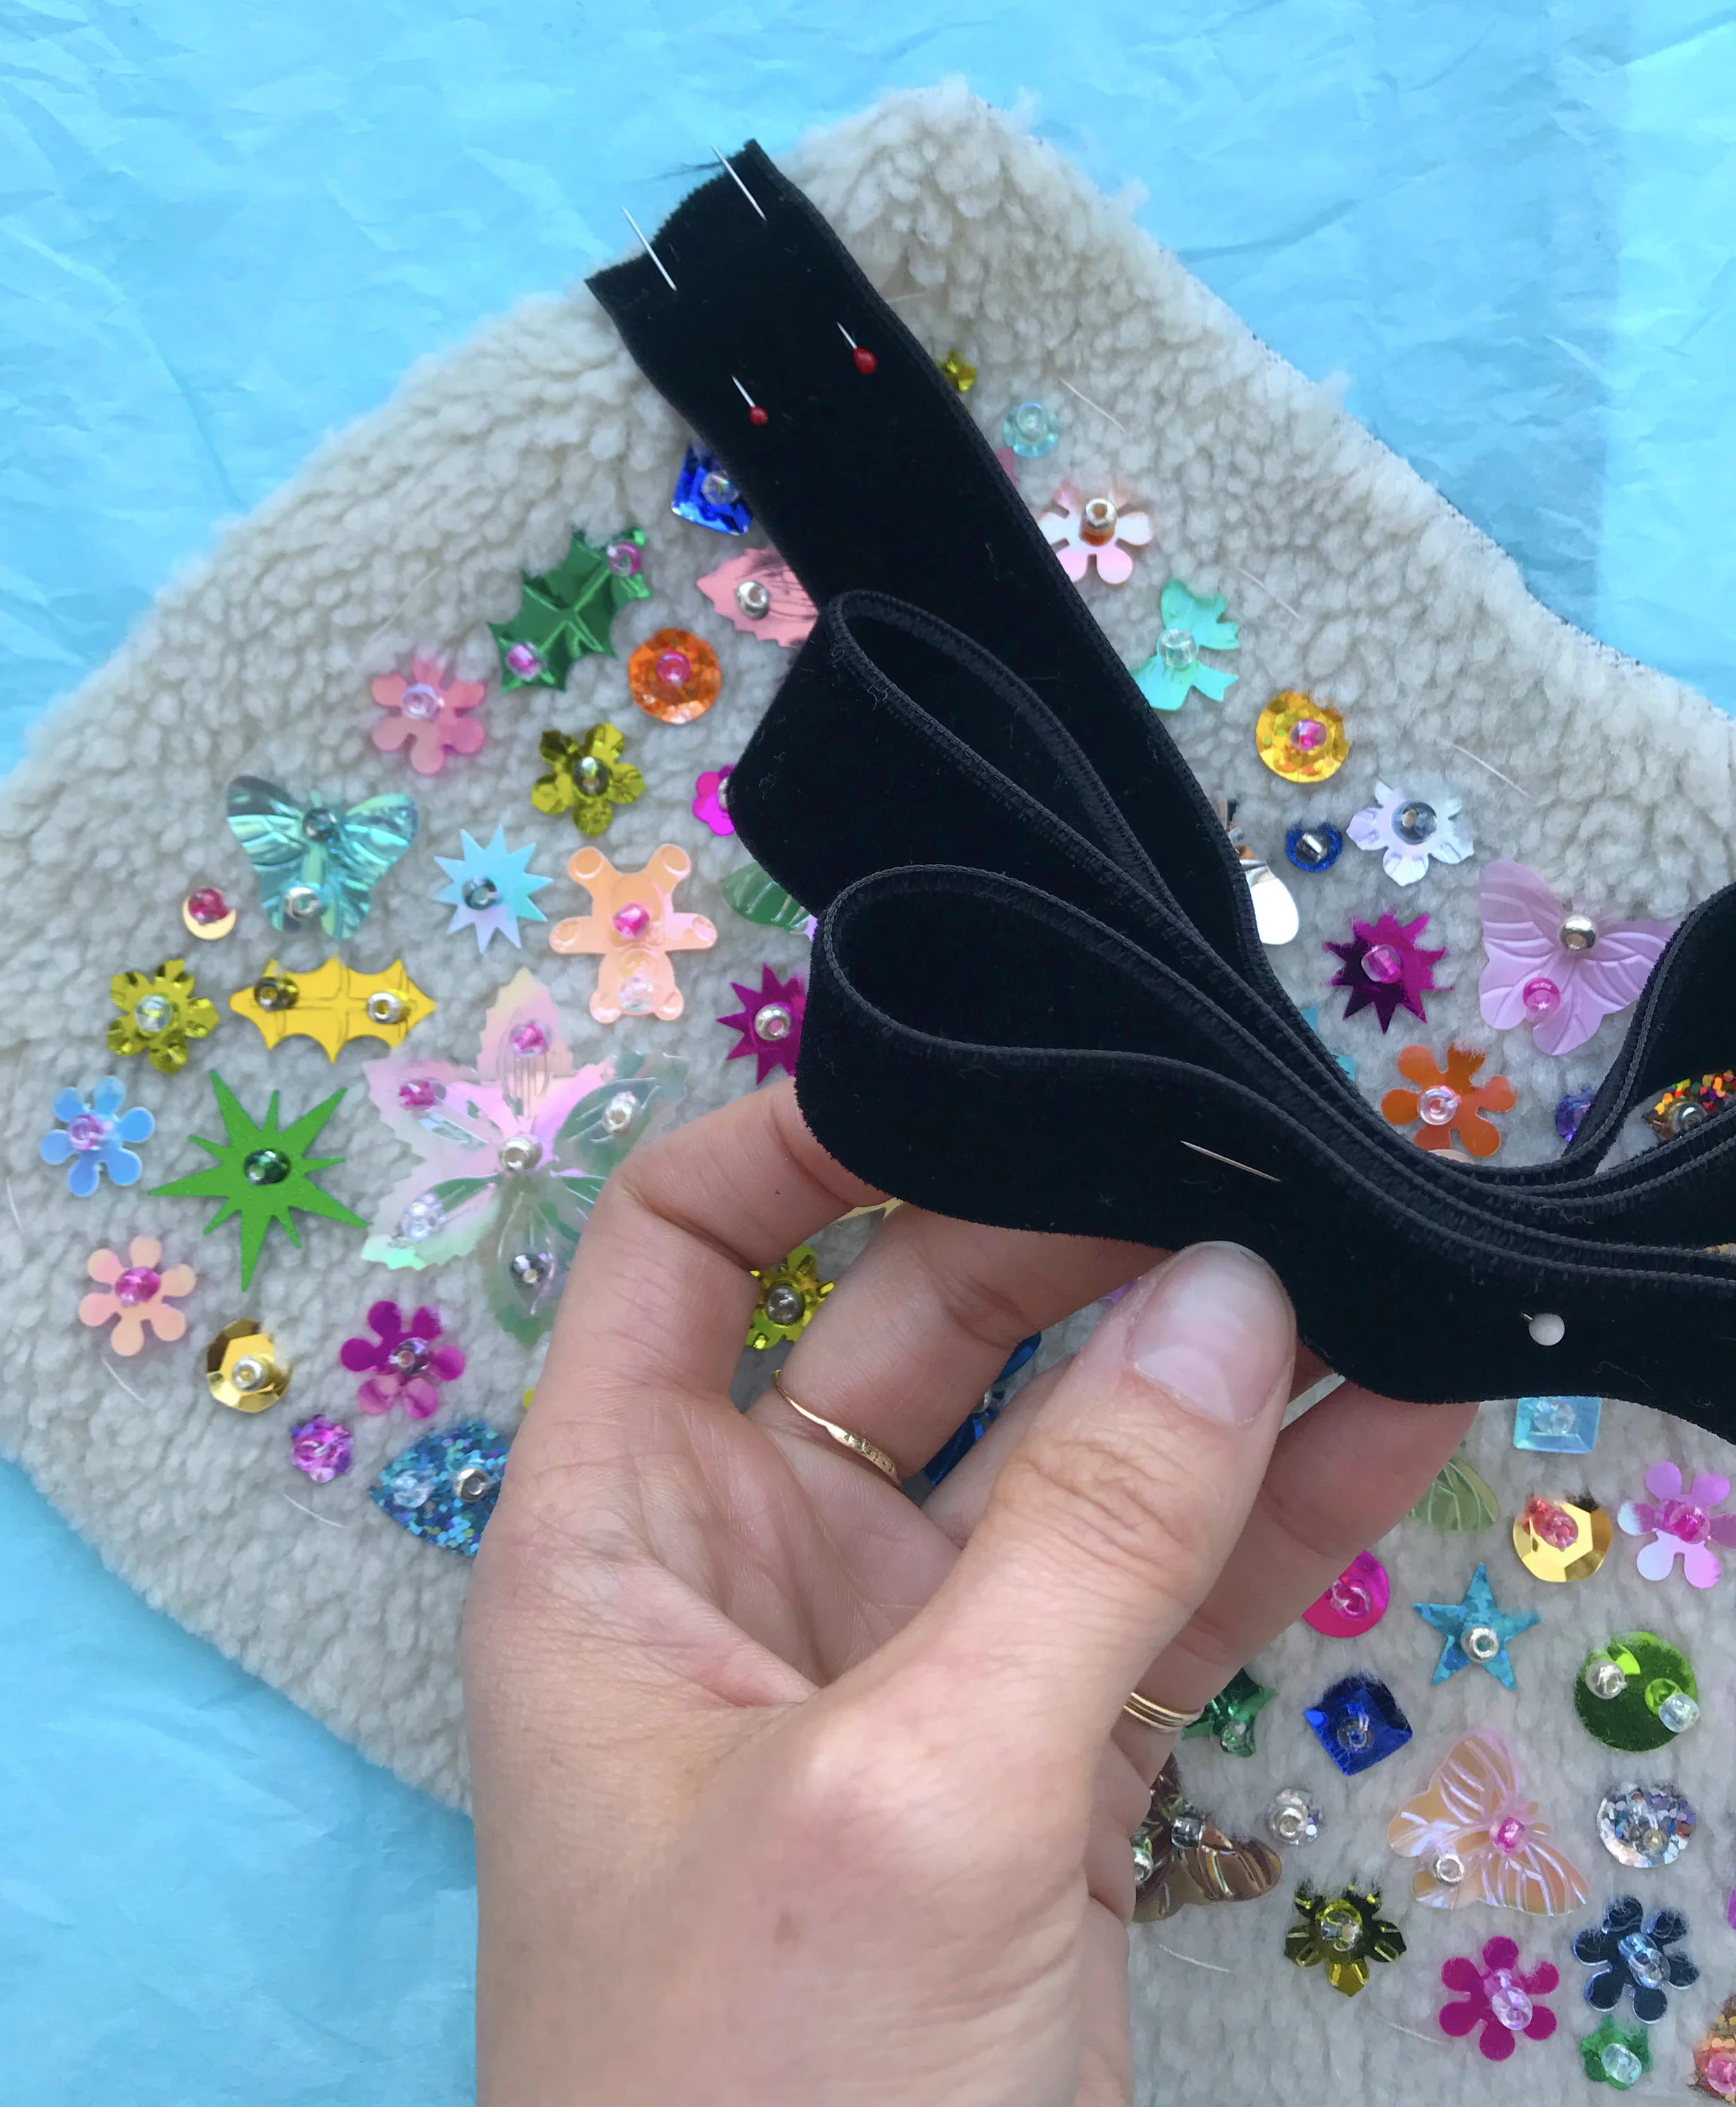
1 yard ribbon - I used 1” wide double sided velvet.
Hand sewing needle and thread - make sure the eye of your needle can pass easily through the beads!
Sewing machine (but can be done without)
Patience and your favorite TV shows ;)
The images in this slideshow have captions - they might be best viewed on a computer, I’m working on getting the captions to show up on mobile!
Method:
Trace your favorite store bought faux fur collar onto the back side of your faux fur fabric - be sure to take into account the nap (fur direction) so it lays the way you prefer once cut out & on the body. *I would love to provide a pattern for you, but I need a bit more time!* Add 5/8” seam allowance to the line you have traced. Cut out this shape, including the seam allowance. Cut a duplicate of this shape out of your lining fabric.
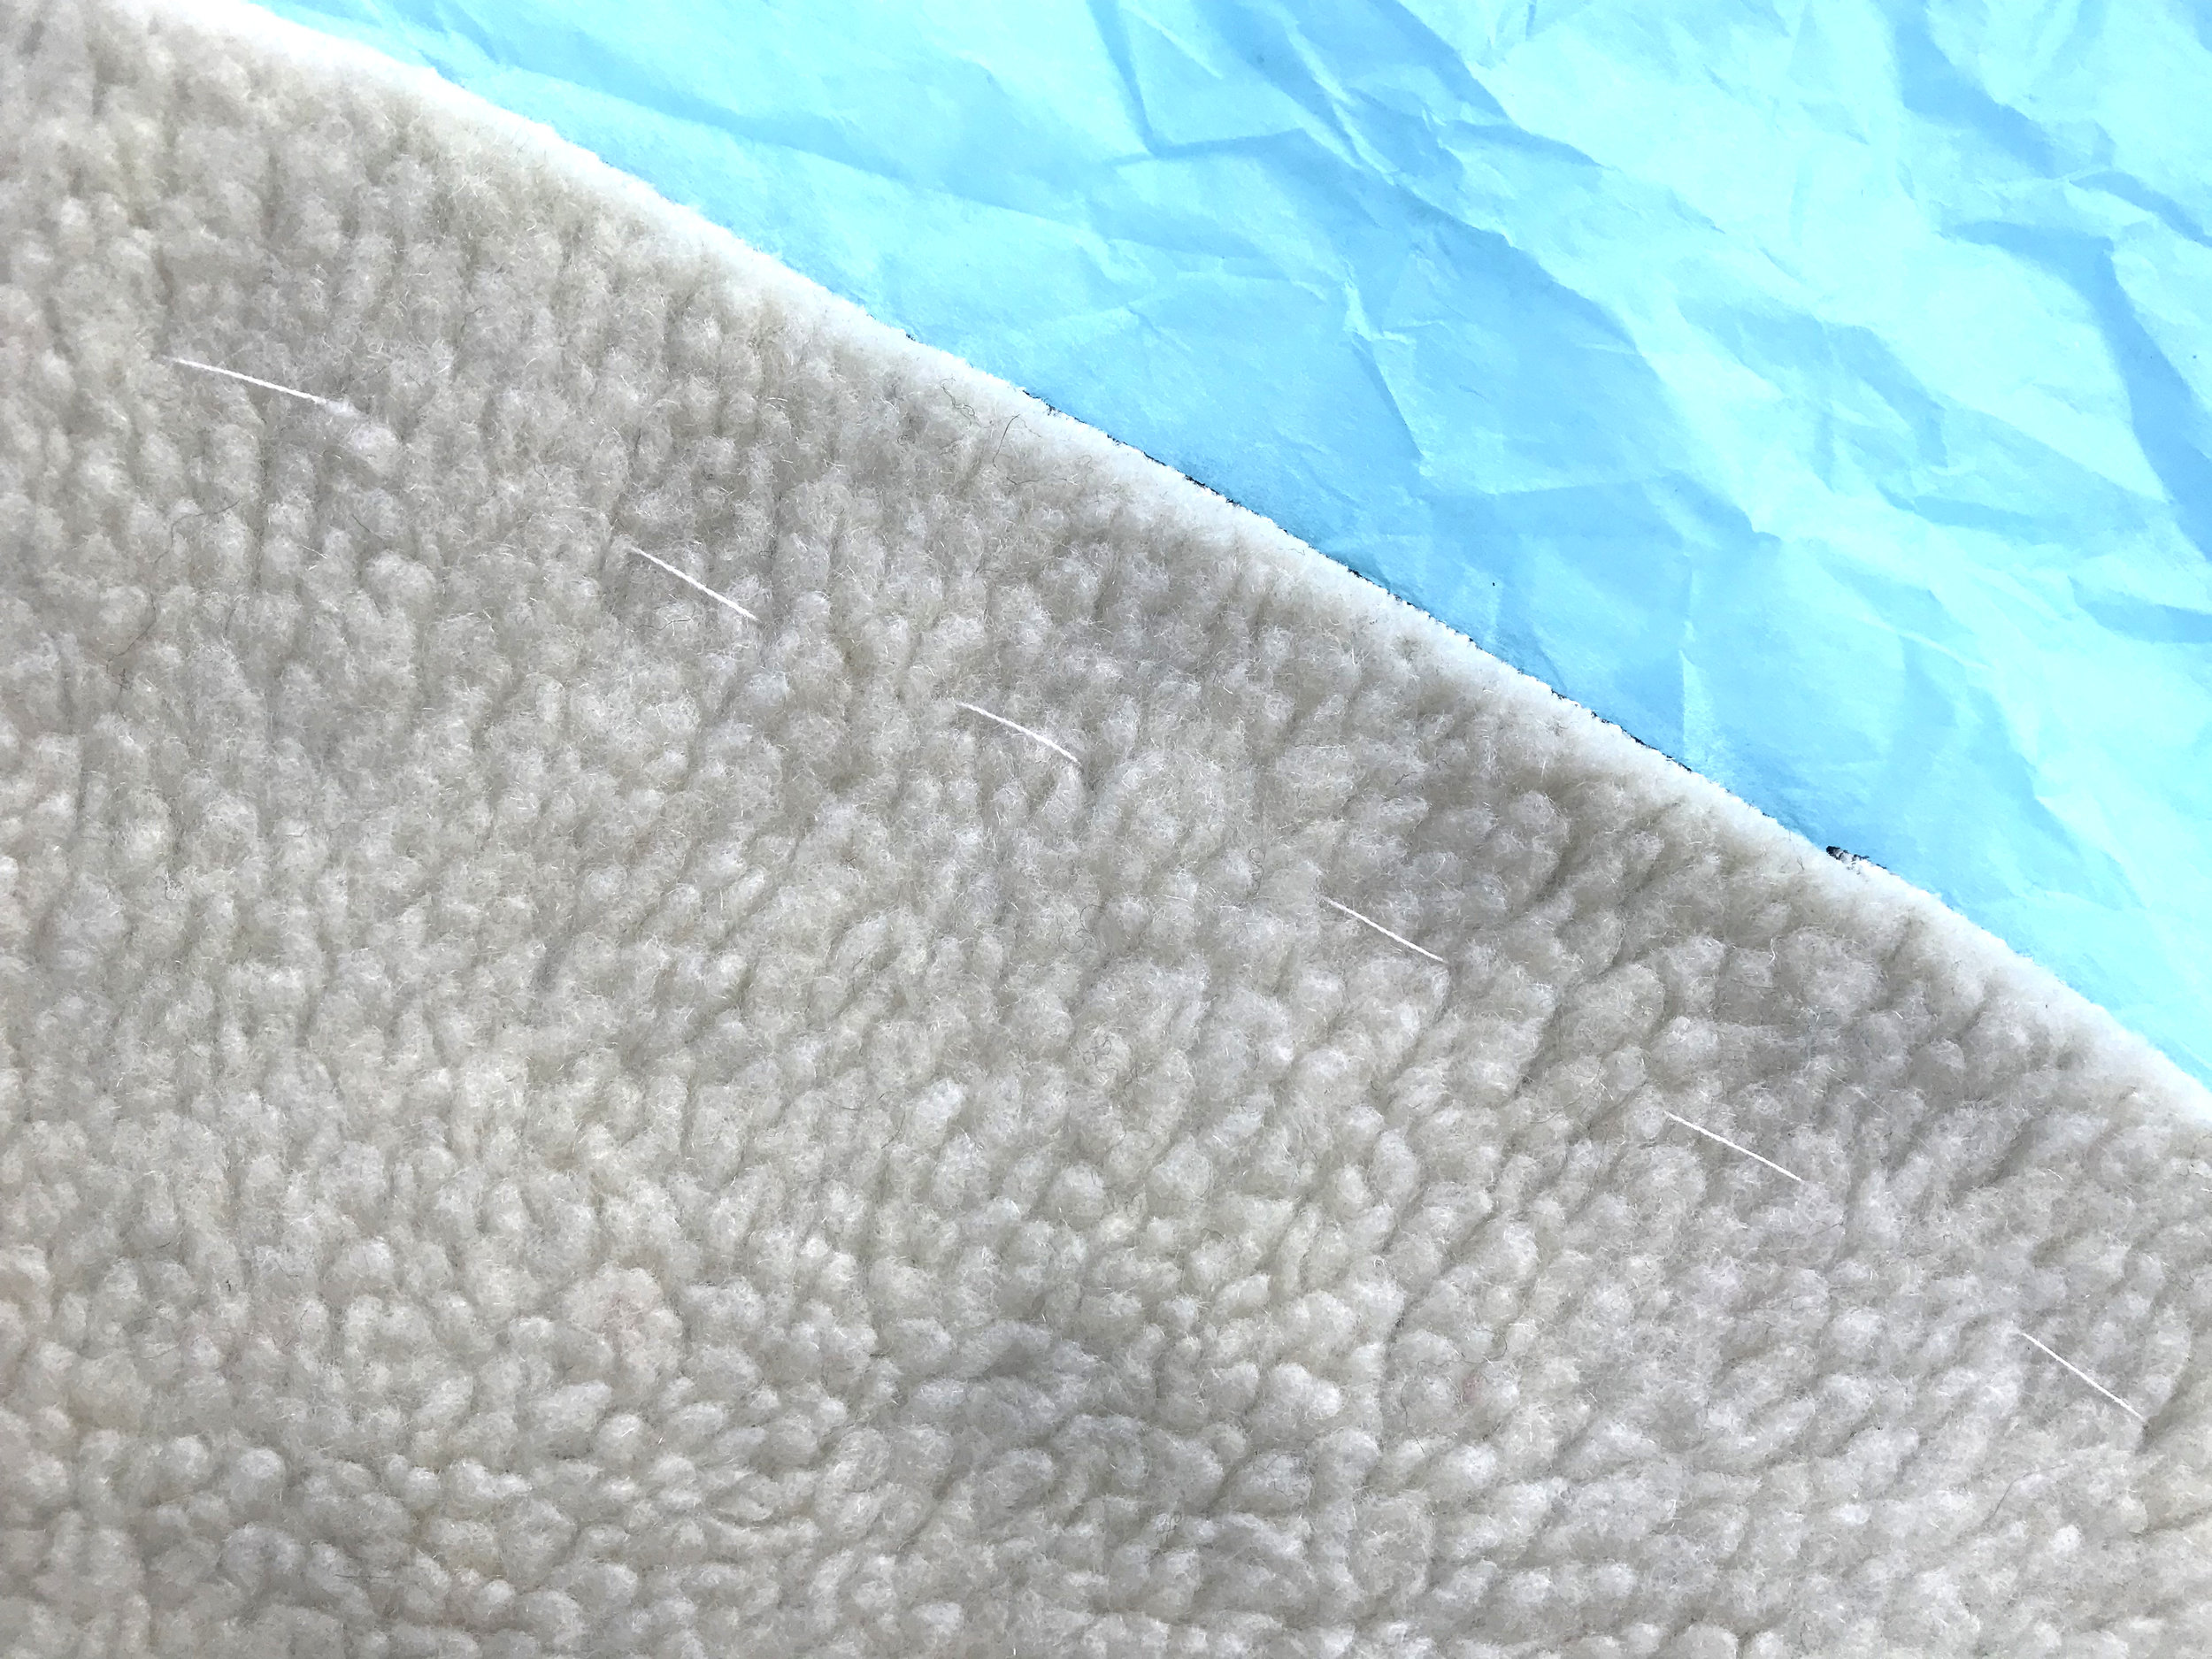
To transfer this seam line to the front of your fabric, hand sew long basting stitches on the seam line. This will provide a guide on the face of your fabric, and you will only bead within this line.
Start beading! I recommend dumping your sequins onto a plate or a larger tupperware, and sorting through. I narrowed down my color and shape selection to make things a little more harmonious. I used 4 colors of beads, mixed them up, and grabbed a bead at random. Bring your needle & thread up through the fabric from the back; pass needle through a sequin hole, then through a bead, then go back through the same hole in the sequin again. This will be very secure! Keep your thread at an even tension as you work, and use short threads. It’s better to have to tie more knots on the back than to have a long tangled thread.
Once beading is complete, baste the ribbons in place - you can do this by hand or on the sewing machine. Then pin the ribbons so they won’t get caught in the seams as you install the lining.
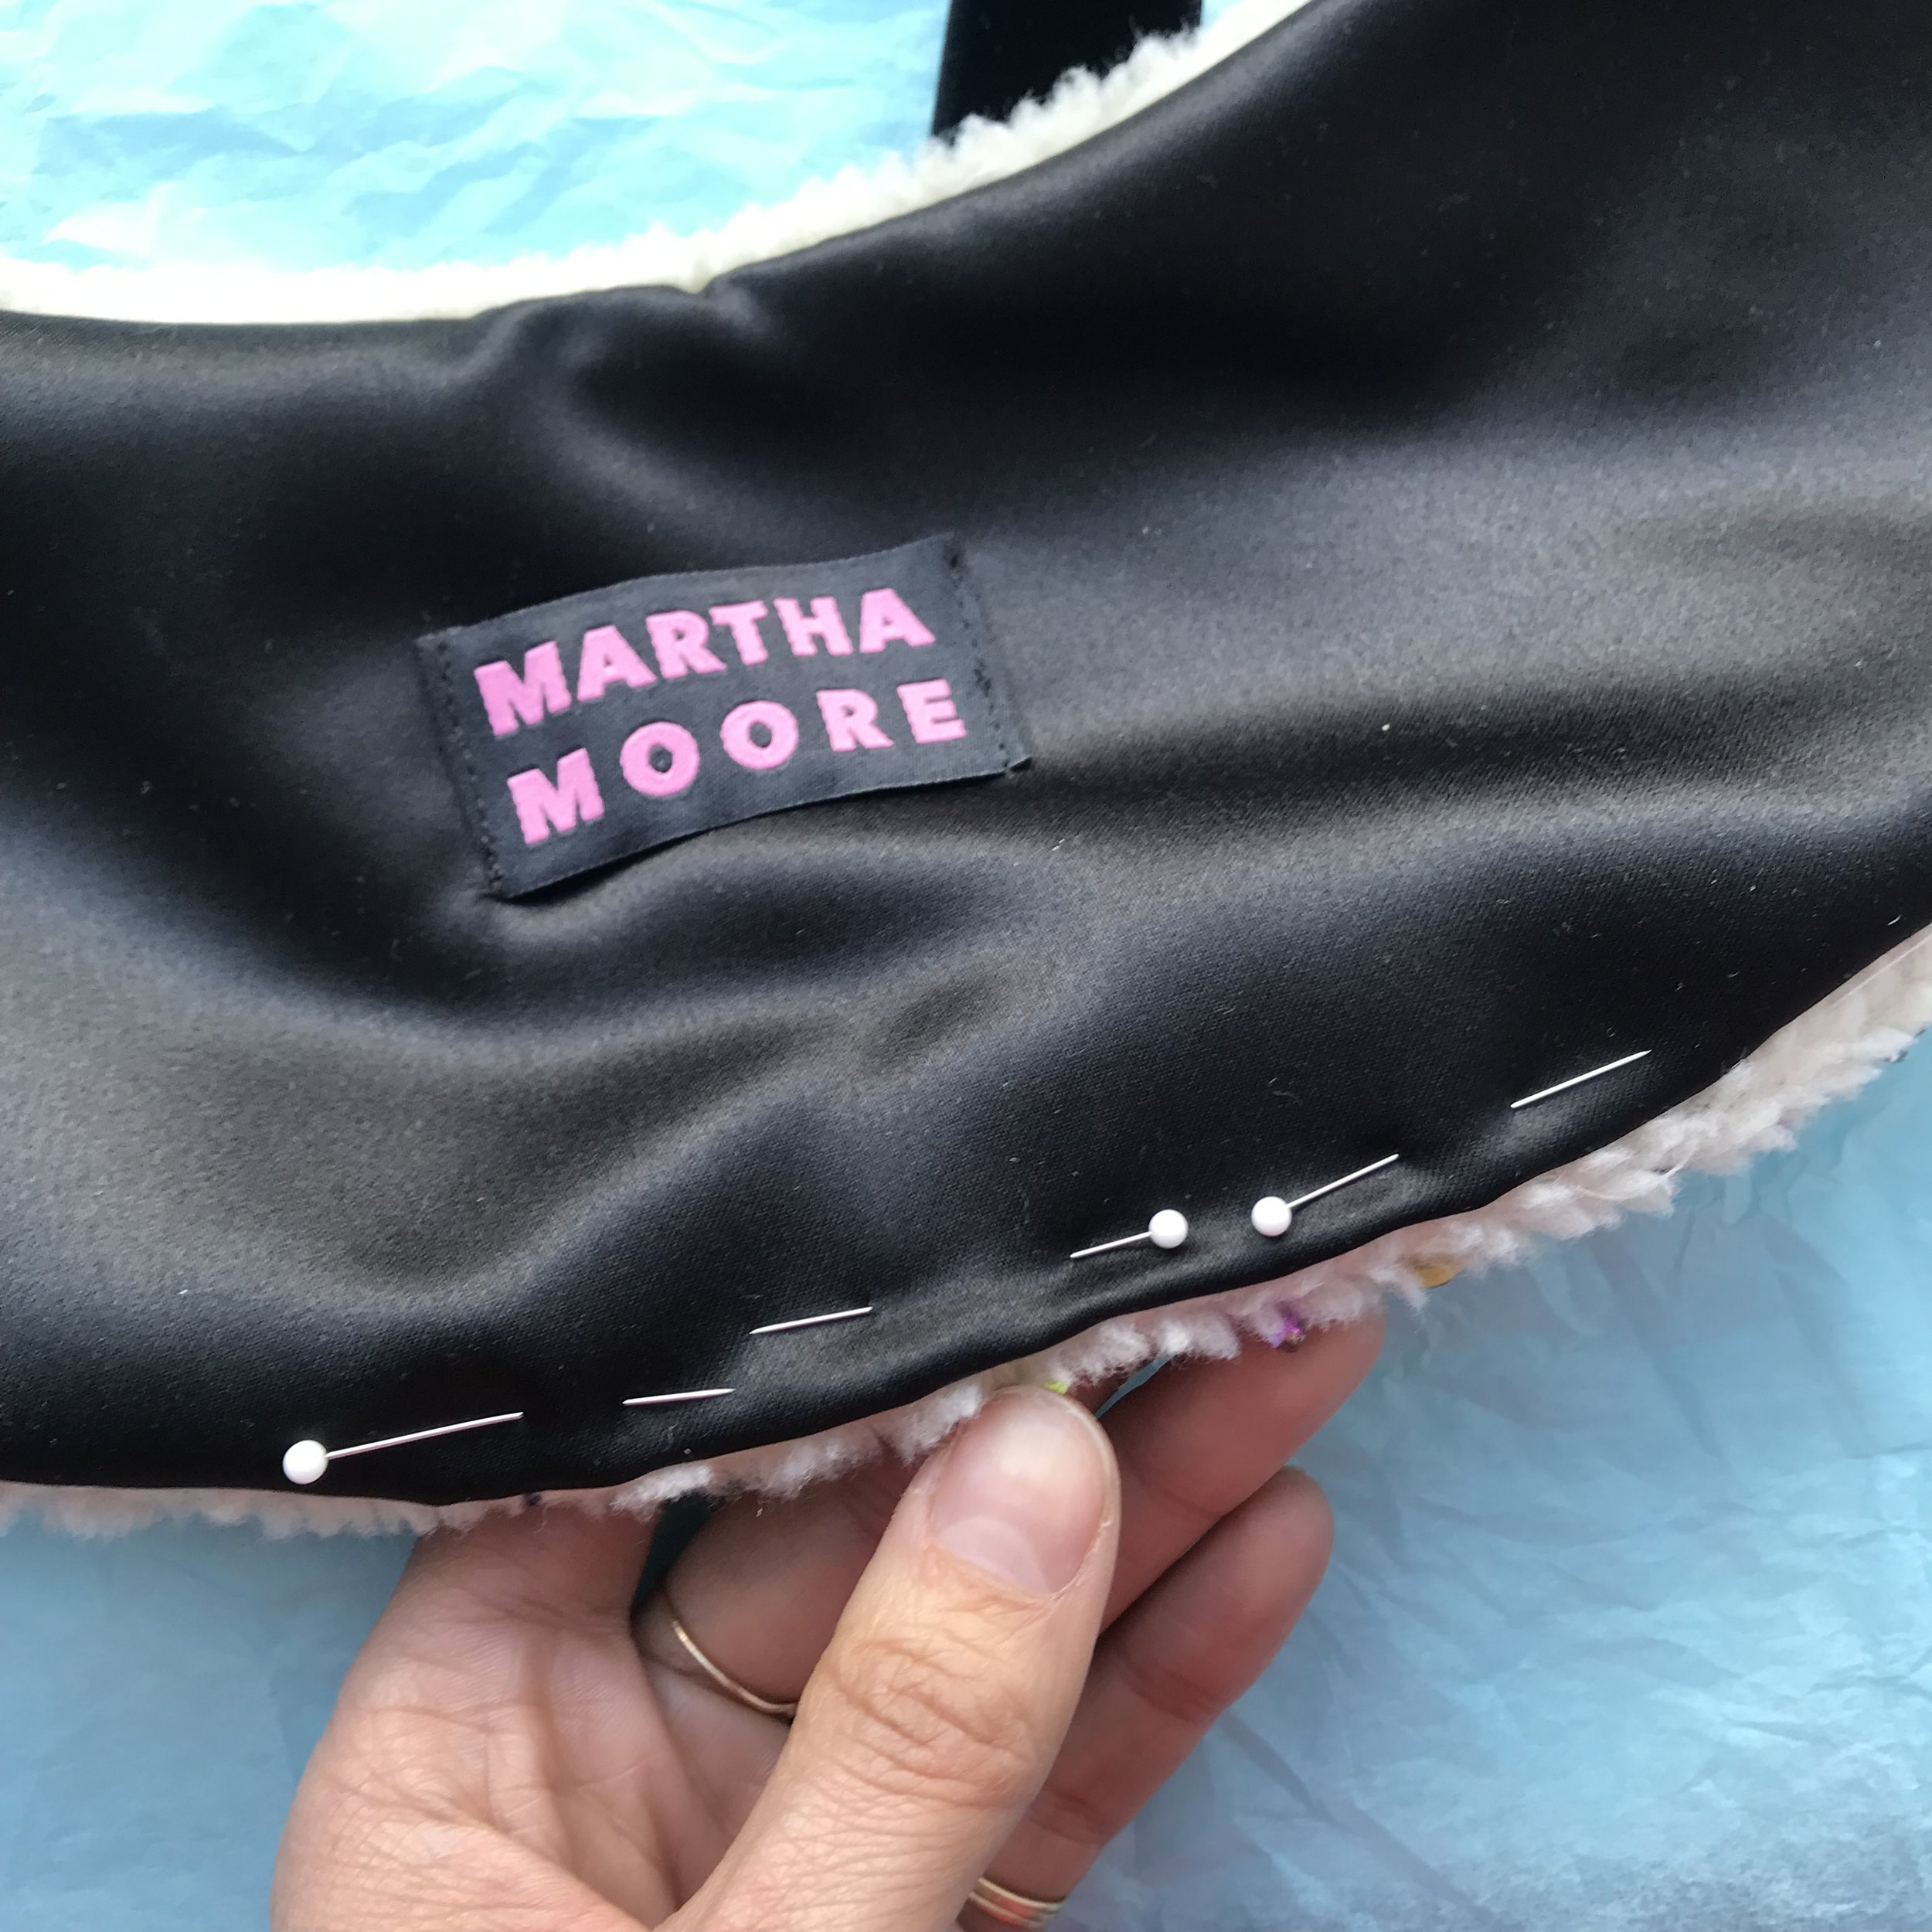
Place your beaded fur and the lining fabric right sides together. Follow the seam line you drew in step 1. I found it easy to use a zipper foot for this job, so I got close to the beading, and kept the foot flat. Leave an opening about 3-4” at the back. This is where you will turn the collar right-side-out. Before turning your collar, clip the curves with sharp scissors, so the curve will lay flat, and trim any seam allowances that are bulky. If your fur is long, you may wish to trim it down in the seam allowances only.
Turn your collar! So exciting! Finger press the seams - you cannot iron the sequins, and many faux furs will melt if ironed - then hand slip stitch the opening closed. That’s it, time to wear your new collar. If you make one, I would love to see it!
