QUILTED REVERSIBLE WIKSTEN UNFOLDING JACKET

I am a fast. It’s what has allowed me to have a handmade business all these years: my speed. I can make multiples efficently, I get excited to share them, and then, inevitably, I get a little burnt out on the repetitive cycle of making the same thing over and over again. The fact that I cannot go super fast while sewing, and that each item is one of a kind, are things I love about it. That said, I’m still pretty quick. Enter my vision for this jacket….which took 2 months to sew! (It was worth it.)

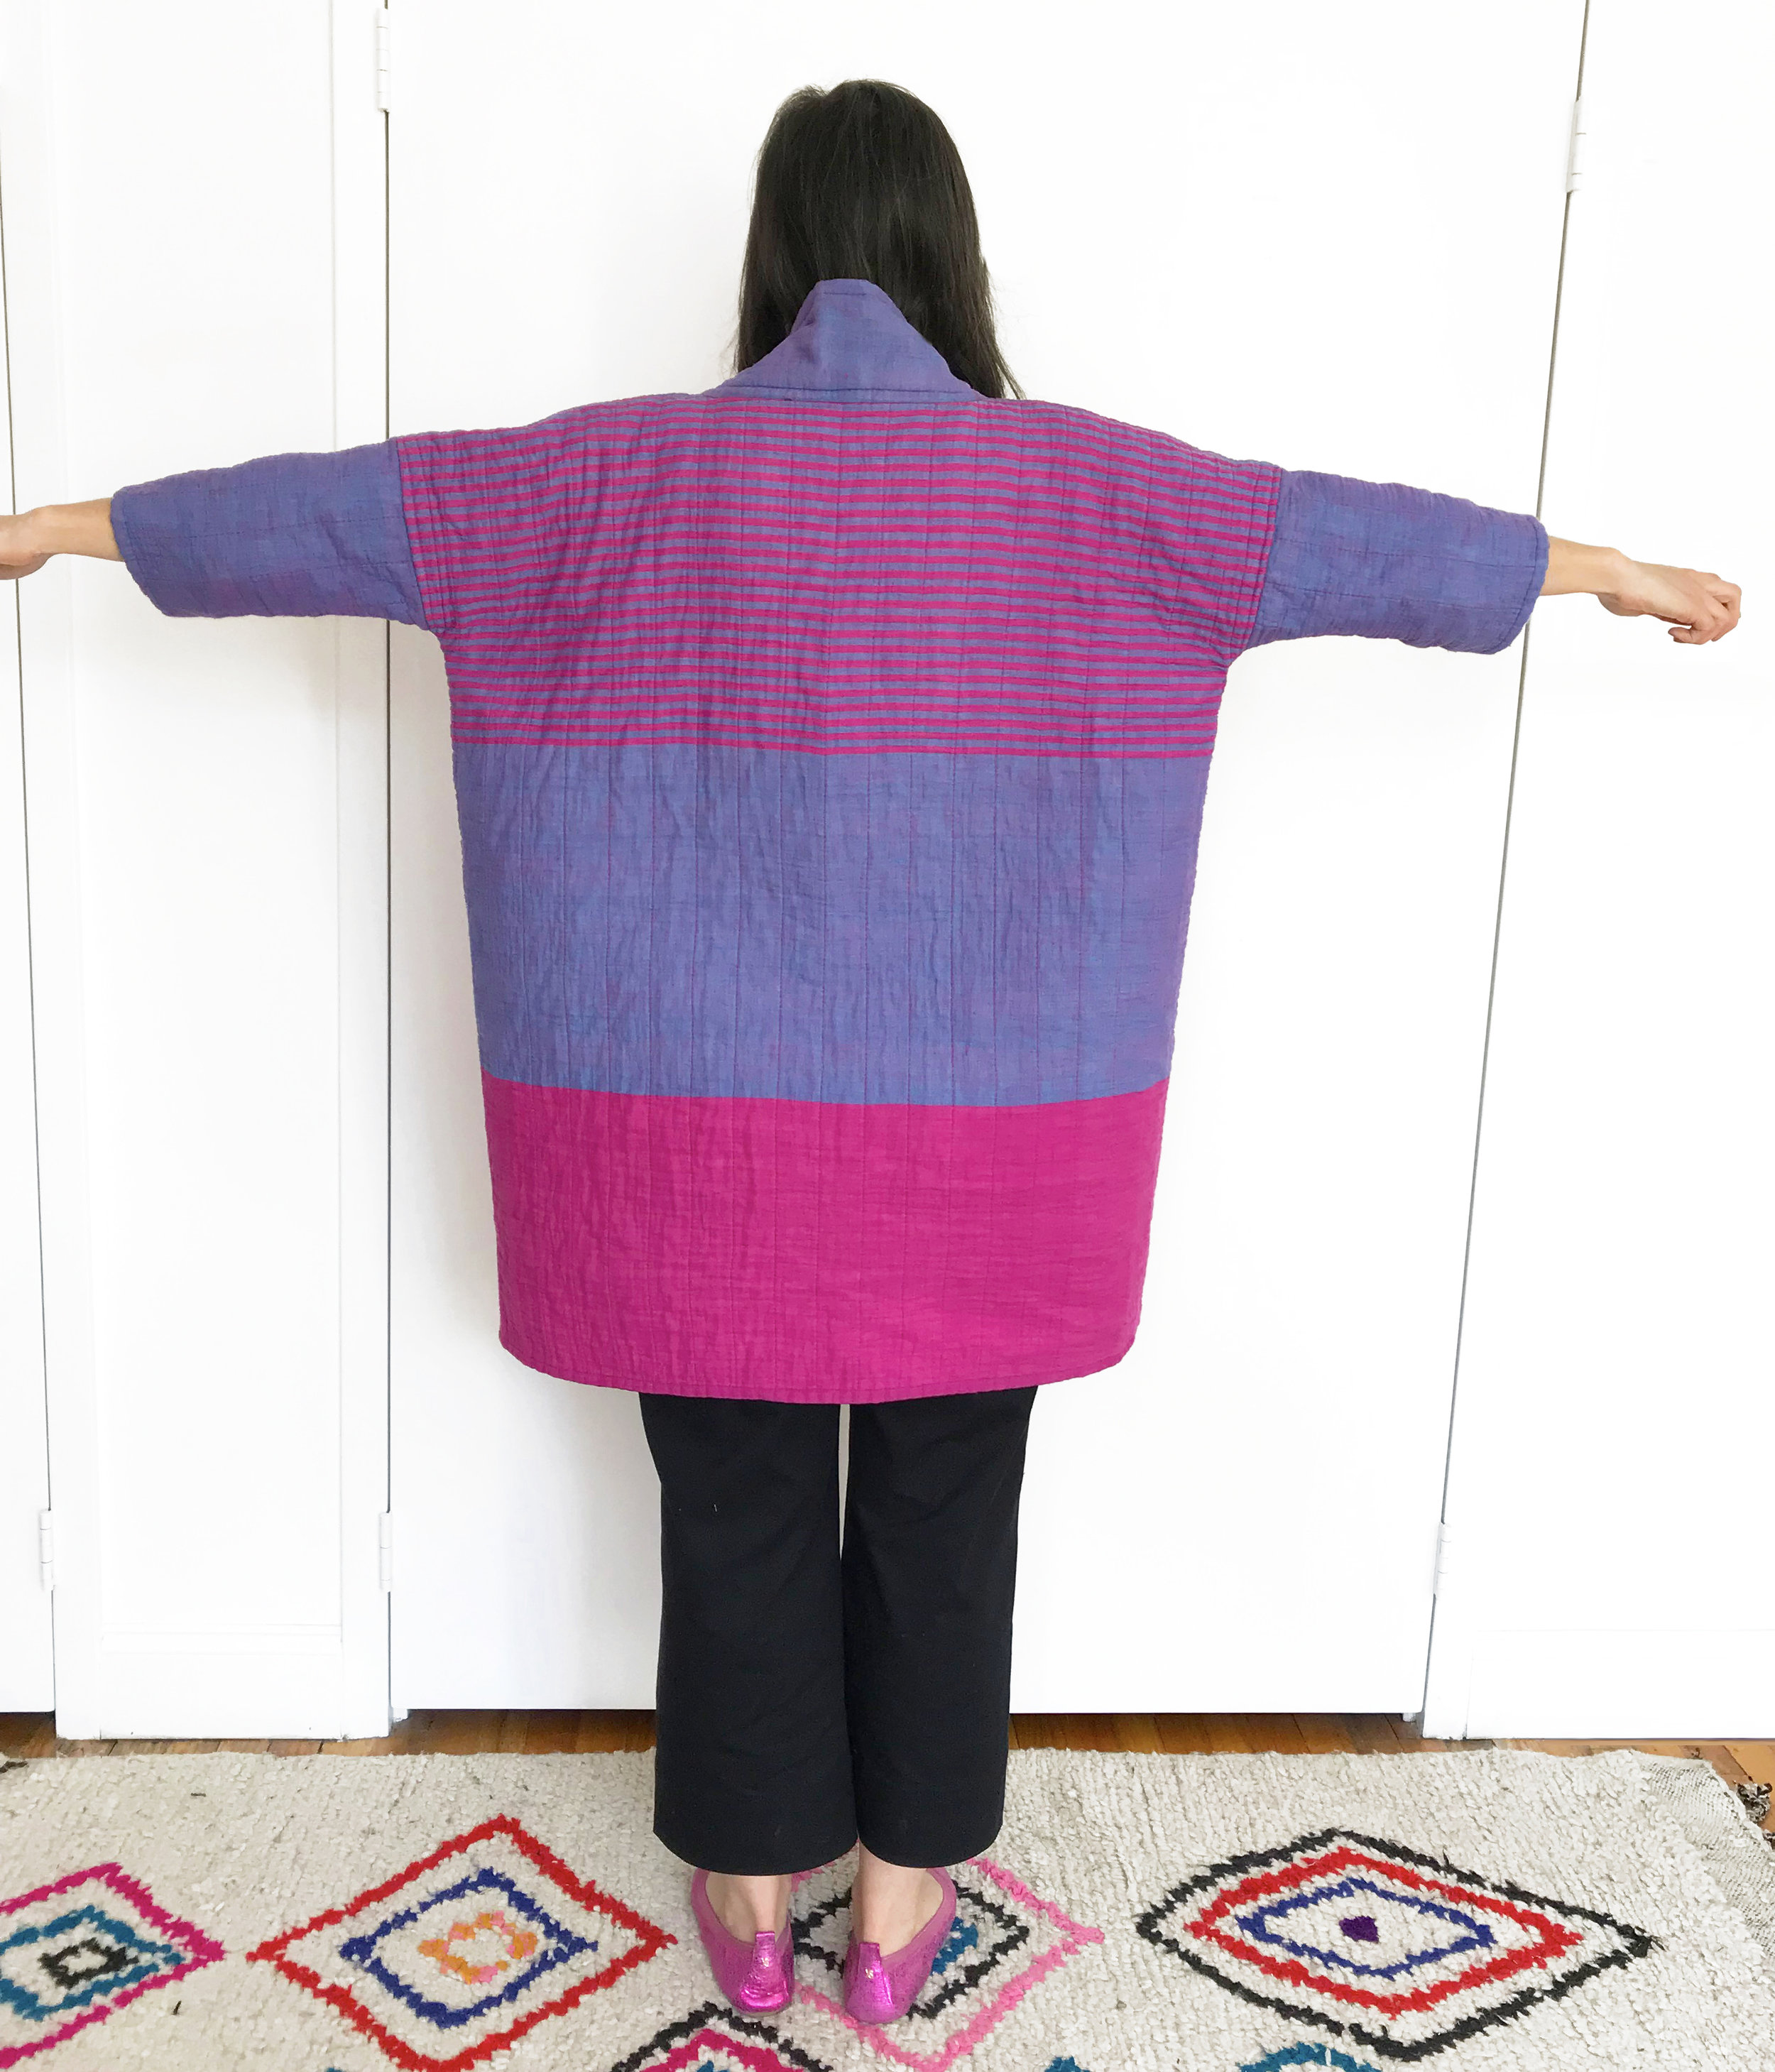
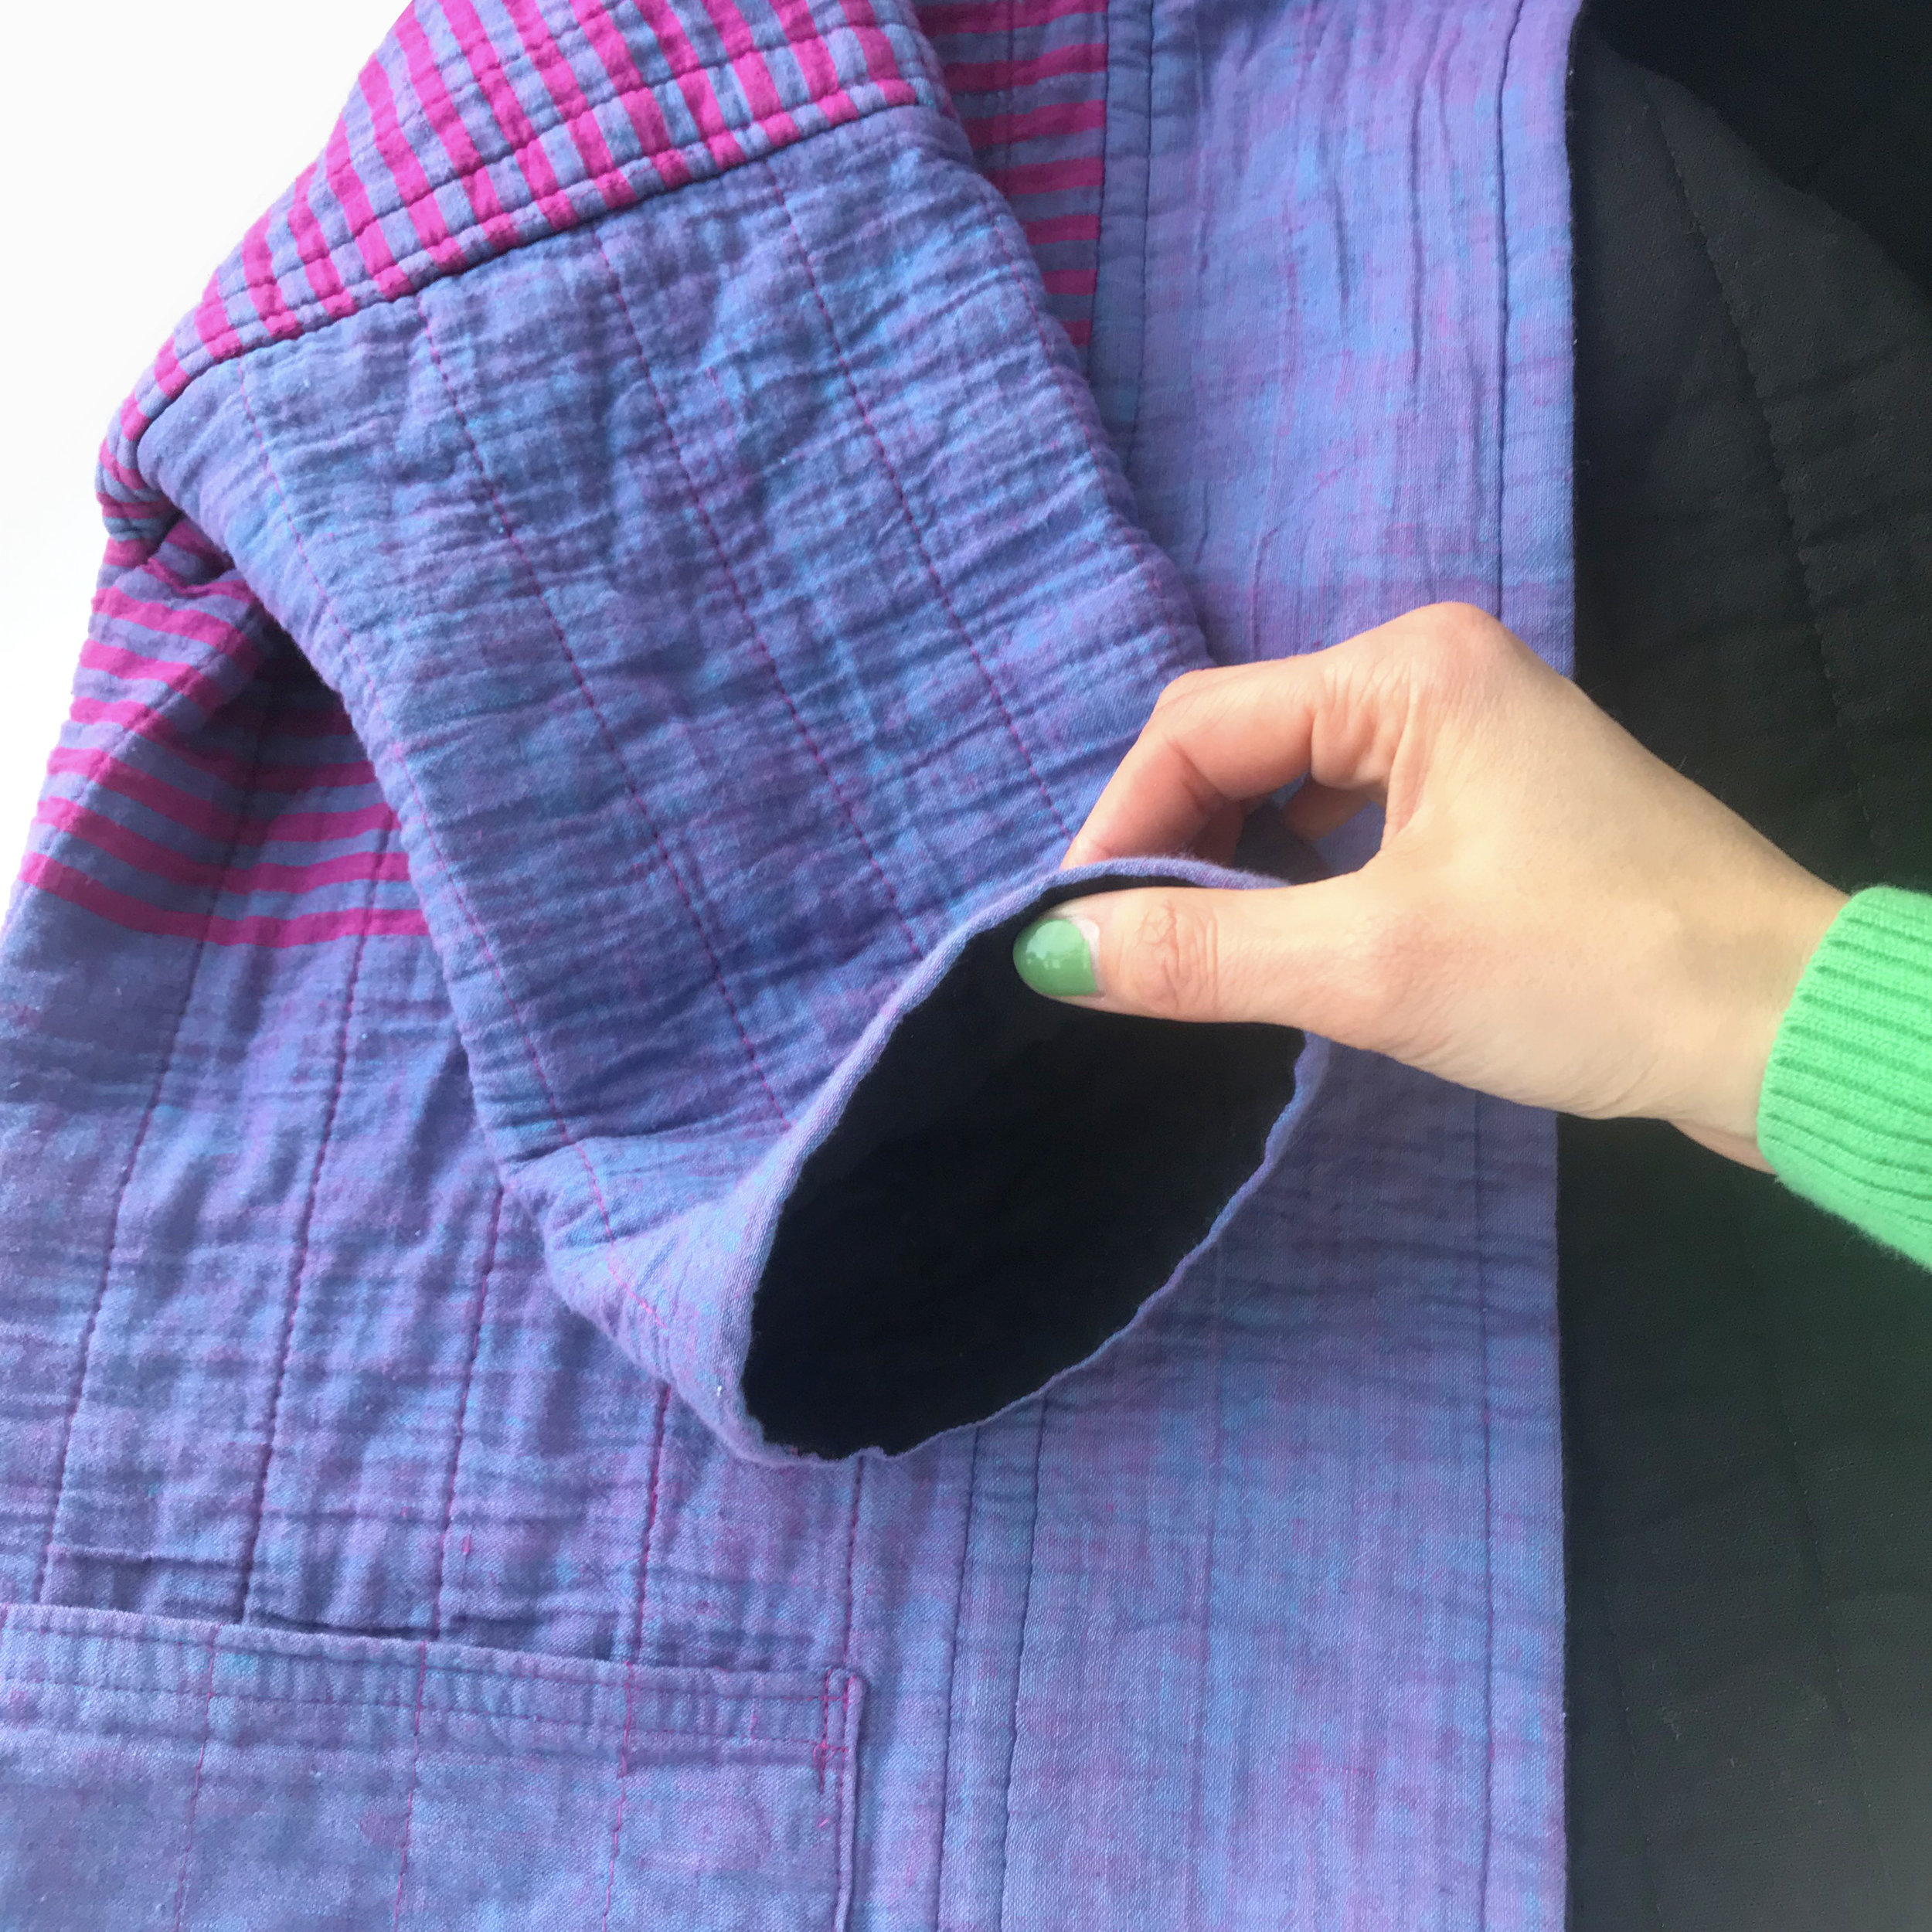
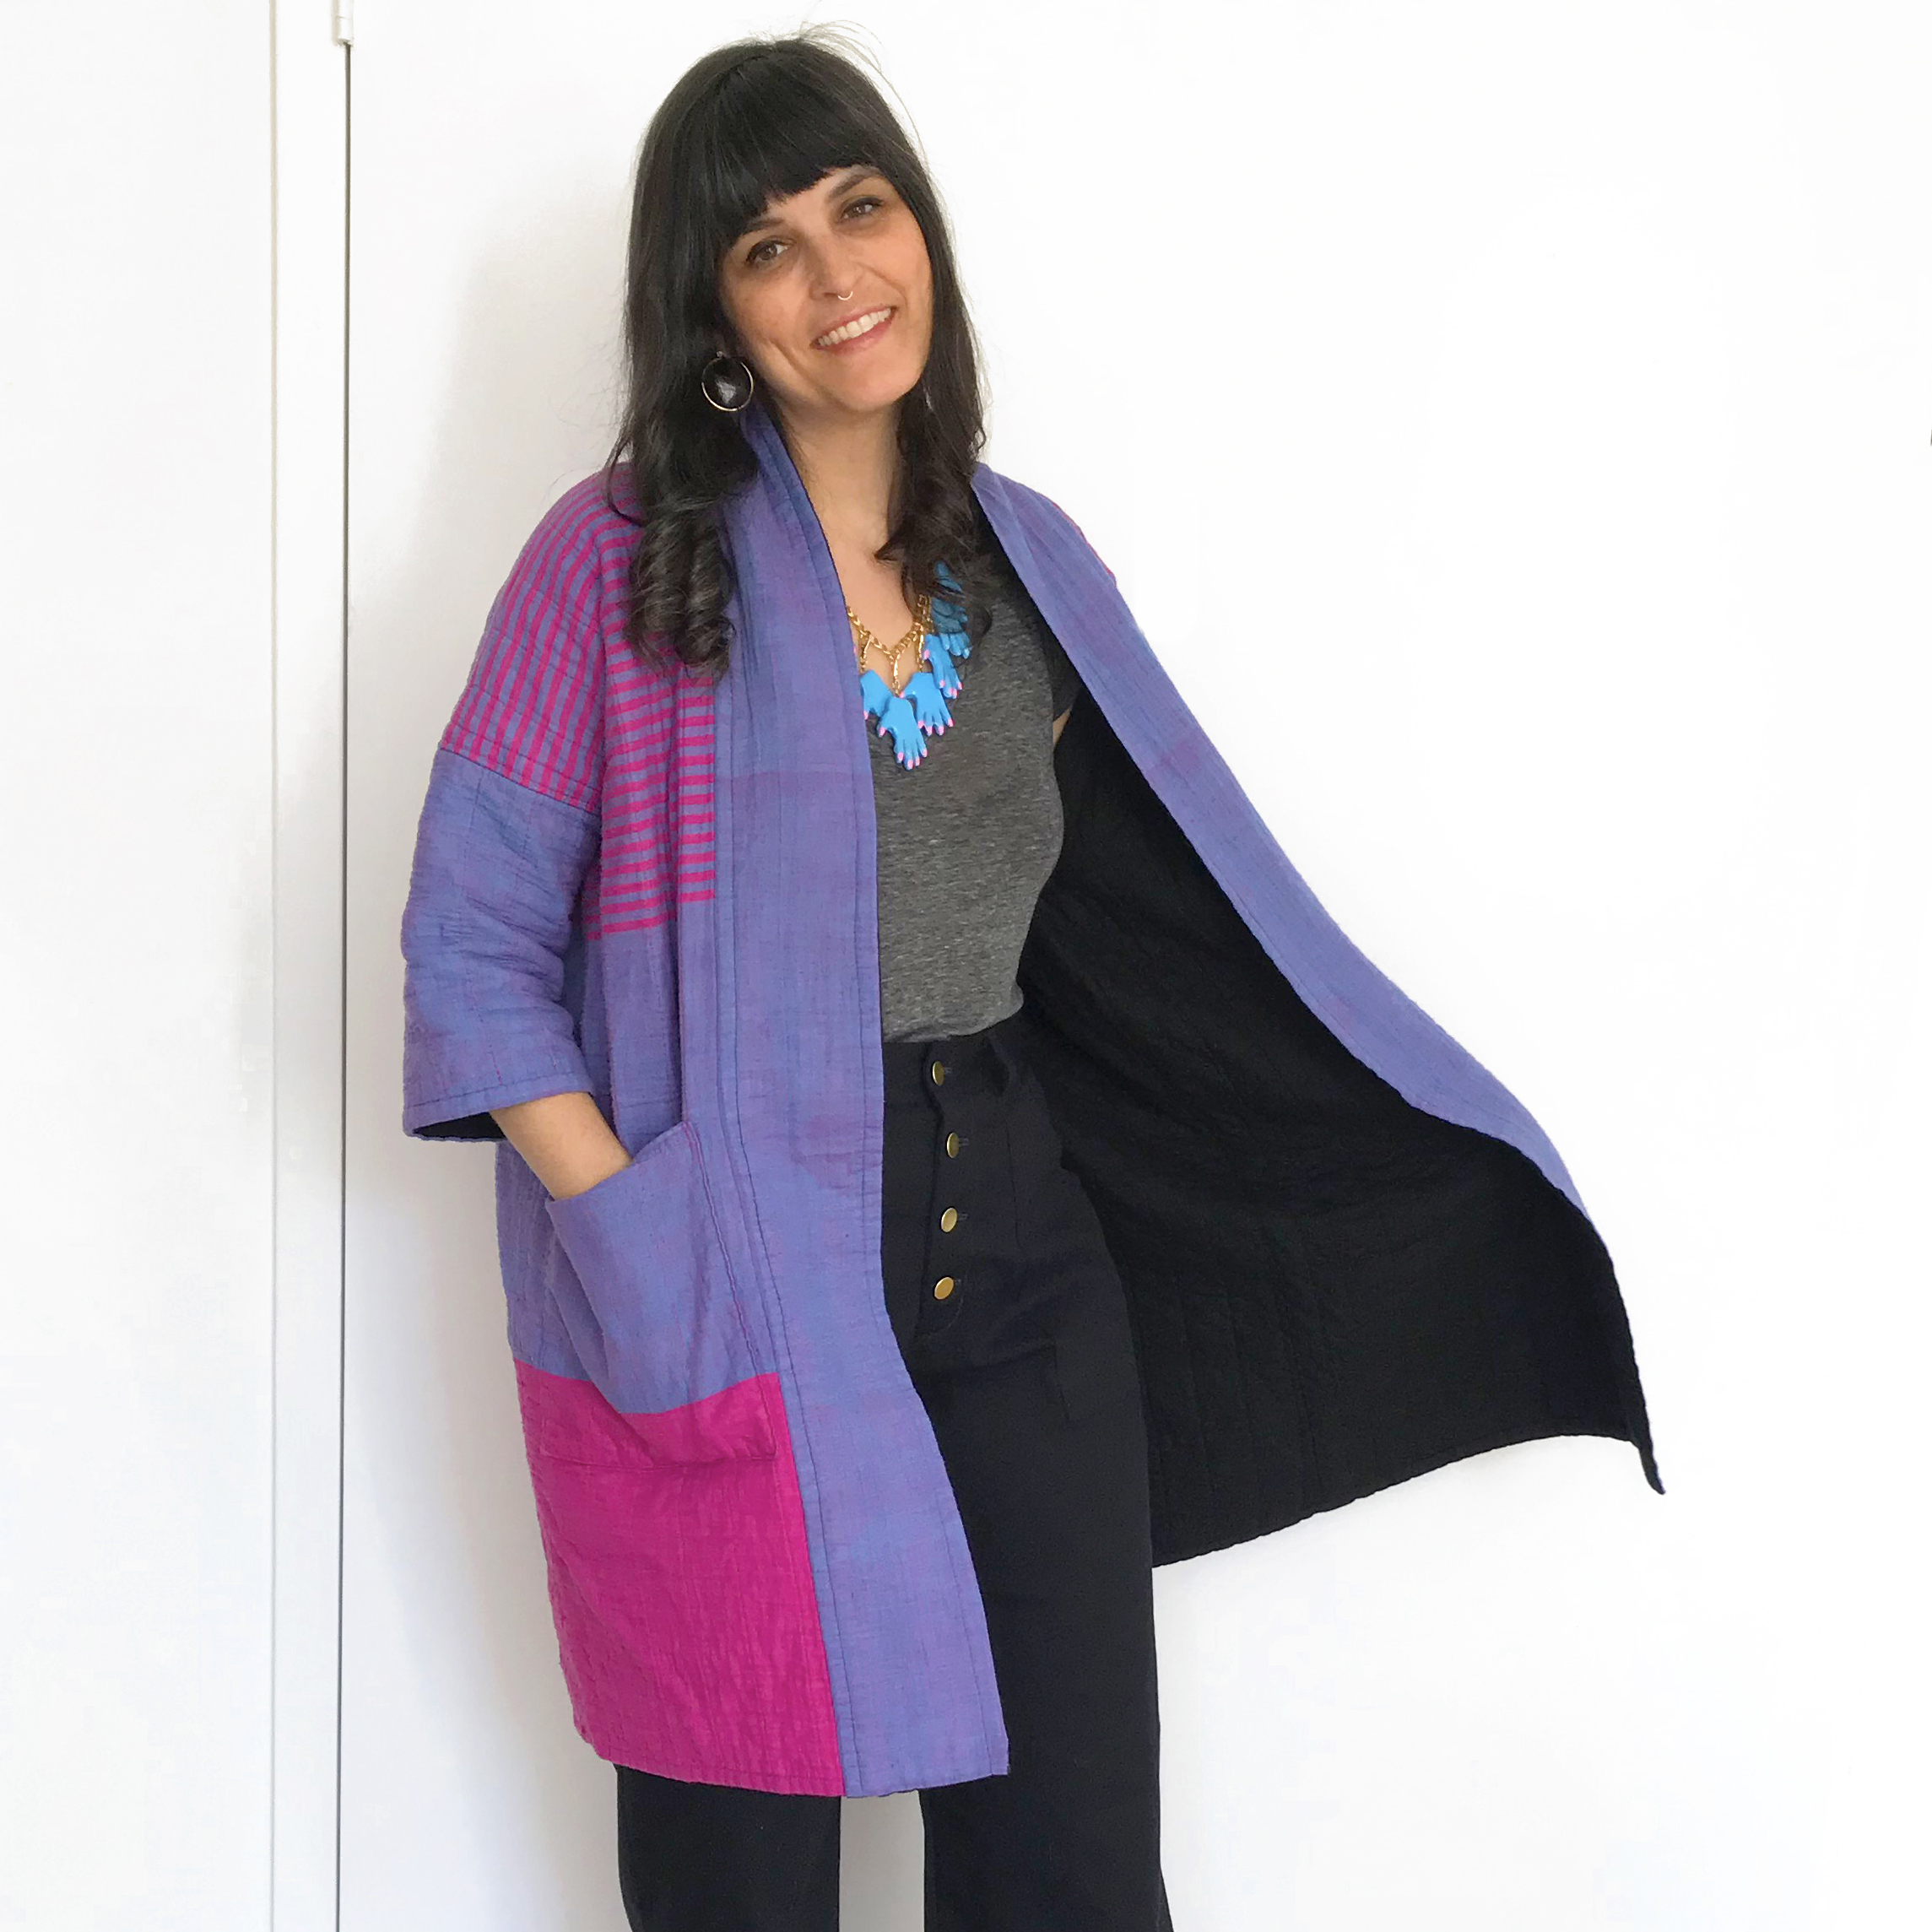
This is my third time sewing the Wiksten Haori (formerly known as the Wiksten Kimono Jacket). I made my mom one in heavy navy linen, and myself an army green version from Kaufman’s washer linen (a linen/rayon blend). It’s a great pattern because it is easily adaptable, you can use almost any weight or stiffness of woven, and I can sew one in an afternoon. I love wearing it, but wanted a more substantial version. So I got it in my head to make a quilted one. And I wanted it to be fully reversible.

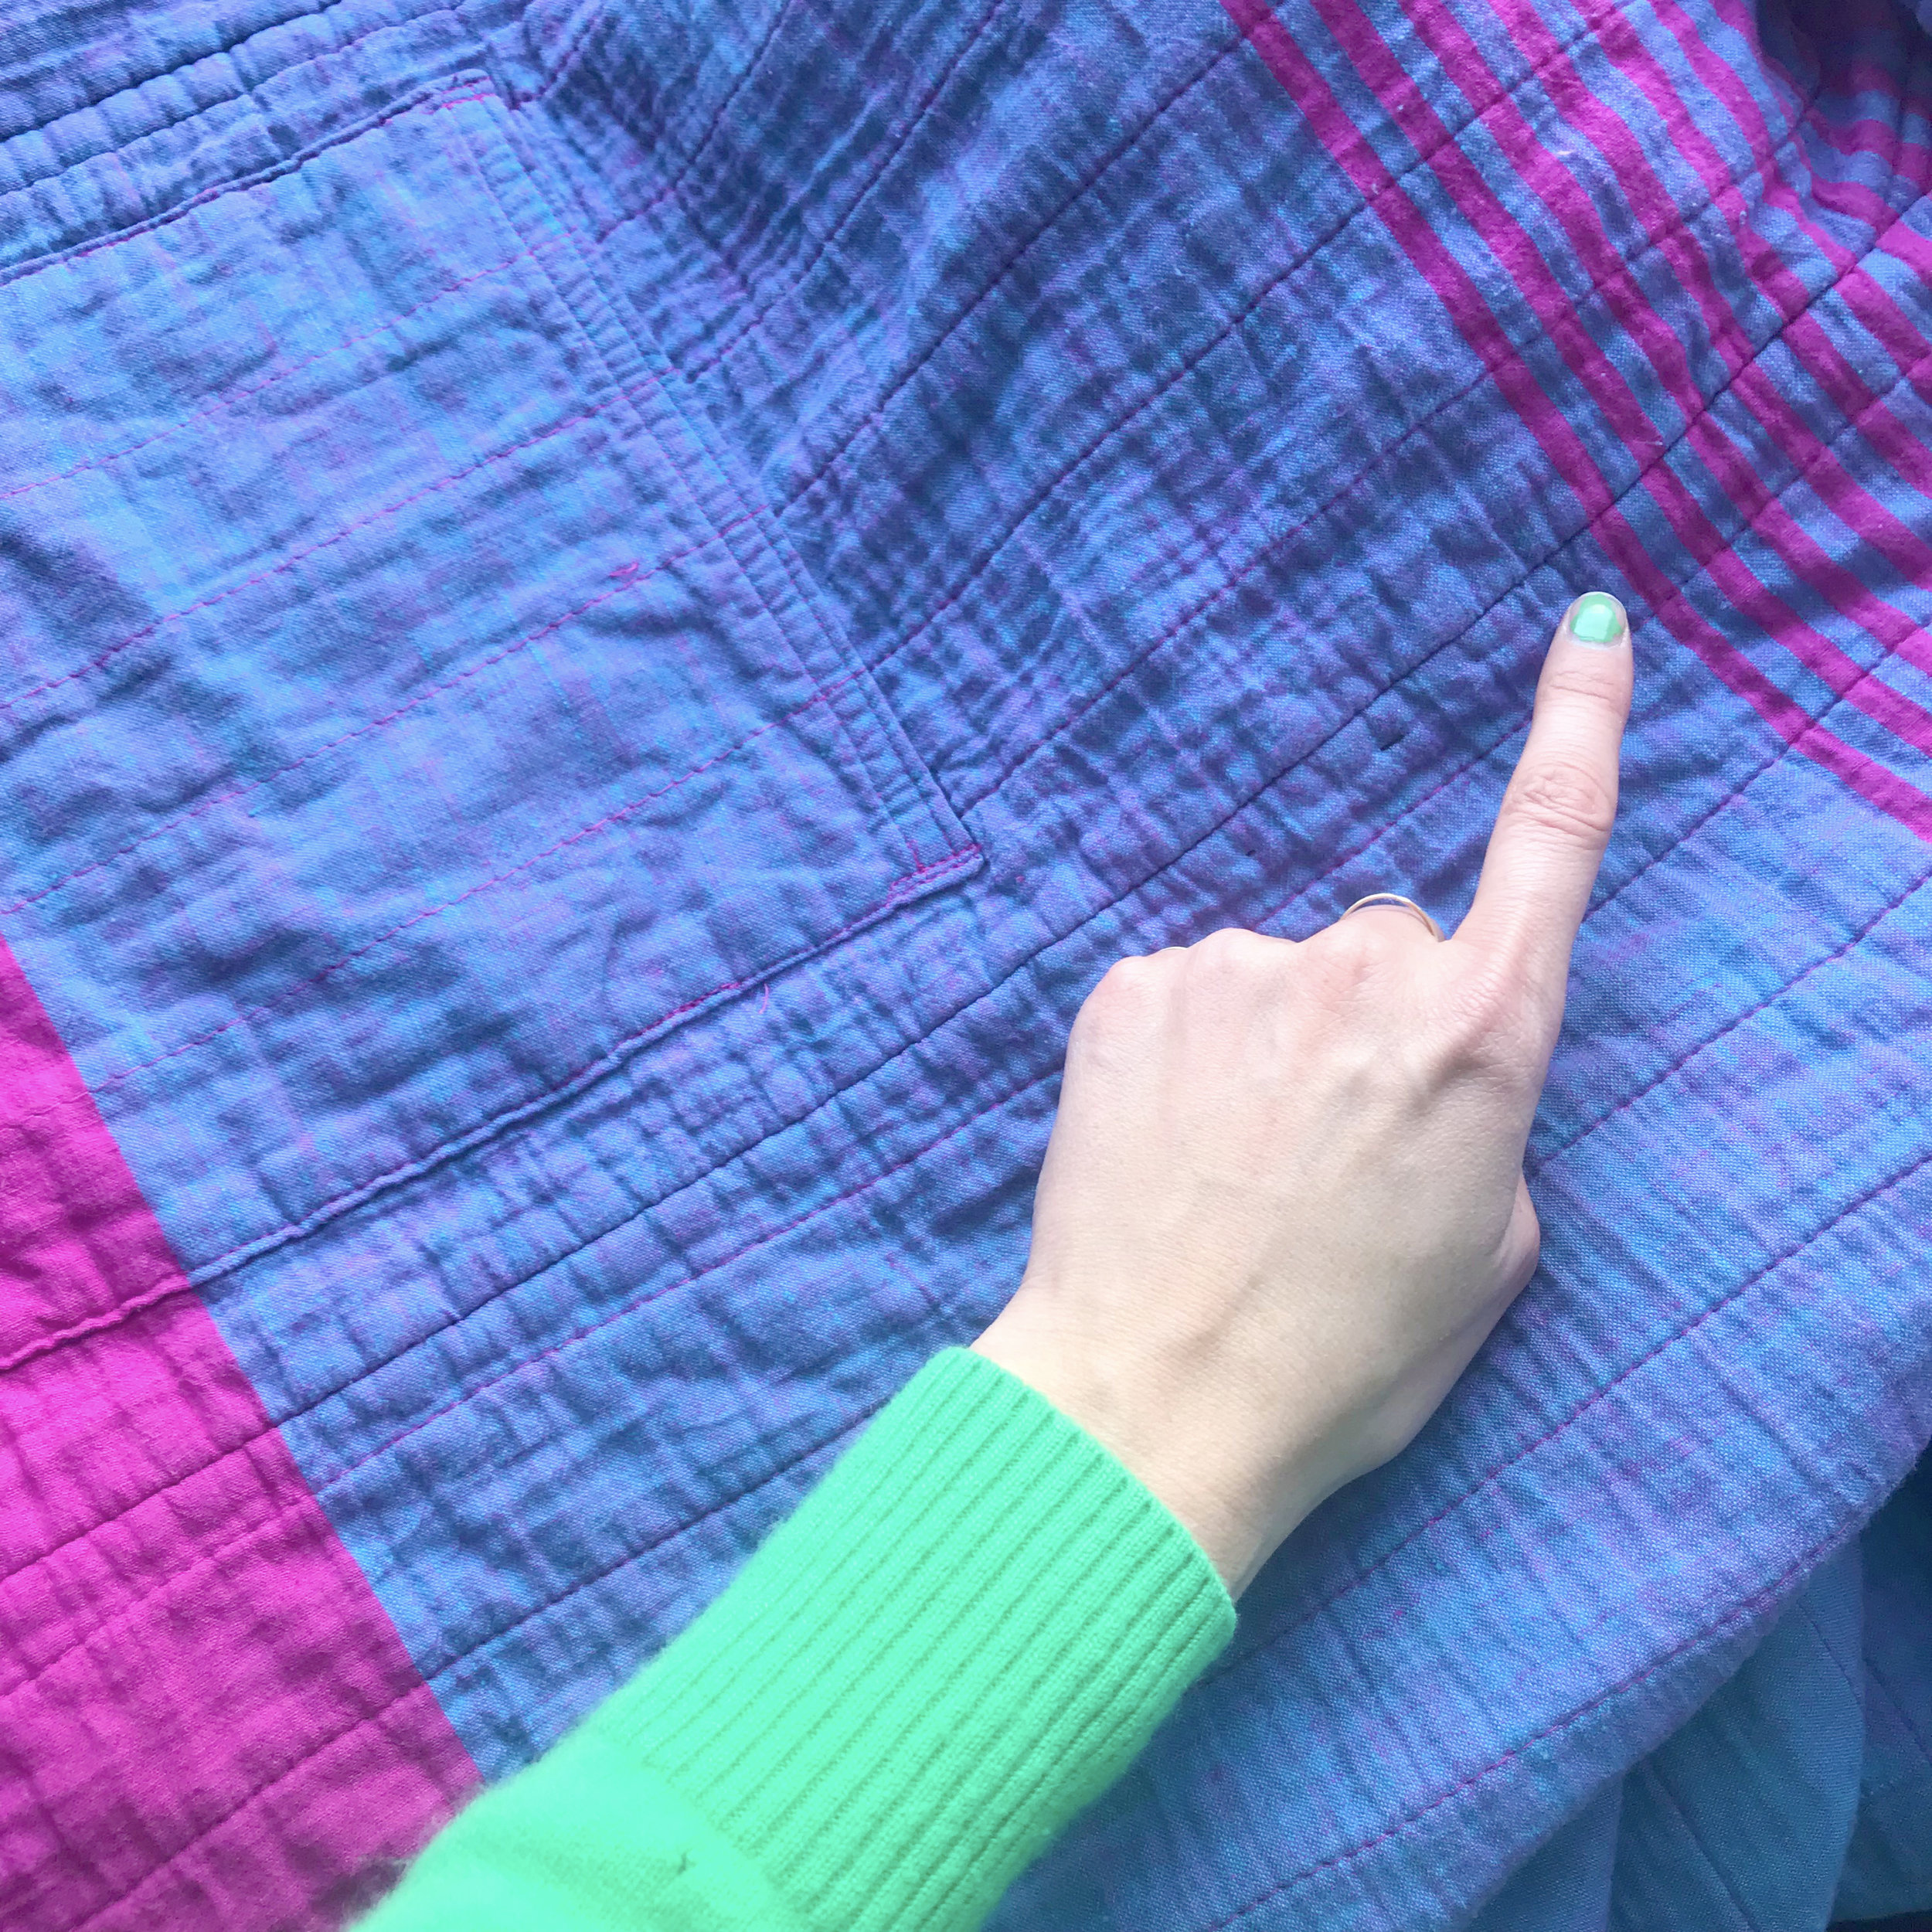
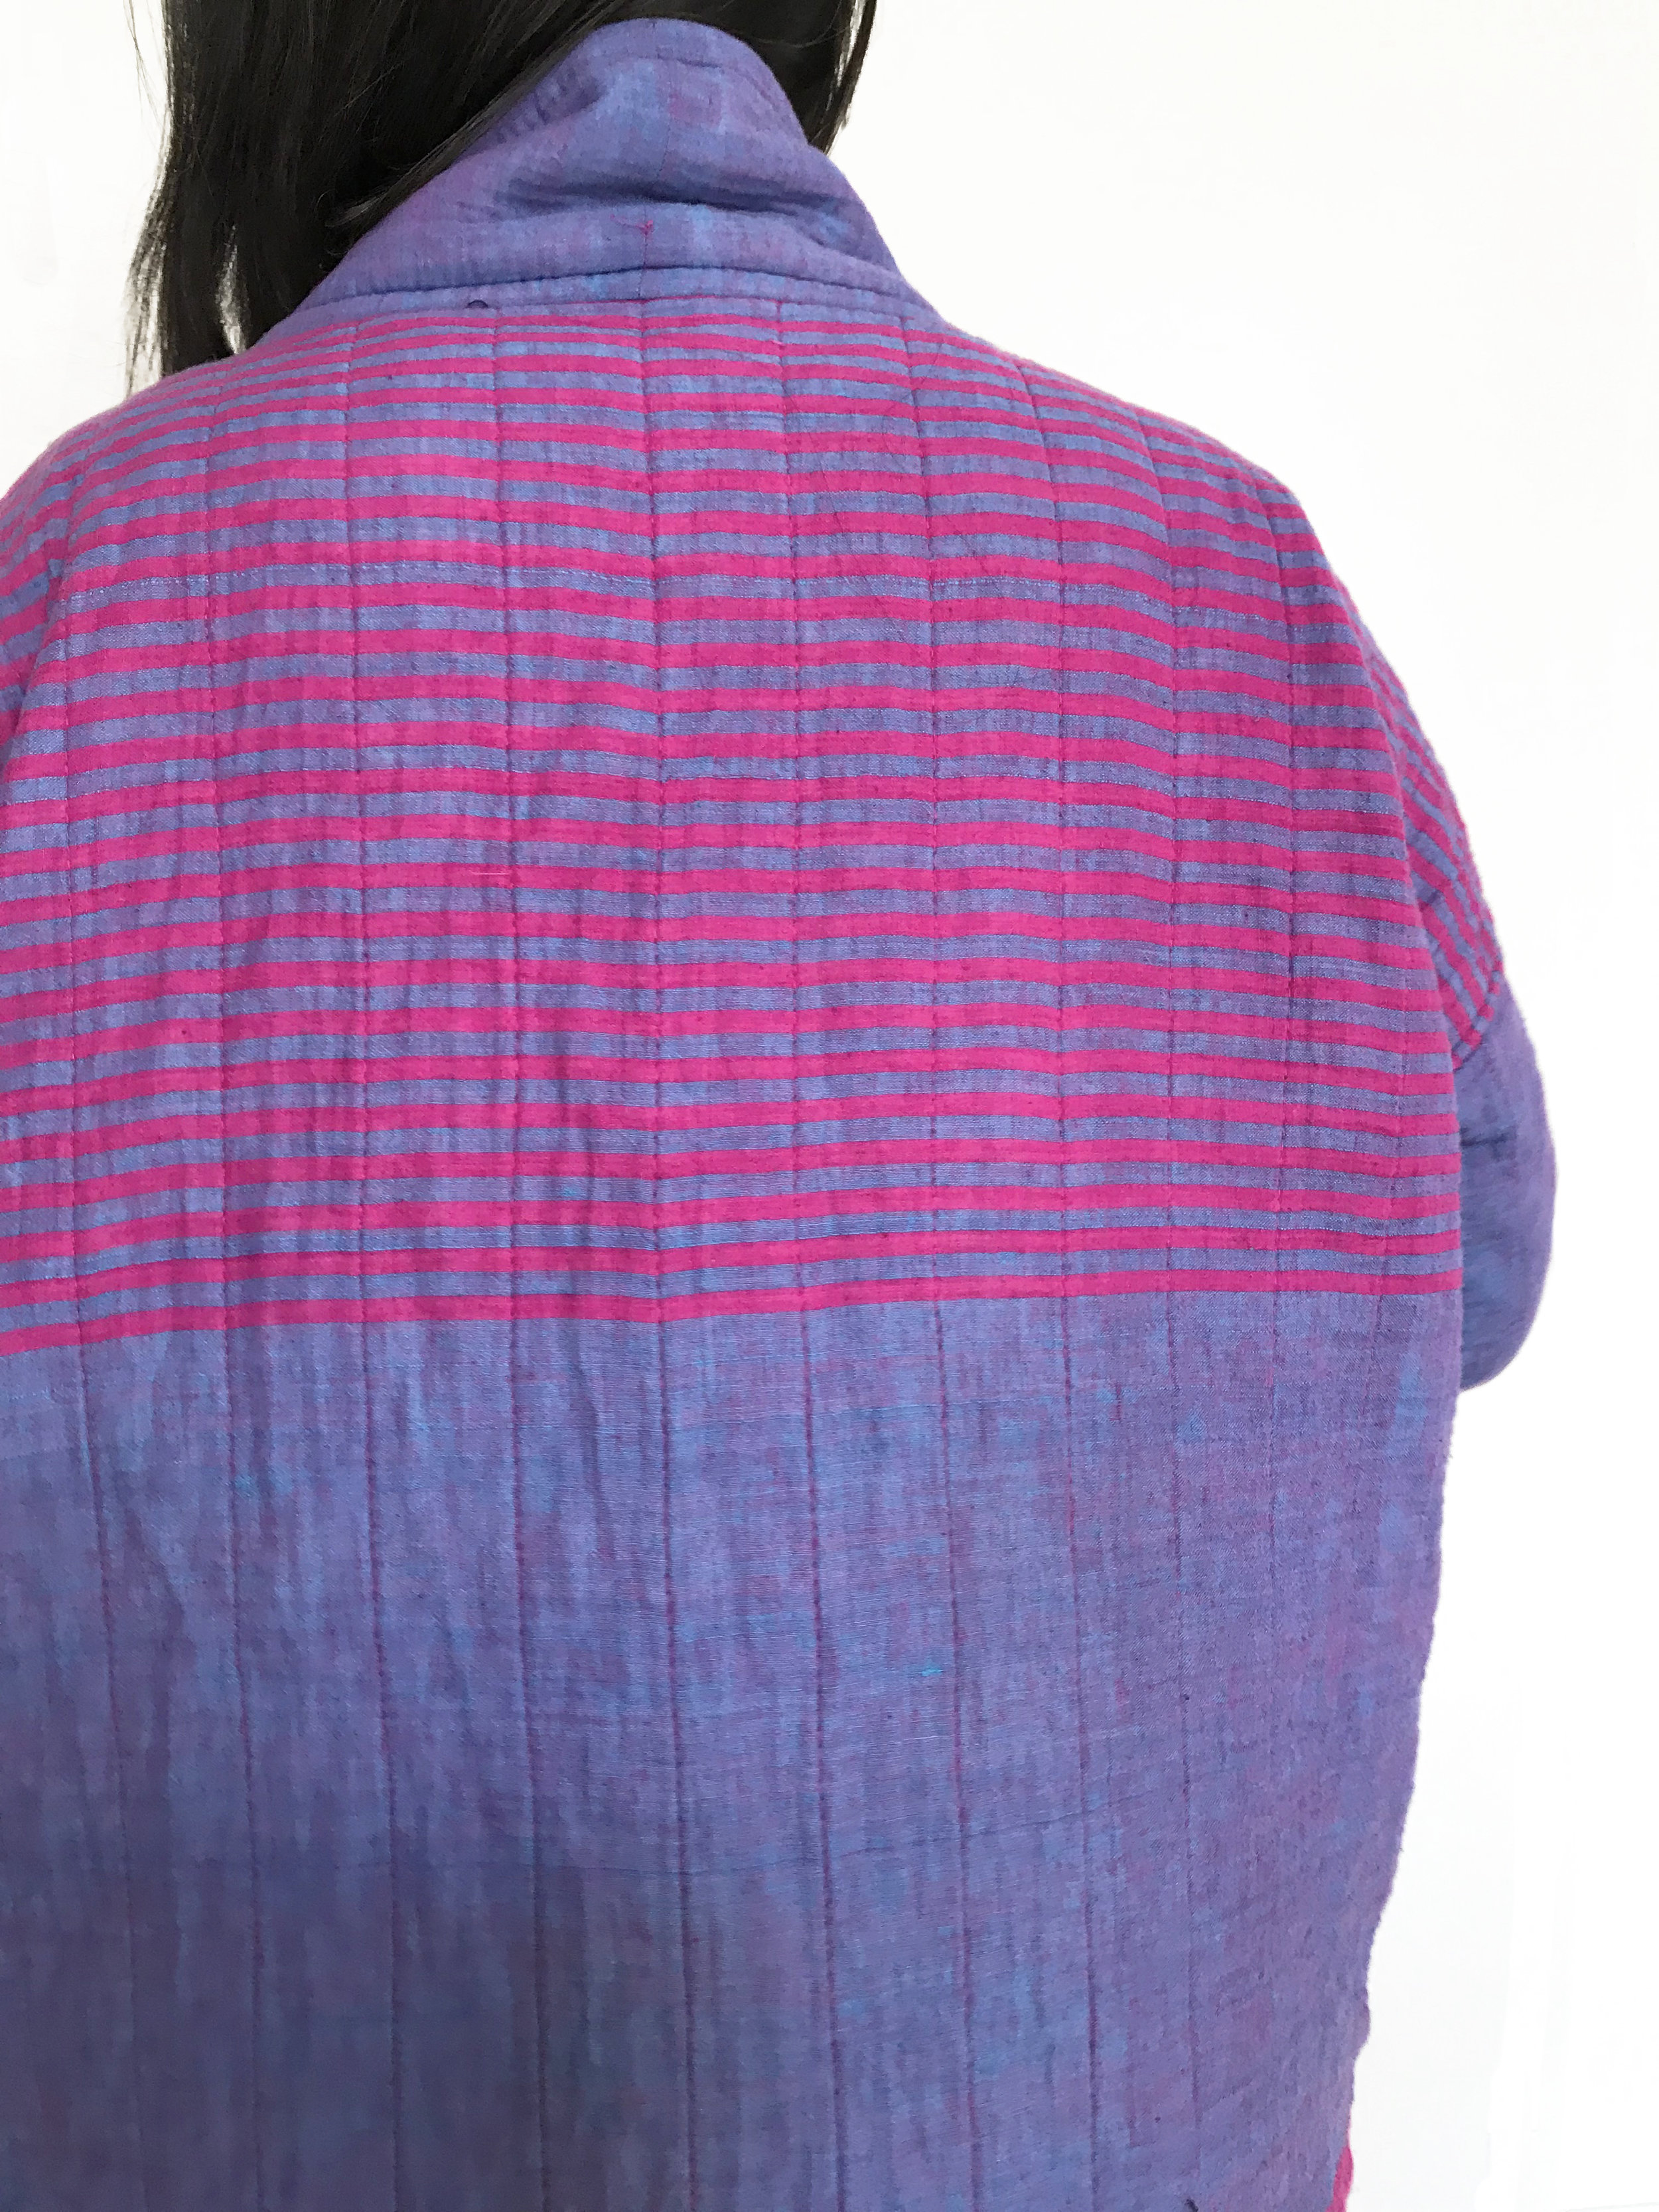
When I saw this Indian hand loomed cotton on eBay, I knew it was the one. That stripe is yarn dyed, and this is cut on the crossgrain (stripe runs parallel to selvedge). Isn’t that crazy? It’s a huge stripe. I had to have it. It shipped directly from India, and arrived smelling of kerosine. Perfect! For the black side, I used more Kaufman washer linen.
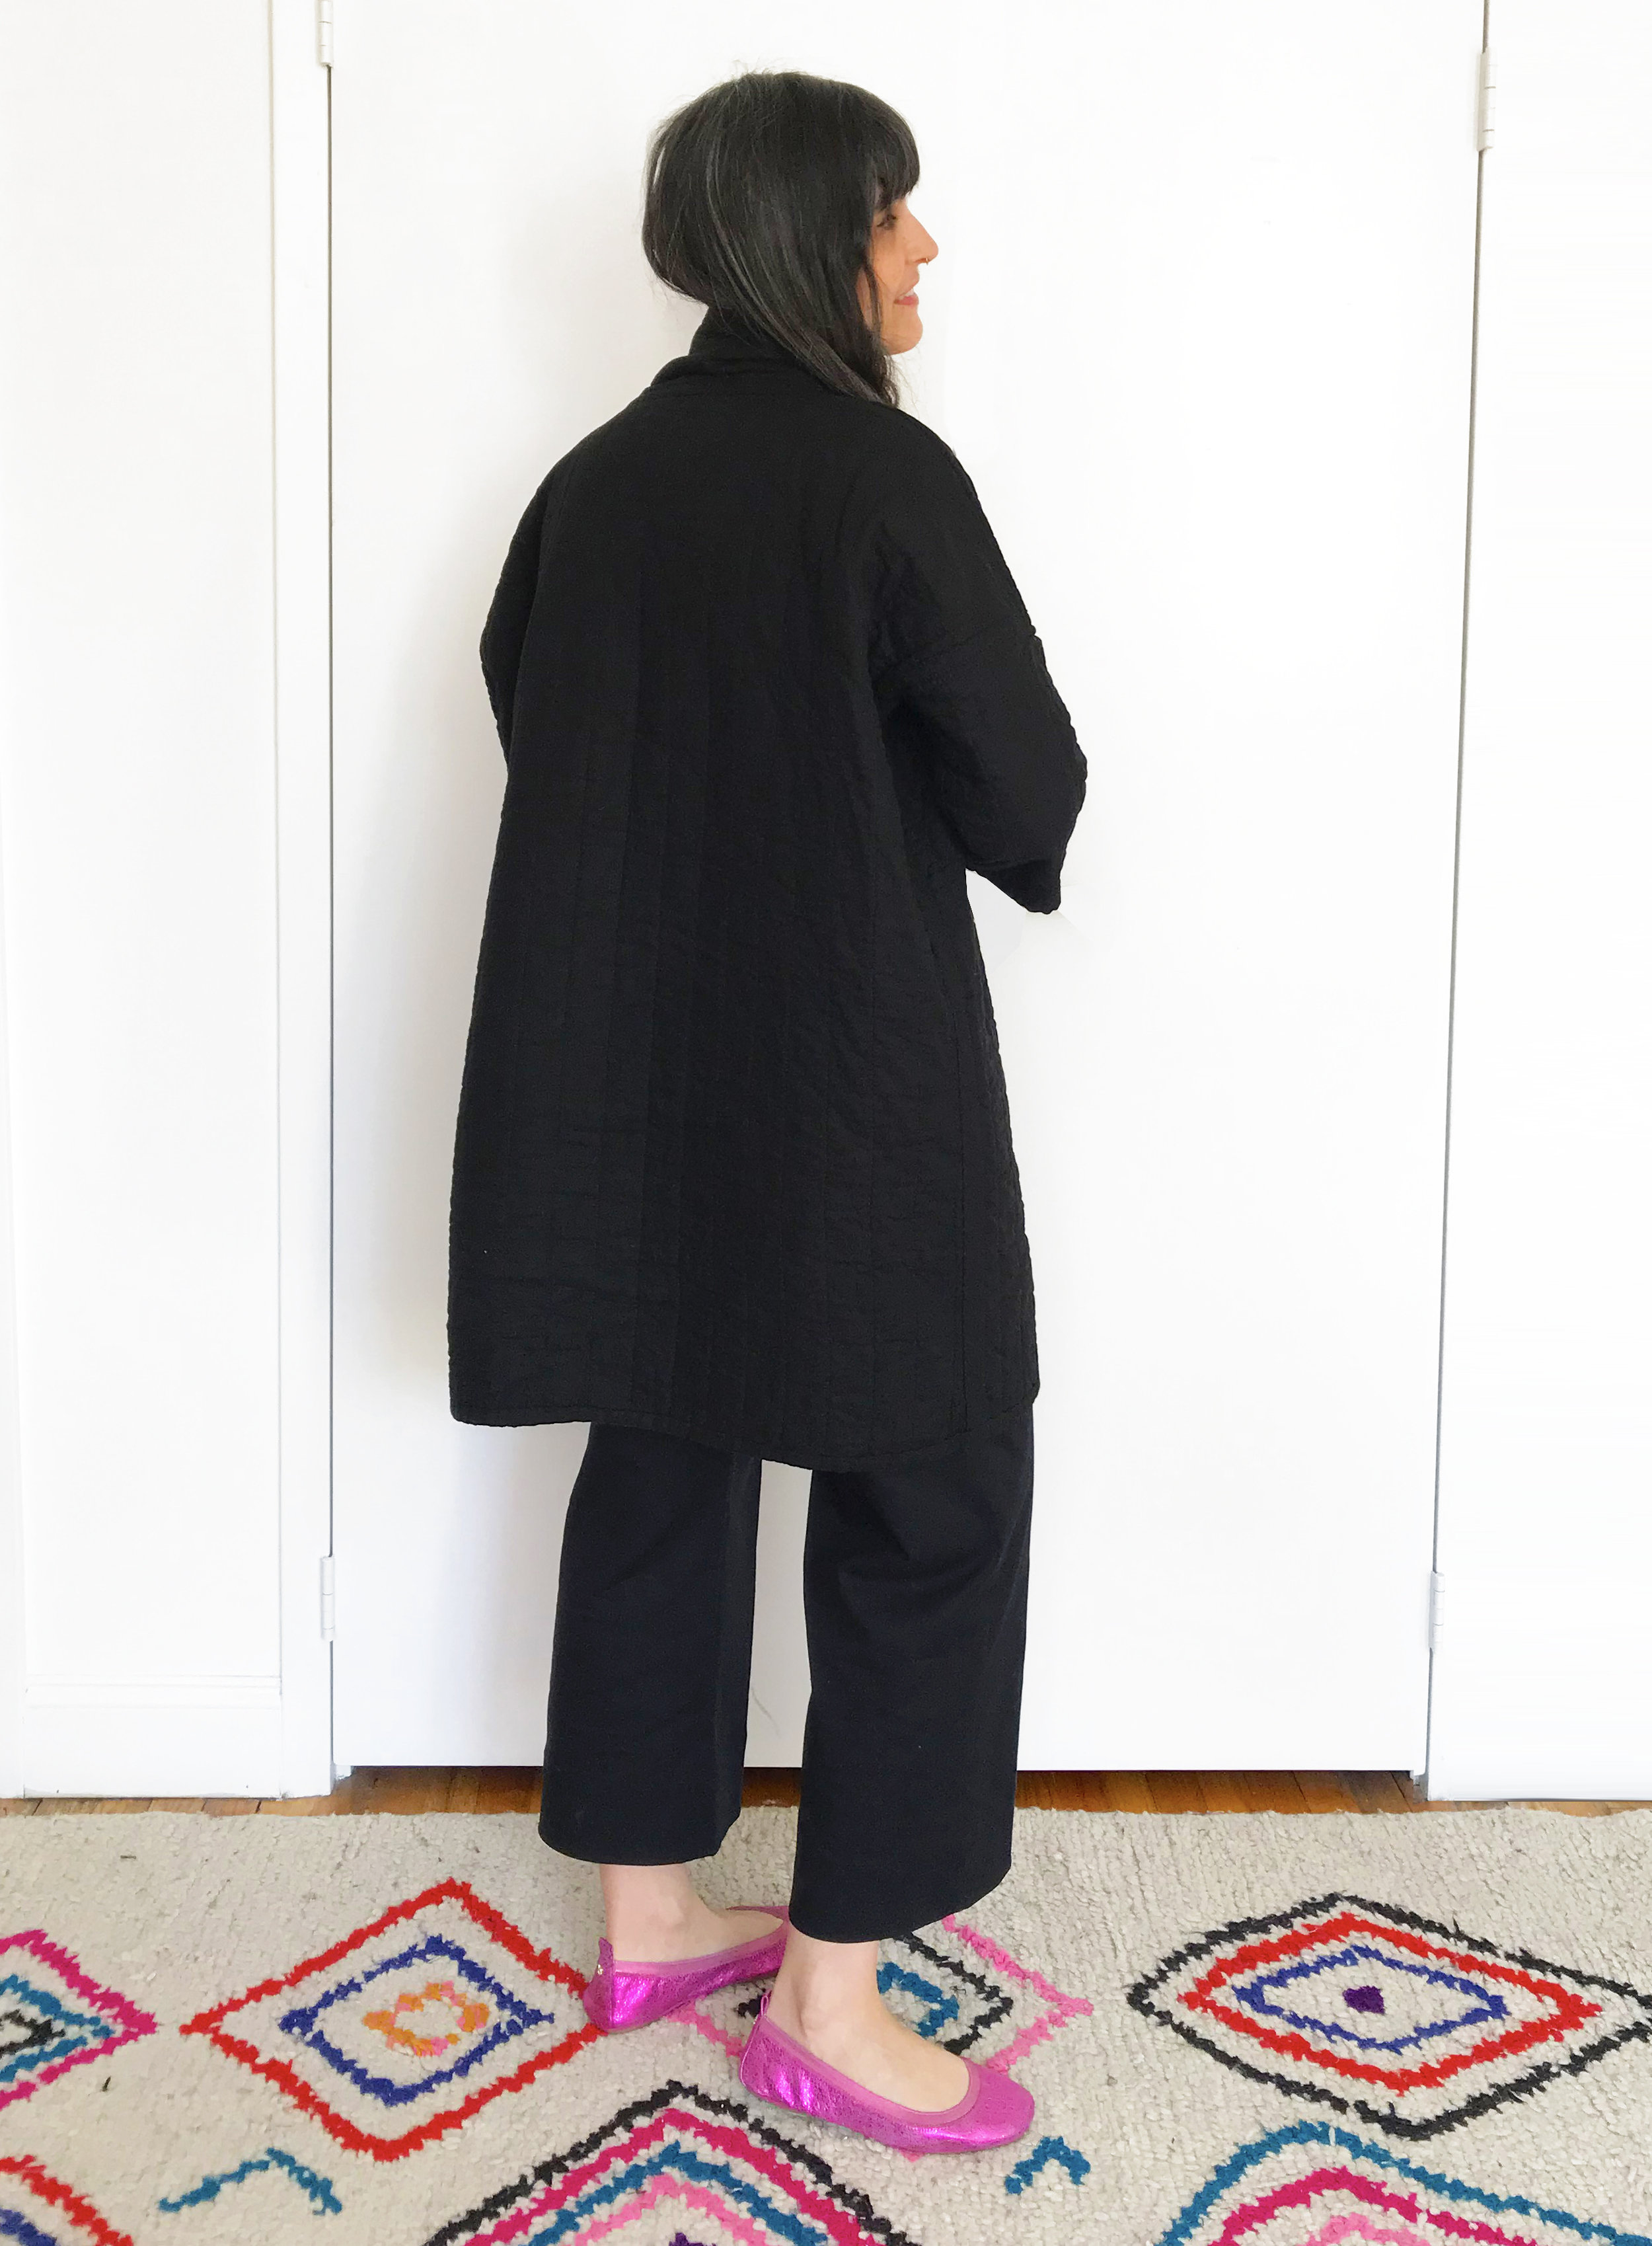
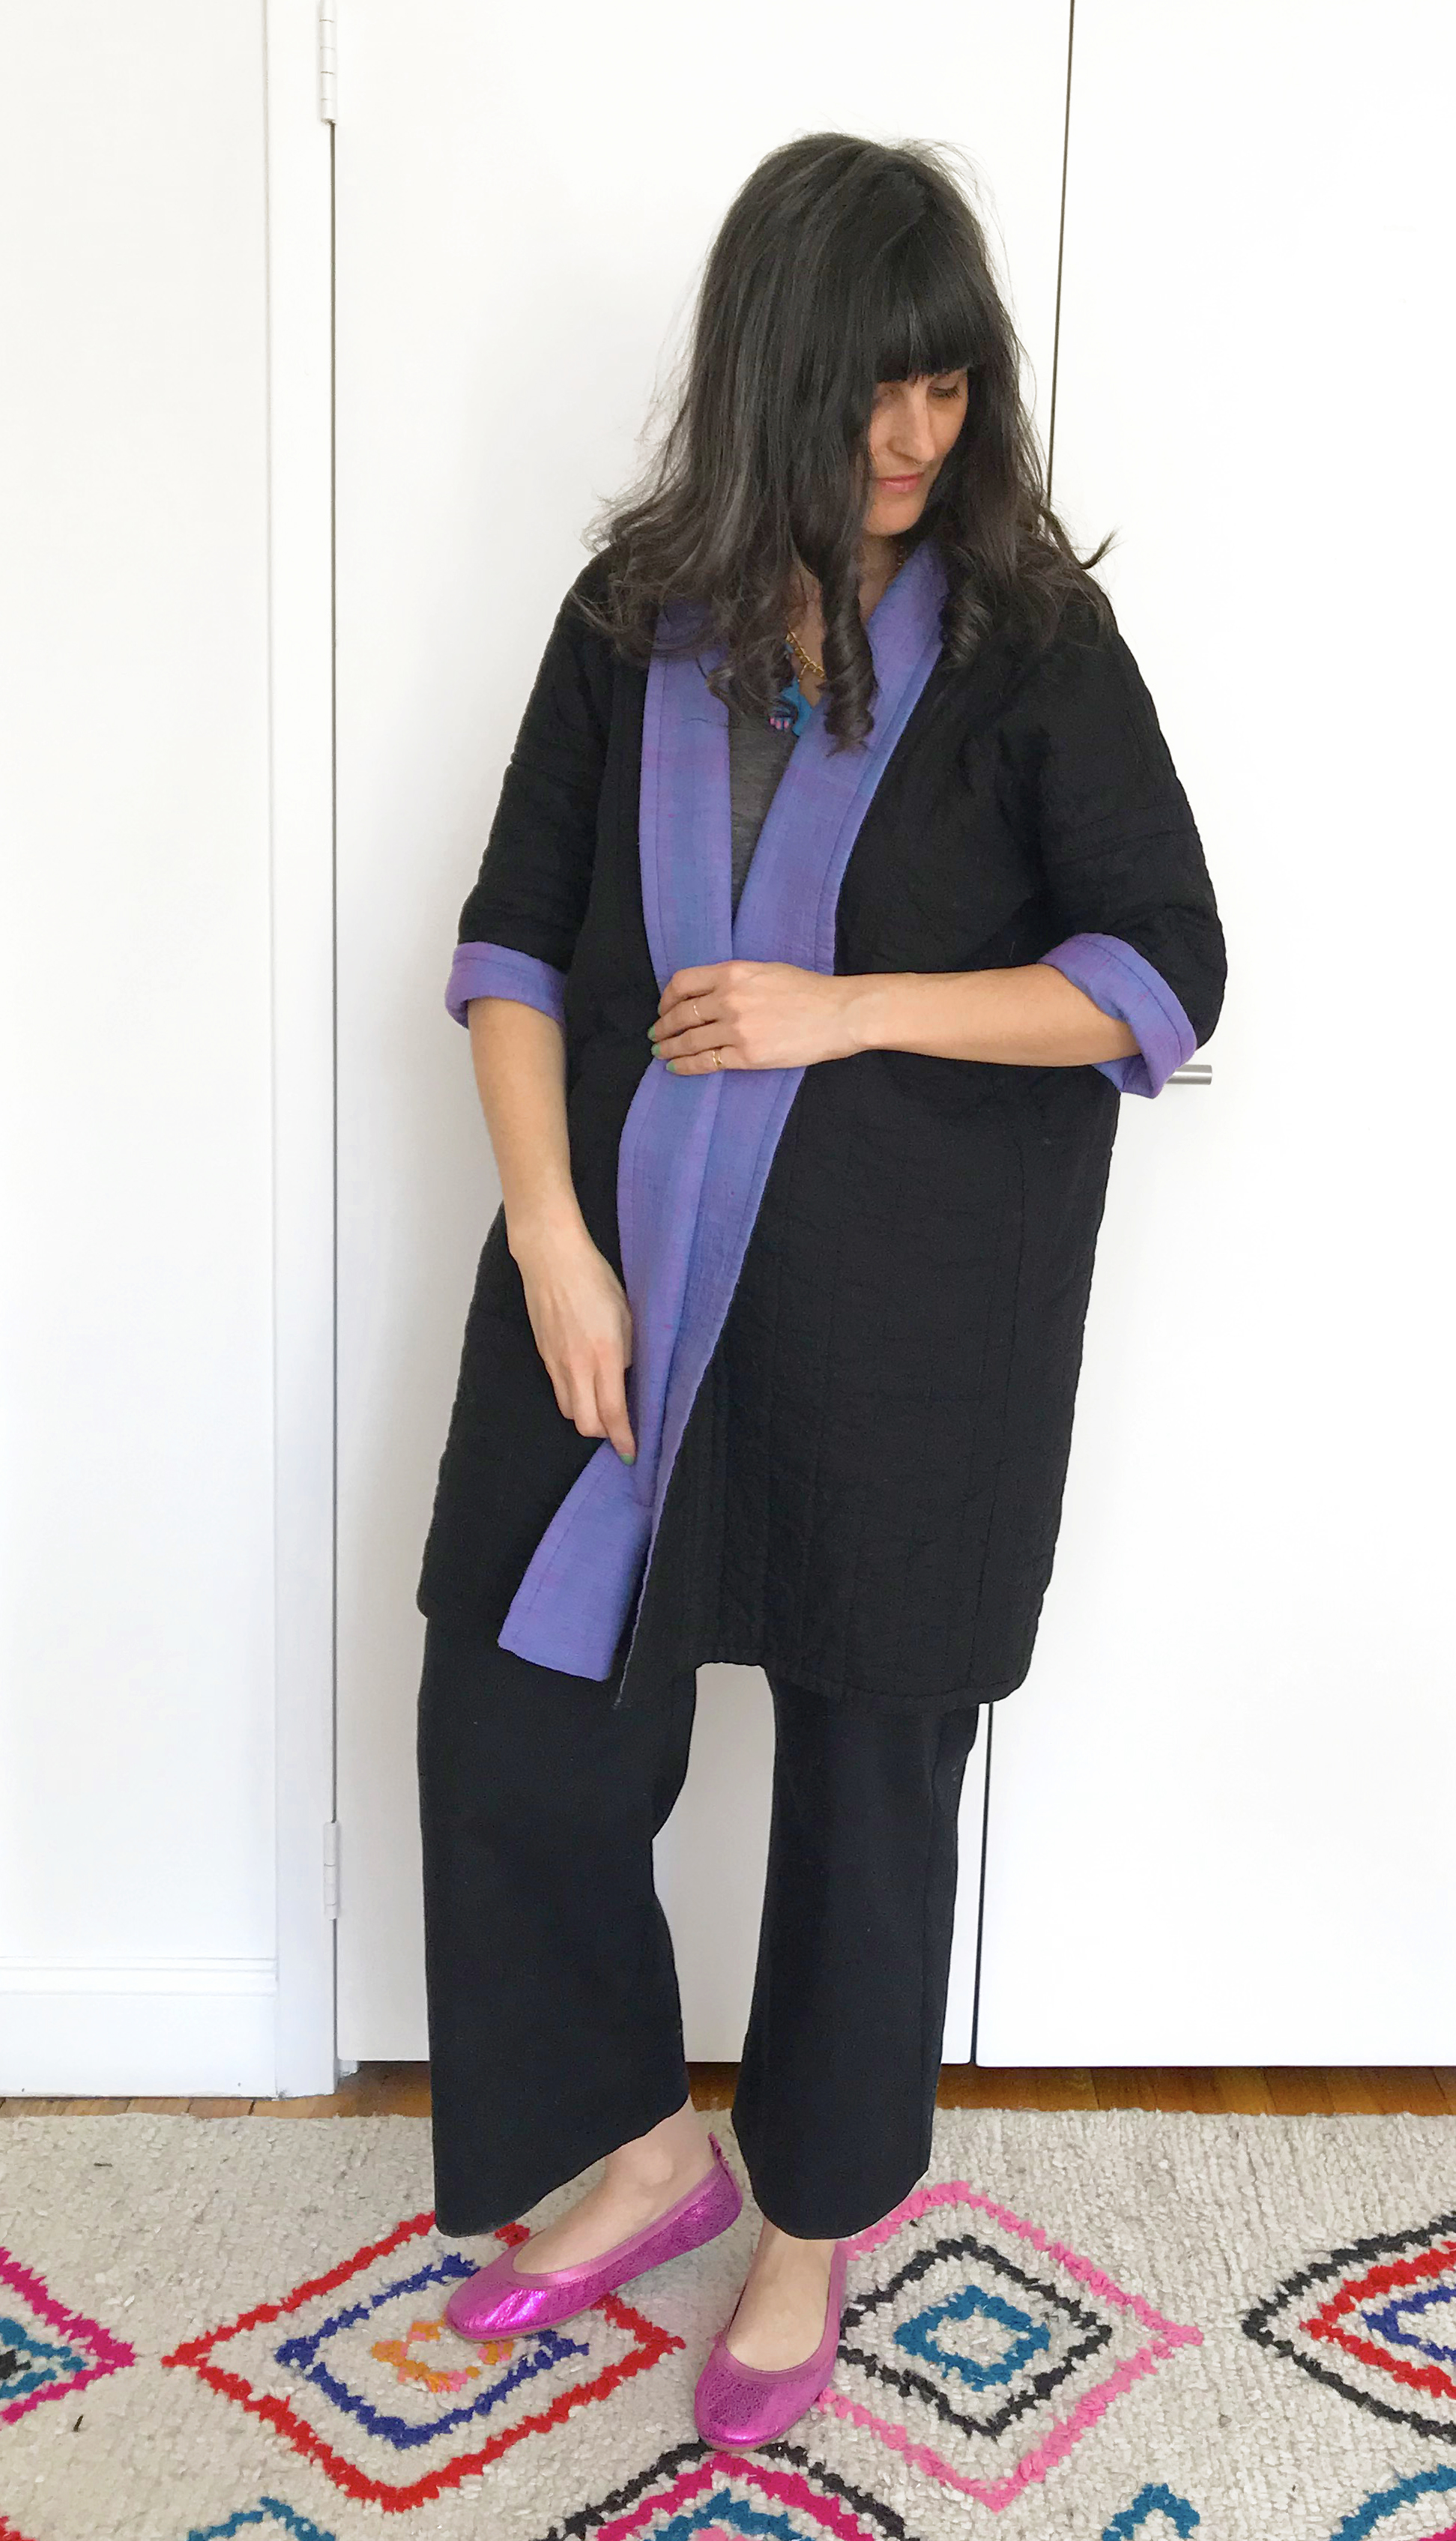
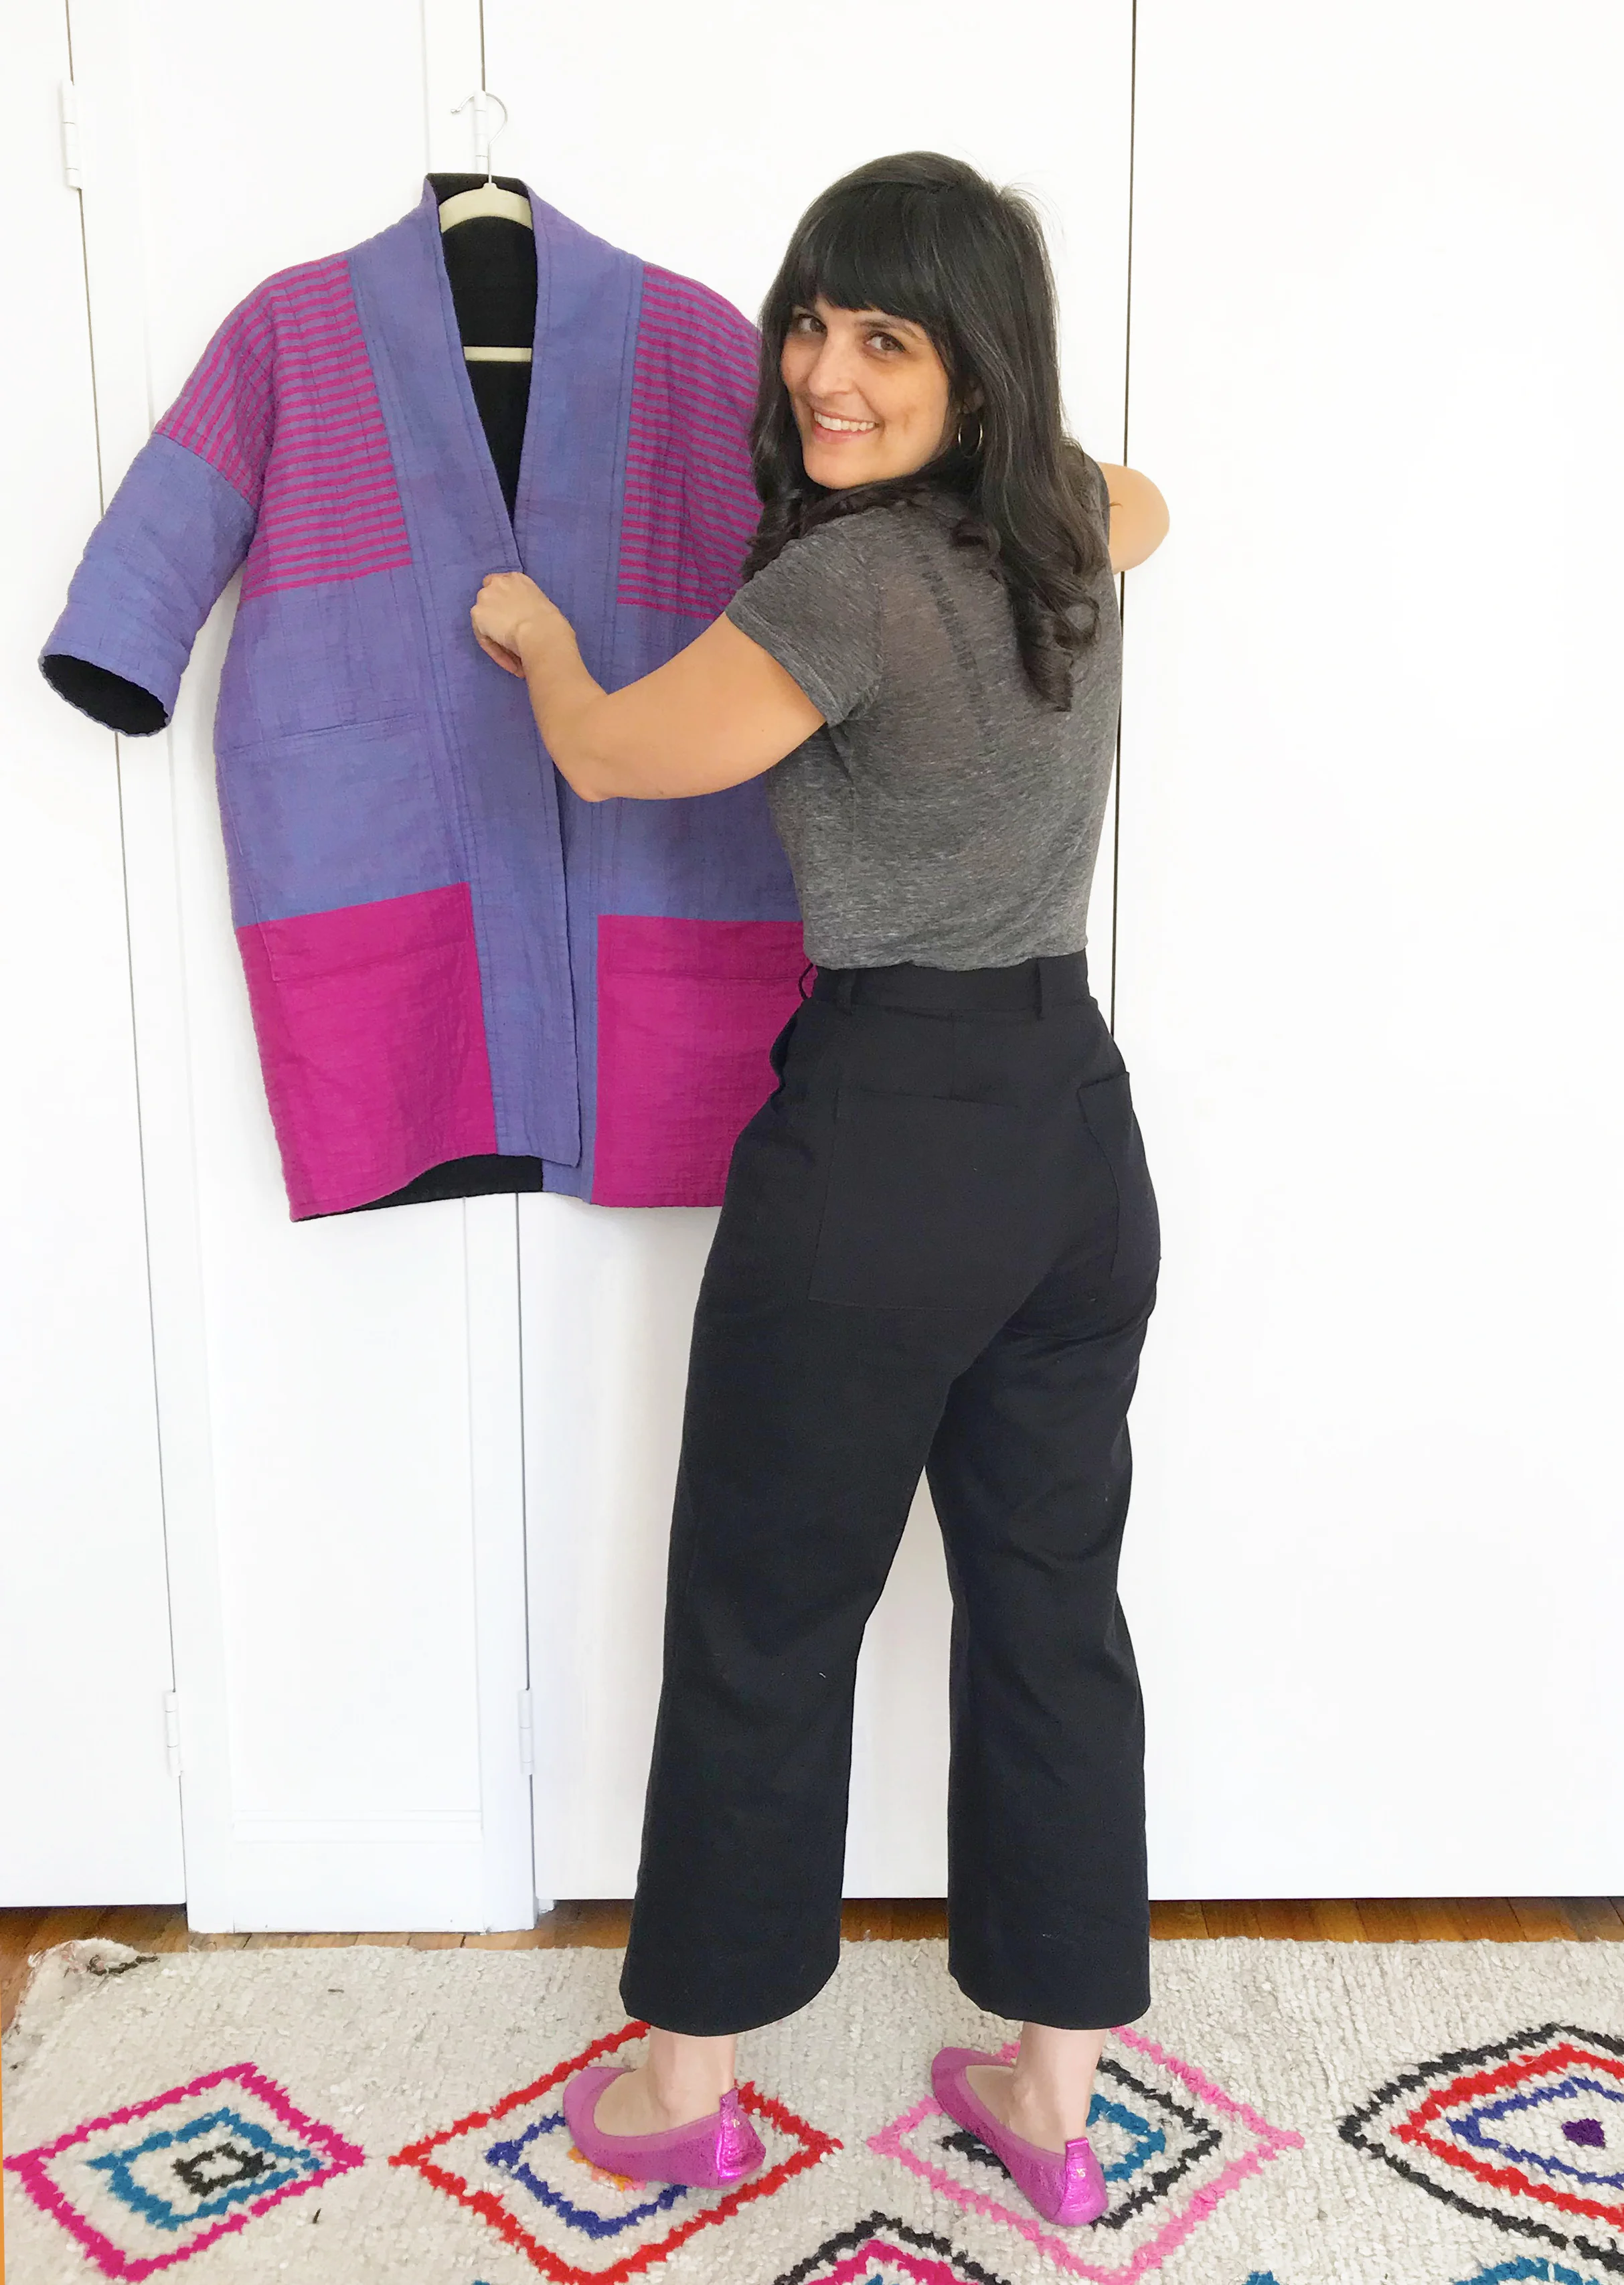
I started wearing this out of the house well before it was complete, that is how much I love this jacket! It is perfect for travel, because you can wear it on the plane, and you get 2 looks in one garment. We are taking a big trip soon, and it’s coming with me!

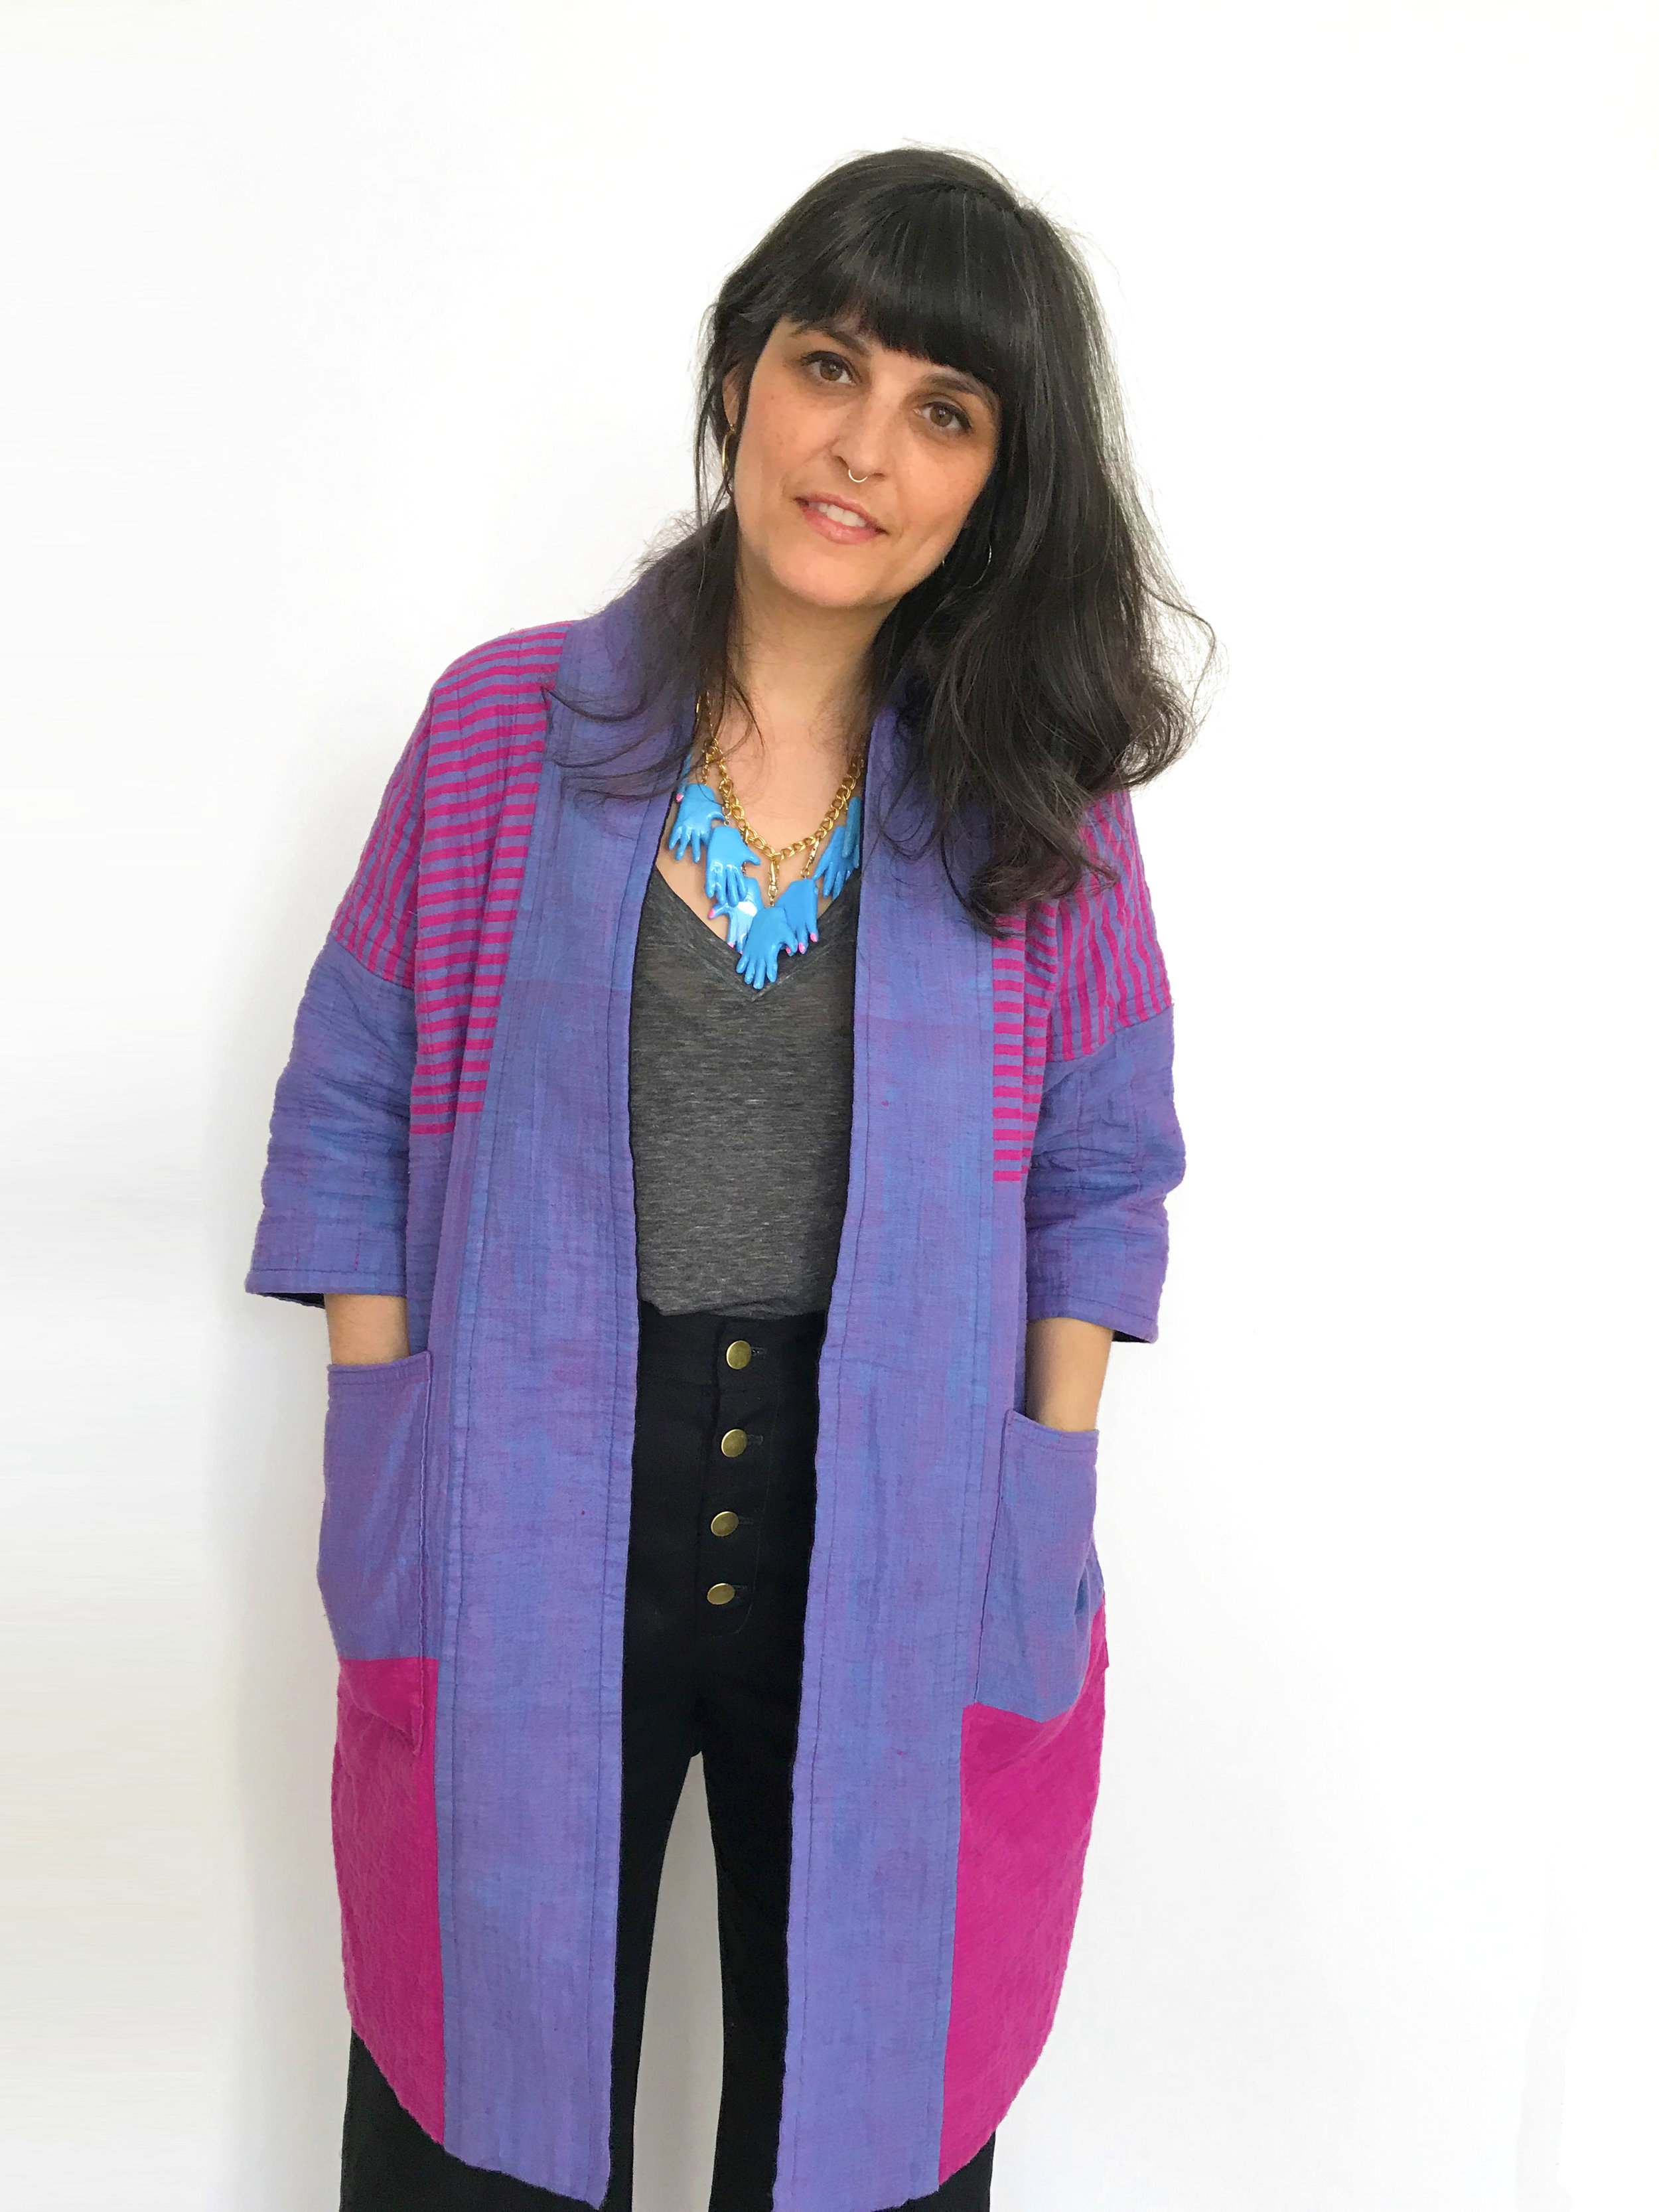
Every time I sew something, I think of what charms I will wear it with. I love that the yarns in this cross woven fabric are blue and pink, the perfect match to classic Buried Diamond hand charms. For these photos, I also wore my first ever pair of True Bias Lander Pants - the hype is real. I can’t wait to sew more of these pants.
Here are my notes on this pattern and the construction of this jacket. Have you ever made a quilted jacket? It’s so much work, but feels like wearing your favorite blanket out of the house.
Pattern Sizing:
I think this pattern runs large. Since I have made it a few times, I grade between XS, S, and M at different points on the pattern. I suggest measuring the flat pattern pieces before choosing your size.
Did it look like the photo/drawing on the pattern envelope once you were done sewing with it? Remarkably, yes!
Were the instructions easy to follow?
Yes, but I did not use them this time around.
Fabric Used:
• Wide striped handloomed cotton is from India (via eBay), cut on the cross grain.
• Kaufman Brussels Washer linen in black. Both fabrics were prewashed cold and line dryed.
• Quilters Dream 100% cotton “Select” batting. I bought Queen size and have enough for another project.
Helpful Tools Used:
• “Spray n Bond” basting adhesive. I really liked working with this. It’s very easy to use, does its job well, and I noticed no odor. It is flexible, but makes the fabric/batting move less freely, so you will want to wash your finished project. I washed my finished jacket on cold/delicate, and dryed it on hot for 15 minutes.
• Walking foot! If you decide to combine quilting and stripe matching, it will reduce your headache considerably. When quilting I used the walking foot guide set at 1.5” to create evenly spaced rows of stitching.
Pattern alterations or any design changes you made:
I used my previously altered pattern pieces, and then shortened sleeve 2" and lengthened jacket 3". I used 1" seam allowances (pattern calls for 3/8"), because when quilting, things can shift around. I did not use interfacing in the collar, and my collar is meant to lay flat, not fold over.
• Assembled a quilt sandwich (fabric/batting/fabric) for each pattern piece, basting with spray glue as I went, and quilted them individually. I did this with about 2" extra around each piece, and then cut down to my pattern pieces with 1" seam allowance.
• My construction techniques were unconventional, mostly to accommodate my vision of total reversibility. There was a lot of hand sewing and bobbin thread switching. All seams are exposed/hidden on the black side, where they are less visible:
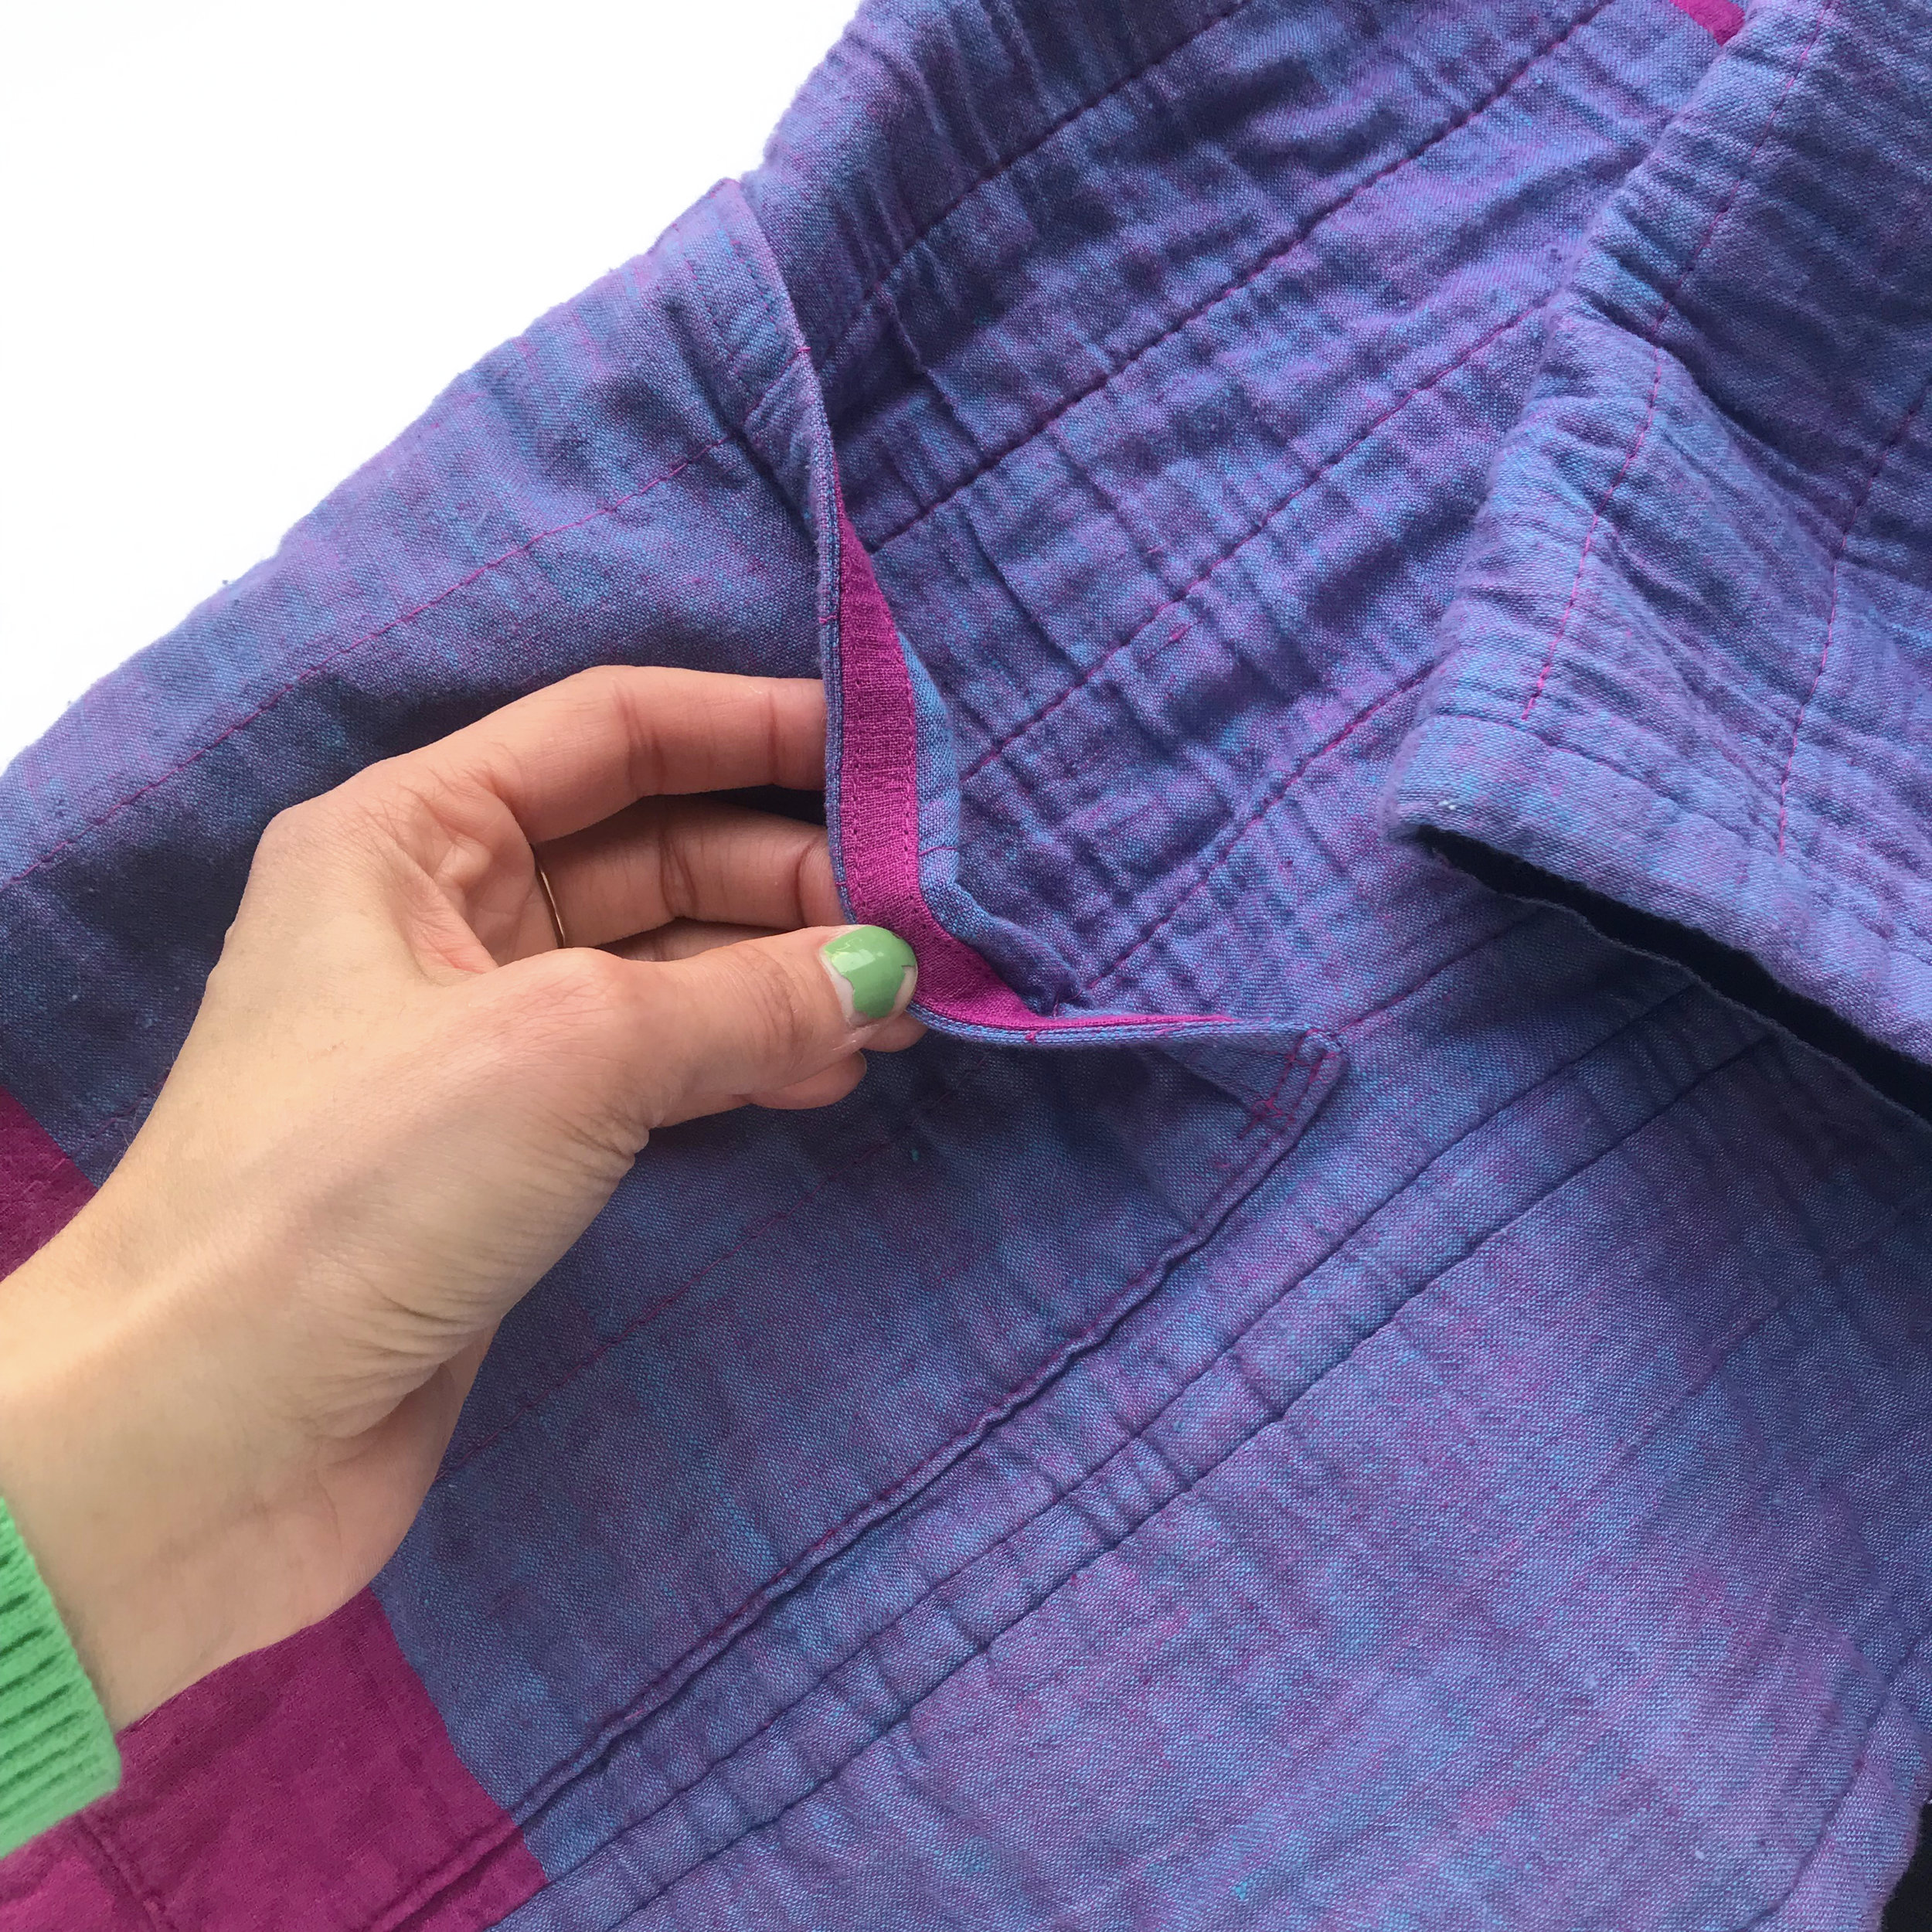
• Shoulder seams were essentially fell seamed with the side seam allowance. (shown in photo)
• Side seams (includes underarm) seams are covered in self fabric bias binding, all hand sewn.
• Sleeve hem & collar feature the best method for reversibility - the batting was almost treated as interfacing, glue/basted to one fabric and trimmed completely out of seam allowances, which allowed it to be encased in the layers with no additional bulk. Quilting keeps the batting in place. This was easy, I just had to remember to accommodate the batting in the turn of the cloth, about 1/16” at the edges.
• For the hem, I made seamed binding that is half pink, half black, and centered that seam on the edge of the hem, and sewed it in place. I tried to photo this, but you can't even tell!
I didn't want the bulk of batting in the pockets, and now I kind of regret it. Pockets are fully underlined in heavy muslin. To stabilize pockets, I covered twill tape in self fabric, and edge stitched it along the pocket's top edge. This works pretty well, but I wish there was batting in there too, for strength.
Would you sew it again? Would you recommend it to others?
I will definitely make this pattern again (but not quilted). If you make this out of the envelope, it's a pretty easy afternoon project. Yes, I recommend the pattern.