MY QUILTED DREAM COAT: Part 1, Piecing
I sewed this quilted coat in May, which in 2020 time, is 57 months ago. Just kidding, but it was a very different time. Looking through photos from May and June was sort of weird…it felt far away. I was baking a lot of bread, just beginning to attend Black Lives Matter protests here in Brooklyn, and snapping photos of blooming rose hips on my daily walks. We were very strict with our lockdown, which lead to me abandoning what I like to call Hard Pants. I leaned into nightgowns for daytime during Covid Quar, so it was a natural evolution to want a quilt on my body, too. Bedding for the Bod!
Anyway. I got a bee in my bonnet for a quilted jacket, and immediately began pawing through my boxes and drawers of scraps from the last few years of sewing projects. All ingredients for this recipe came from my stash - nothing new was purchased to make this garment.
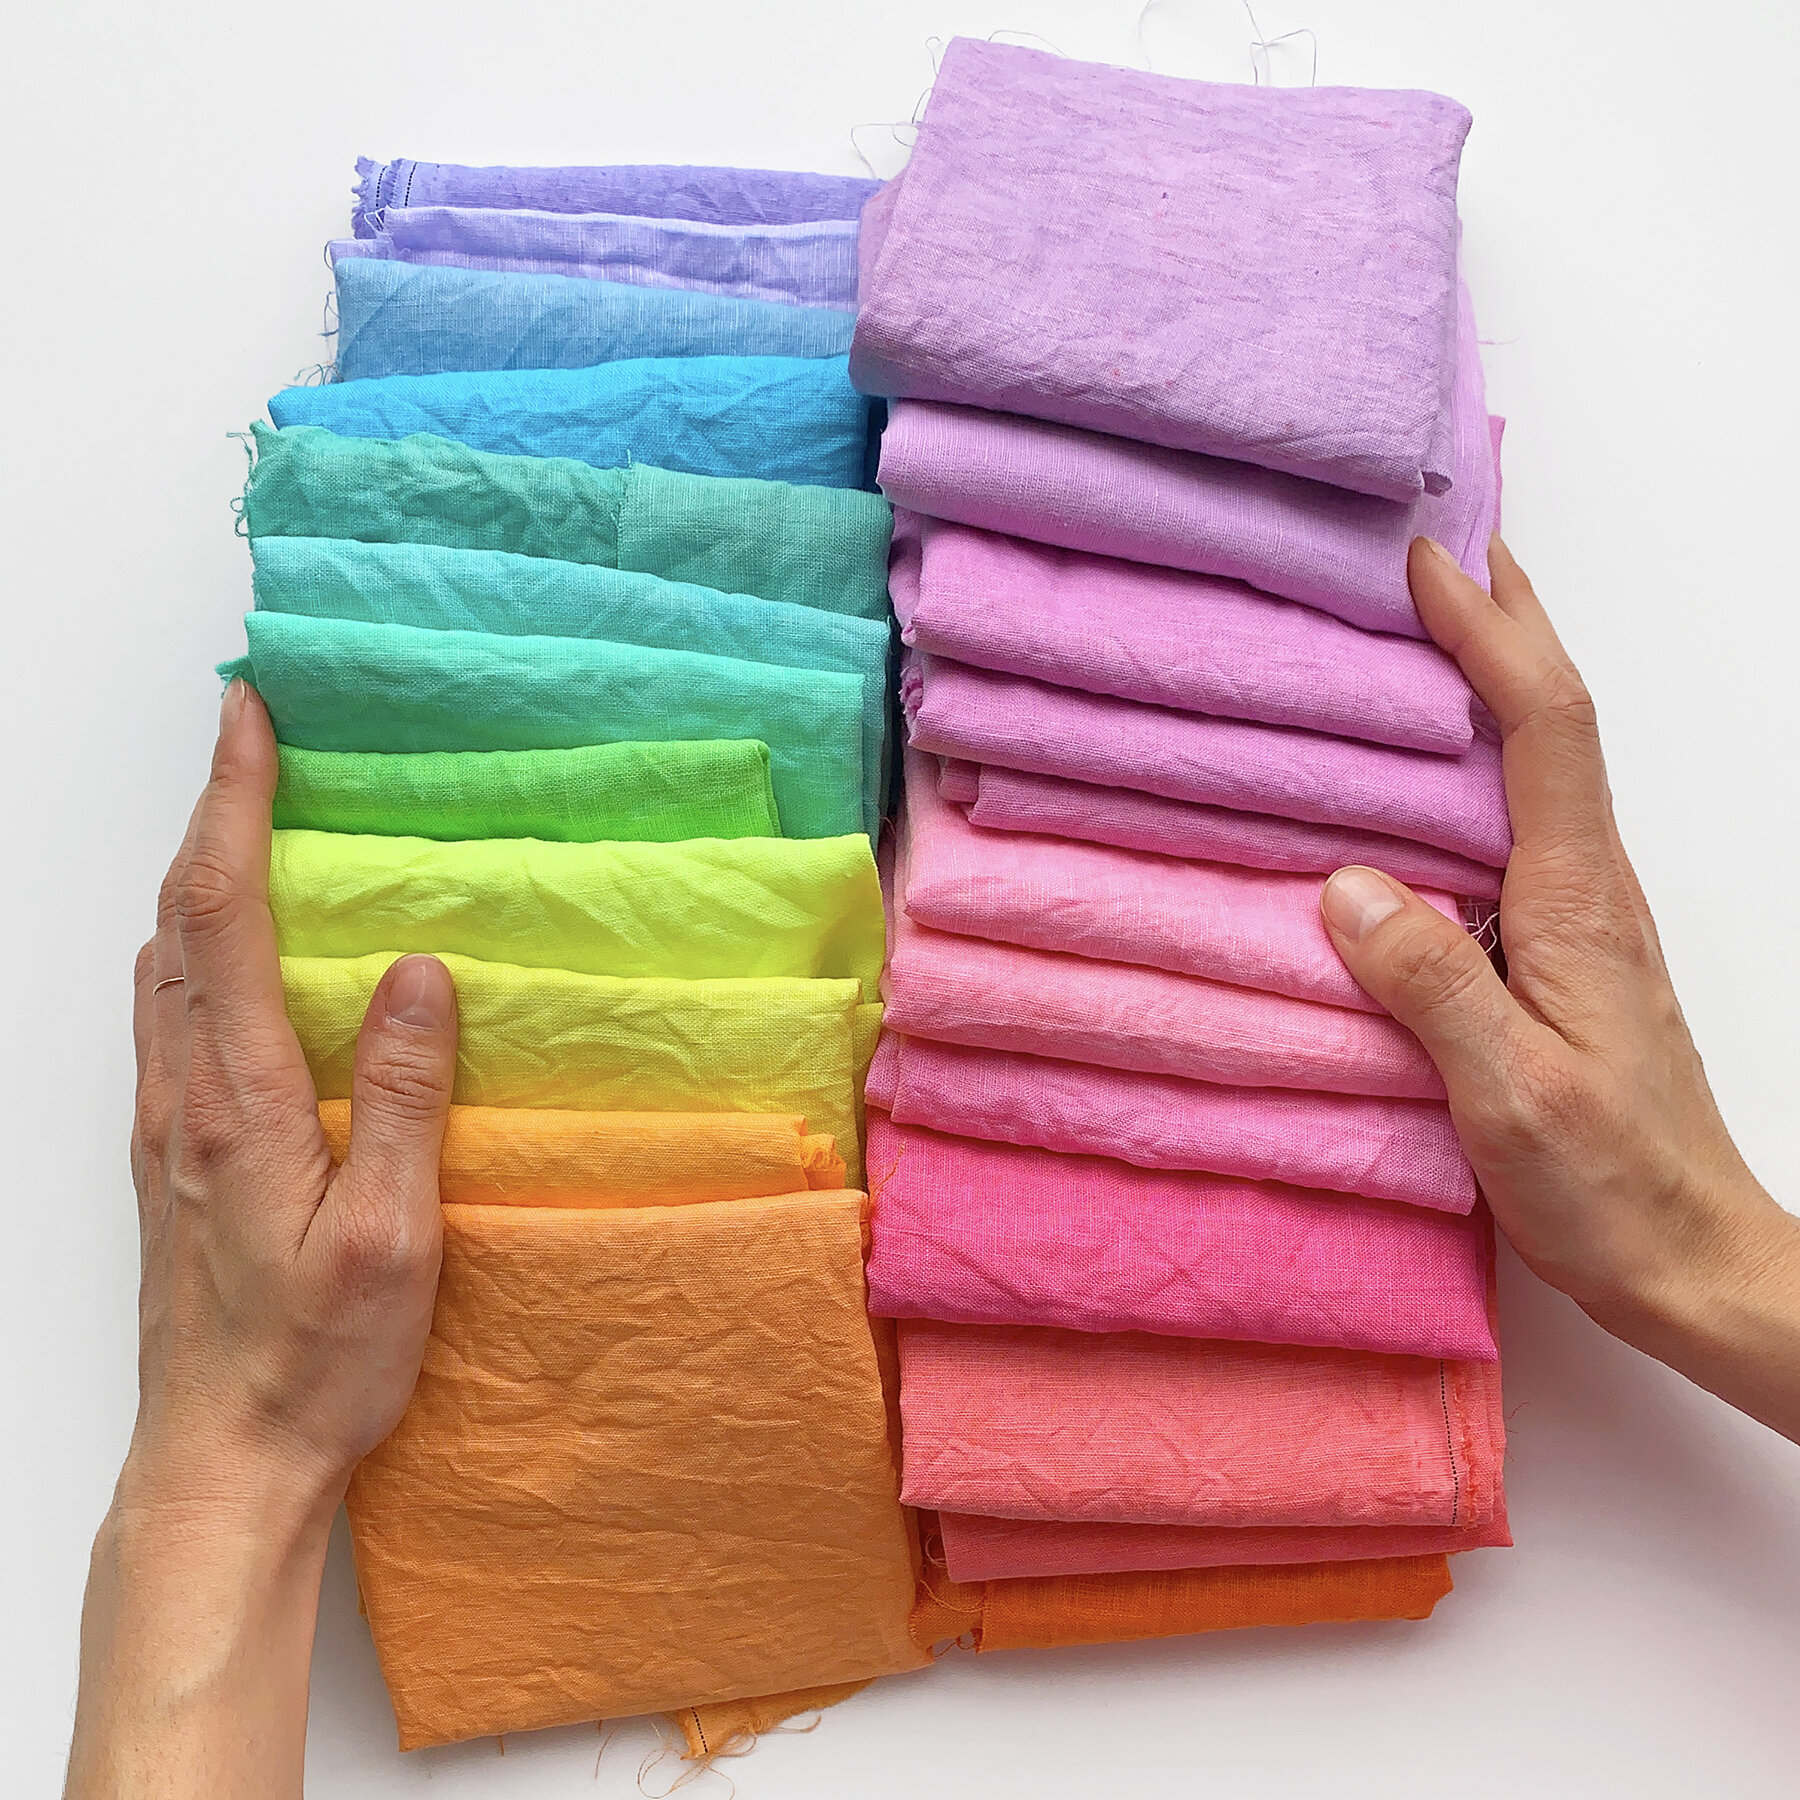
When I made a sponsored post in partnership with Rit Dye, focused on mixing custom colors, I dyed many shades of hankerchief weight linen. (If you’re interested in learning more about dyeing, check out that post!) I made each color swatch roughly the size of a fat quarter, because in the back of my mind, I thought they could be used for a patchwork project of some kind. Now was their time to shine!

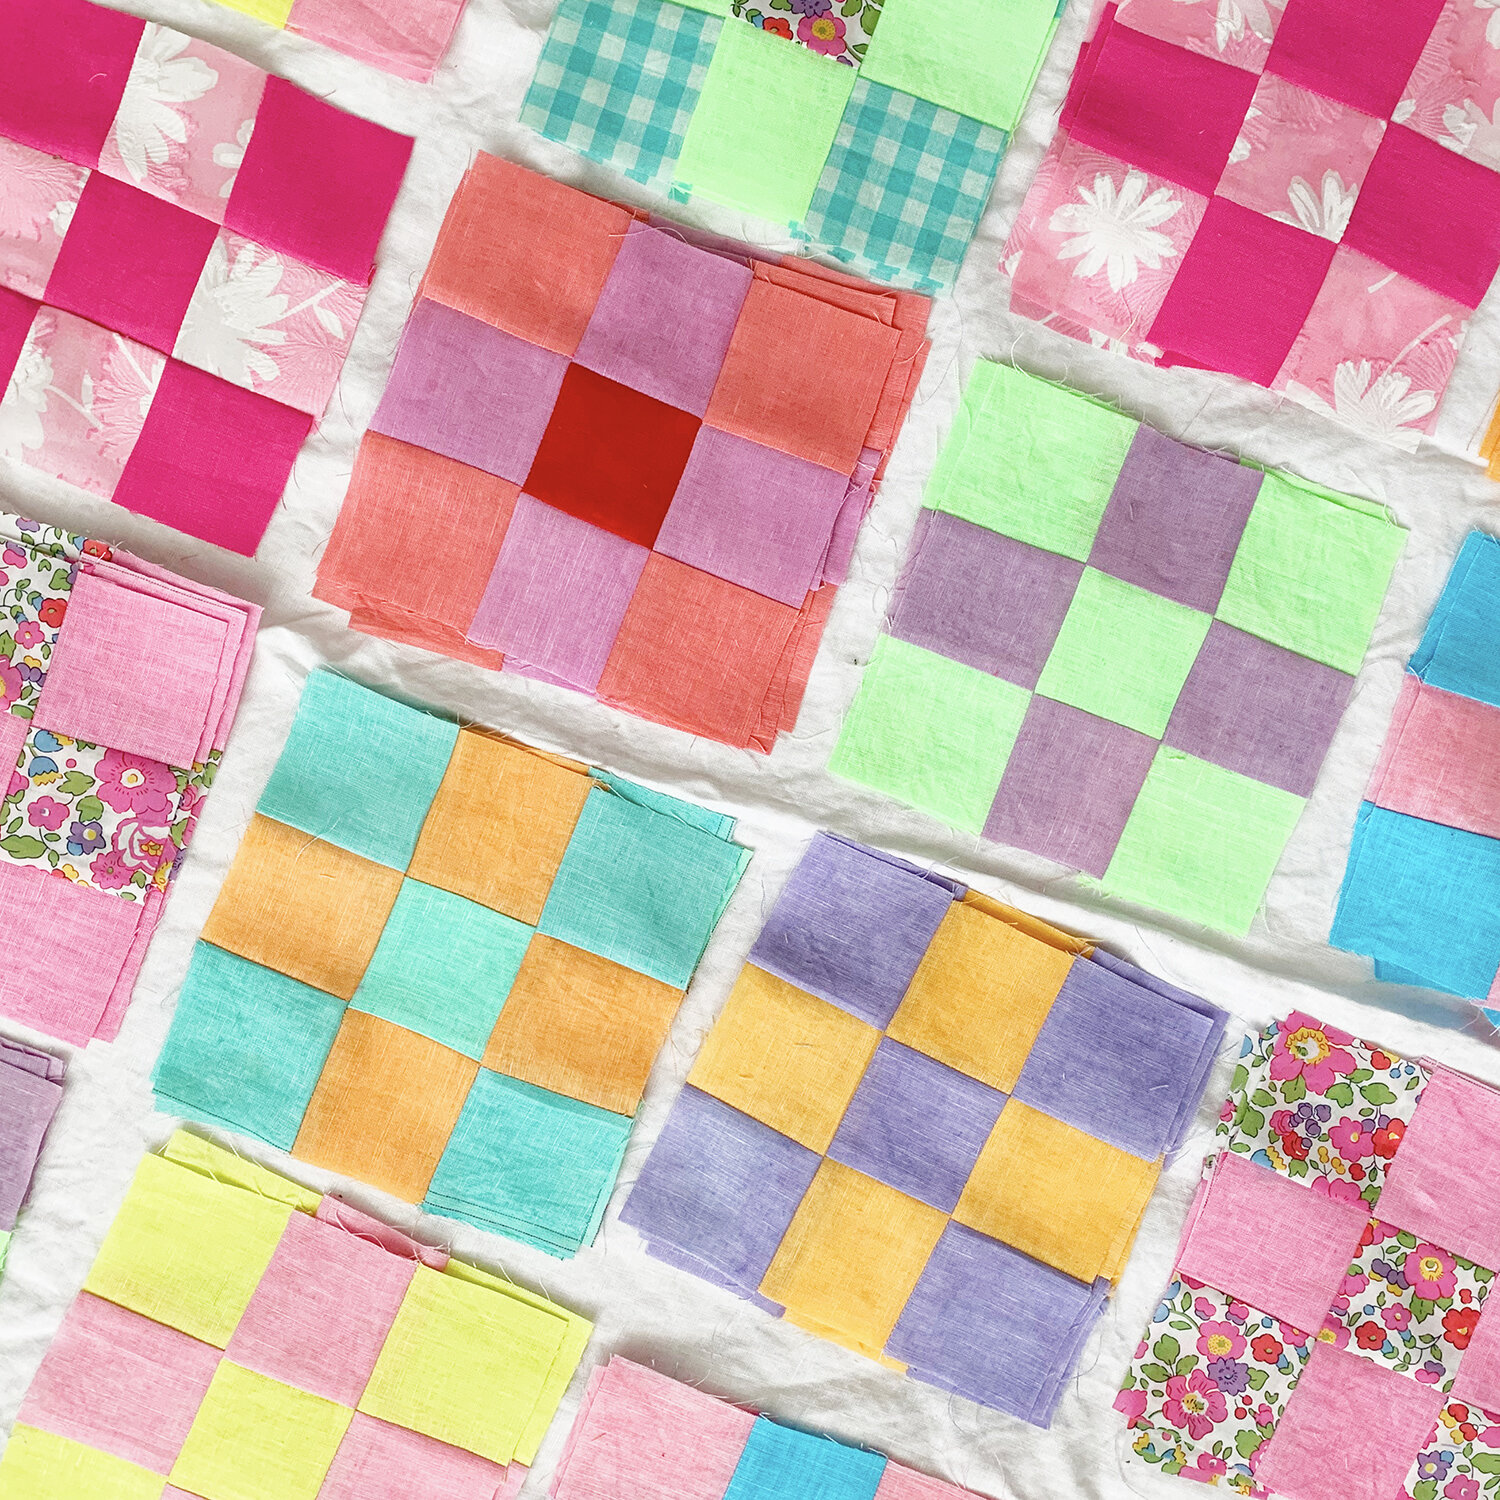
My first instinct was a simple nine patch square - I love the checkerboard, and it is easy to construct. I worked in a quilting store… 16 years ago (yikes. Time is a flat circle) and I sewed a bunch of quilts that year. I’m by no means an expert but I know what to do. I decided to employ strip quilting - cutting long strips with my rotary cutter and piecing them back together to make blocks.
I wanted my finished block size to be 6”, and all seam allowances are 1/4”. This was my process from left to right:
Cut strips of alternating colors. Strips are 2.5” wide, so will be 2” after sewing.
Sew 3 alternating strips together. You will need some that are blue/pink/blue, and some that are pink/blue/pink (or whatever your colors are) - this allows for a checkerboard pattern.
Cut those 3 piece strips into 2.5” wide pieces. Sew them back together to created the checkerboard squares.

I got myself set up to make the squares in an assembly line and it went very quickly. I was not sure how many squares I would need (you need more than you might think) so I focused on making them for a couple days. It is so satisfying to stack up your freshly pressed squares! As I went, I began adding in scraps of printed fabric for some texture.

As soon as I introduced this black grounded daisy floral, things really started to pop! That fabric is an Anna Sui print that I bought at Mood and sewed into one of my favorite, most worn blouses. I can tell you where every fabric in this coat came from and what garment I sewed it into. Sewing a quilted project from your own remnants and scraps makes it feel so extra special.

I was careful to nest all my seam allowances, with allowances pressed away from the lighter color fabric in each square when possible. This also helps your finished quilt to lay flat - no lumpy bumps. When I incorporated the solid white squares, all seam allowances were pressed away from the white squares, which prevents them from showing through on your finished quilt.

I always knew I’d be piecing my patchwork squares with solid white. My favorite vintage quilts always have a white or pale color ground, and I love that softness. At the time of sewing this, you really couldn’t buy anything easily - stores were closed (and no one knew when they would re-open), and online shopping was only possible with lengthy shipping delays. So everything I used came from stash! Because of this, the solid white fabric is lightweight linen - I almost always have a bolt of white linen around, because I love sewing with it, and dyeing it custom colors. In an ideal world, I would have used a quilting cotton or cotton lawn, because the linen unravels and is a bit wiggly, but it got the job done just fine.
Ok, up next will be quilting, binding, and some print placement! Are you working on a quilted jacket? I wanna hear about it! XO, Martha
If you have found this series or this post helpful, and especially if you are going to make your own version of my quilted jacket design, please consider making a “tip” to my Kofi account. Thank you so much, I am so thankful for your support.
*You can read Part 2 of this series here.