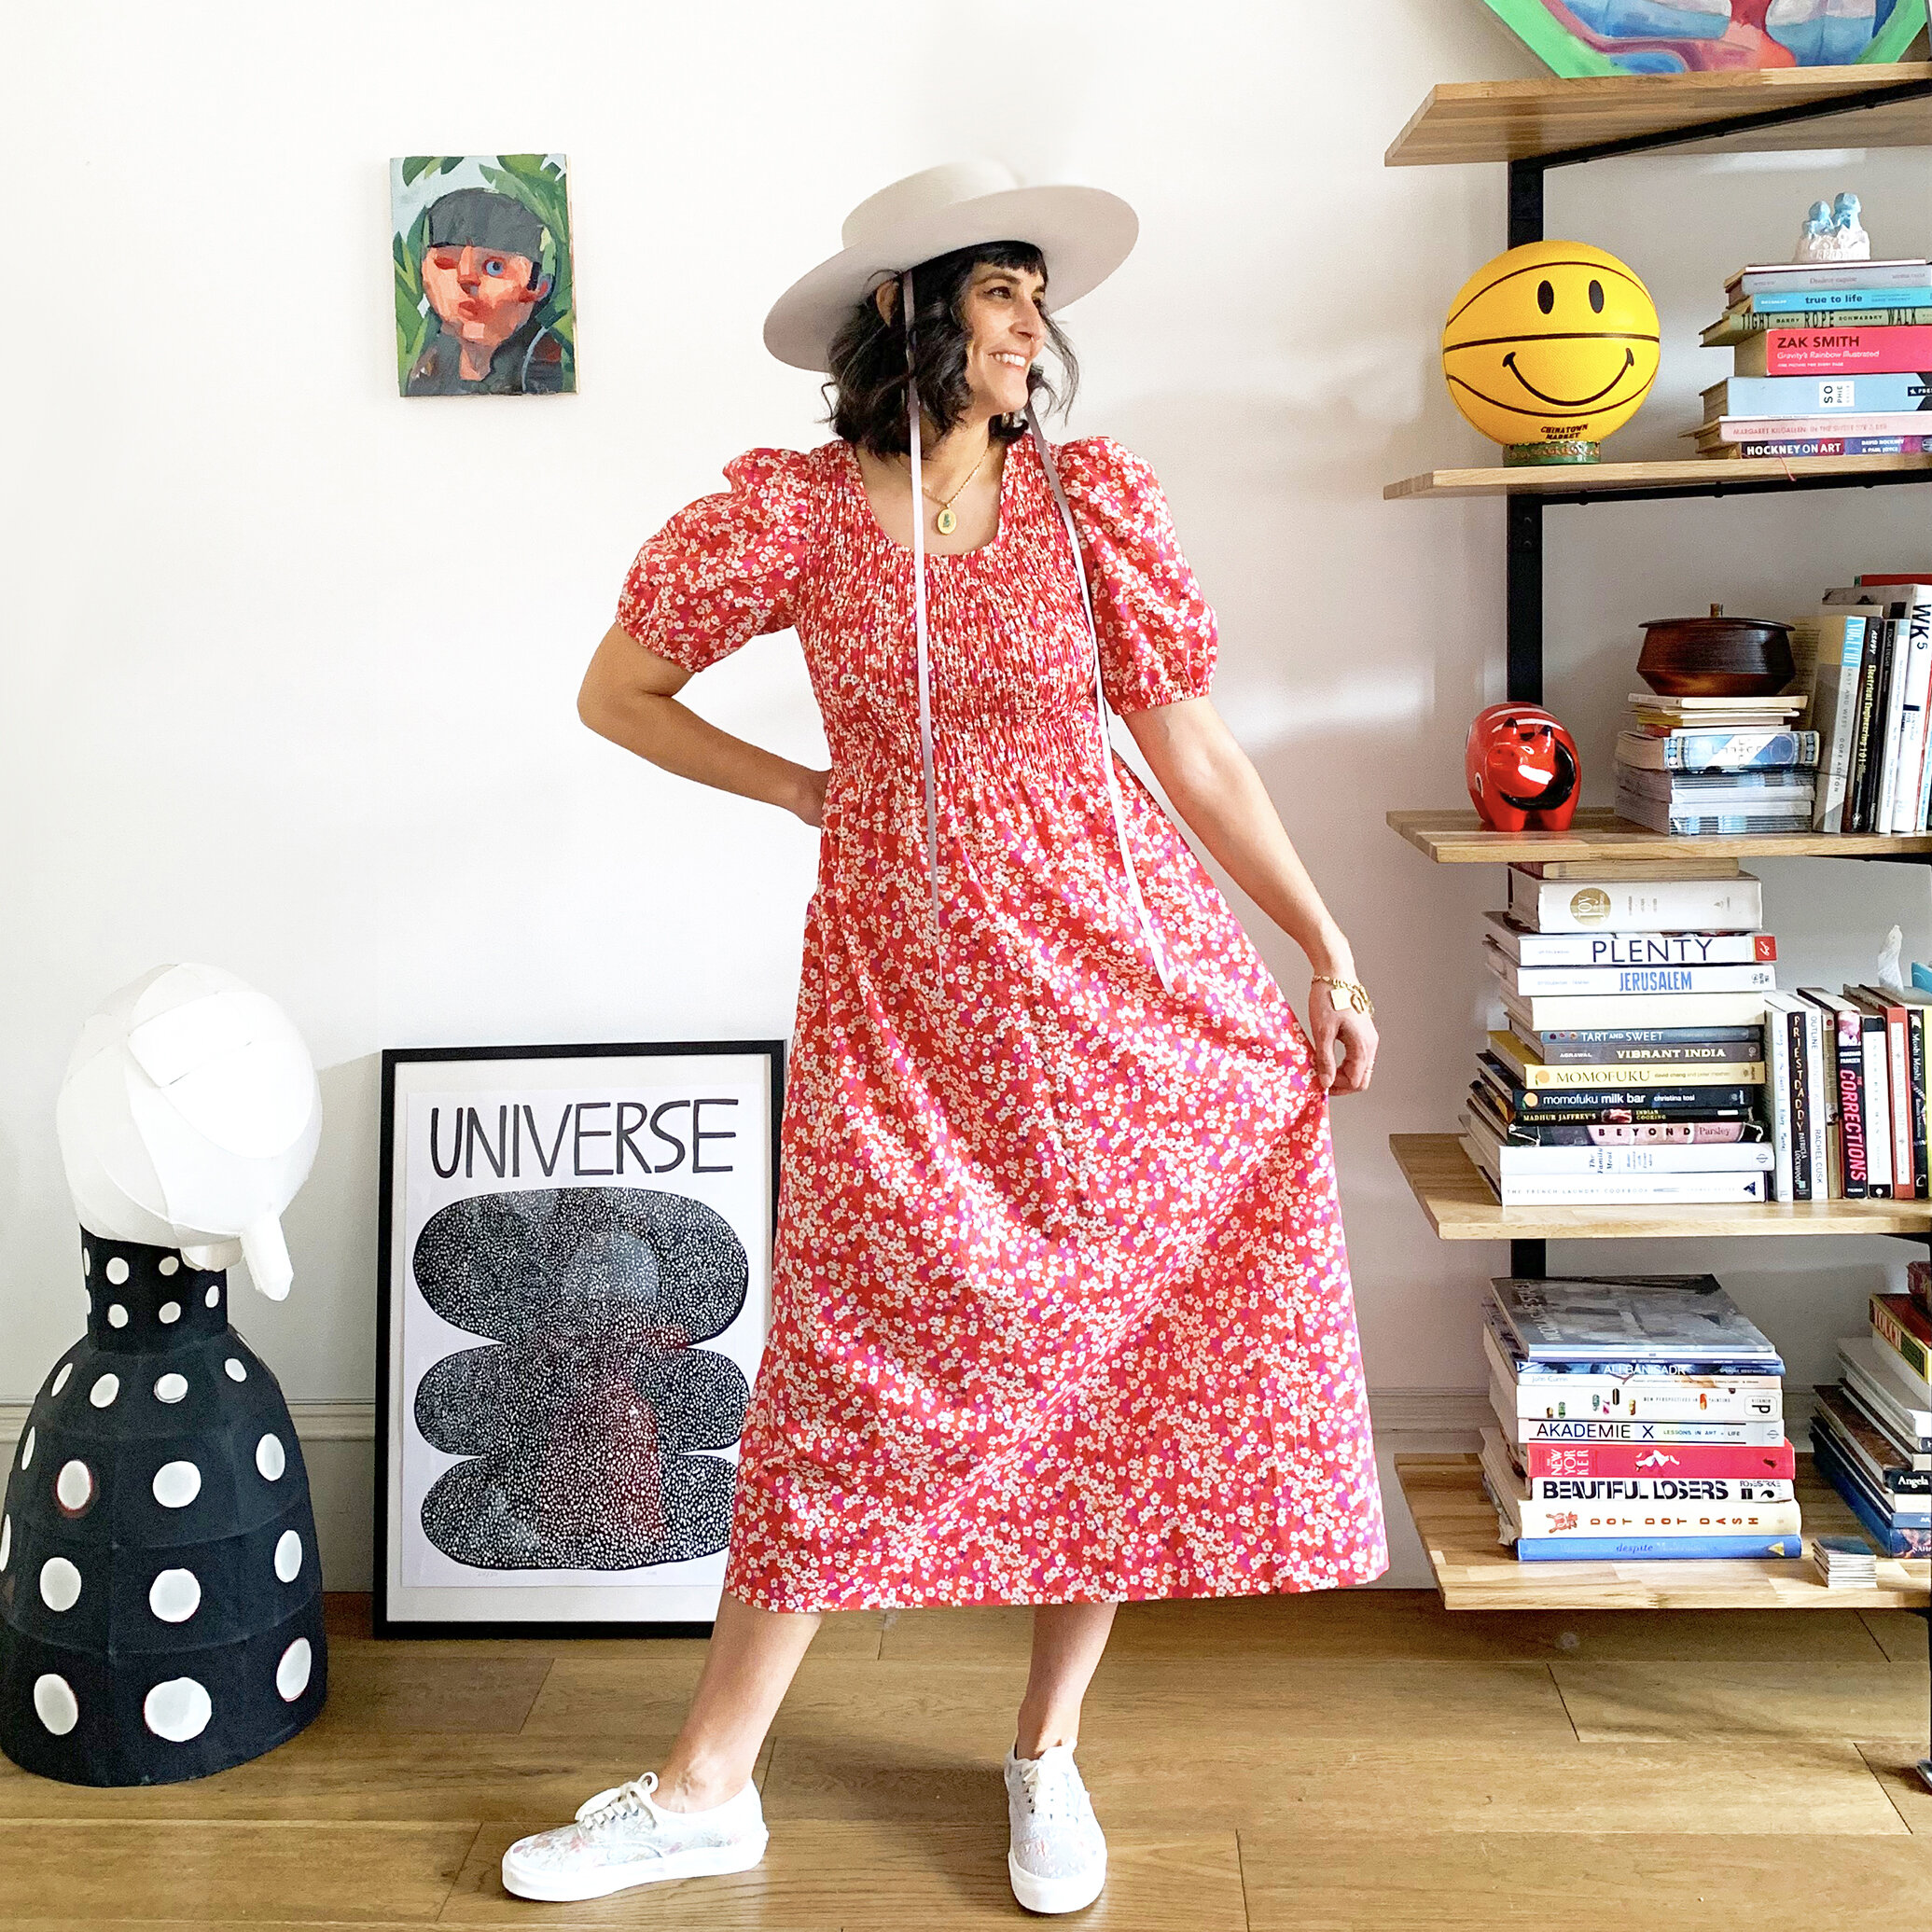
SO NICE I SEWED IT TWICE - Another Shirred Dress from Vintage Butterick 6355, Featuring a Scooped Back Neckline

Why is it that if I sew a muslin, I lose interest in then sewing the pattern in my good fabric? But if I just dive in a make the garment, I will complete the project and immediately want to sew it again? Kind of like when you finish reading a novel, but you aren’t ready to say goodbye to the characters? It’s my way to keep it going, I guess.
I have to give this pattern credit: I have felt so stuck for months now, but as my last version of this dress came together, flat fabric transforming into a three dimensional garment, things began to shift. I felt excited to sew, ideas were rushing through my mind faster than I could keep up with. Even the boring shirring flew by. So thank you to this pattern, which I reviewed in my last blog post, and which, tbqh, I didn’t (don’t) totally recommend. Sometimes you cannot predict your favorites!
I made some obvious modifications to the pattern this time around, as well as some subtle ones. My fabric this time is Liberty Tana cotton lawn (a birthday gift from my mom, almost exactly a year ago! Bday coming up!). While I used cotton lawn for my last version, the Storrs lawn is just slightly heavier - you really cannot beat the light weight, silky feel of Tana! I used the same brand of elastic and thread, however, my test shirring swatch came out a bit different (that’s why you must always swatch!).
So, I removed width from the entire dress, which is cut as one piece. I trimmed off 1/2” from the bust at the side seams (front and back), curving to remove 1” at the waist, and continuing to remove that 1” all the way down to the hem. Because I did this to front and back pieces, this removed 2” total from the bust circumference, and 4” total from the circumference from the waist down. It’s a very forgiving pattern - that’s one of the delights of shirring - but this helped this version fit better. The other version fits fine! It’s just different fabric.

I lowered the front neckline as per my last version, and decided I’d like a puffy short sleeve. For that, I pulled out another vintage pattern, Simplicity 5916, which I made as my 2020 birthday dress. The first set of sleeves I sewed up…. just didn’t feel quite right (I’ll be posting what I did with them soon). So I moved on to a different view from the same pattern, and got these perfect puffs.

The whole time I was sewing this dress, I was thinking about when I would want to wear it. The black version with the long bell sleeves works well for cooler months - it can be worn alone with sandals, or layered up with tights and boots. But this cheerful bright print and short sleeved version demanded more sunshine. So it seemed a shame to have such a high back neckline! I wanted to scoop it out.
I often make my own bias binding when using a special fabric, like a print, or anything light weight. But for this dress, I opted for store bought (Wrights) because it has such structure, and I find it reliable for holding the shape of a cut out like this. Oh! and I didn’t mention: I got a serger since my last version. So all my seams are finished with a serger on this dress, and it is nice and clean, and all the elastics feel quite secure!
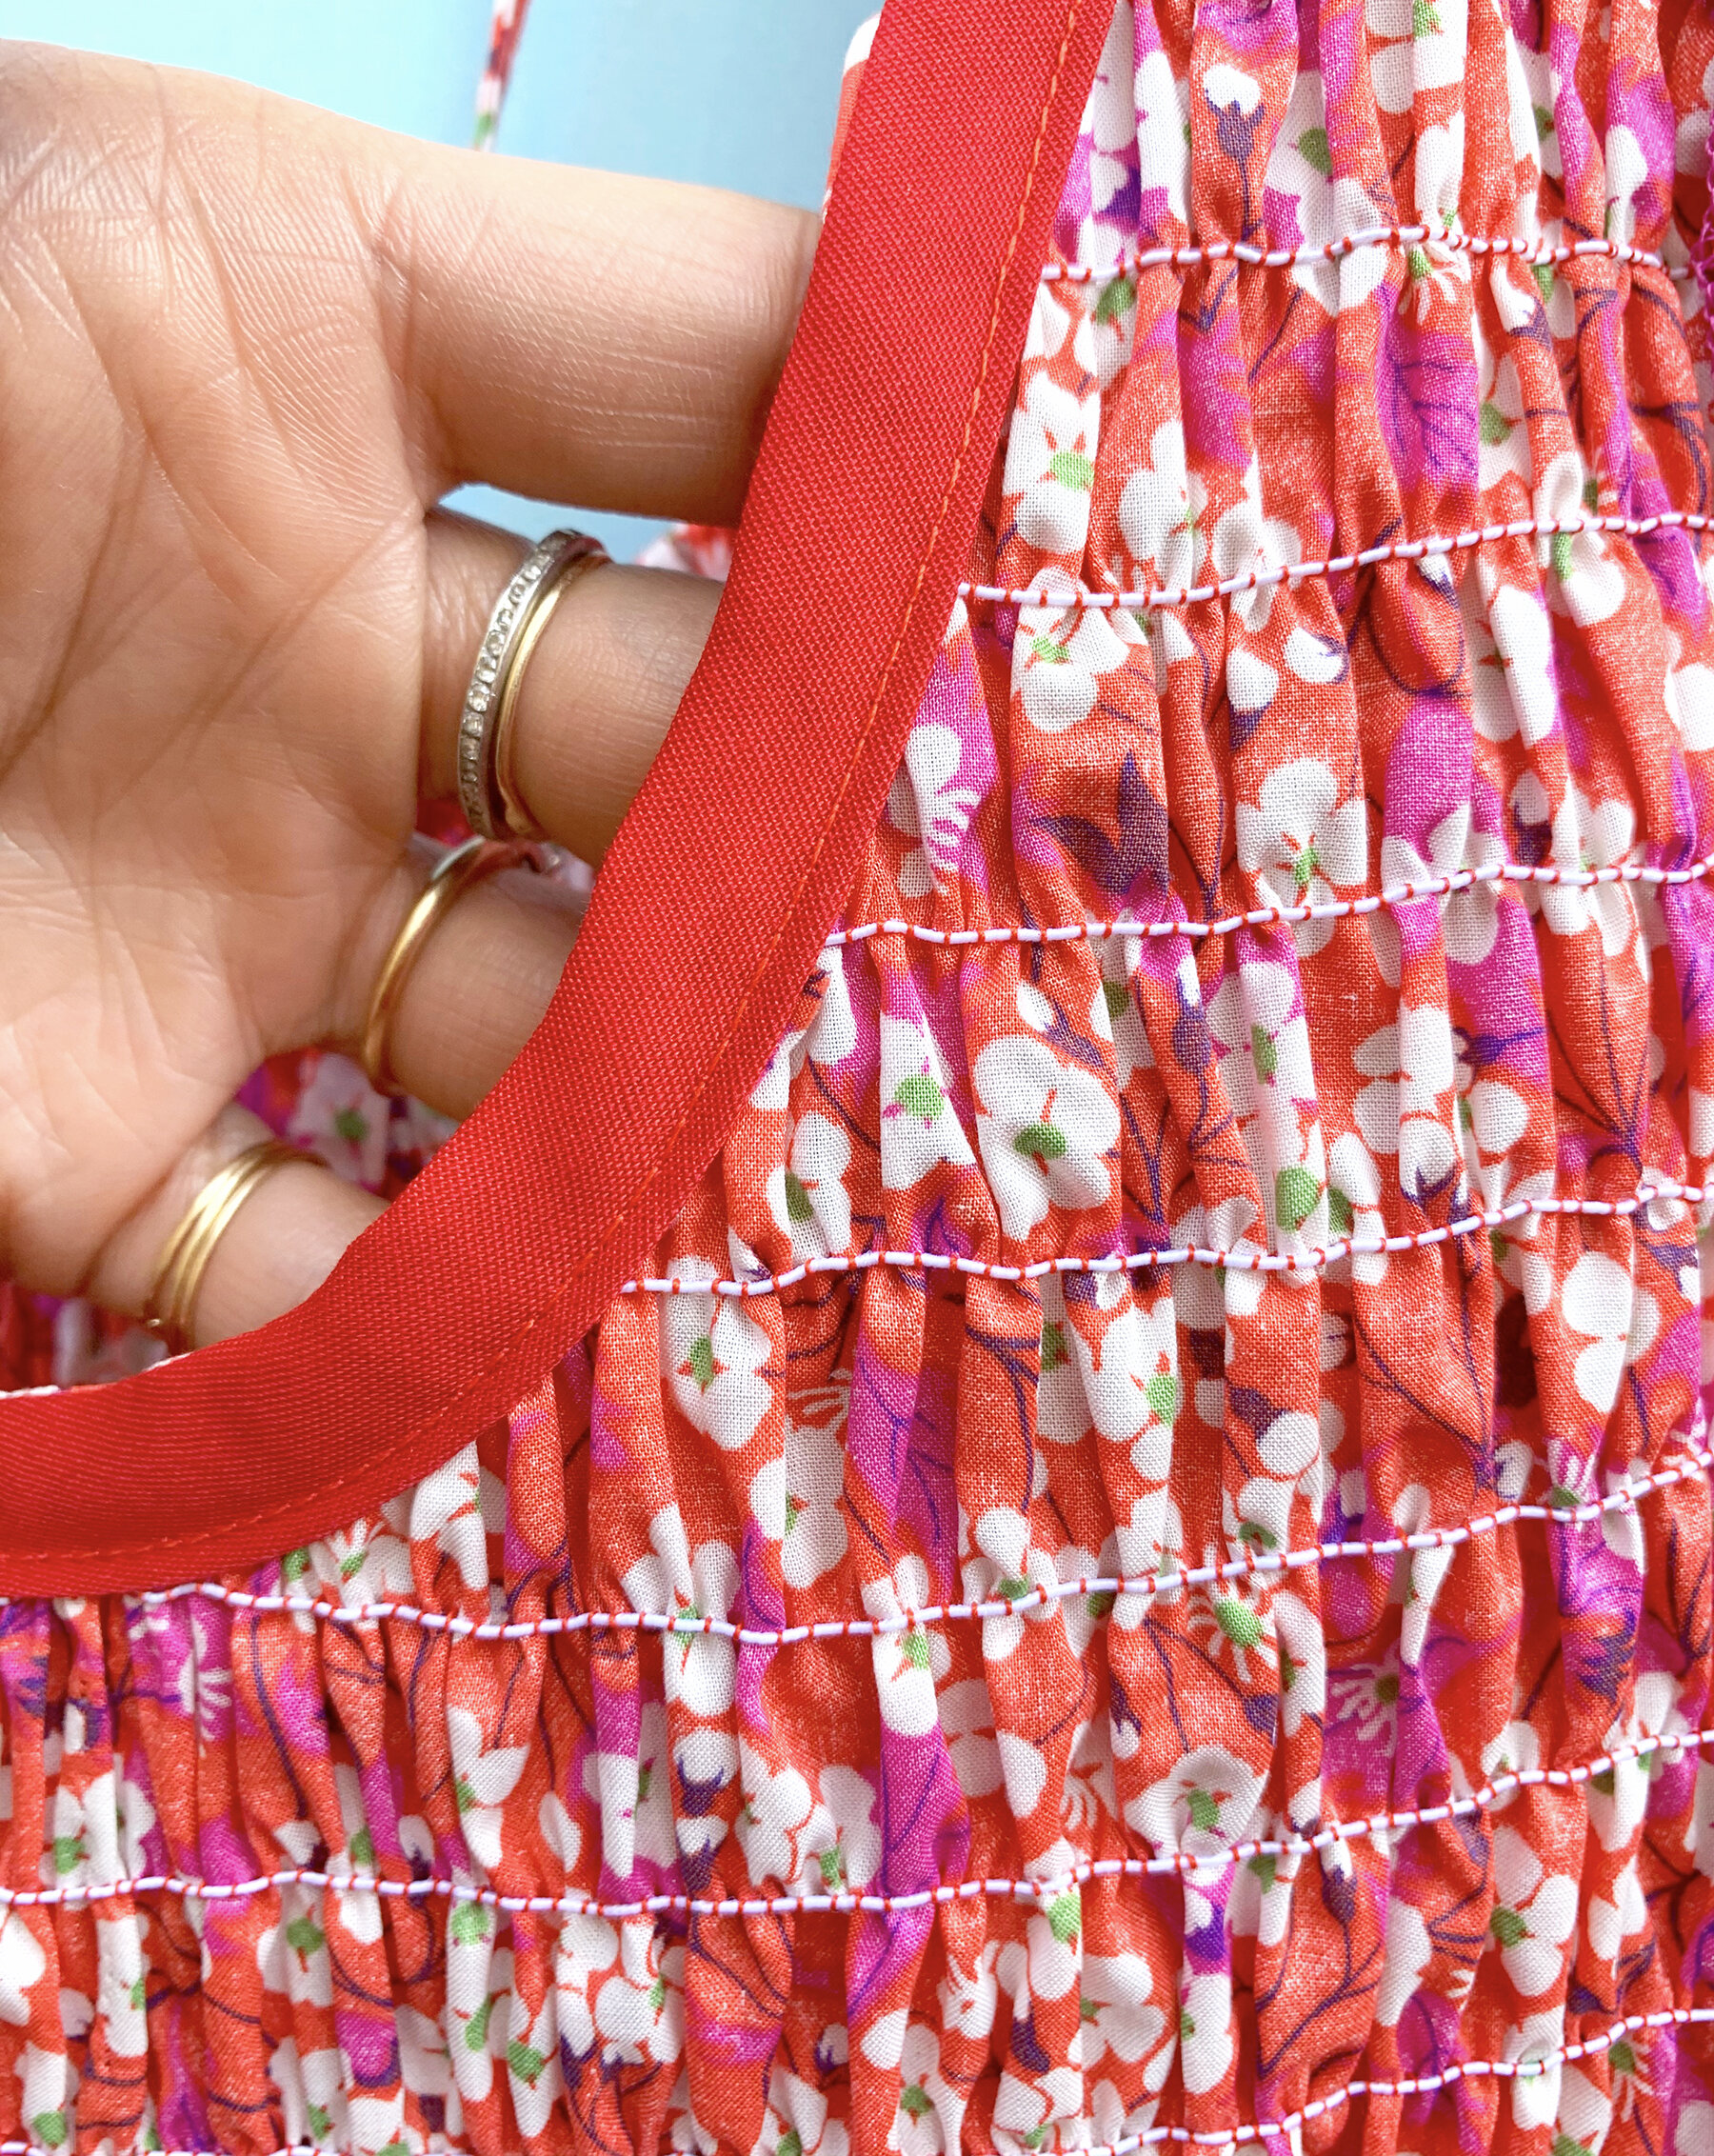
There is absolutely no reason why scooping out the back wouldn’t work - the dress is pretty structurally sound. Whenever I make this kind of modification on non-shirred dresses, I tend to add a little tie at the back of the neck, to help keep everything in place (no dress slipping off my shoulders) and also because it’s a cute little detail. So I knew I’d be adding a skinny little tie. I sandwiched it between my fabric and the bias binding, so it has a clean finish. (Here is my tutorial for making them!)
That being said, I knew not to go too deep, because it’s just flimsy lawn and skinny little elastics! I was really nervous to clip into so many elastic threads!! I carefully marked out where I planned to cut with chalk, and then sewed a row of what was effectively stay stitching. Then I sewed down my bias binding (used instead of facing), and only then did I cut out the back. Then, when sewing down the bias tape on the inside of the garment, there was another row of stitching. So I think it’s all pretty safe & secure.

This was a quick and easy sew, and the kind of dress you can just throw on and walk out the door and feel both comfortable and put together. I’m ready for a break from shirring, but it is so comfortable to wear! and while it is monotonous to sew all those rows, once that part is out of the way, the garments always come together very quickly.

I’ve gotten a lot of requests for a shirring tutorial, so it’s been added to my to-do list. But just know I am going to tell you that you have to make swatches! And if you haven’t yet, check my last post for more information on this specific pattern, and my suggestion for a more beginner friendly shirred dress project. XO, Martha