SILK STUFFED CAT PURSE - BUTTERICK 4562 BROUGHT TO LIFE
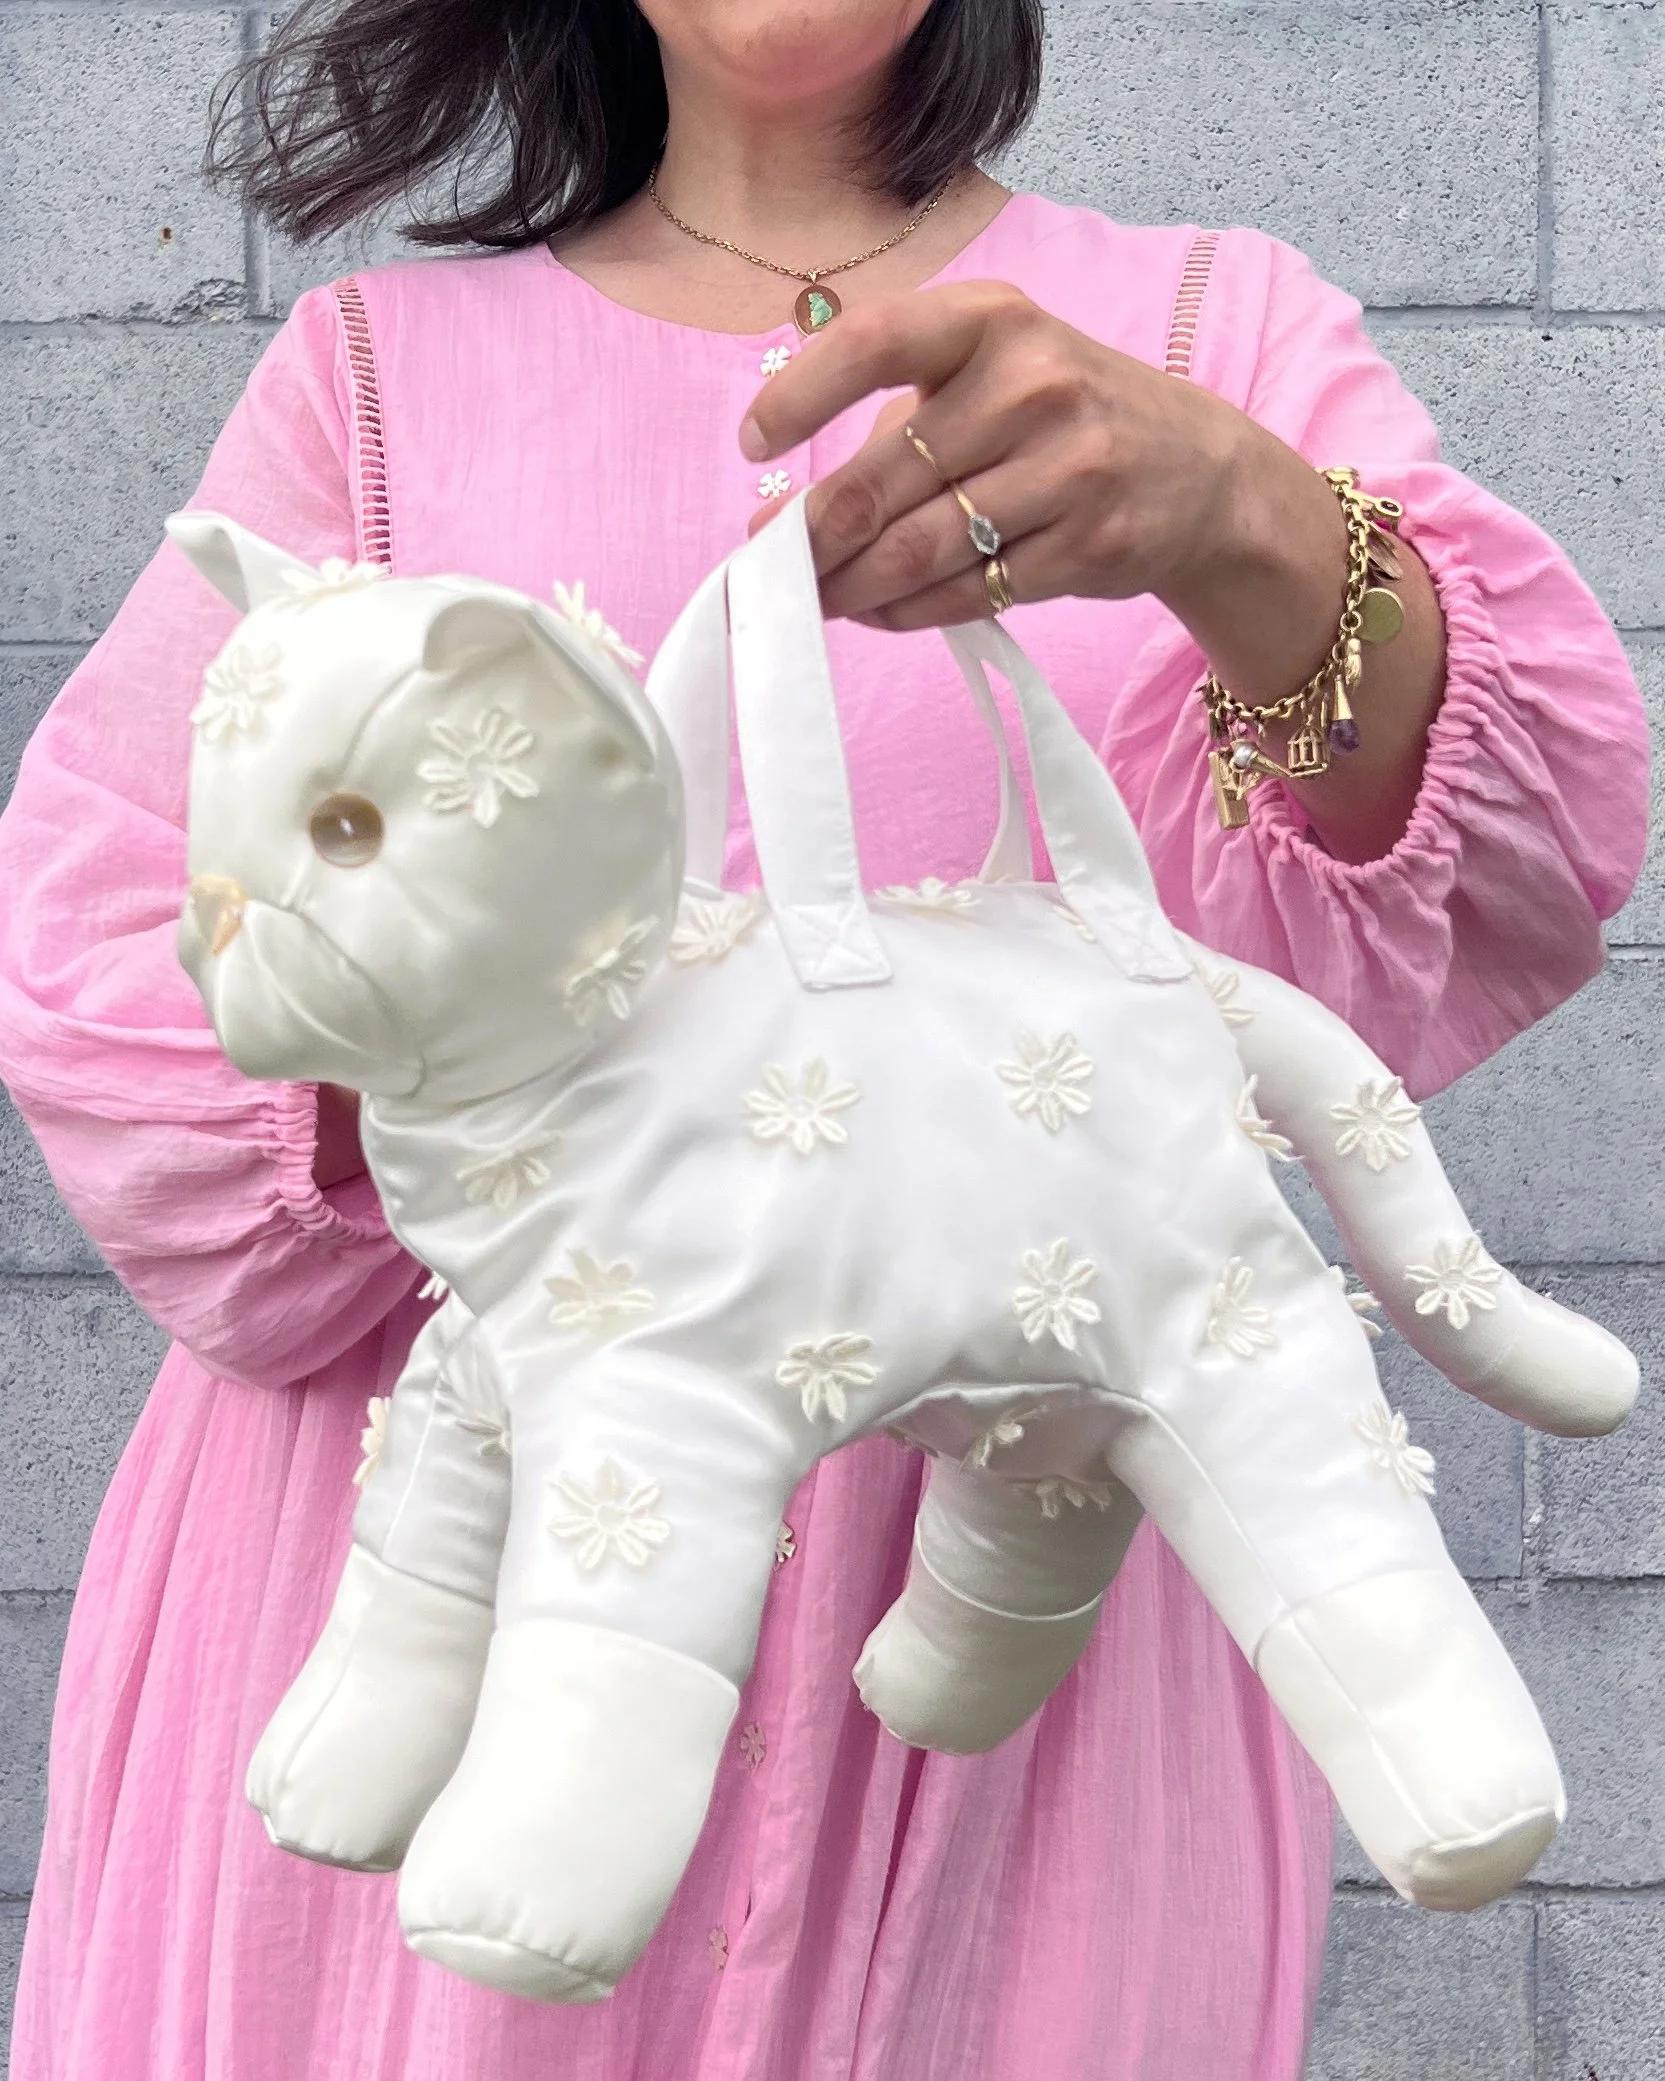
Stuffed cat shaped purse, sewn out of silk charmeuse.
If you prefer videos, I have also filmed a video about making this project! You can watch it here.
PATTERN DESCRIPTION:
"Lined dog or cat bag with handles and optional adjustable strap." One size only.
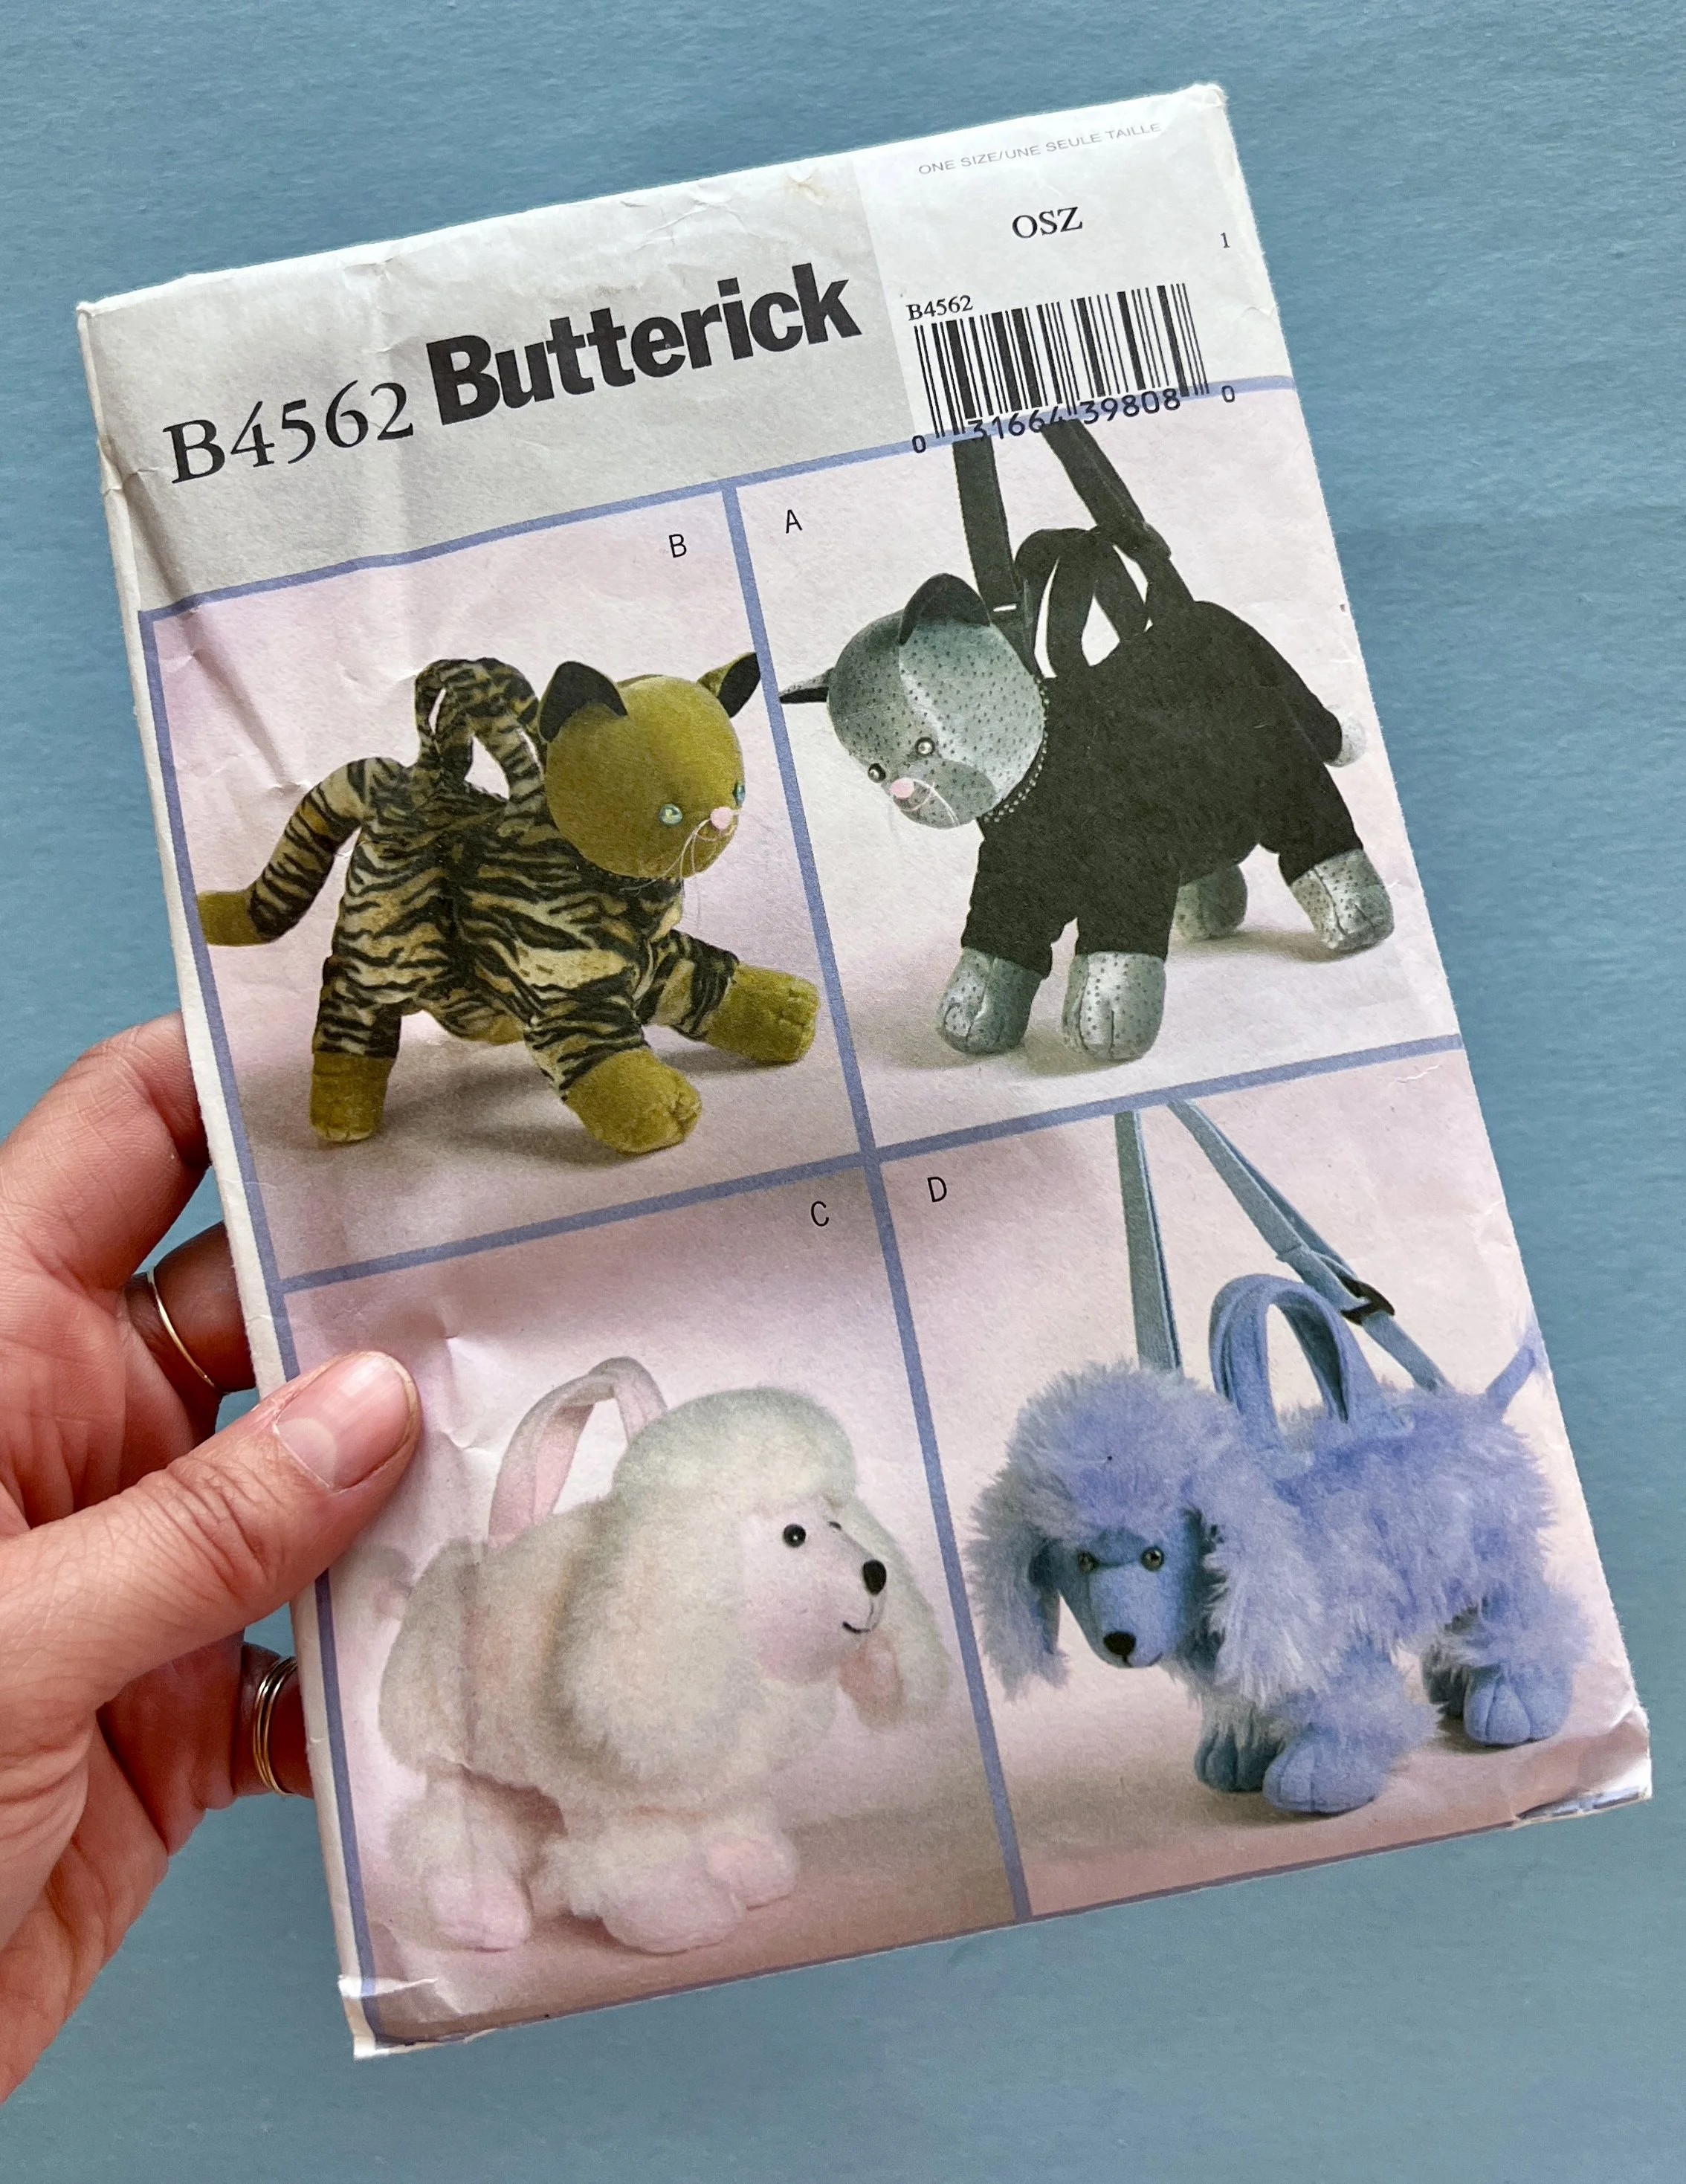
Butterick 4562 was published in 2005.
INSTRUCTIONS:
I would say this is an Easy project for an Intermediate/Advanced sewer. The instructions are straightforward, typical Big 4 style. It assumes you know how to read a pattern and follow the markings alongside the instructions. There are good tips included for how to successfully stuff your plushie.

Pattern pieces are small, often curved, and have 1/4” seam allowances.
LIKES & DISLIKES:
The way the tissue is set up is awesome: you are told the dimension of the piece of fabric required, and the pieces are all on a piece of tissue that same dimension, all grainlines lined up. You pin the tissue to your fabric and then cut the tissue and fabric at the same time.
You must keep your pieces organized, labelled, and marked for the process to go smoothly. Since the pieces are small, it's almost like doing a puzzle. Following the markings (dots, circles, squares) is ESSENTIAL!
Sewing is precise:
• Seam allowance is 1/4".
• Lots of sewing concave/convex curves together.
• Sewing V shaped seams.
• Zipper, straps, lining.
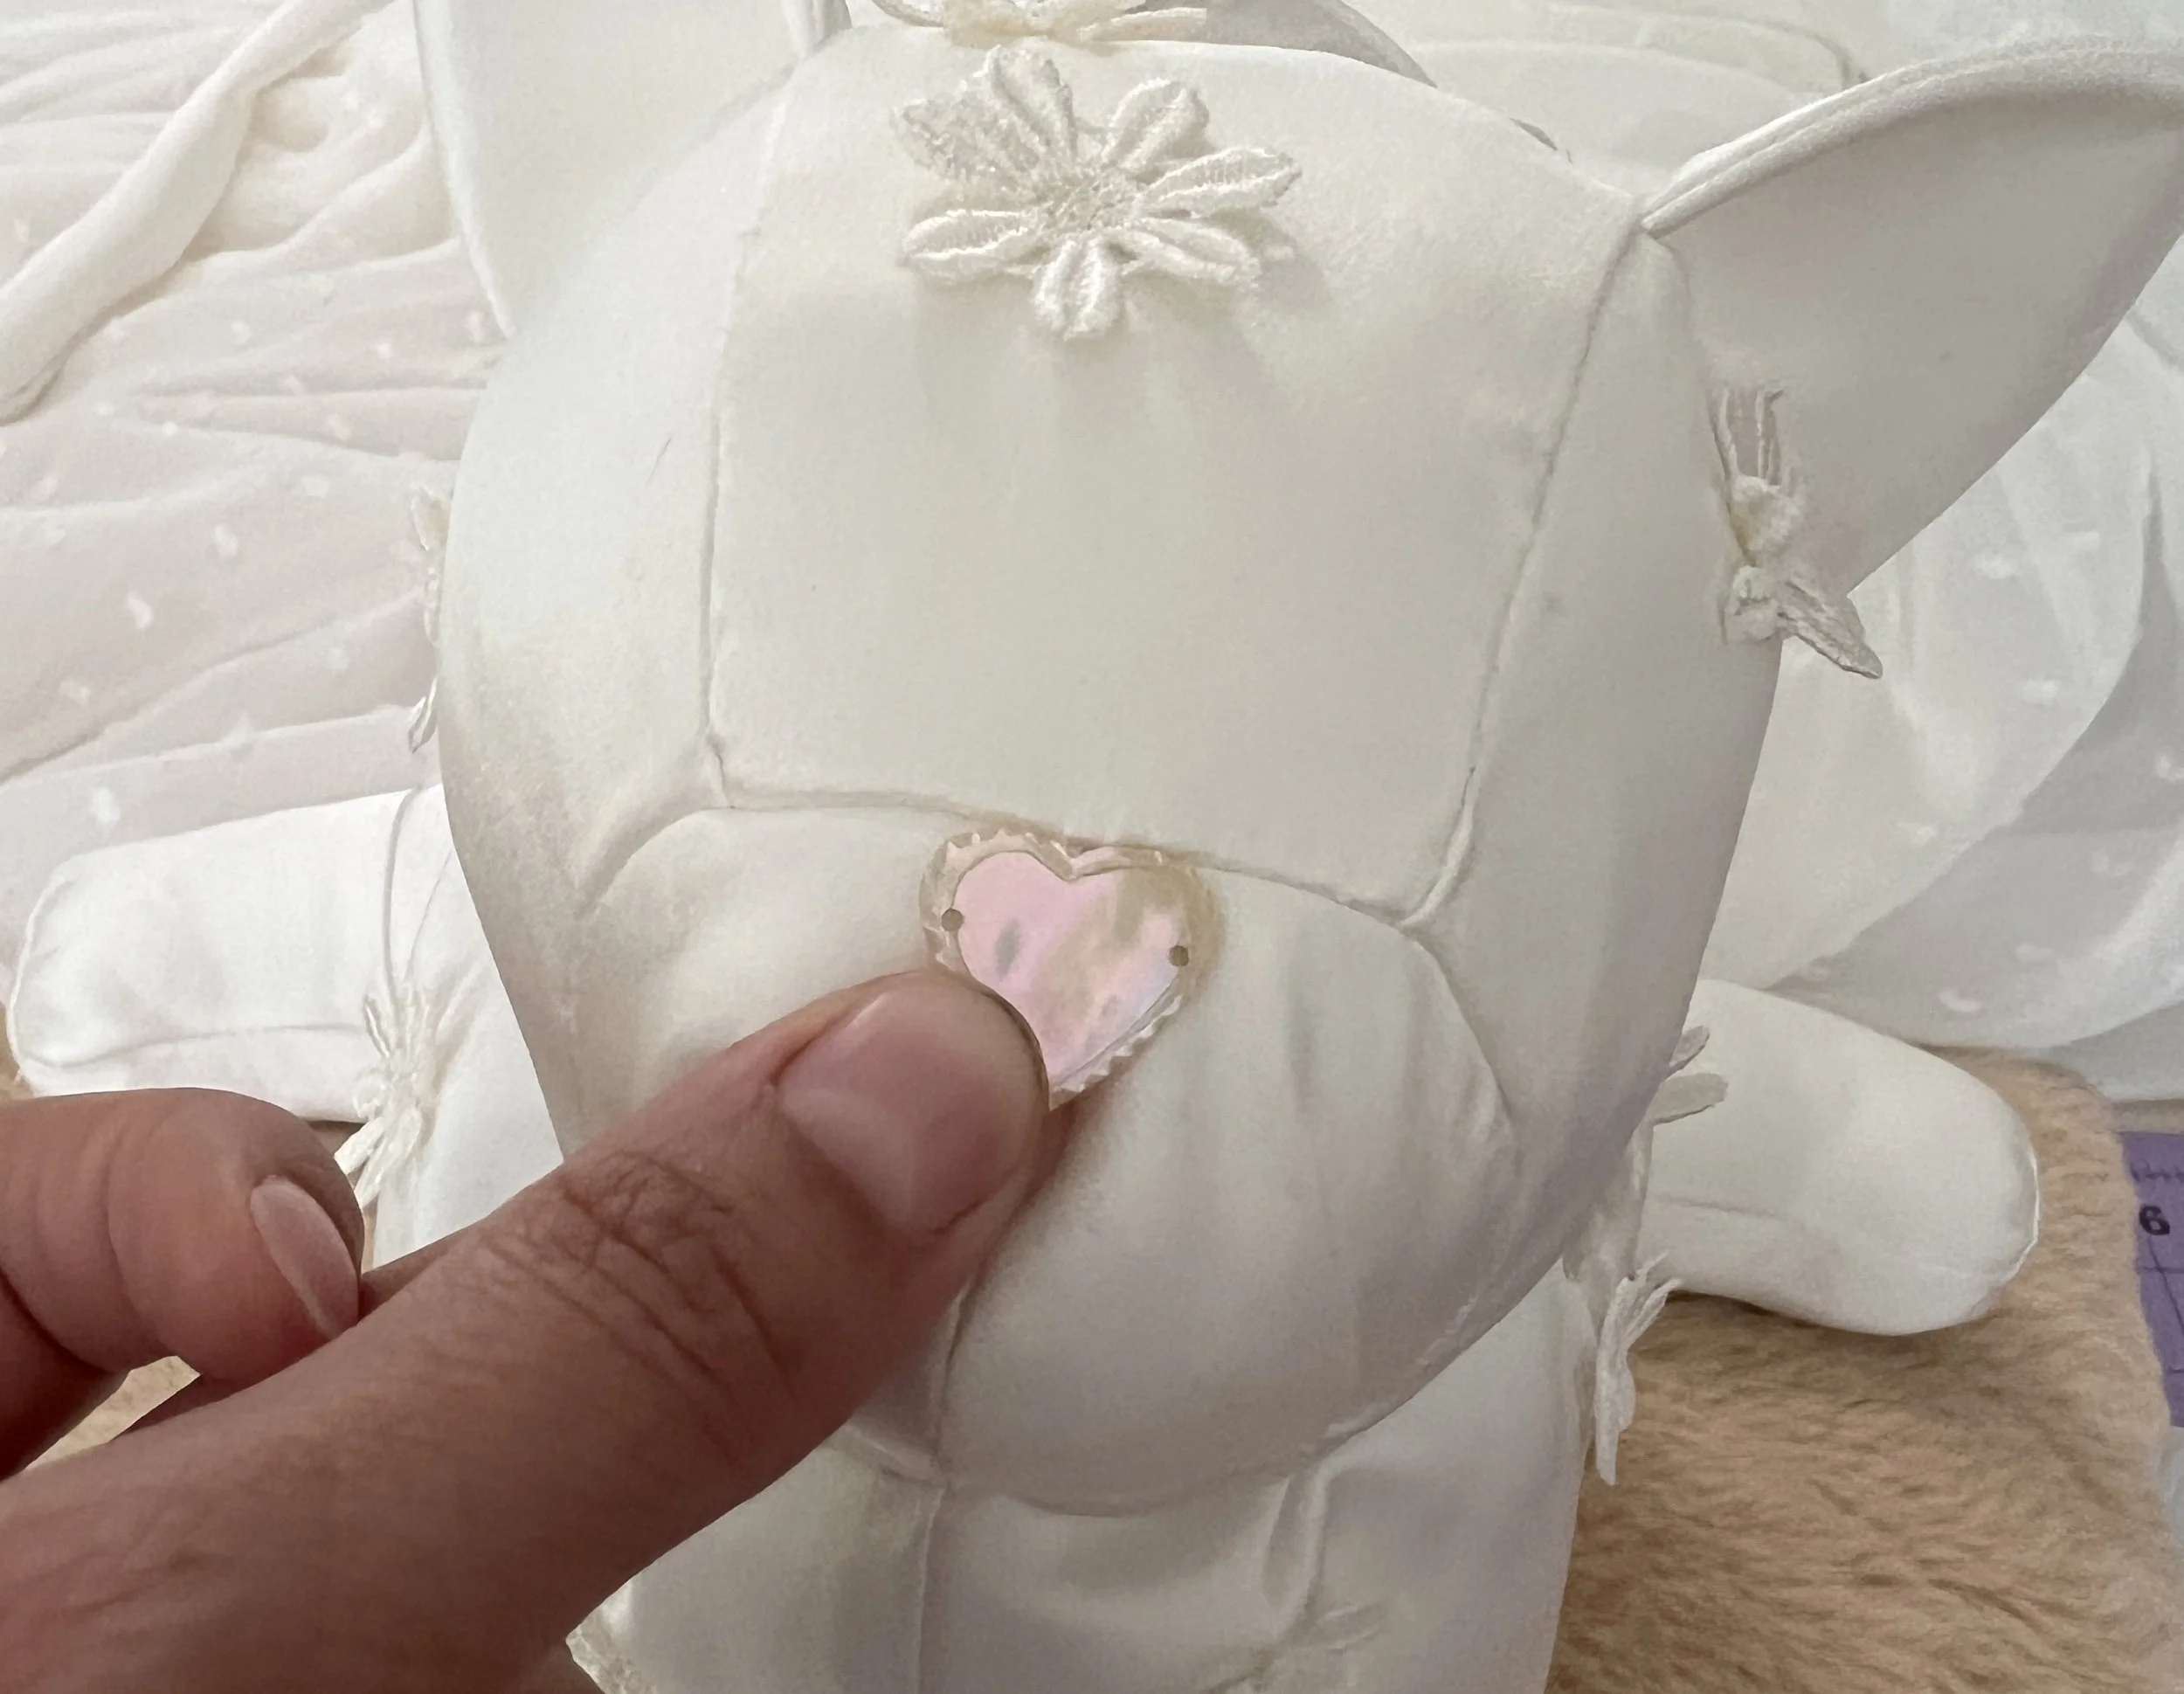
Antique Mother of Pearl button for the nose.
MATERIALS USED:
• Silk charmeuse which I block fused to make it about the weight of quilting cotton.
• I cut up some trim from my stash and sewed the flowers on for some texture.
• I used an invisible zipper because that's what I had in my stash.
• Stuffing from a pillow insert that's been kicking around.
• Antique Mother of Pearl buttons for eyes and nose.

This charming project has so much personality!
TIPS & TRICKS:
Sewing this is fiddly, but I made it in a few short sewing sessions. The seams are short so it comes together quickly.
When sewing on the bottoms of the paws, which are perfect circles, it's really hard to get it under your sewing machine foot and be accurate. I hand sewed them on with a running stitch (short stitches, not basting) and then machine stitched. This went faster than the one I tried to do without hand sewing (seam ripper was involved).
I recommend using a longer zipper than required, sewing it in, then shortening it.
The most difficult part of this project was attaching the tail to the body! It is clumsy to do it when the instructions tell you. If I make this again, I will attach it to the body before adding the head, and before any stuffing is added.
You will need a very long needle (3" to 4") to add the eyes to the finished bag. Otherwise attach eyes before stuffing the head.
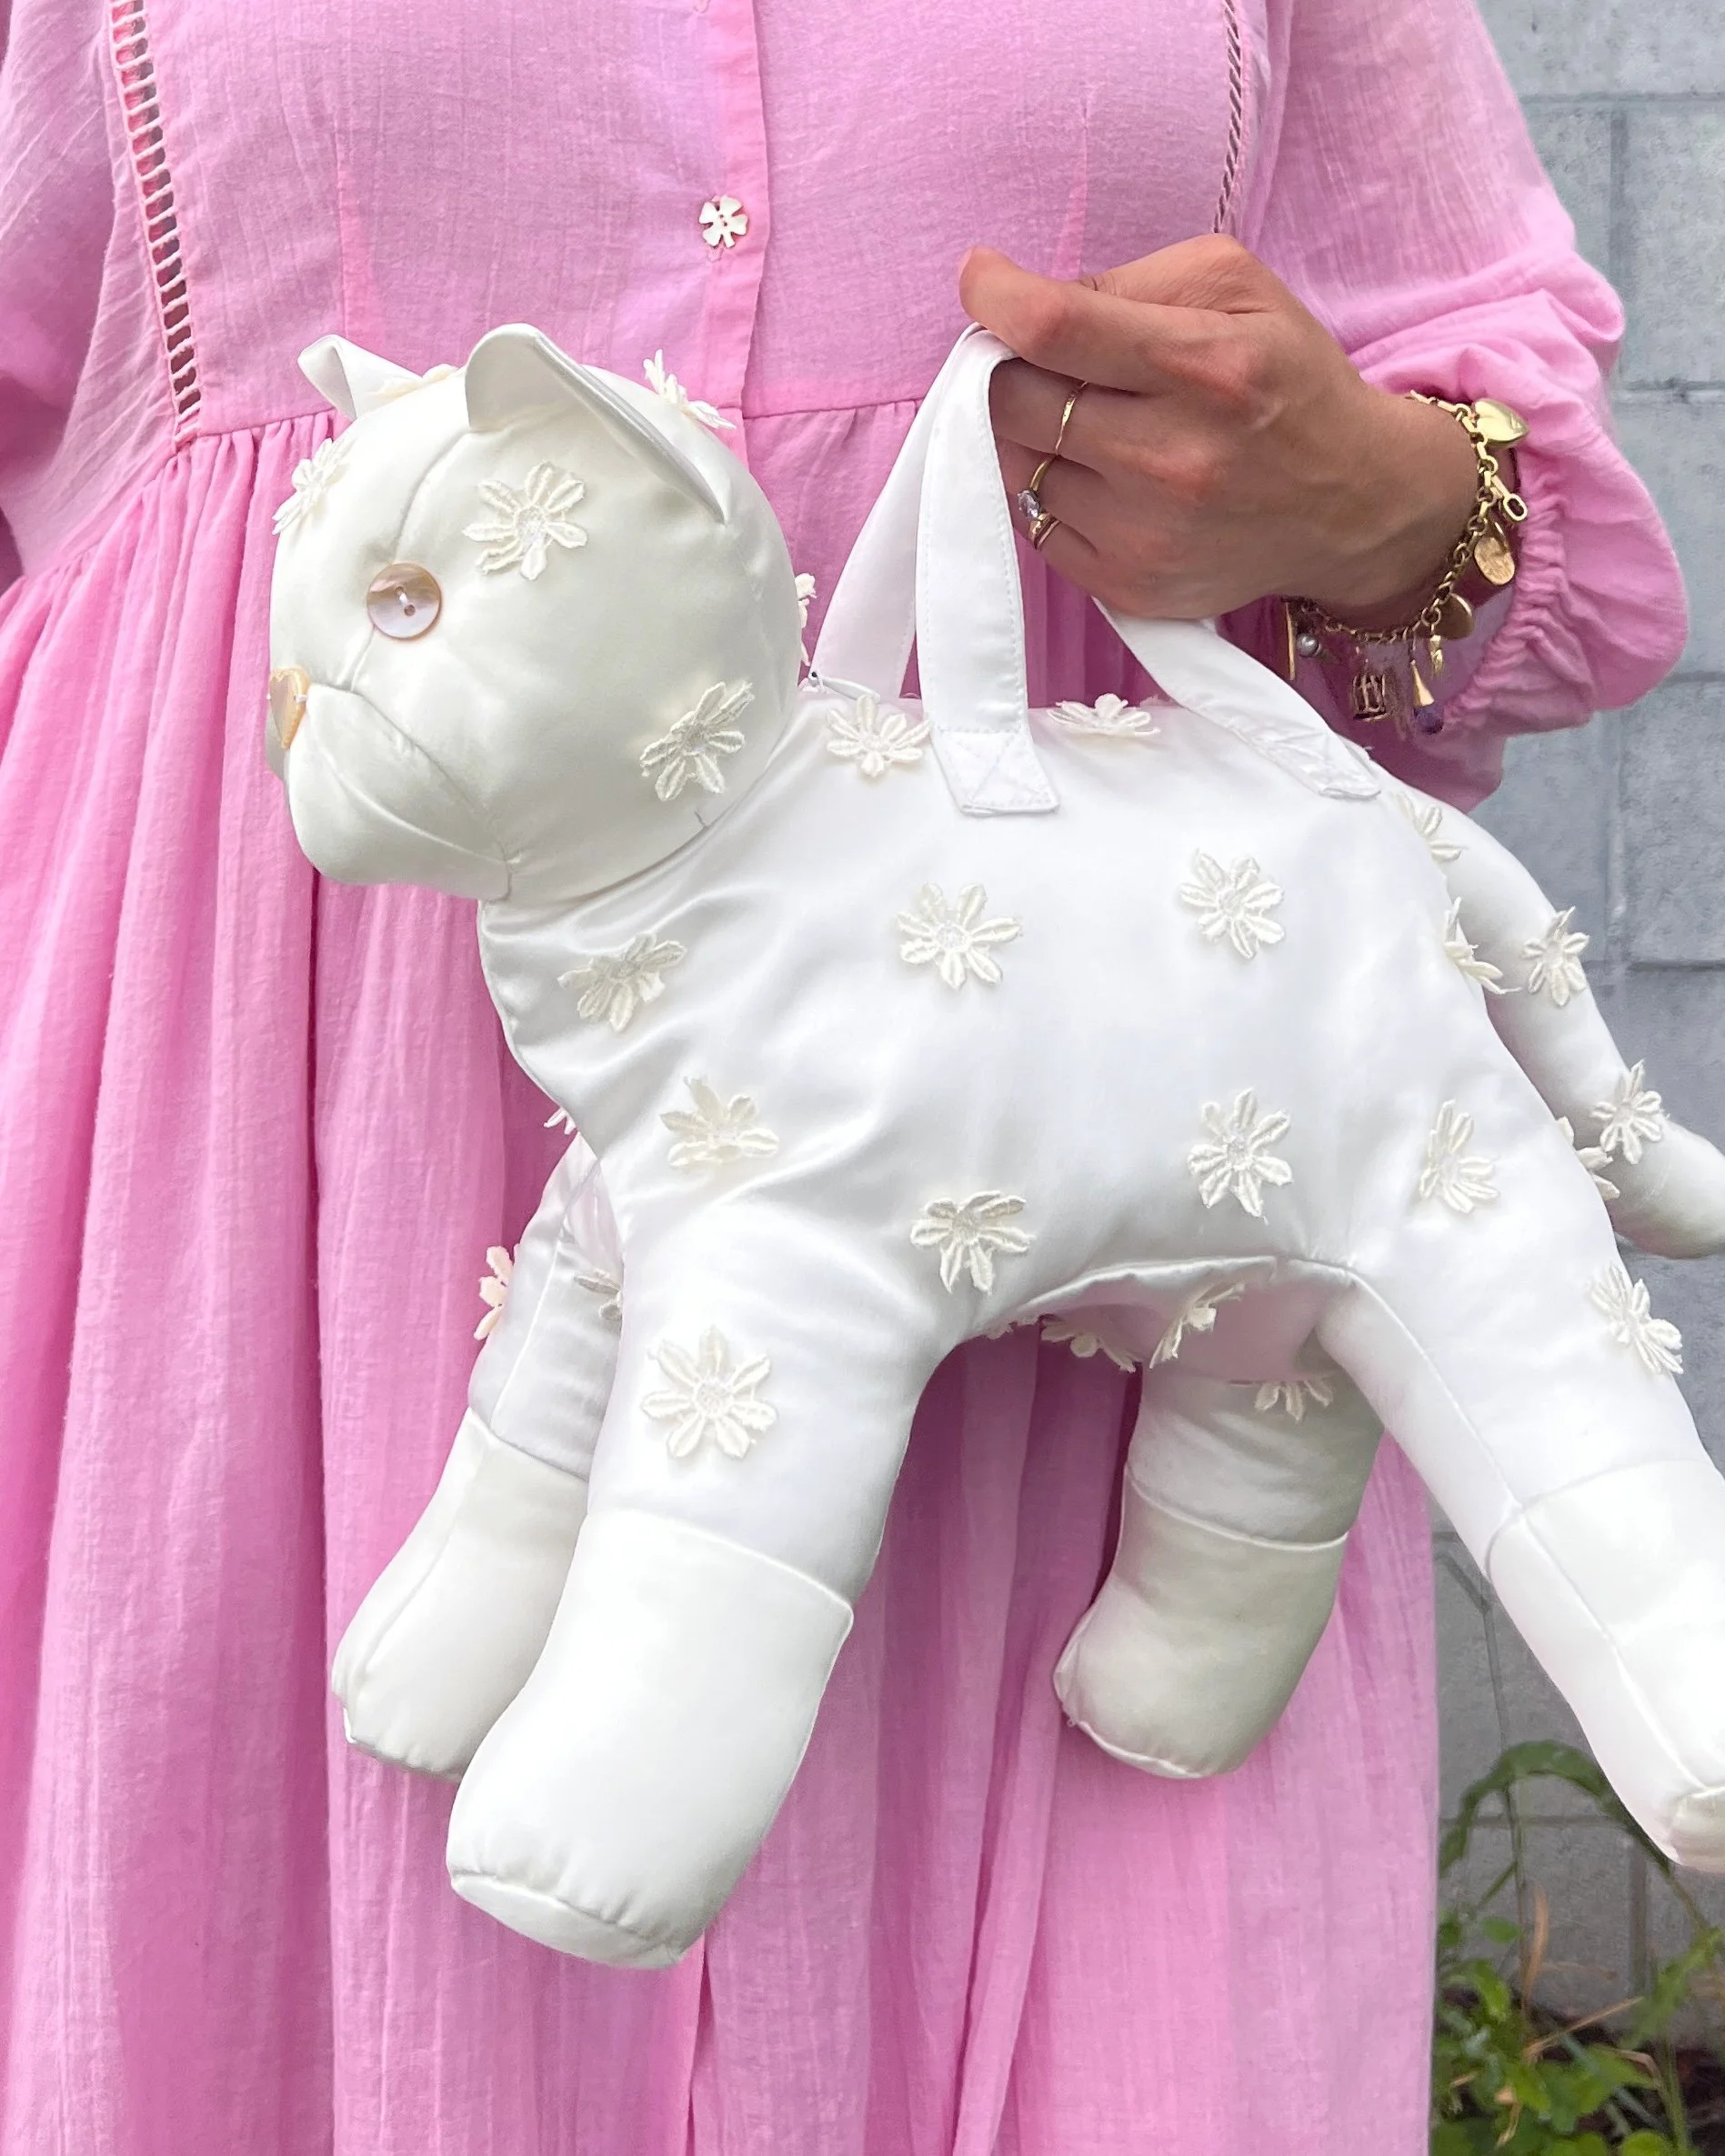
Interior of the bag is big enough for a phone, small wallet, and a few other items. You can use more or less stuffing to create more or less space inside of the bag, which closes with a zipper.
DID I LIKE THIS PATTERN?
Yes, I love this pattern and enjoyed working with it. I would sew this again and I recommend the pattern.
My fabric was not the easiest to work with, but every time I referred to the image on the cover, I was impressed that they used stretch velvet (a fabric I think would be a curly, slippery nightmare here) and faux fur (BULKY!), but obviously it can be done. This a project that proves that hand sew/basting is often the fastest solution. Also, I can see a glue stick coming in handy for some materials.
CONCLUSION:
I would love to sew this in a variety of fabrics! Super fun and great gift. It's a hit!
If you sew a version of this, please tag me on Instagram, I would love to see your version!
XO, Martha

A fun project!