TUTORIAL: MAKE YOUR OWN PIPING
OK. It’s been a minute, and the world has changed since my last post. We are still deep into the Covid-19 pandemic, American politics have fully gone to hell, and the Black Lives Matter movement is making powerful change to our world. I have things to say about all these topics, especially BLM and racism in America, a topic that needs to be discussed in the sewing and crafting world. I’m going to gather my thoughts on that separately, but I couldn’t post here again without mentioning it.
In the midst of all of that, I am still practicing self-isolation, social distancing, stay at home….whatever you prefer to call it, I’m doing it. And that means I am still sewing a lot. I received many requests for a tutorial on the belt I made for the dress in my previous post. It’s finally happening! But you will need a few things ready in order to make that belt, including some piping. Don’t have any on hand? Want to use the same fabric in your garment? I got you! Let’s make some custom piping.
Gather your materials:
• Fabric
• Piping cord - I use 100% cotton 1/8” piping cord from Pacific Trimming in NYC. You can find it online. You can use cotton string or even some yarn (but not wool, use something that will not shrink).
• Coordinating thread
• Rotary cutter & mat
• Sewing machine with a zipper foot

The first step is to cut bias strips. Press your fabric. Place it on your mat so it overlaps the 45º angle cutting line. I align the selvedge with a vertical line to ensure my fabric is on grain.
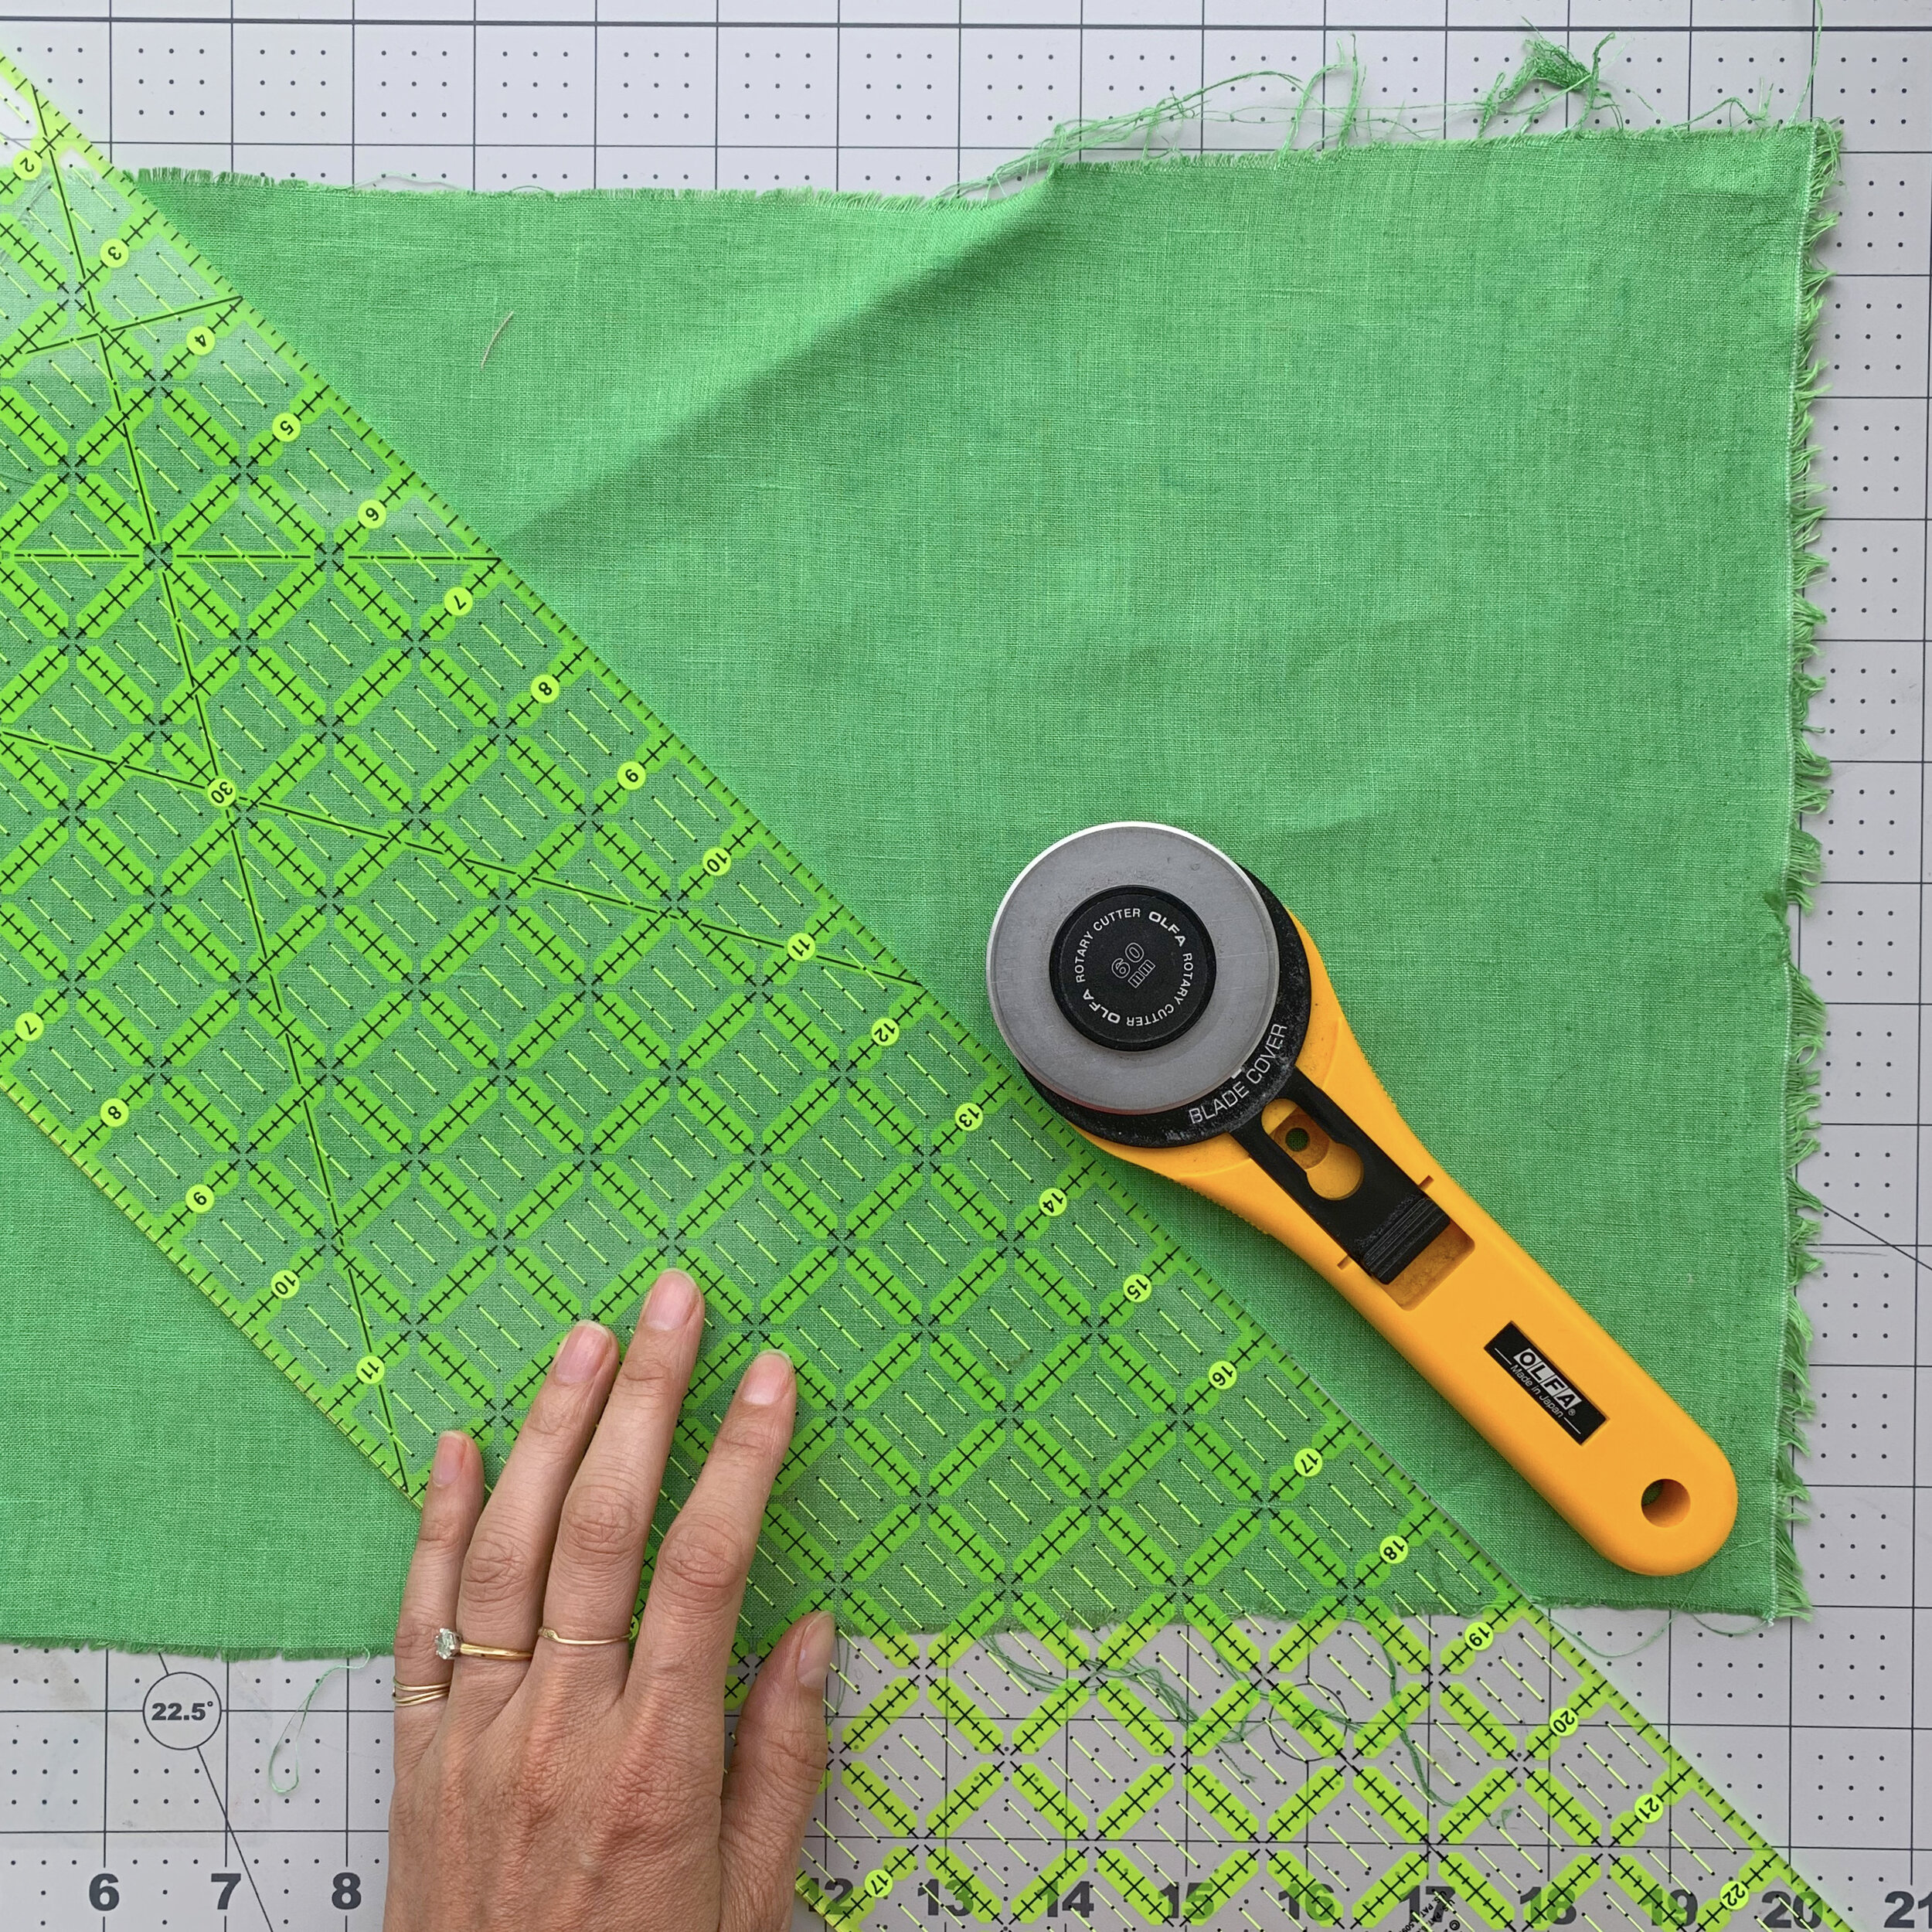
Go ahead and make your first cut. I am going to make 1.75” wide strips, which will wrap around my 1/8” cord and leave me with plenty of seam allowance. You can make the strips more narrow or wide depending on the width of your cord or your seam allowance preferences.

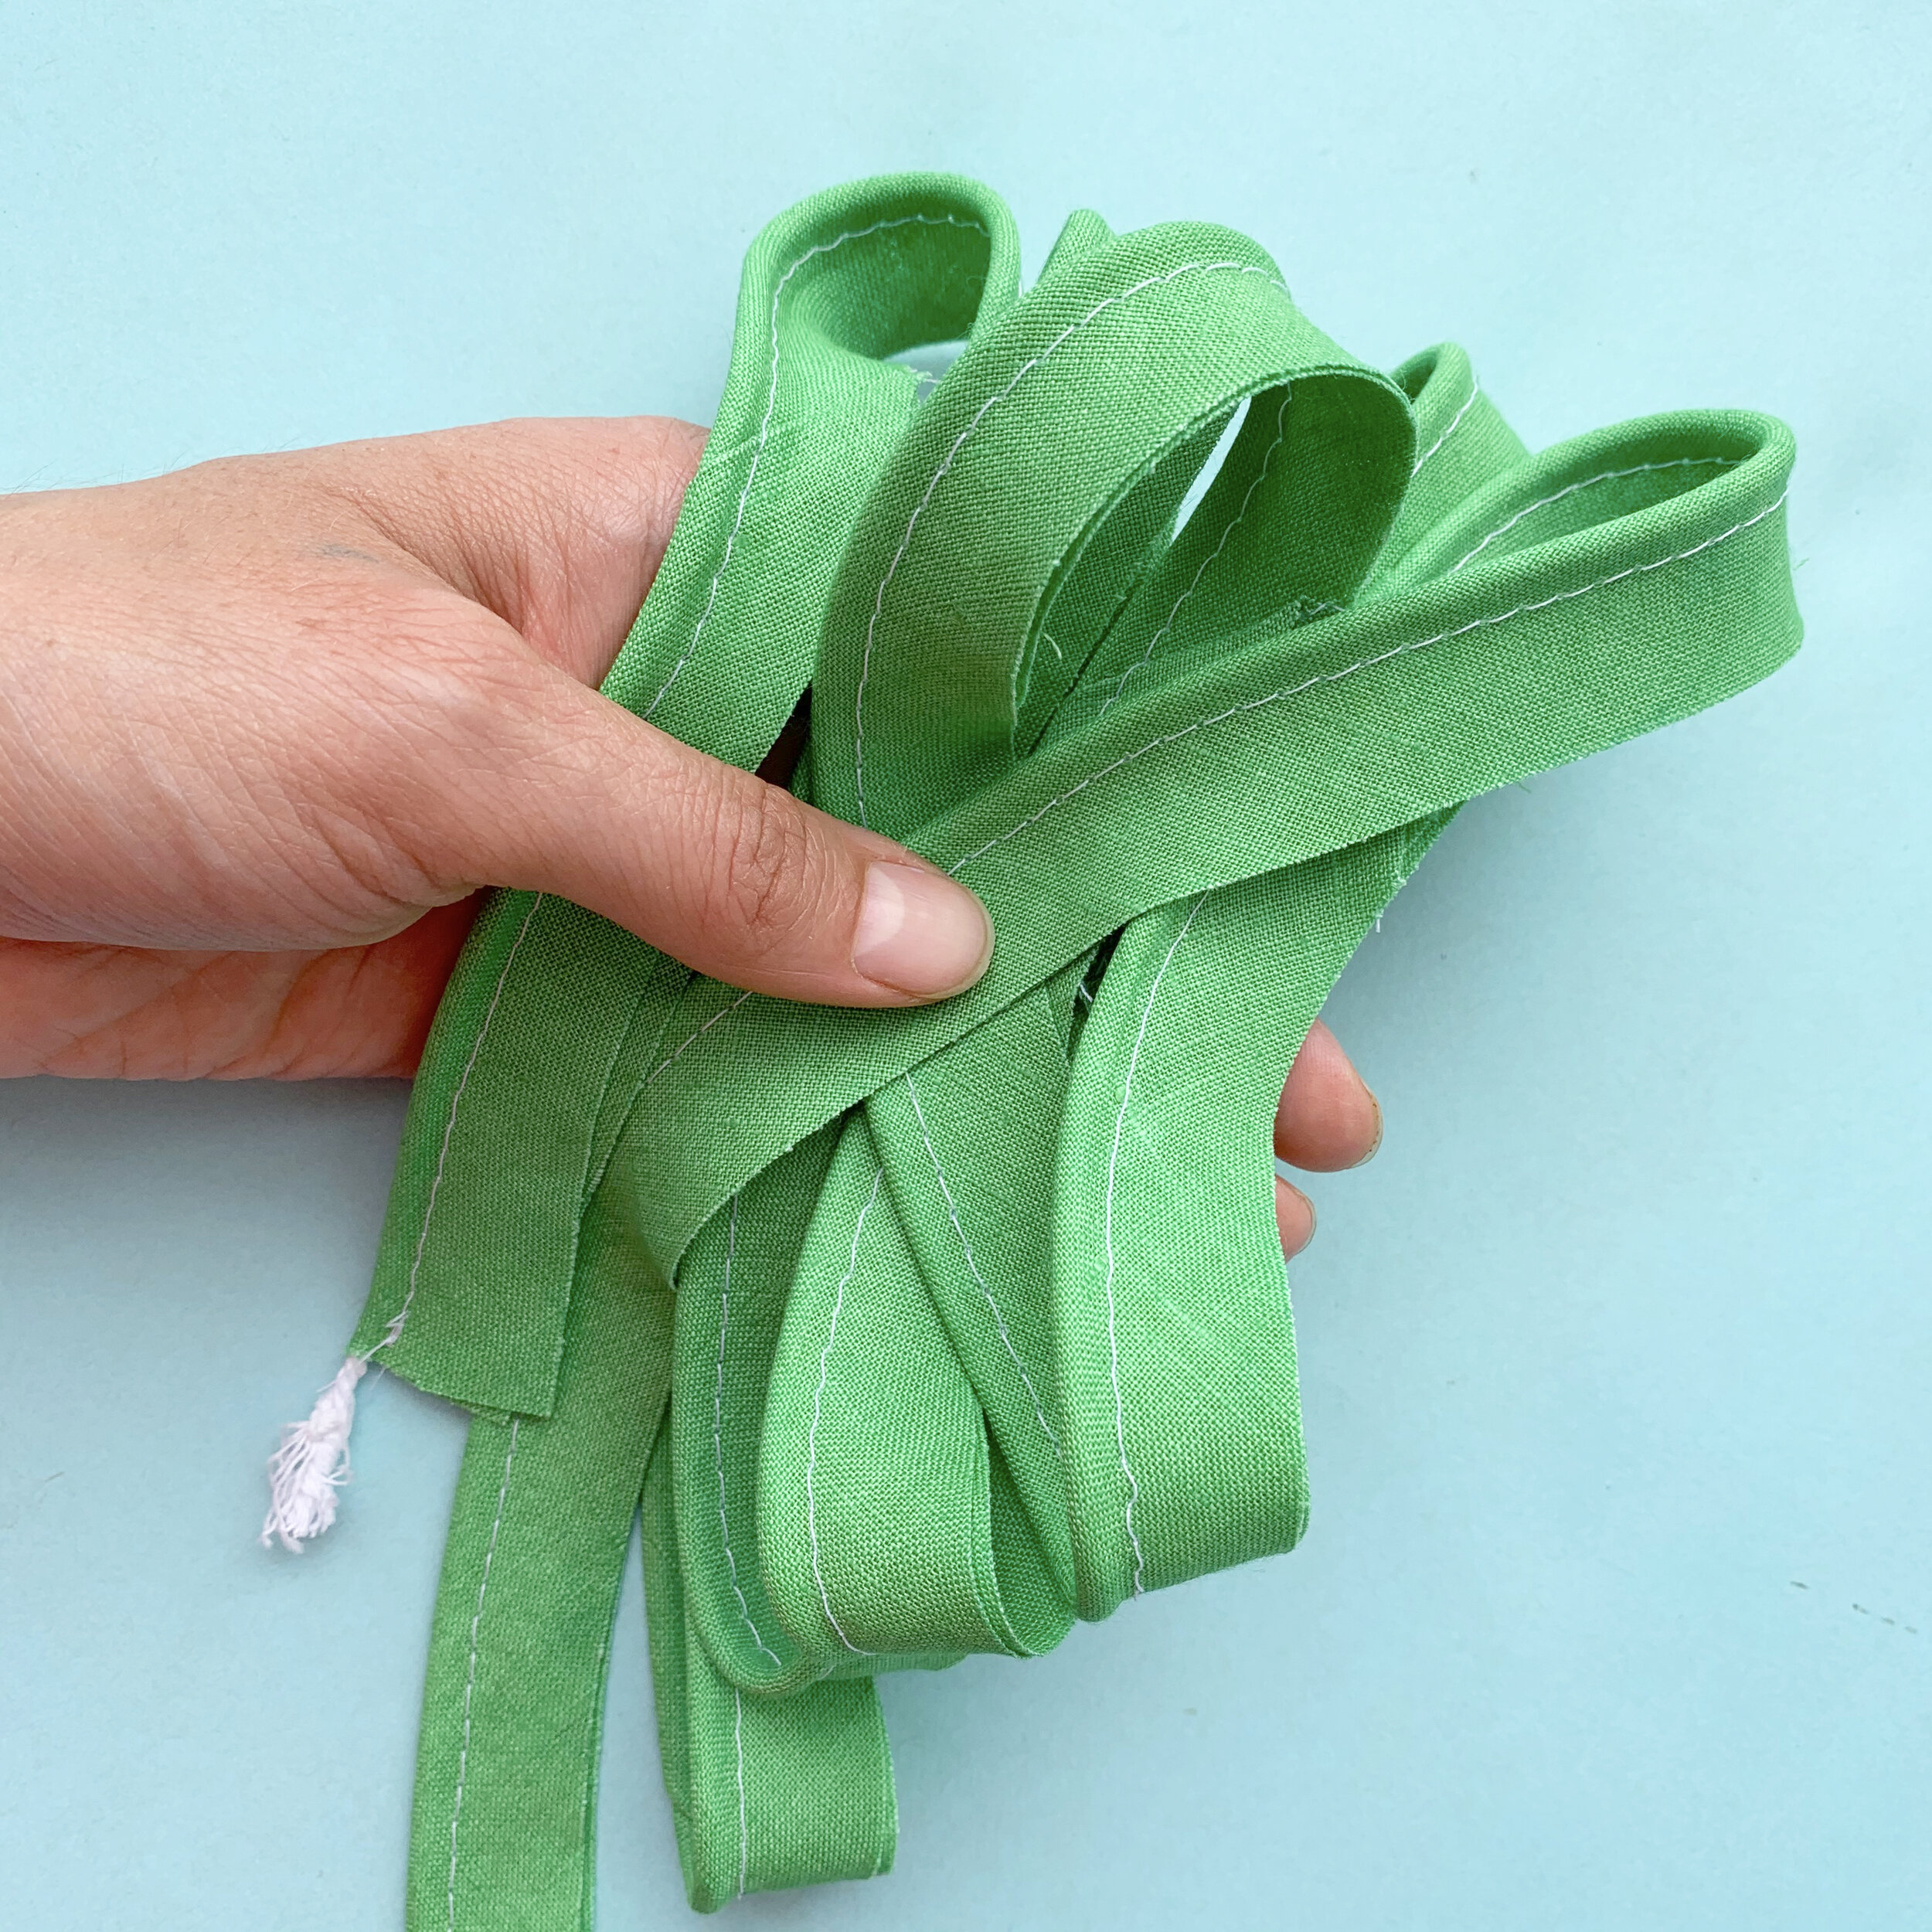
Pile of strips! If you plan on making the belt later, save those extra triangles from the corners, as they will be used later.

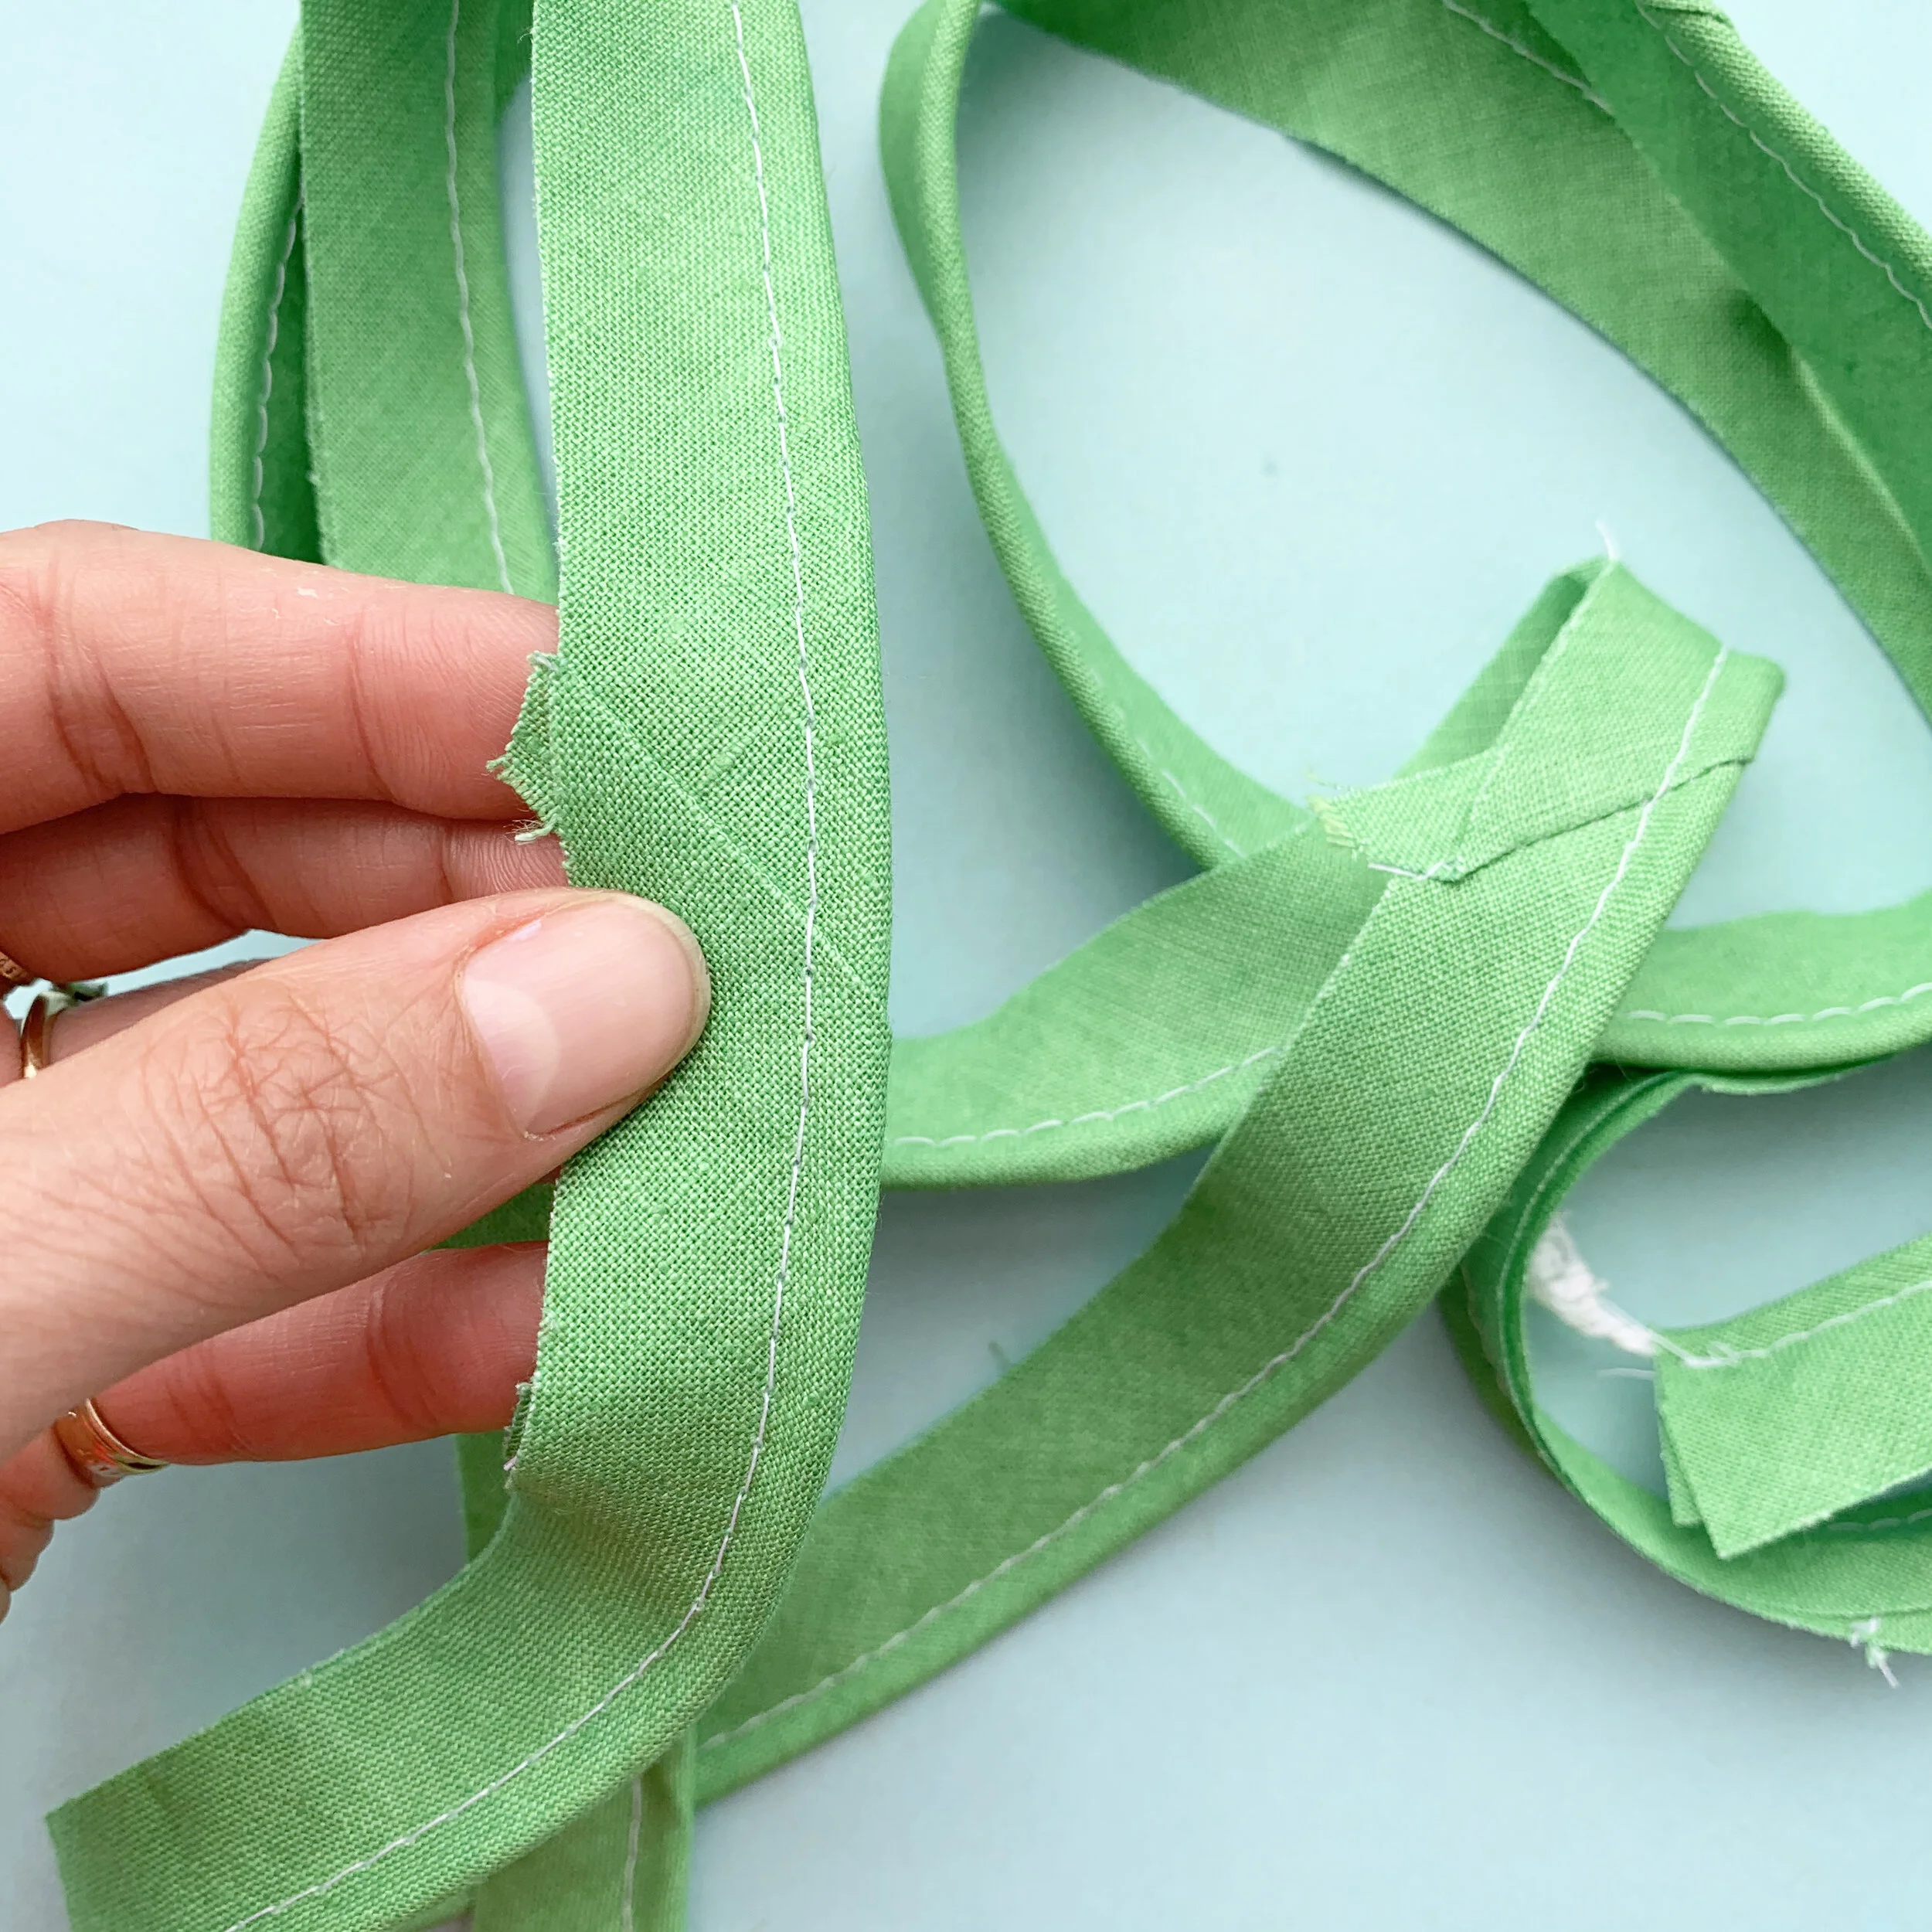
Sew all your strips together to create a continuous bias strip. For more tips on how to do that, check out my DIY bias tape tutorial.

Time to get out your cord. I have a few kinds of this cord which was sold specifically for this purpose. You mostly just want something that is the size you want (it comes in many widths); it doesn’t matter what it looks like, as you will not see it (so feel free to improvise). Make sure the cord you use is flexible enough for your project, and will not shrink when you launder your finished garment.

Fold your bias strip over the cord. You can pin the fabric in place if you wish. I don’t use pins, I just fold the fabric as I feed it to the sewing machine.

Set up your machine with your zipper foot. I have moved my needle to the far left position. I have set my stitch length to the longest length (5 on my Bernina). You will use long stitches as you are essentially just basting the fabric into place. When you create your final project later, the piping will be sandwiched inside a seam with smaller stitches, which will create a secure final project.

Sew, sew, sew! Just keep folding the fabric over your cord so the edges of your seam allowance are even. Do not stress about pushing the cord tightly into the fabric - again, you are just basting this all together. When you insert the piping into a seam later, you can worry about getting the stitch line more flush with the cording.
Bop! There it is!! You’ve made custom fabric piping! Ideally, I would have used matching green thread, but I wanted you to be able to see the stitches, and it won’t show in the final project.

There it is. Easy peasy. Let me know if you make some! XO, Martha
If you have found this tutorial helpful, please consider making a “tip” to my Kofi account. Any amount is greatly appreciated. Tips help offset the cost of materials used when creating my blog content, as well as helping keep this blog ad free. Thank you & happy sewing!