TUTORIAL: LACE INSERTION
I recently had the pleasure of sewing Vogue 8293, a pattern filled to the brim with sweet details. I especially enjoyed the lace insertion on top of tiny tucks! The pattern gives clear basic instruction for lace insertion, but I know its always helpful to have some photos, so I documented as I went.

As always, swatching is an important part of my process. For this technique, it is essential to make some little mock ups. You need to ensure that your lace can hold up against your fabric, especially if the fabric has been reinforced with many rows of tucks. You’ll also want to test stitches (straight stitch vs. zig zag), and their length/width.
In this image, you can see my initial lace choice is too soft and flimsy, and my stitch lines are clearly visible. I chose the lace in the middle. Not only is it a perfect color match, but the shape of the lace’s edge helps it blend in with the fabric and my stitches.
If you find this tutorial helpful, please consider making a “tip” to my Kofi account. Any amount is greatly appreciated. Tips help offset the cost of materials used when creating my blog content, as well as helping keep this blog ad free. Thank you & happy sewing!
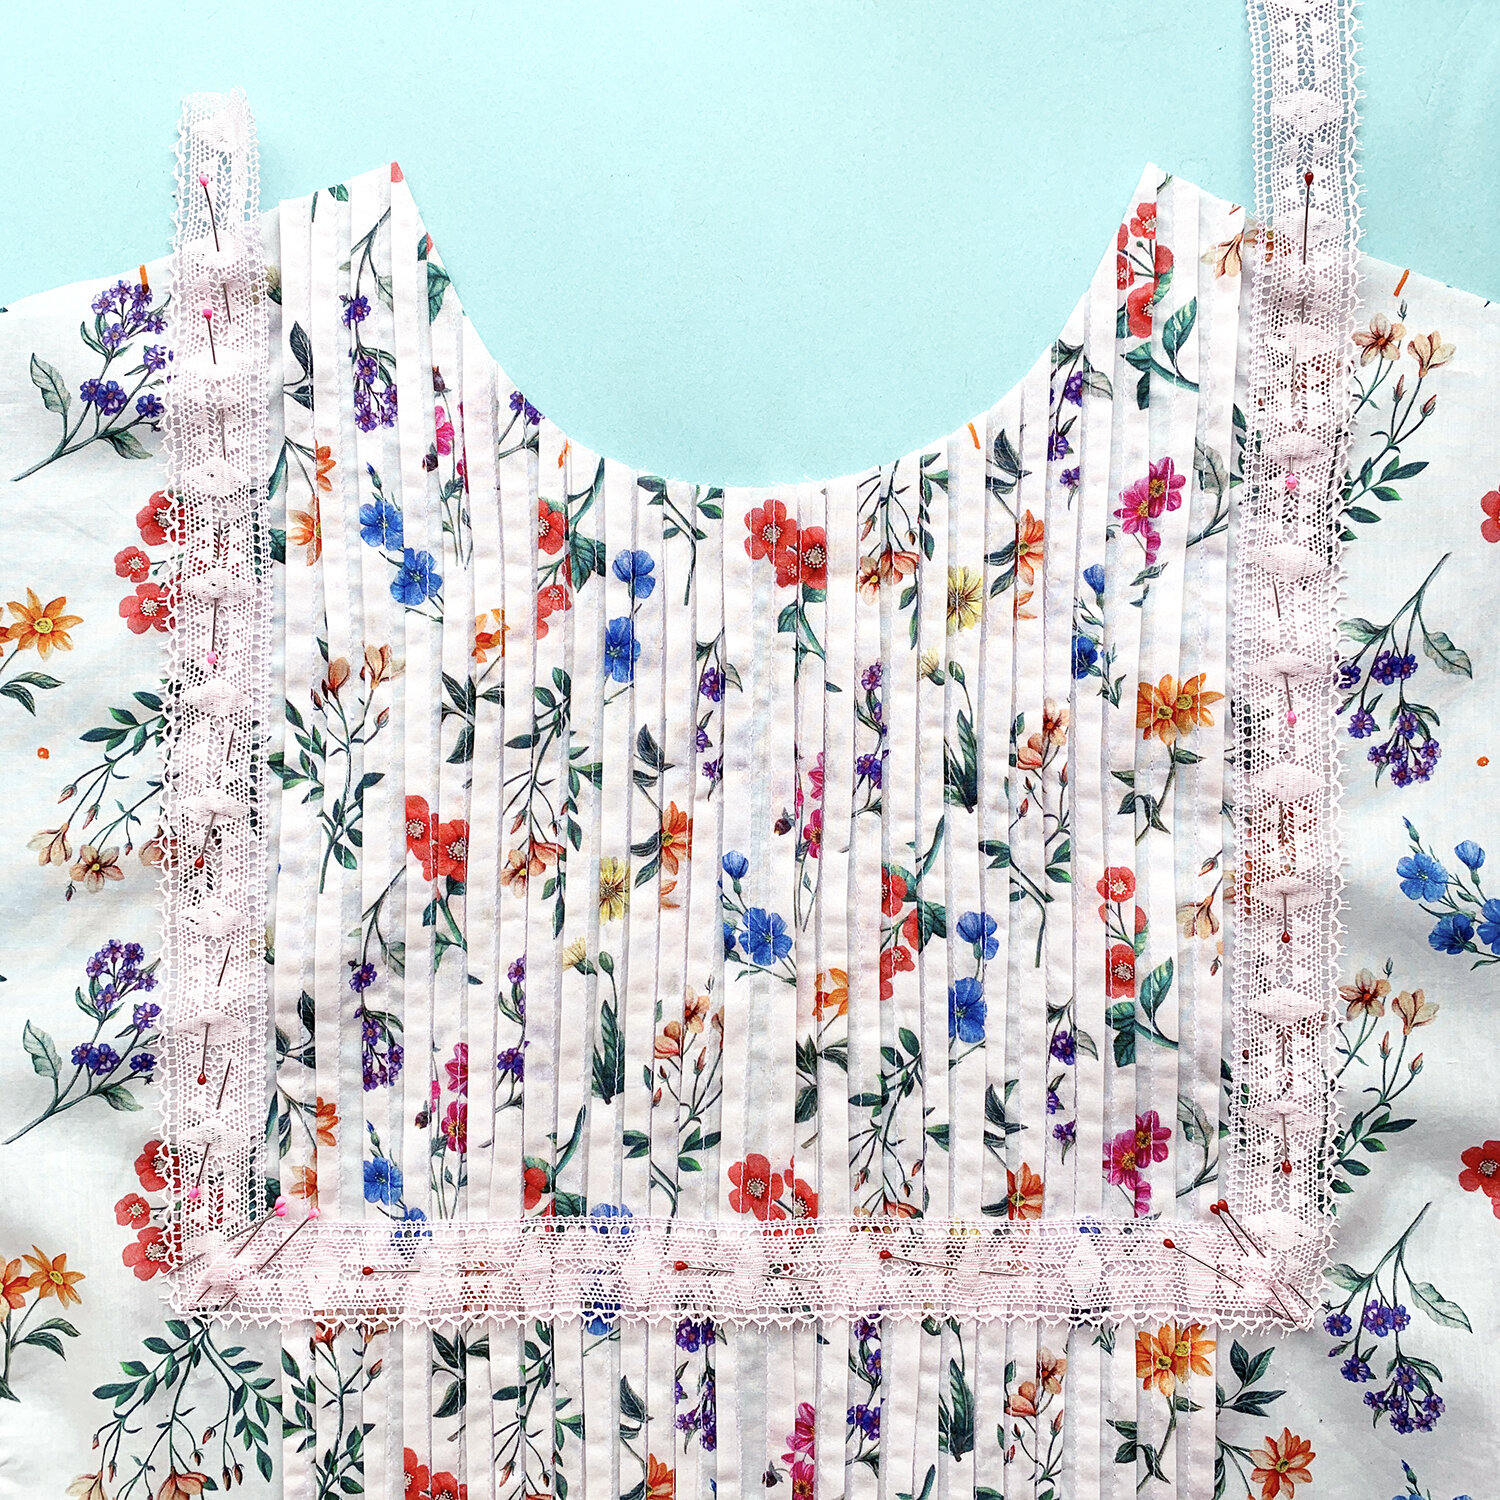
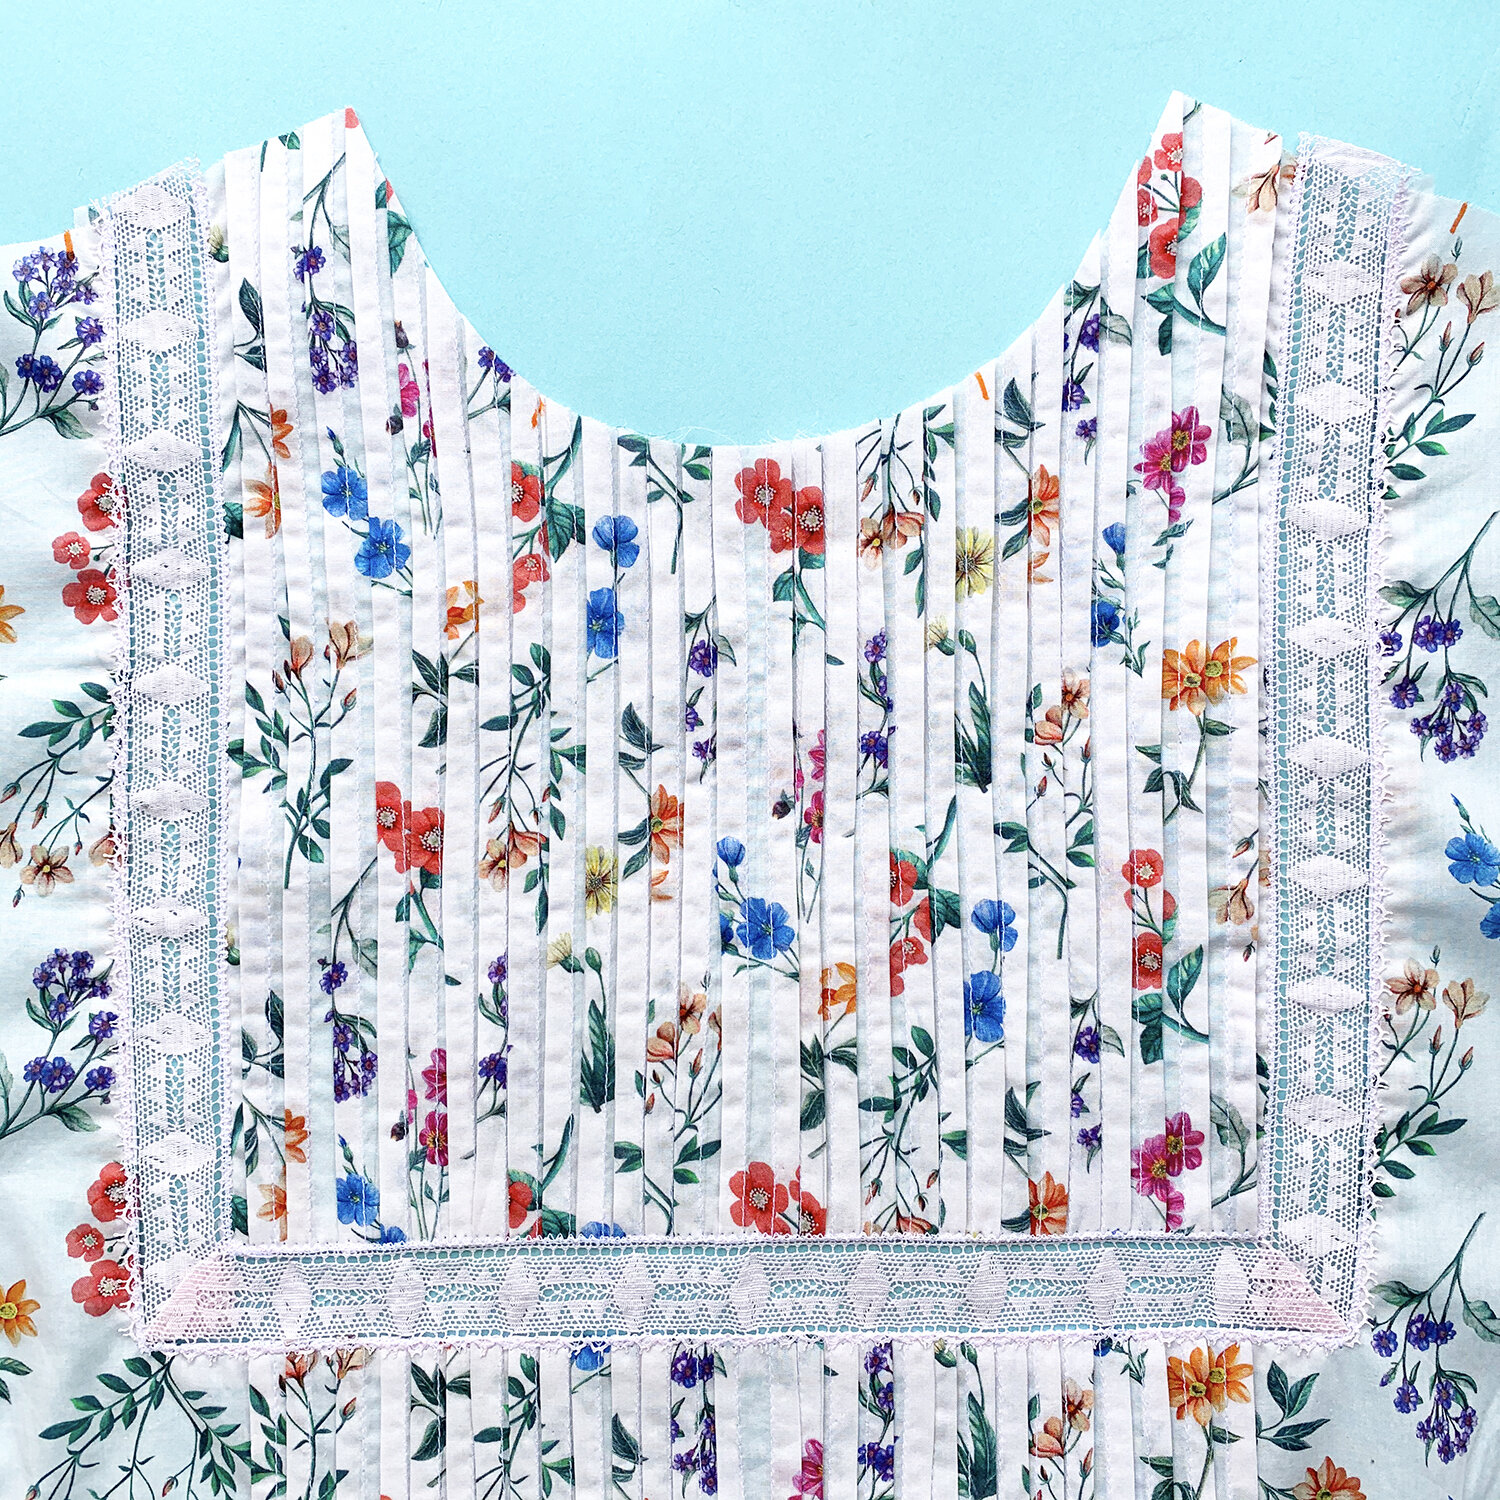
Once you’ve settled on your lace, pin it in place. Check that everything is exactly as you would like it. Vogue 8293 has you miter the lace corners later (I’ll show you), but you could also do it prior to pinning the lace to the fabric - you would just need to make sure your placement is just so.
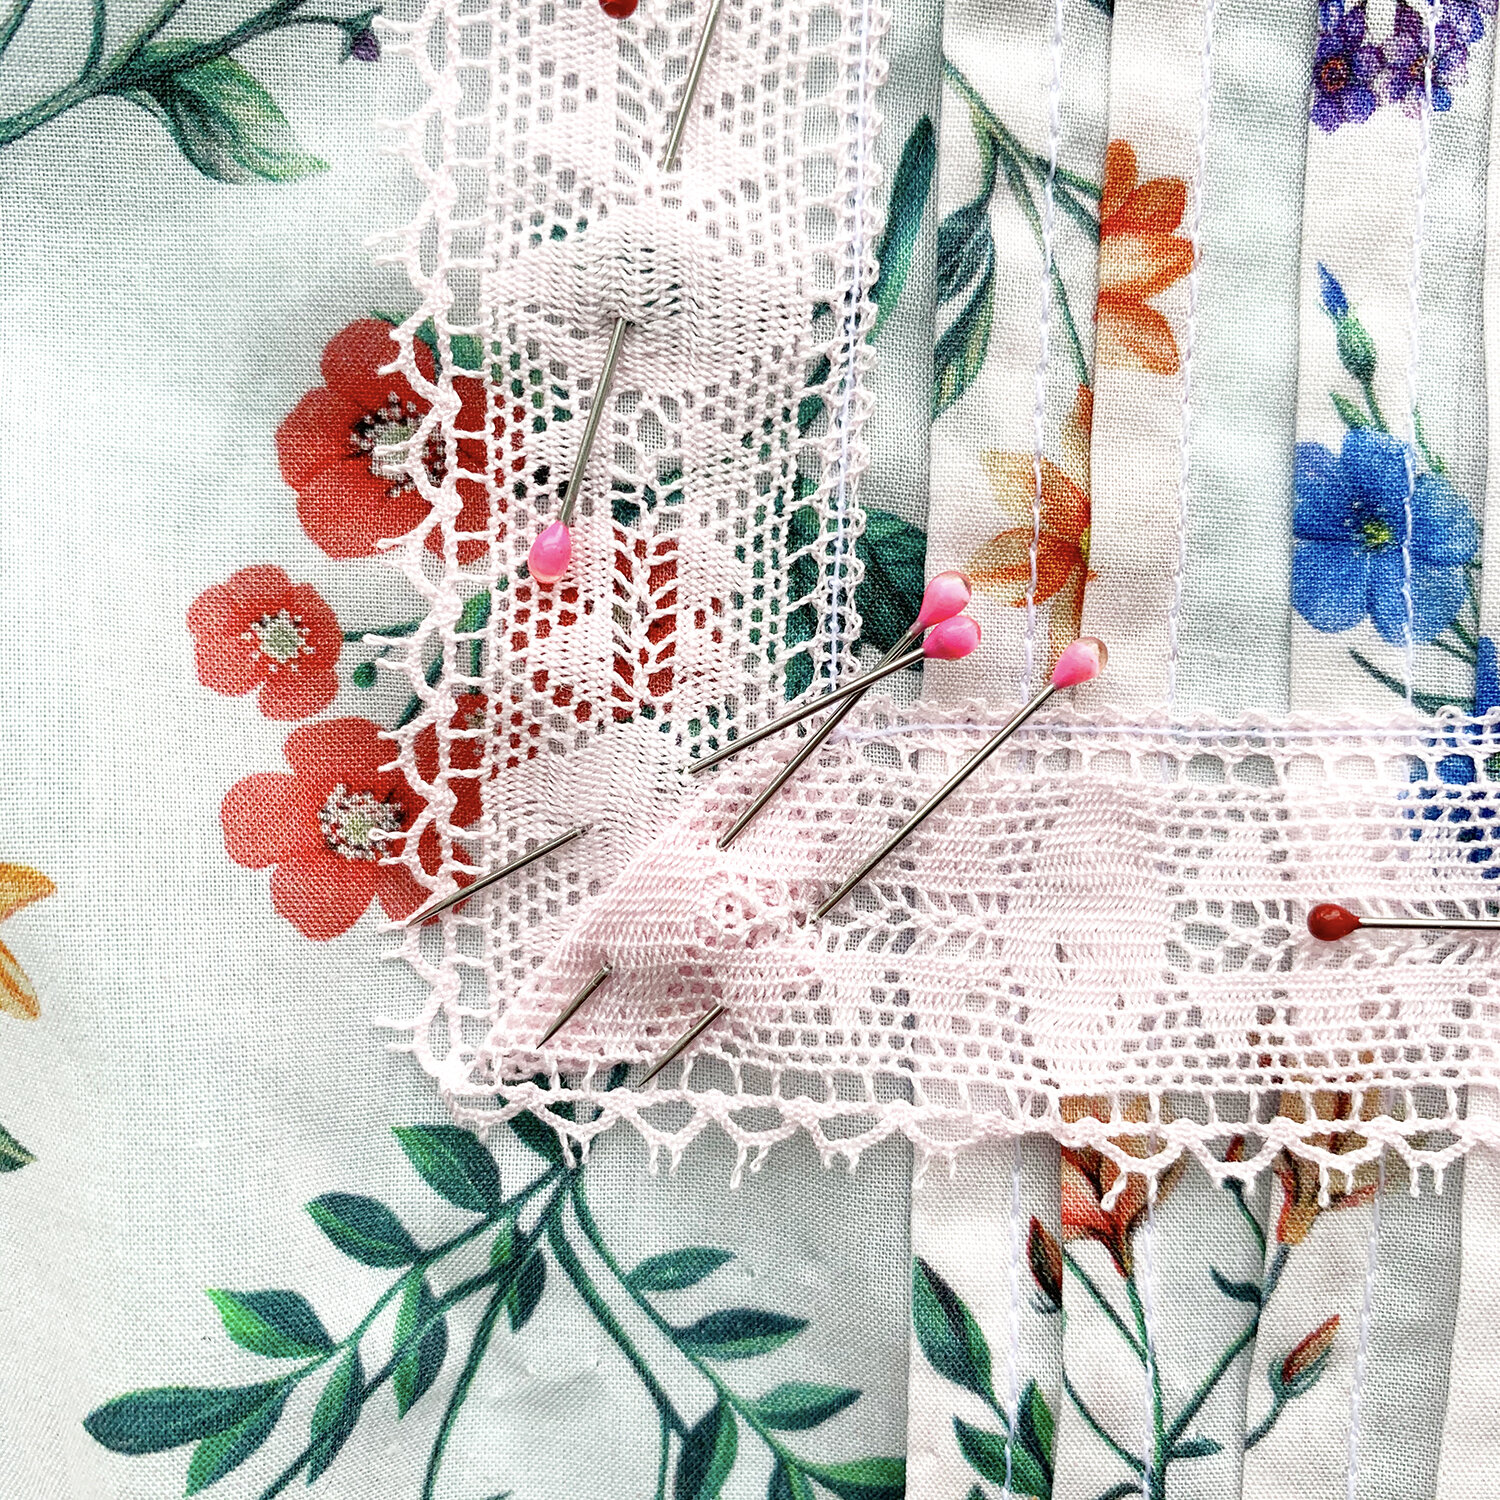
I followed the pattern and pinned the lace corners. Now it’s time to sew!

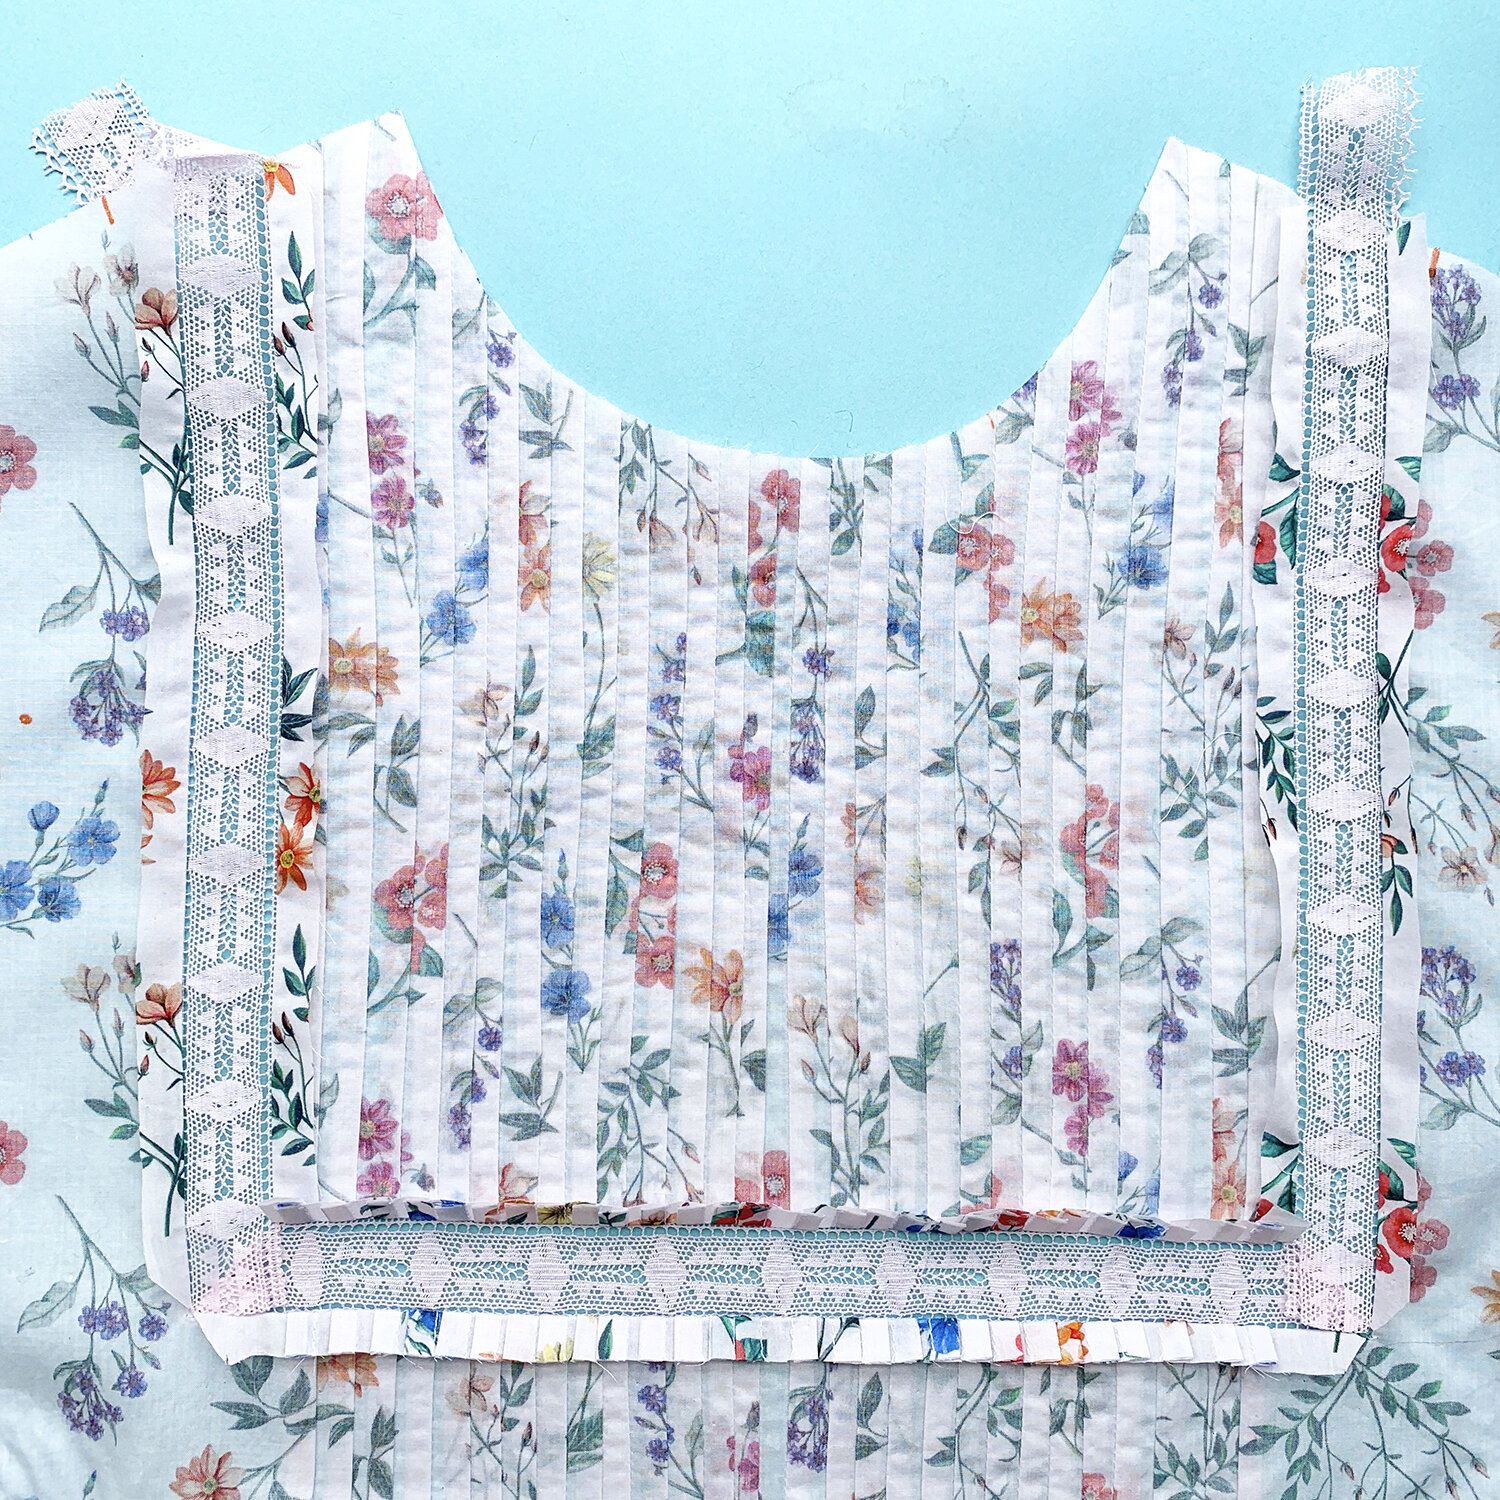
Look closely, my thread is white. I have sewn with small straight stitches along both edges of the lace, pivoting at the 90º corners.

Here is how it will look on the back side. Did you think we were finished! No, this is just the start! Now for the fun part.

Isn’t it crazy that “slash” is a basic sewing term? Slash* your fabric in the middle of your stitch lines. Be very careful! You do not want to clip your lace.
*It just means cut!

Phew. Ok, now carefully pull the fabric back and fold it at the stitch line. I opened mine and gently finger pressed it into place.
Press all seam allowances away from the lace. I found my clapper helped keep things crisp.

Now it’s time to deal with this corner. If you already sewed the miter, you are all set. I hand sewed mine using 2 rows of tiny back stitches in matching thread. Then I trimmed the excess lace from the corner.

A few things have happened since the lace photo!!! On the face (front) of the garment, I top stitched the edges of the lace down, through all layers of fabric, including the seam allowances. I used a small zig zag stitch. I found a zig zag blended in to my lace, concealing the stitches. Then you will trim the seam allowances to be very close to those zig zags. You can also see how I have trimmed the excess lace out of the mitered corner.

And here it is from the front. It’s a lovely little peek-a-boo, and while it is delicate, it’s surprisingly more sturdy than I anticipated (again, make sure your lace can hold up).

Have you tried lace insertion? Let me know if you do! This Victorian style blouse was a great pattern for it, but you could easily add it to many patterns - any time you’re considering applying trim, think about places you could insert lace, too. XO, Martha