MY LACE INSERTION CONFECTION - Mixing Vintage Patterns & Heirloom Techniques to Create a One-of-a-Kind Dress
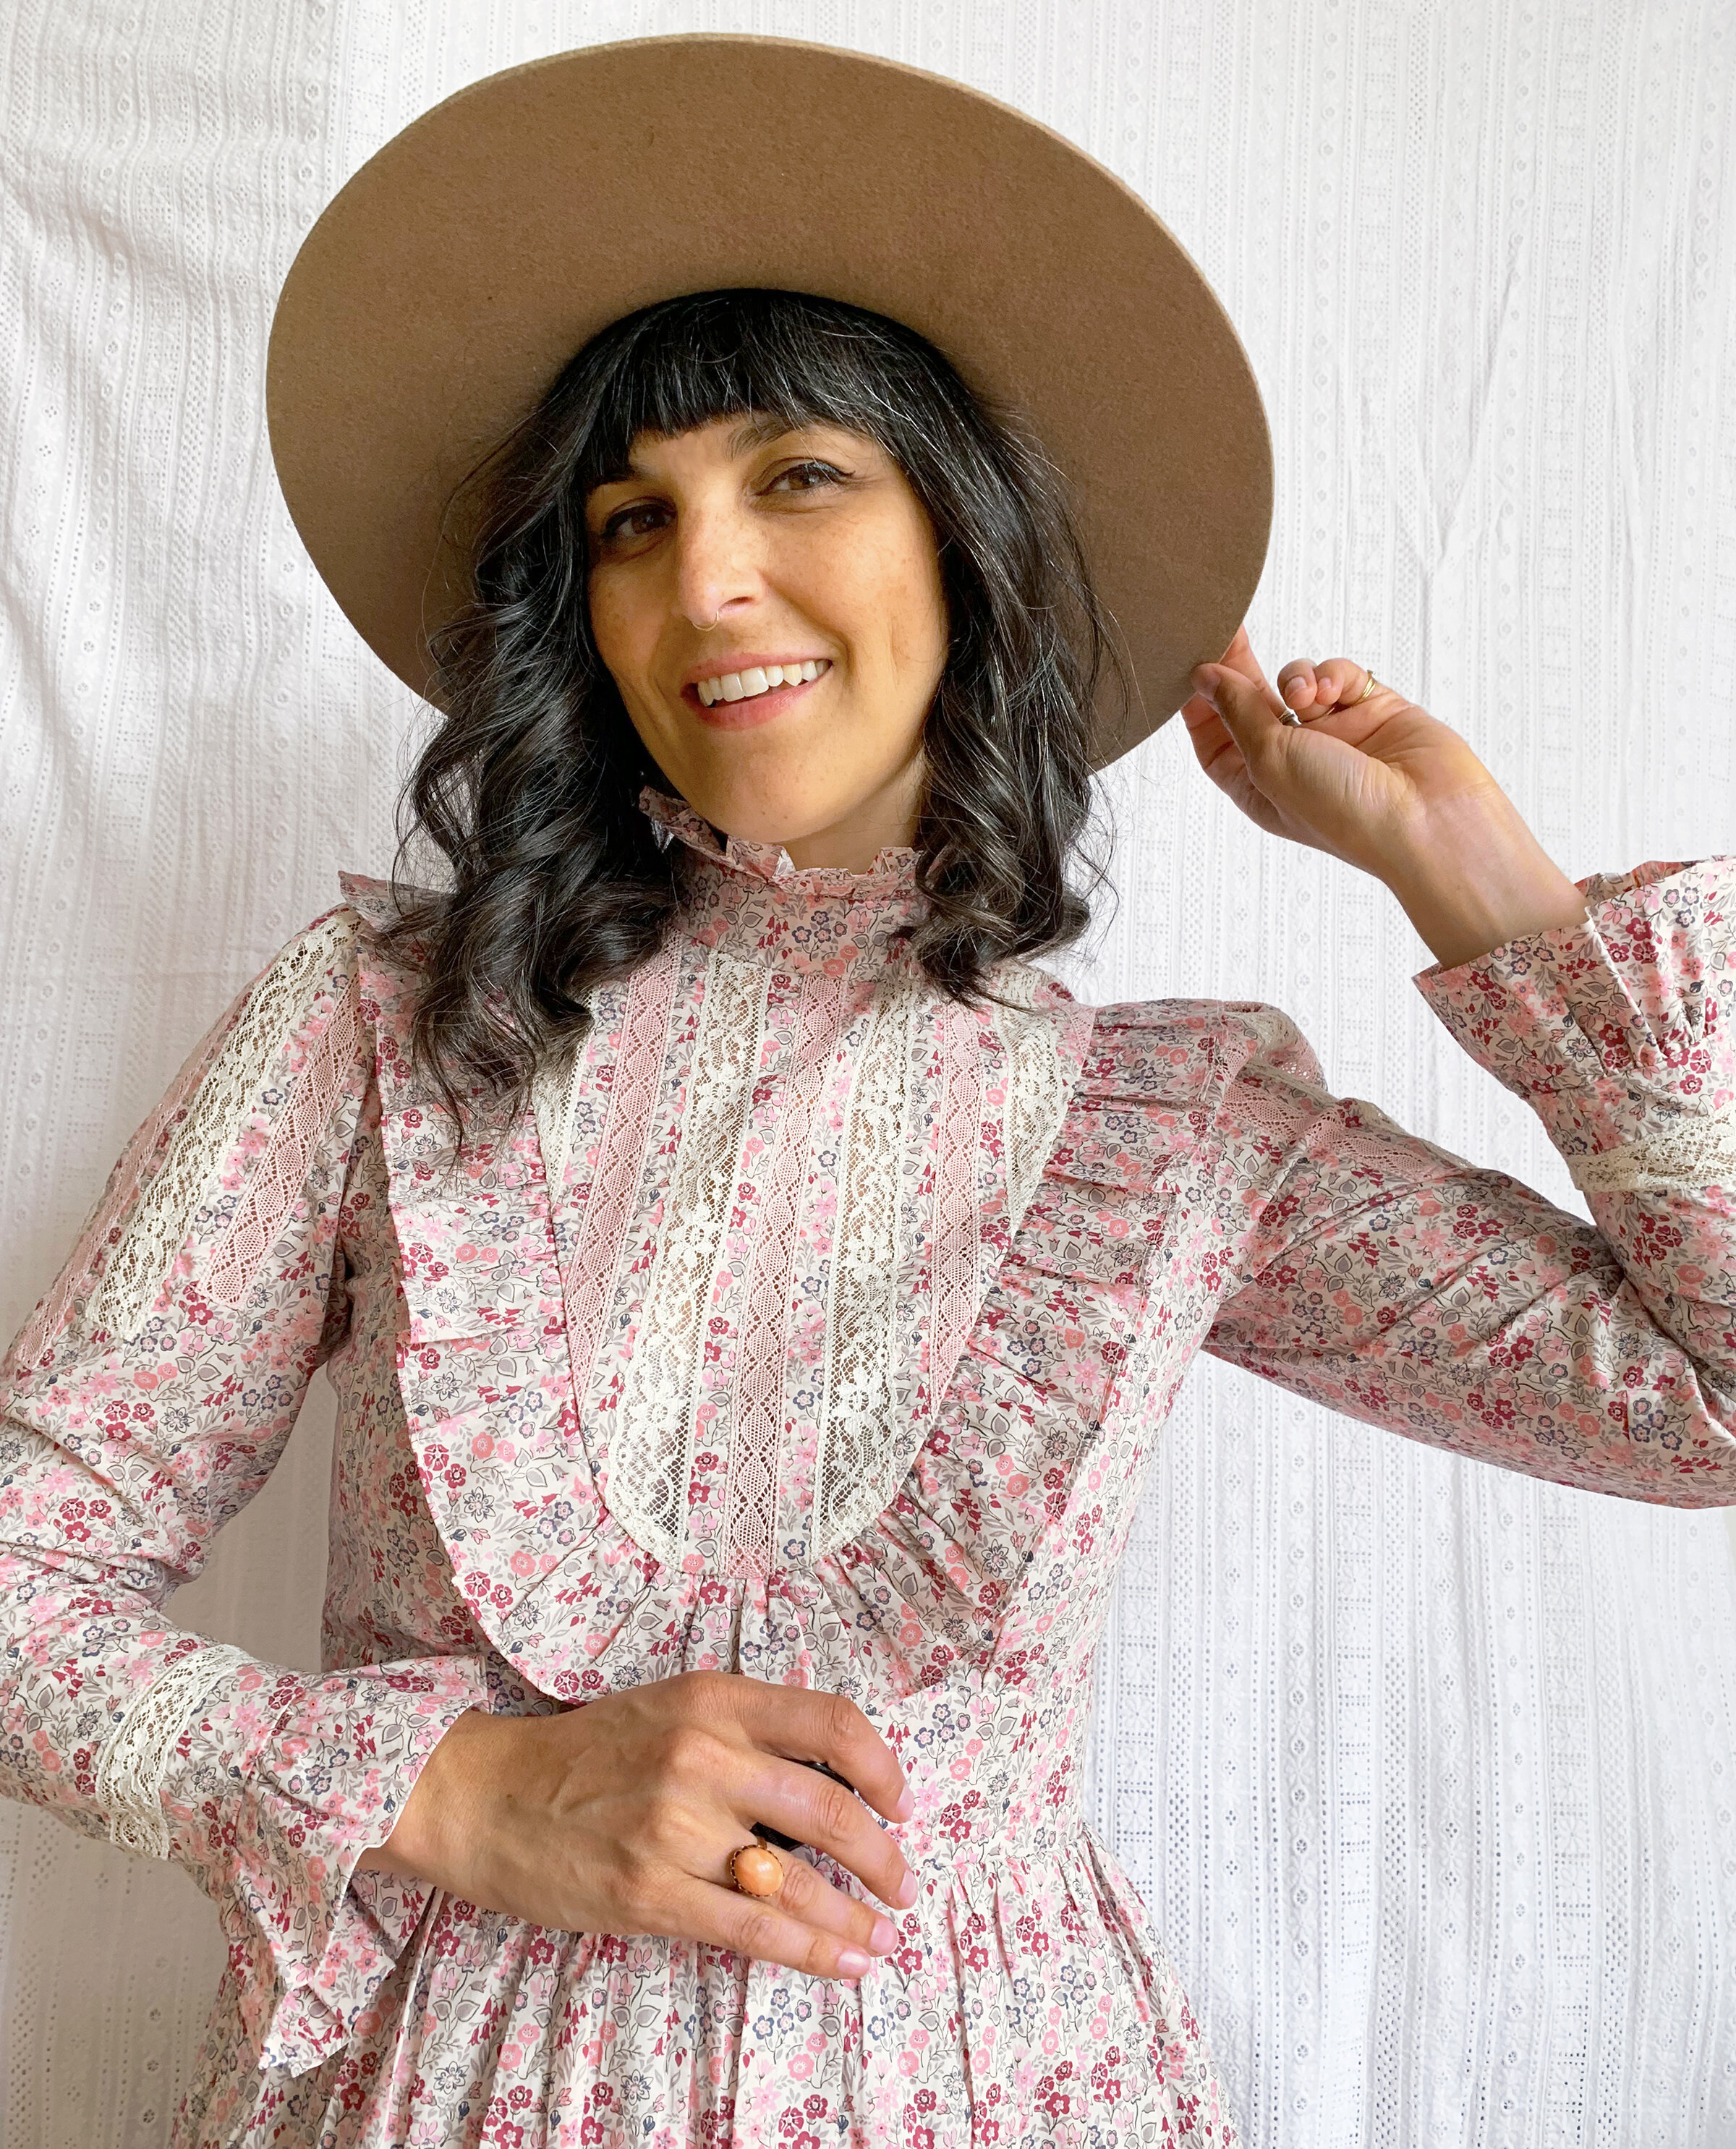
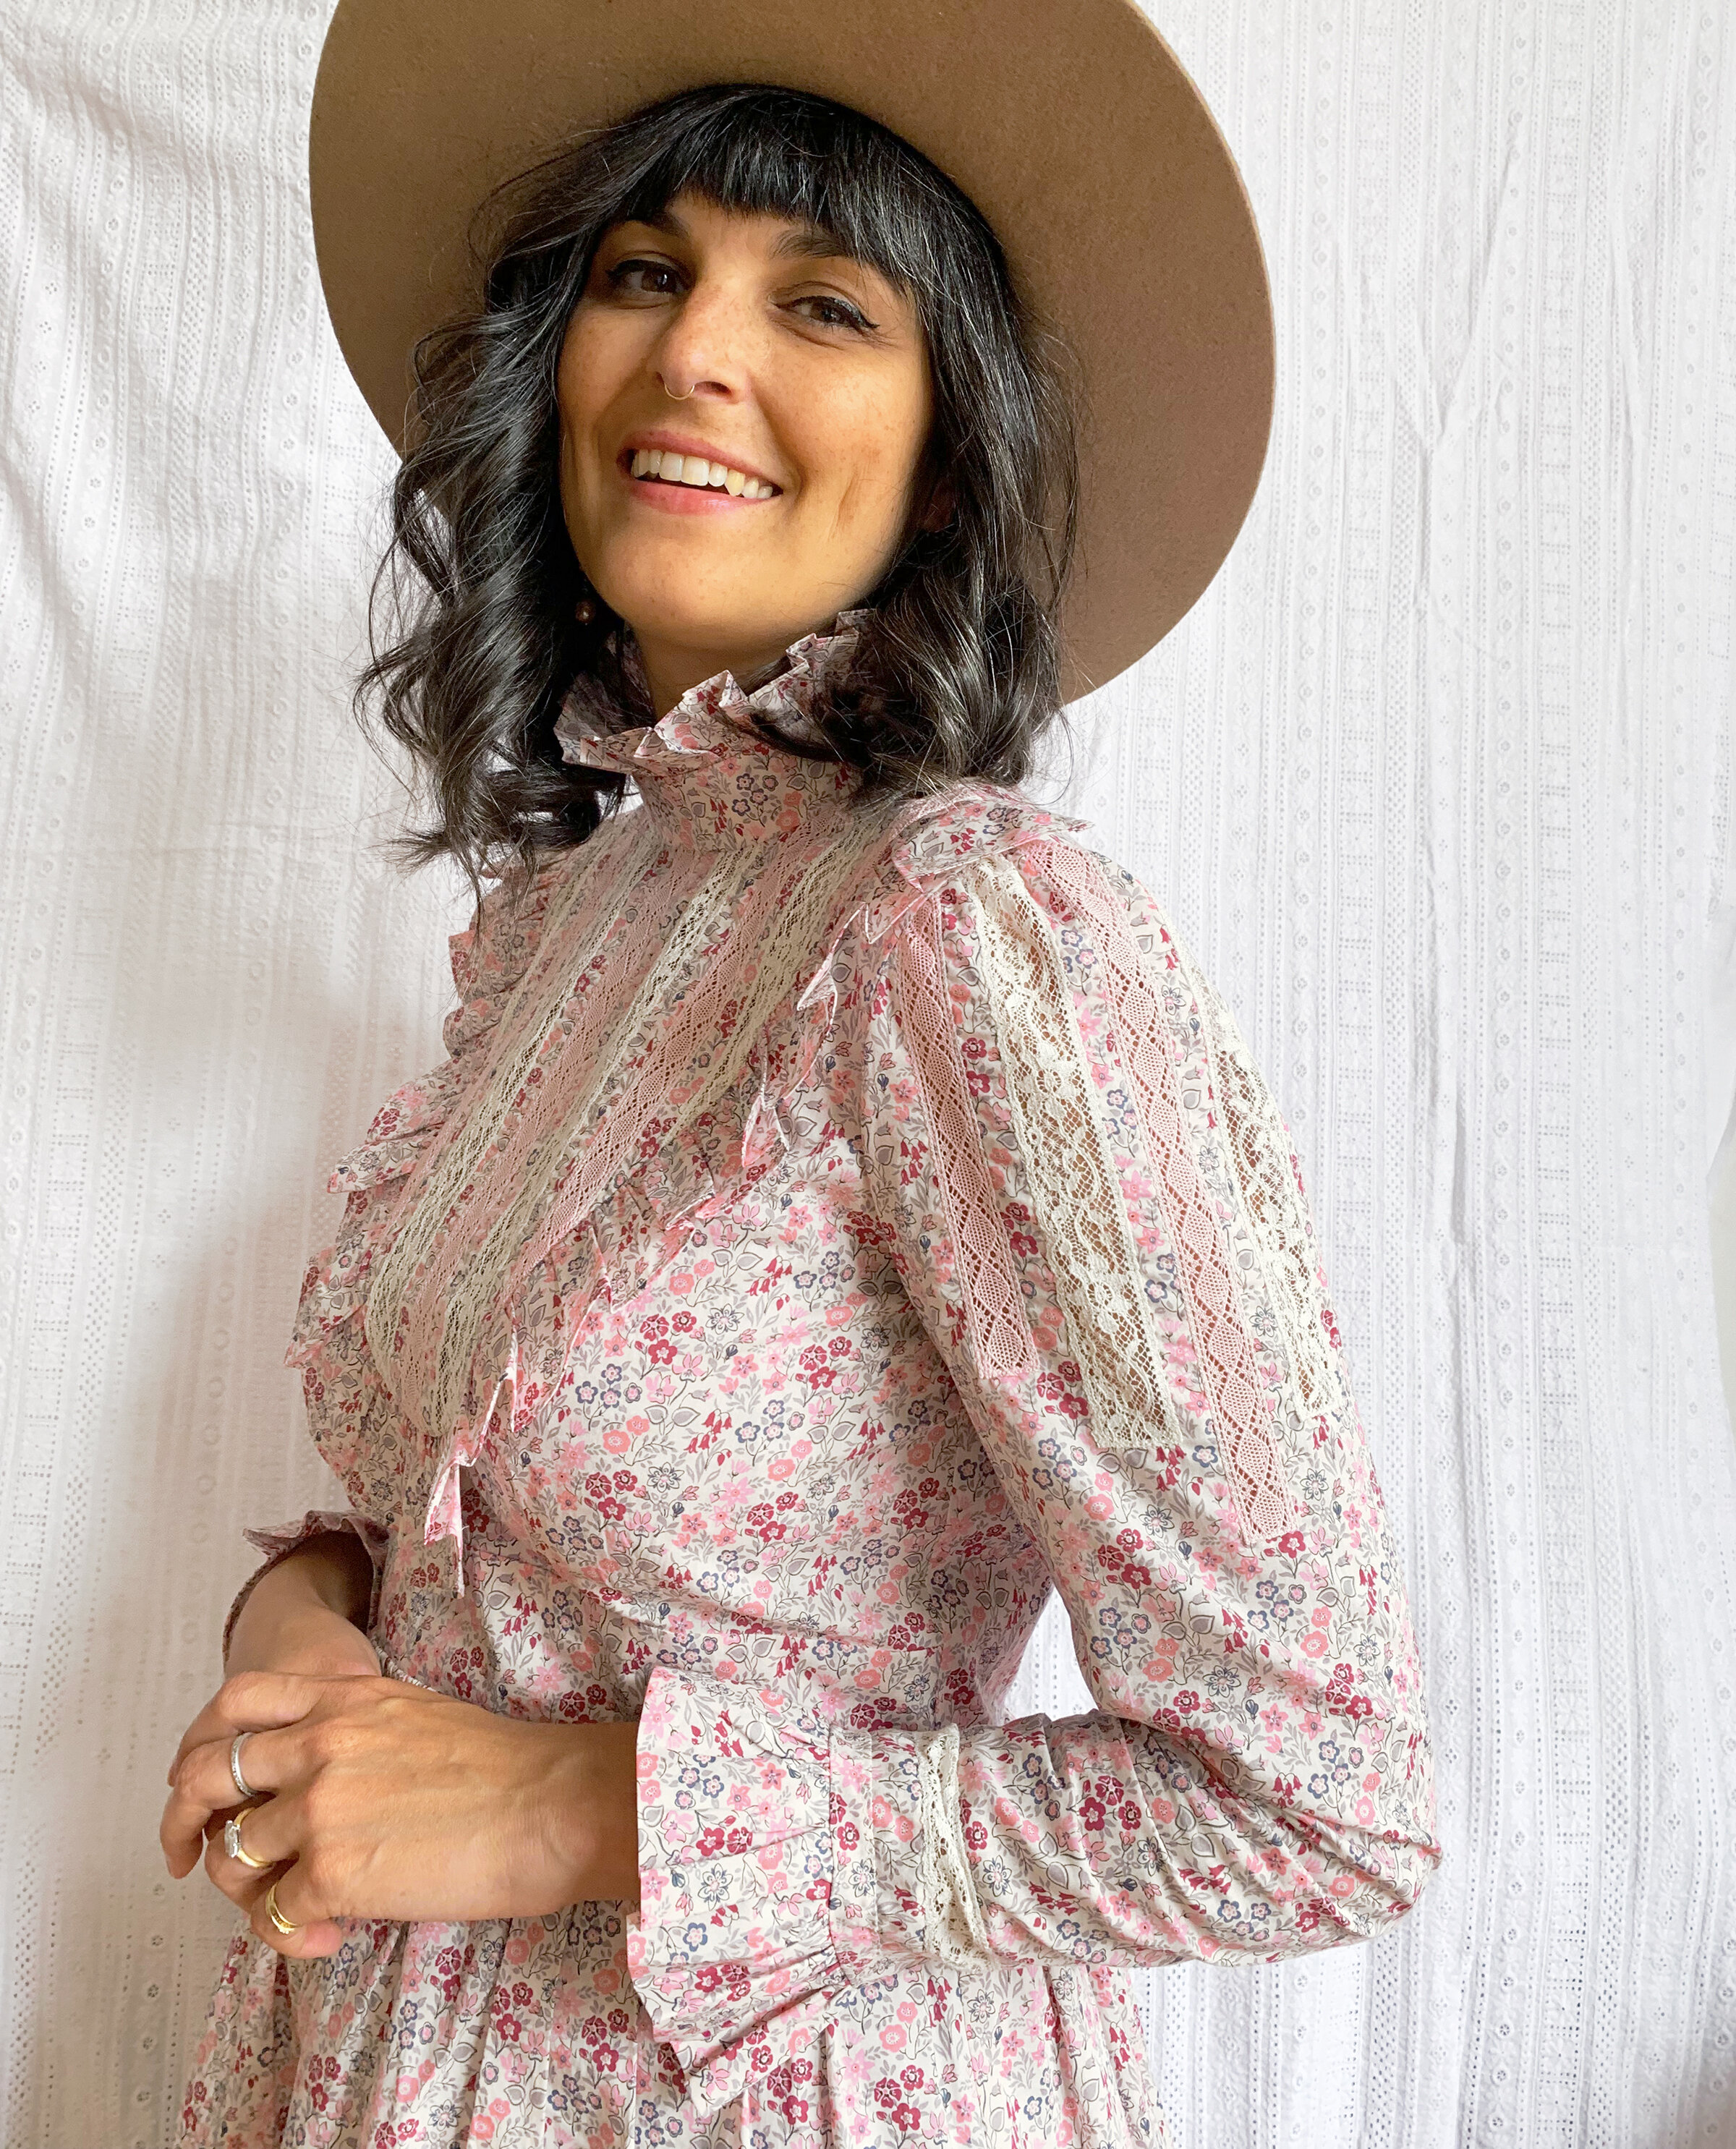
The finished dress!
In my last post, I talked about my process for selecting materials, patterns, and techniques for this project (including a link to my lace insertion tutorial). If you want to read about the process of making this dress, along with lots of pics, you may want to have a look there. Today, let’s see how all of those elements came together in the finished dress.
While I planned the bigger idea of this garment in my head, I did not cut all my fabric, or even all my pattern tissue pieces, ahead of time - instead I created each element as I went. I made the yoke, then had to cut the ruffle for the bodice. I assembled the bodice, then sat around deciding which sleeve to use. I did that for each major piece. This method only works if you know the pattern pieces will fit together in the end, which I did, but it still made for some uncertain moments.
If you sew, then you know: there are moments during many (most? all?) projects, when it just looks weird. The garment lacks structure, or the facings are flapping around, you need to lob 6” off the hem, there are not closures installed yet, whatever - it takes some imagination to know it’s gonna be ok.
I had a few moments with this one where I thought the dress was too “soft”. I love serving Little Bo Peep realness, but I’m surprisingly not that interested in an authentic Gunne Sax look. I was nervous this would look too authentically vintage or overly sweet. I prefer to create garments with an unclear timestamp, a balanced mix of vintage and current materials, and style.

In the end, it came out more than ok! The elements of this dress that make the style work for me are: a fitted sleeve (instead of a more vintage inspired full one), the mini skirt length, and the contrasting modesty levels of a super high neckline and a lacey bodice yoke.
I’ll wear this with tights most of the time, paired with Converse or Doc Martens, and layered with a darker coat (maybe even my leather moto jacket), and of course, a hat. It works equally well with a charcoal grey had and a camel one….if I owned brown boots I would style the dress with them, but that’s not the direction my personal style skews. This is definitely a fall/winter dress for me, but who knows, maybe I’ll wear it next spring, too.

One thing I am very glad I did is add a lining to the skirt. I used a light weight rayon bemberg, which is always such a pain to cut and work with, but the reward is worth it. It remains cool to the touch, static free, and glides over your tights.
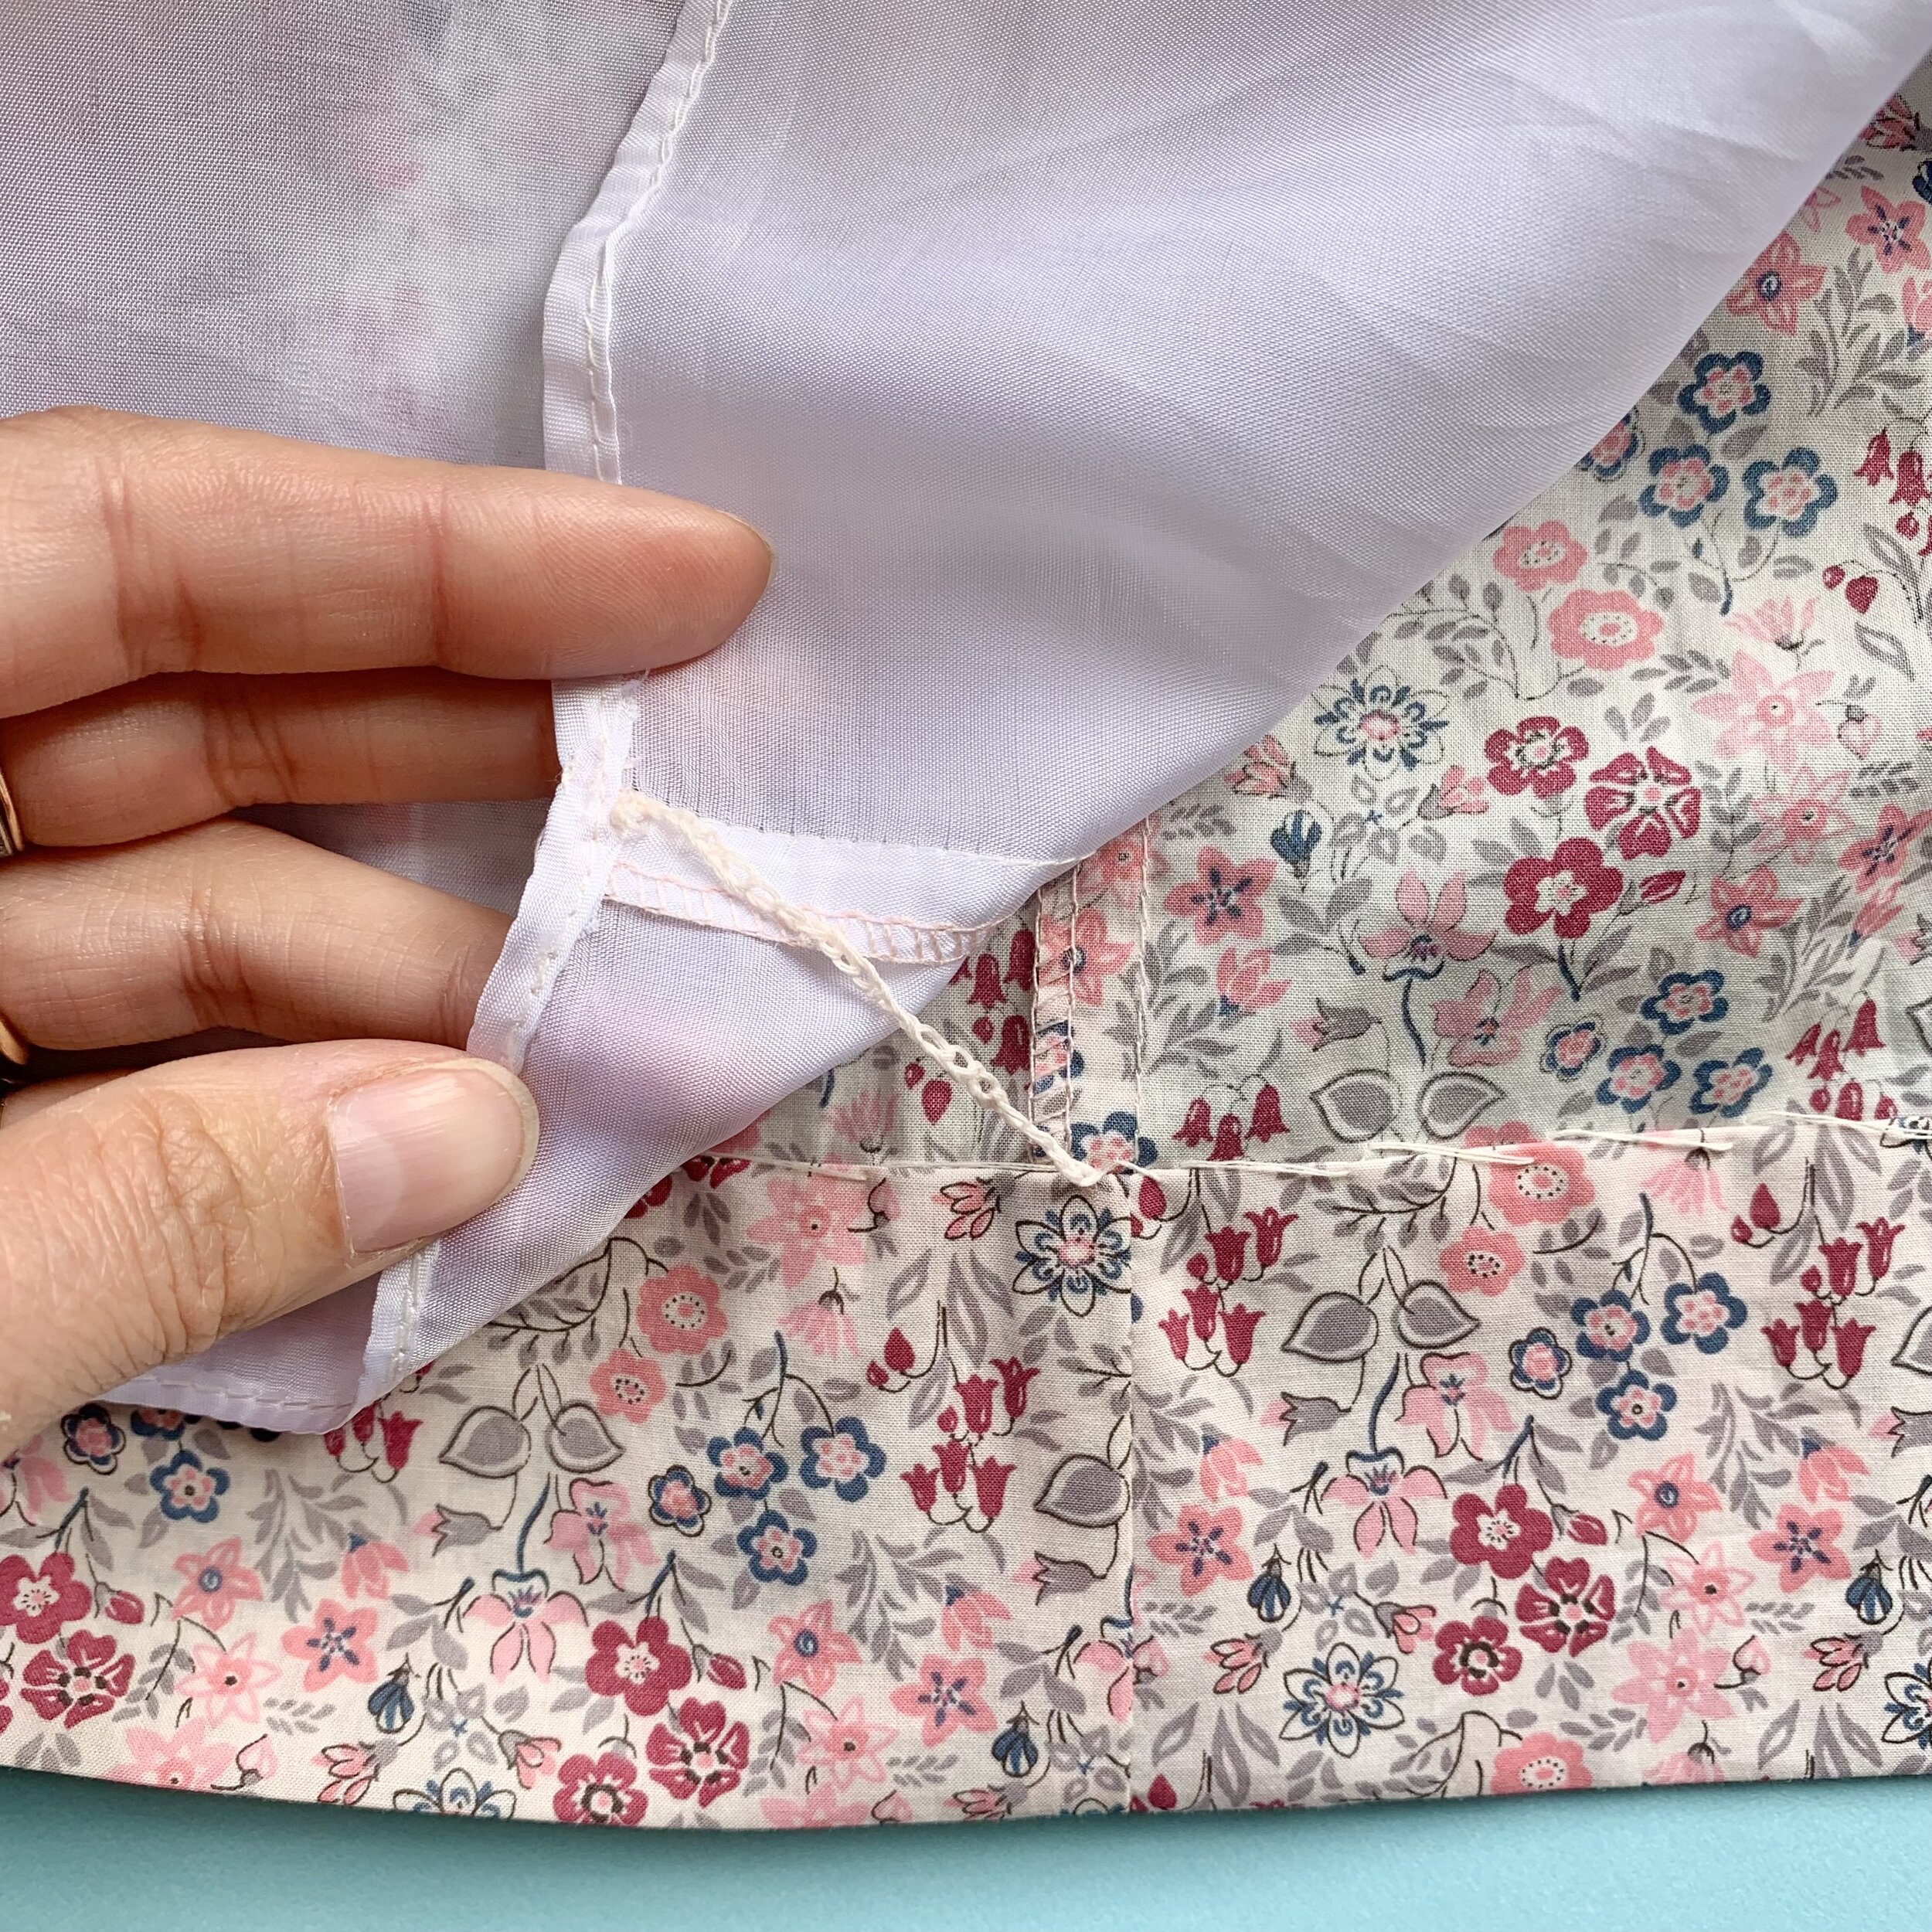
A glimpse inside the dress at the hand sewn hem, lining, and the crocheted swing tack that connects them.
I hemmed the dress by hand. I didn’t do that for years because it reminded me of the dresses I sewed in middle school out of quilting cotton. But you know what? It’s a way nicer finish than doing it by machine. I’ve come back around. The lining was sewn completely by machine.
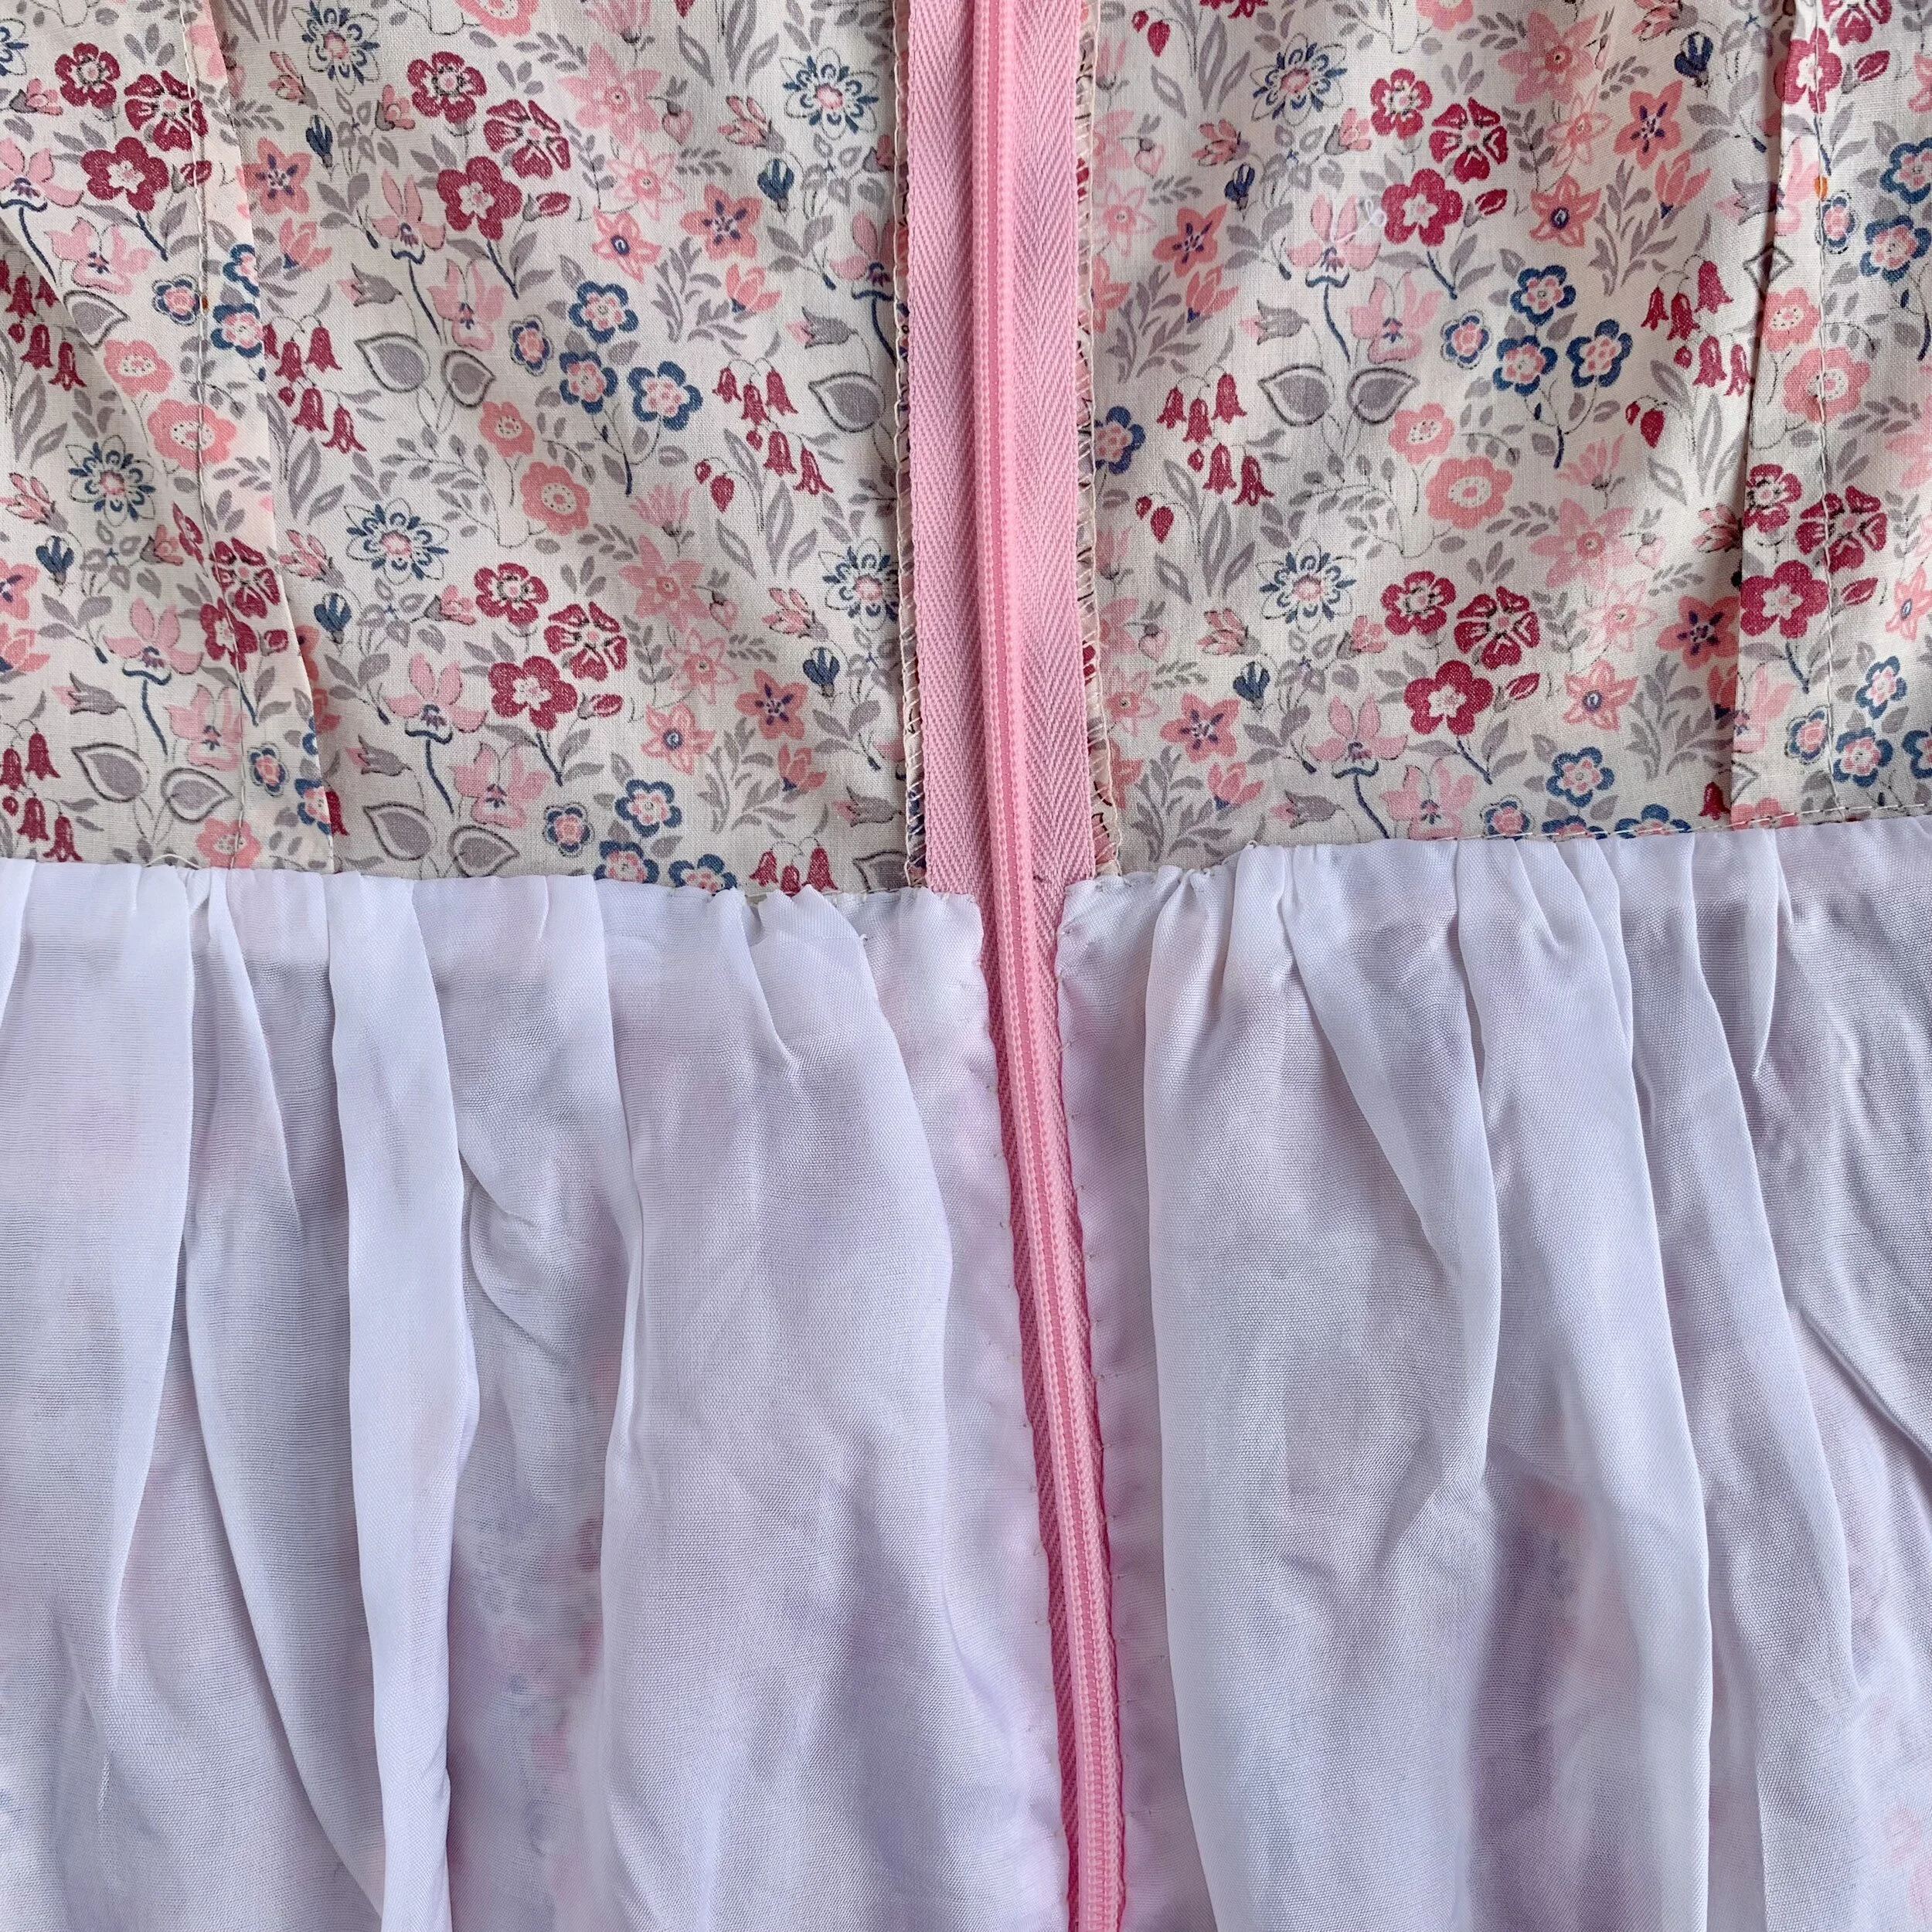
The skirt and lining are connected by a hand crocheted swing tack. I added three swing tacks: one at the center back seam, and one at each side seam. These prevent your lining from twisting around your body or riding up as you walk. That shouldn’t happen with a well fitting dress (this one has plenty of ease), but it’s a nice detail to keep things in the right place.


Click on an image and it will enlarge.
As long as we are looking inside the dress, here are a few more peeks! I finished my seams with a 3 thread narrow overlock stitch on my new serger (I need to post a review of it). This proved to be the least bulky finish, especially along the seam for the yoke inset, with a very gathered ruffle inserted into it! I’m pleased with the inside, it’s very clean and everything feels smooth when I am wearing the dress.

I’m looking forward to wearing this one! I know I won’t reach for it as often as my new (and similar) absolute favorite dress in my wardrobe, but this has a special feel and I’m happy to have it in my closet.
Thinking back to my last post about starting this project: did the trick of giving myself a sewing assignment get me out of my rut? Hmmm… Yes and No. I think I need another assignment, actually. Time to start planning it. XO, Martha