BASIC TAILORING - WHERE TO BEGIN WITH TAILORING YOUR COAT SEWING PROJECT
My seam allowances have been clipped and pressed flat with steam & my trusty clapper.
For the last couple of weeks, I’ve been sewing a coat, and as I showed the process on Instagram, I was surprised by the level of curiosity around the insides, the construction - the tailoring. I have sewn my fair share of coats, and each time I make one, I layer in a few techniques beyond what is included in the pattern instructions, and attempt to perfect any that I may not have nailed in the past. Unlike a blouse or elastic waisted pants, most of us don’t sew a coat too often, so there is less opportunity to practice finicky skills. Because of this, I really slow down when sewing coats.
I’m not going to get too deep into a topic with an incredibly rich history, but it will be helpful to define the basics before we dive in to why I think adding a little bit of tailoring to your coat will help it last longer and feel sturdier.
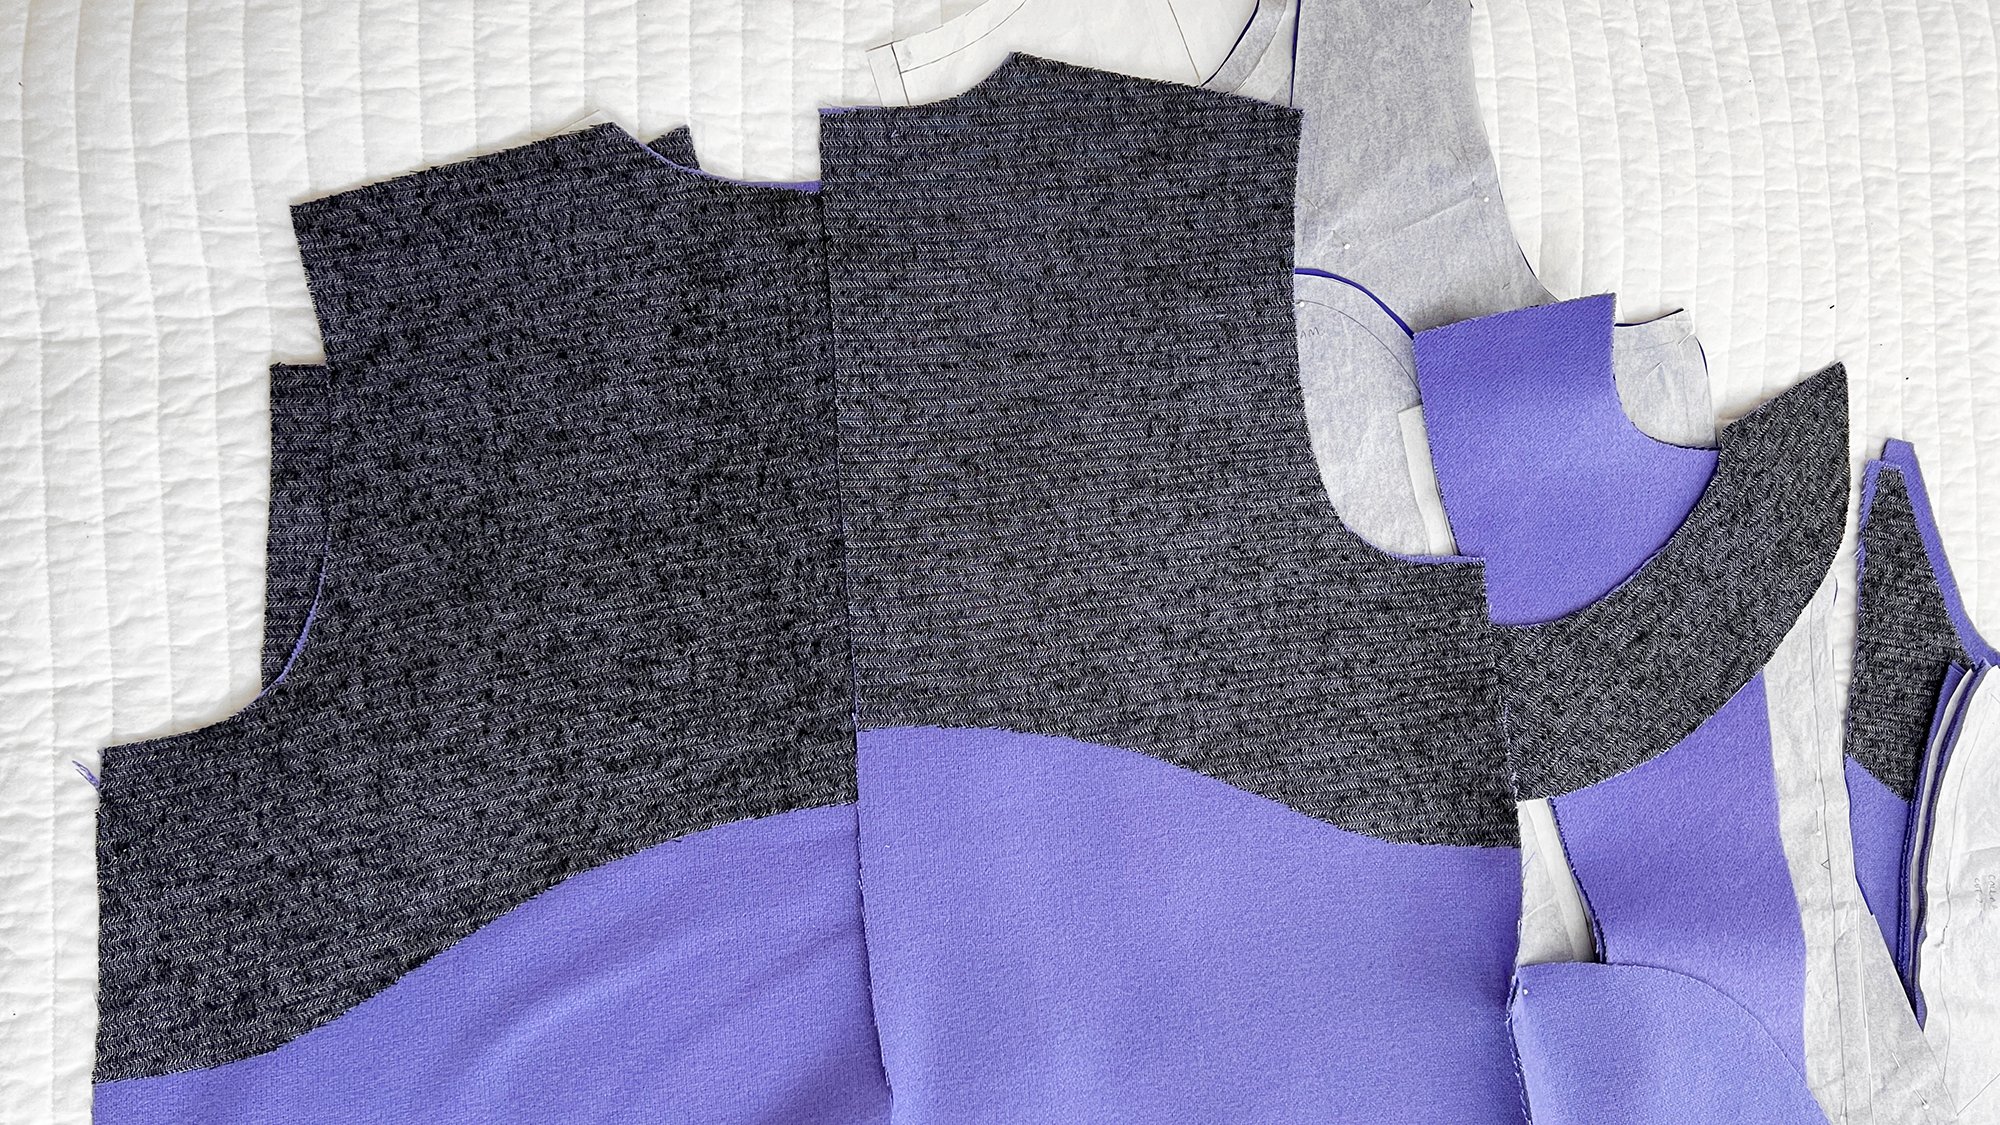
I’ve used fusible interfacing (as opposed to sew-in), which is considered a “speed tailoring” technique. Here you can see the upper back section of the back pieces, plus a few other pieces.
WHAT IS TAILORING?
I’m not a tailor nor a fashion historian, so let’s see what Wikipedia has to say (bold emphasis added by me):
“Tailoring men's jackets by adding underlayers of padding became fashionable in Europe by the 14th century. Over the years, additional areas were padded to provide an understructure that helped the garment lie neatly on the body. By the 19th century, well-tailored garments were carefully fit to the wearer with a more subtly shaped understructure. Even with the advent of modern machines, nearly 75 percent of a custom-tailored suit's stitching is still done by hand.”
Sounds good. But now you may be wondering, “what is all this padding?” I know the answer to that one! Pad stitches are hand sewn stitches, attaching 2 layers of fabric together to provide structure and to gently force the materials into holding a curved shape. The stitches themselves add padding, and are used in varying degrees of density and direction to achieve various effects. Other layers that could be considered padding or understructure include shoulder pads, sleeve heads, and various interfacings or underlinings.

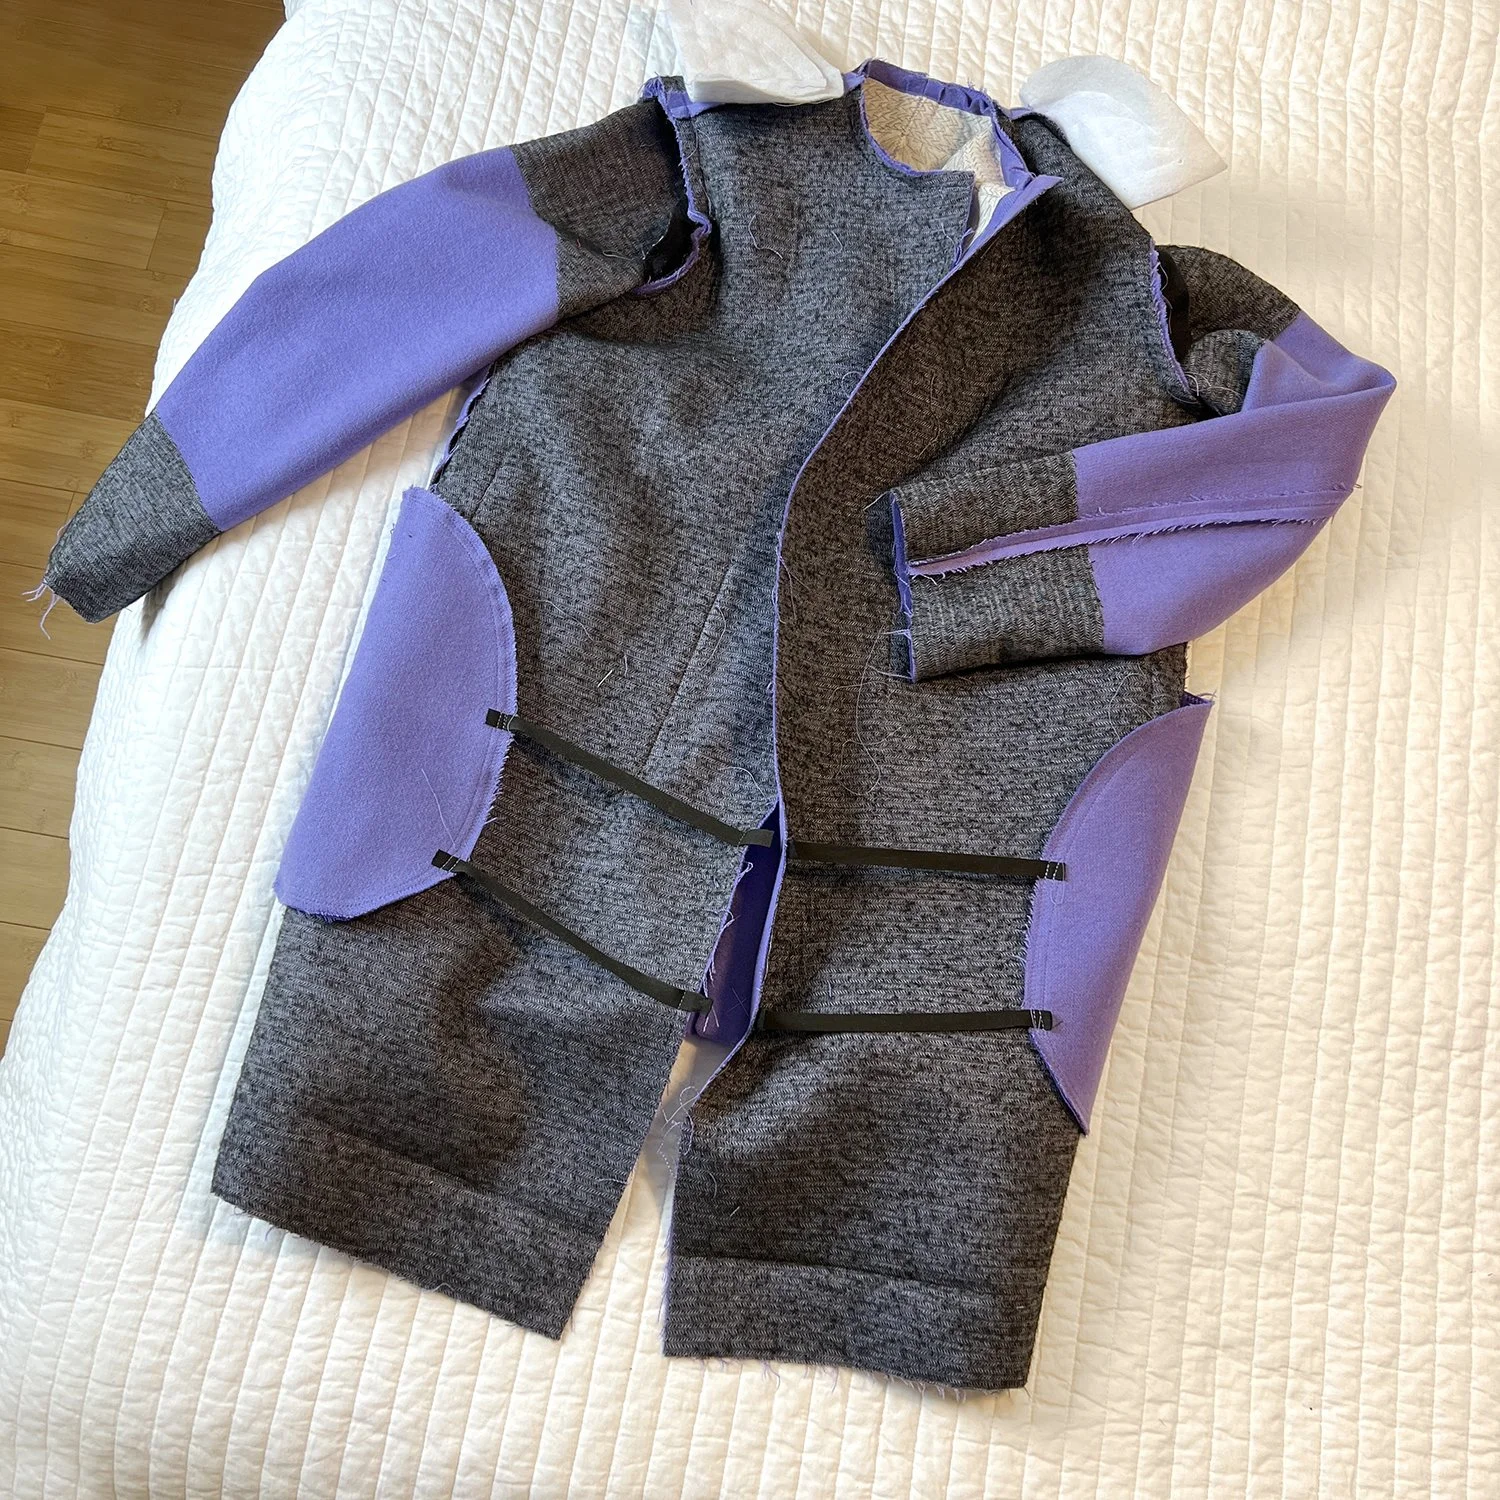
The shell of my coat before any padding or lining is added. I will eventually hand tack all seam allowances into place and catch stitch the hems in place.
The kind of tailoring being discussed in that Wikipedia entry is traditional, typically reserved for men’s suits (as with pockets, women’s clothes don’t always get the same treatment) and high end designer garments. As tailoring adds more time and expertise into the construction of the garments, it makes them more expensive to purchase. For home sewing, you are spending a chunk of time making yourself something, why not go all in? The difference of a few hours of work could add a level of satisfaction you haven’t previously unlocked.

I’ve pinned and loosely basted things into place: shoulder pads and pad stitched collar are ready to be installed.
WHAT DOES TAILORING HAVE TO DO WITH HOME SEWING?
Honestly, as much or as little as you like. Perhaps you sew your own clothes because you want them to fit your body perfectly. In that case, why not “provide an understructure that help(s) the garment lie neatly on the body”?
As I said on Instagram, you don’t have to do any tailoring at all, and you will get a lovely garment. I sewed this black wool coat last year, following the McCall’s instructions pretty faithfully, which meant using fusible interfacings and a shoulder pad (I also added a sleeve head). The resulting coat is awesome. Something else I said, in that same breath, is that what keeps sewing interesting for me is adding in new challenges and techniques to keep myself constantly learning - but you don’t have to do that every single time.

My pad stitched under collar. Below the roll line, padding stitches are more dense, and you can see how they are adding a rolled shape to the fabric. On the rest of the collar, they are more loose, and I made them more dense again at the collar points. When pressing, these stitches allow you to control and set the shape of your collar.

A detail of the pad stitching on the collar.

Padding stitches attach the two layers of material (in this case wool coating and hair canvas), but should not be visible on the face of your fabric. I have used a single strand of silk thread in a matching color.
WHERE CAN I LEARN MORE?
This may be because I learned to sew before The Internet was widely available for home use, long before Google existed, but my answer will always be BOOKS. There are many, MANY sewing books out there, but I always come back to older ones, with tried and tested techniques, many editions, and timeless information. I always recommend Tailoring and The Reader’s Digest Guide to sewing. I am not providing links because I think you should find these second hand, which will get you the best price!
These books have complimentary information, and both clearly demonstrate some tailoring basics, notably, how to pad stitch a collar. They also contain valuable information on how and where to interface garments. Tailoring is a newer edition, and has some info on what to look for when purchasing interfacing. I am also working on a round up of sources.
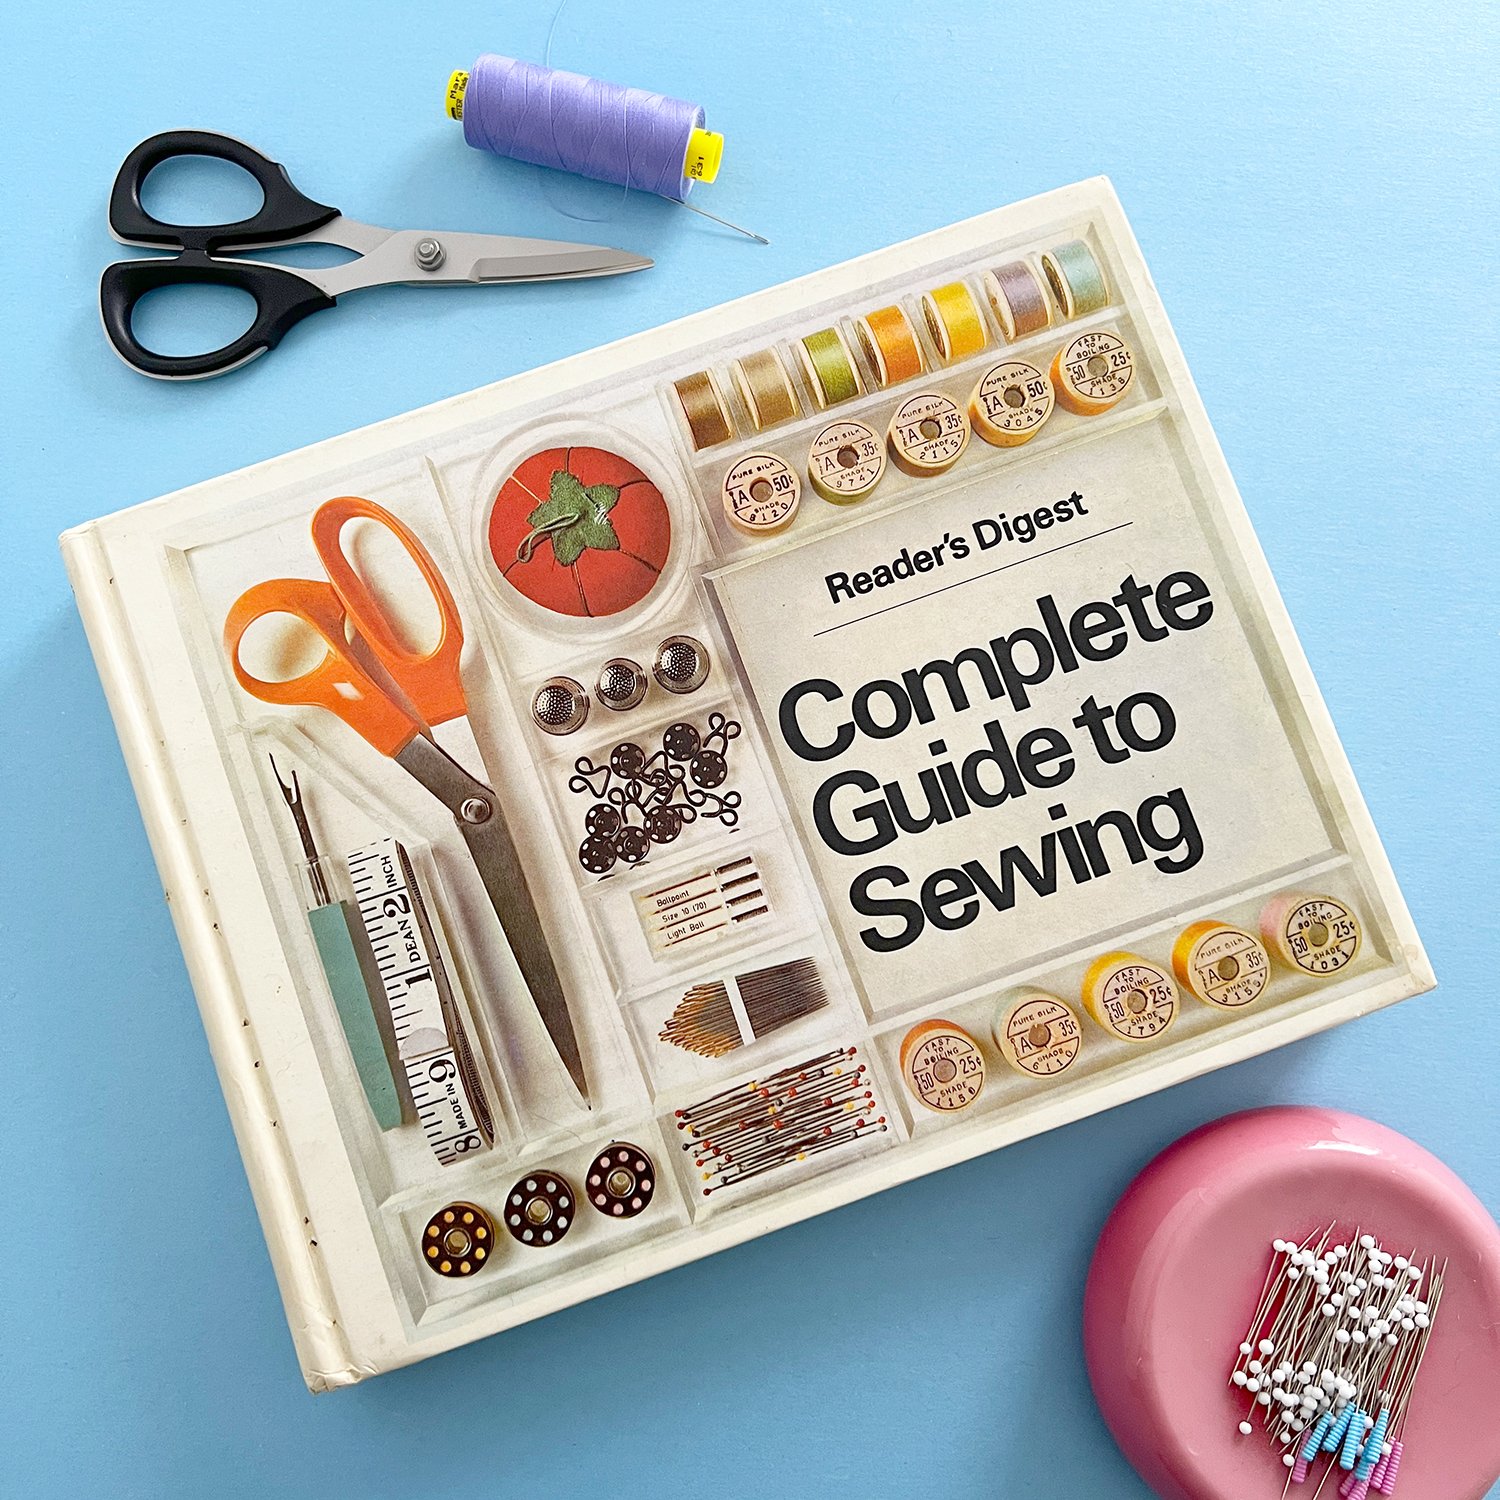
The Reader’s Digest Complete Guide to Sewing is a rich resource of timeless techniques! It can be found used for very low prices. Shown here with a pad stitched under collar from a previous project.

Tailoring was my introduction to many of these techniques. Some sections are brief, but many techniques are explained, giving a comprehensive overview.
WHAT TECHNIQUES SHOULD I START WITH?
That is up to you - what is your tolerance for spending time on these kinds of things? Are you ok with some hand sewing? Because much of this is hand sewing. Pad stitching can be done by machine, but by hand will yield the most impressive results. Shoulder pads and sleeve heads go in very quickly, with just some big loose hand stitches.
Also, what part of your coat you want to look extra crisp? Do you want your hems to hold their shape and look smooth? Test out some fusibles and maybe even a lighter weight hair canvas. Is it important to you that your collar is never floppy? You’re gonna love pad stitching. Do you want your shoulder line to be sharp? The answer is shoulder pads, and don’t even think about those giant ones sewn into your aunt’s 80s blouse, that’s not what you’re gonna use!
You don’t need to dive into the deep end. Adding a high quality fusible interfacing to your coat/jacket fronts, upper back, upper sleeves, and hems, is a fantastic step that is often left off of patterns. You will need to experiment though, because every fabric and interfacing combination reacts differently - each coat project is unique!


I mitered the corners where my back walking vent and hem met. This made a nice clean finish. I bagged the lining through this opening, and hand sewed the lining around the vent. (Clicking either photo will enlarge it.)

Sleeve head basted into place. A sleeve head ensures that the seam allowances from your sleeve won’t create a lumpy surface on the exterior of your coat. They help fill the top edge of the sleeve, by the seam. Adding a sleeve head is an easy way to create a clean shoulder line.
WHAT PATTERN SHOULD I USE?
Any tailoring techniques you find in books can be added into a pattern that doesn’t have them. Just as you can decide to use a different construction method than what you find in an instruction booklet - you are in charge! Older outerwear patterns, in particular those from the 50s, 60s, and 70s, tend to mention things like pad stitching. Many of my patterns from the 80s include it, and of course they suggest a shoulder pad! But you can grab a current season pattern at your local Joann and add to it. Or just follow the directions!! If this is your first coat, that might be the best course of action, and then you can see what you will be up for next time.
The pattern I suggested on Instagram was the Grainline Yates Coat. This pattern has separate pieces for the shell, lining, and interfacing, as well as great instructions for interfacing in general, and easy to follow instructions for bagging a lining. That could be a great place to start.
There is a lot of time and hand sewing that goes into the guts of a coat! In the end, all of this will be covered by lining, but it will maintain the structure of the coat.
You will learn by doing. I know sewing a coat isn’t cheap - you can read my cost breakdown in my previous post. But if you consider it as a learning experience, a hobby, and a warm garment you can wear many times, I think the cost per wear is impressively low. Let me know if you have specific questions in the comments, I’ll do my best to answer.
As always, if you found this post helpful and would like to support this blog, here’s the link to my Ko-fi. (All Ko-fi tips go towards hosting & supporting this website.) Happy shopping! XO, Martha