McCALLS 7848 - SEWING A COAT PART 2: PATTERN ALTERATIONS
I love pattern tissue! I prefer to cut mine instead of tracing. I made all of my adjustments before moving on to cutting my fabric.
Before I begin sewing any project, I tissue fit (meaning I pin together the pattern pieces and try on the paper to check for basic fit) and make my usual adjustments to the tissue paper pattern pieces. For this pattern, I cut shoulders, neckline, collar, and armscye at my usual Big 4 size 12, then graded to 14 at waist, and 16 at the hip. I cut view C and lengthened the skirt 5”, and did not use contrast fabric.
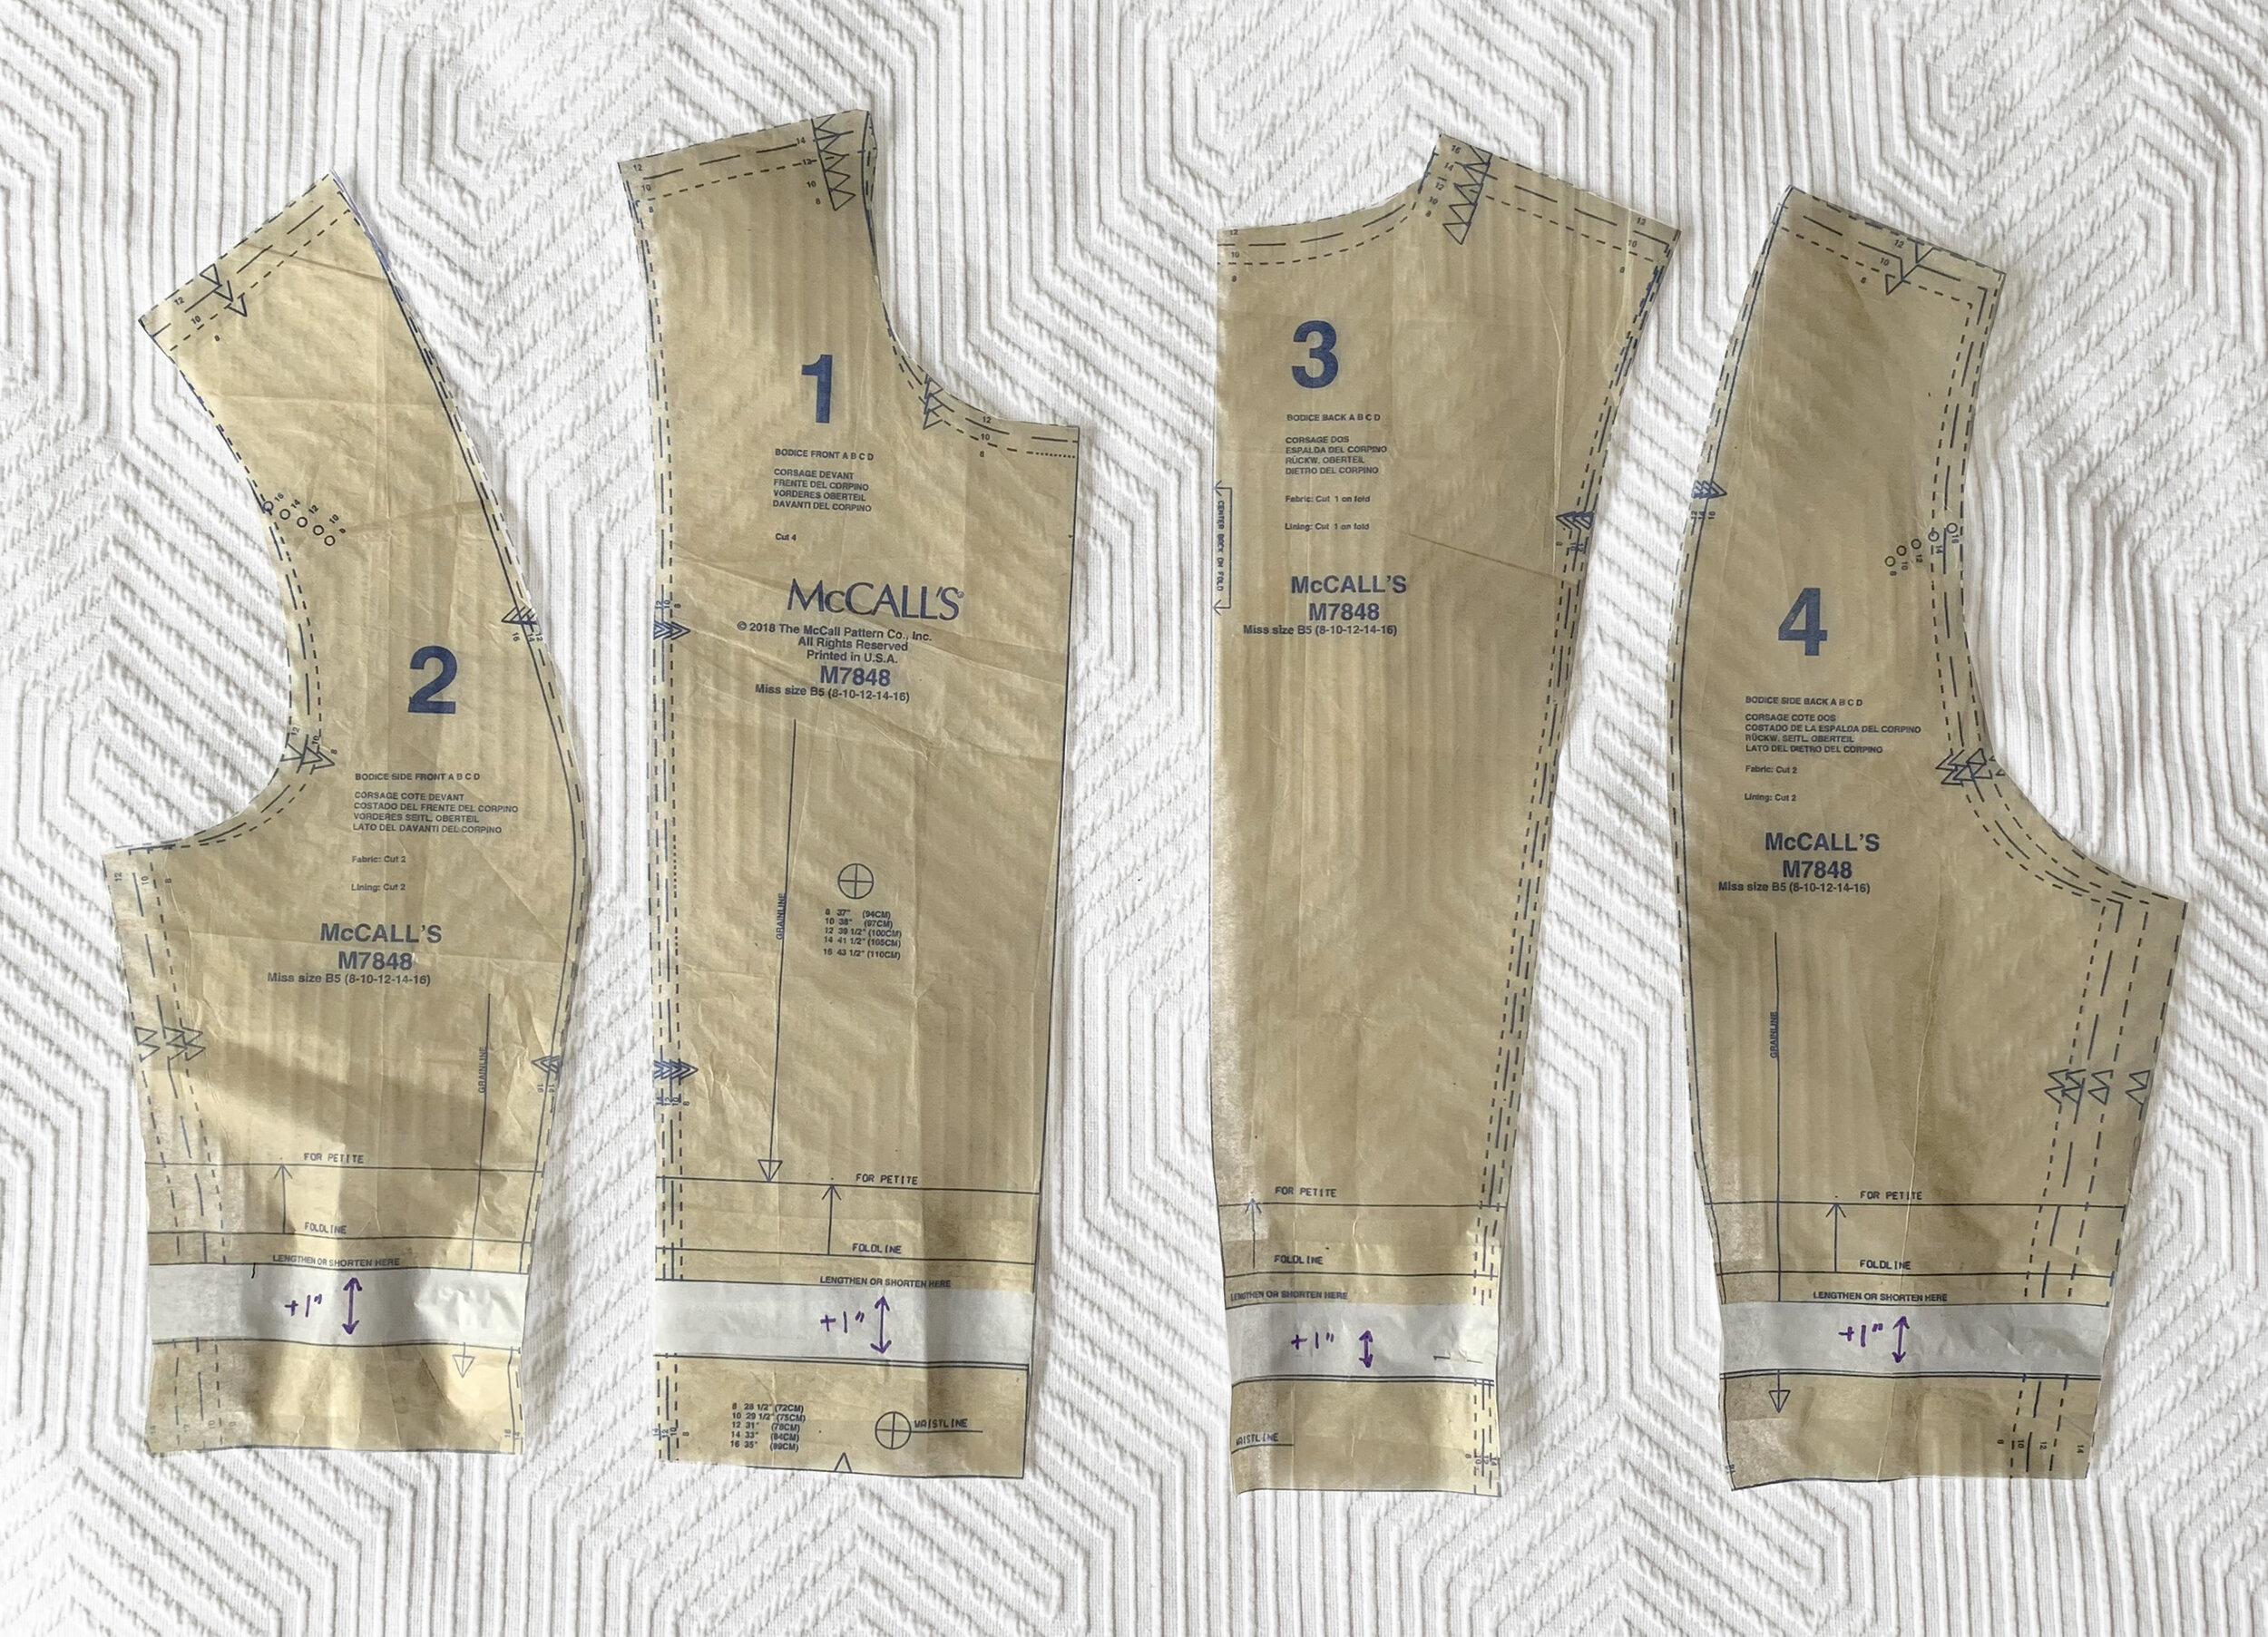
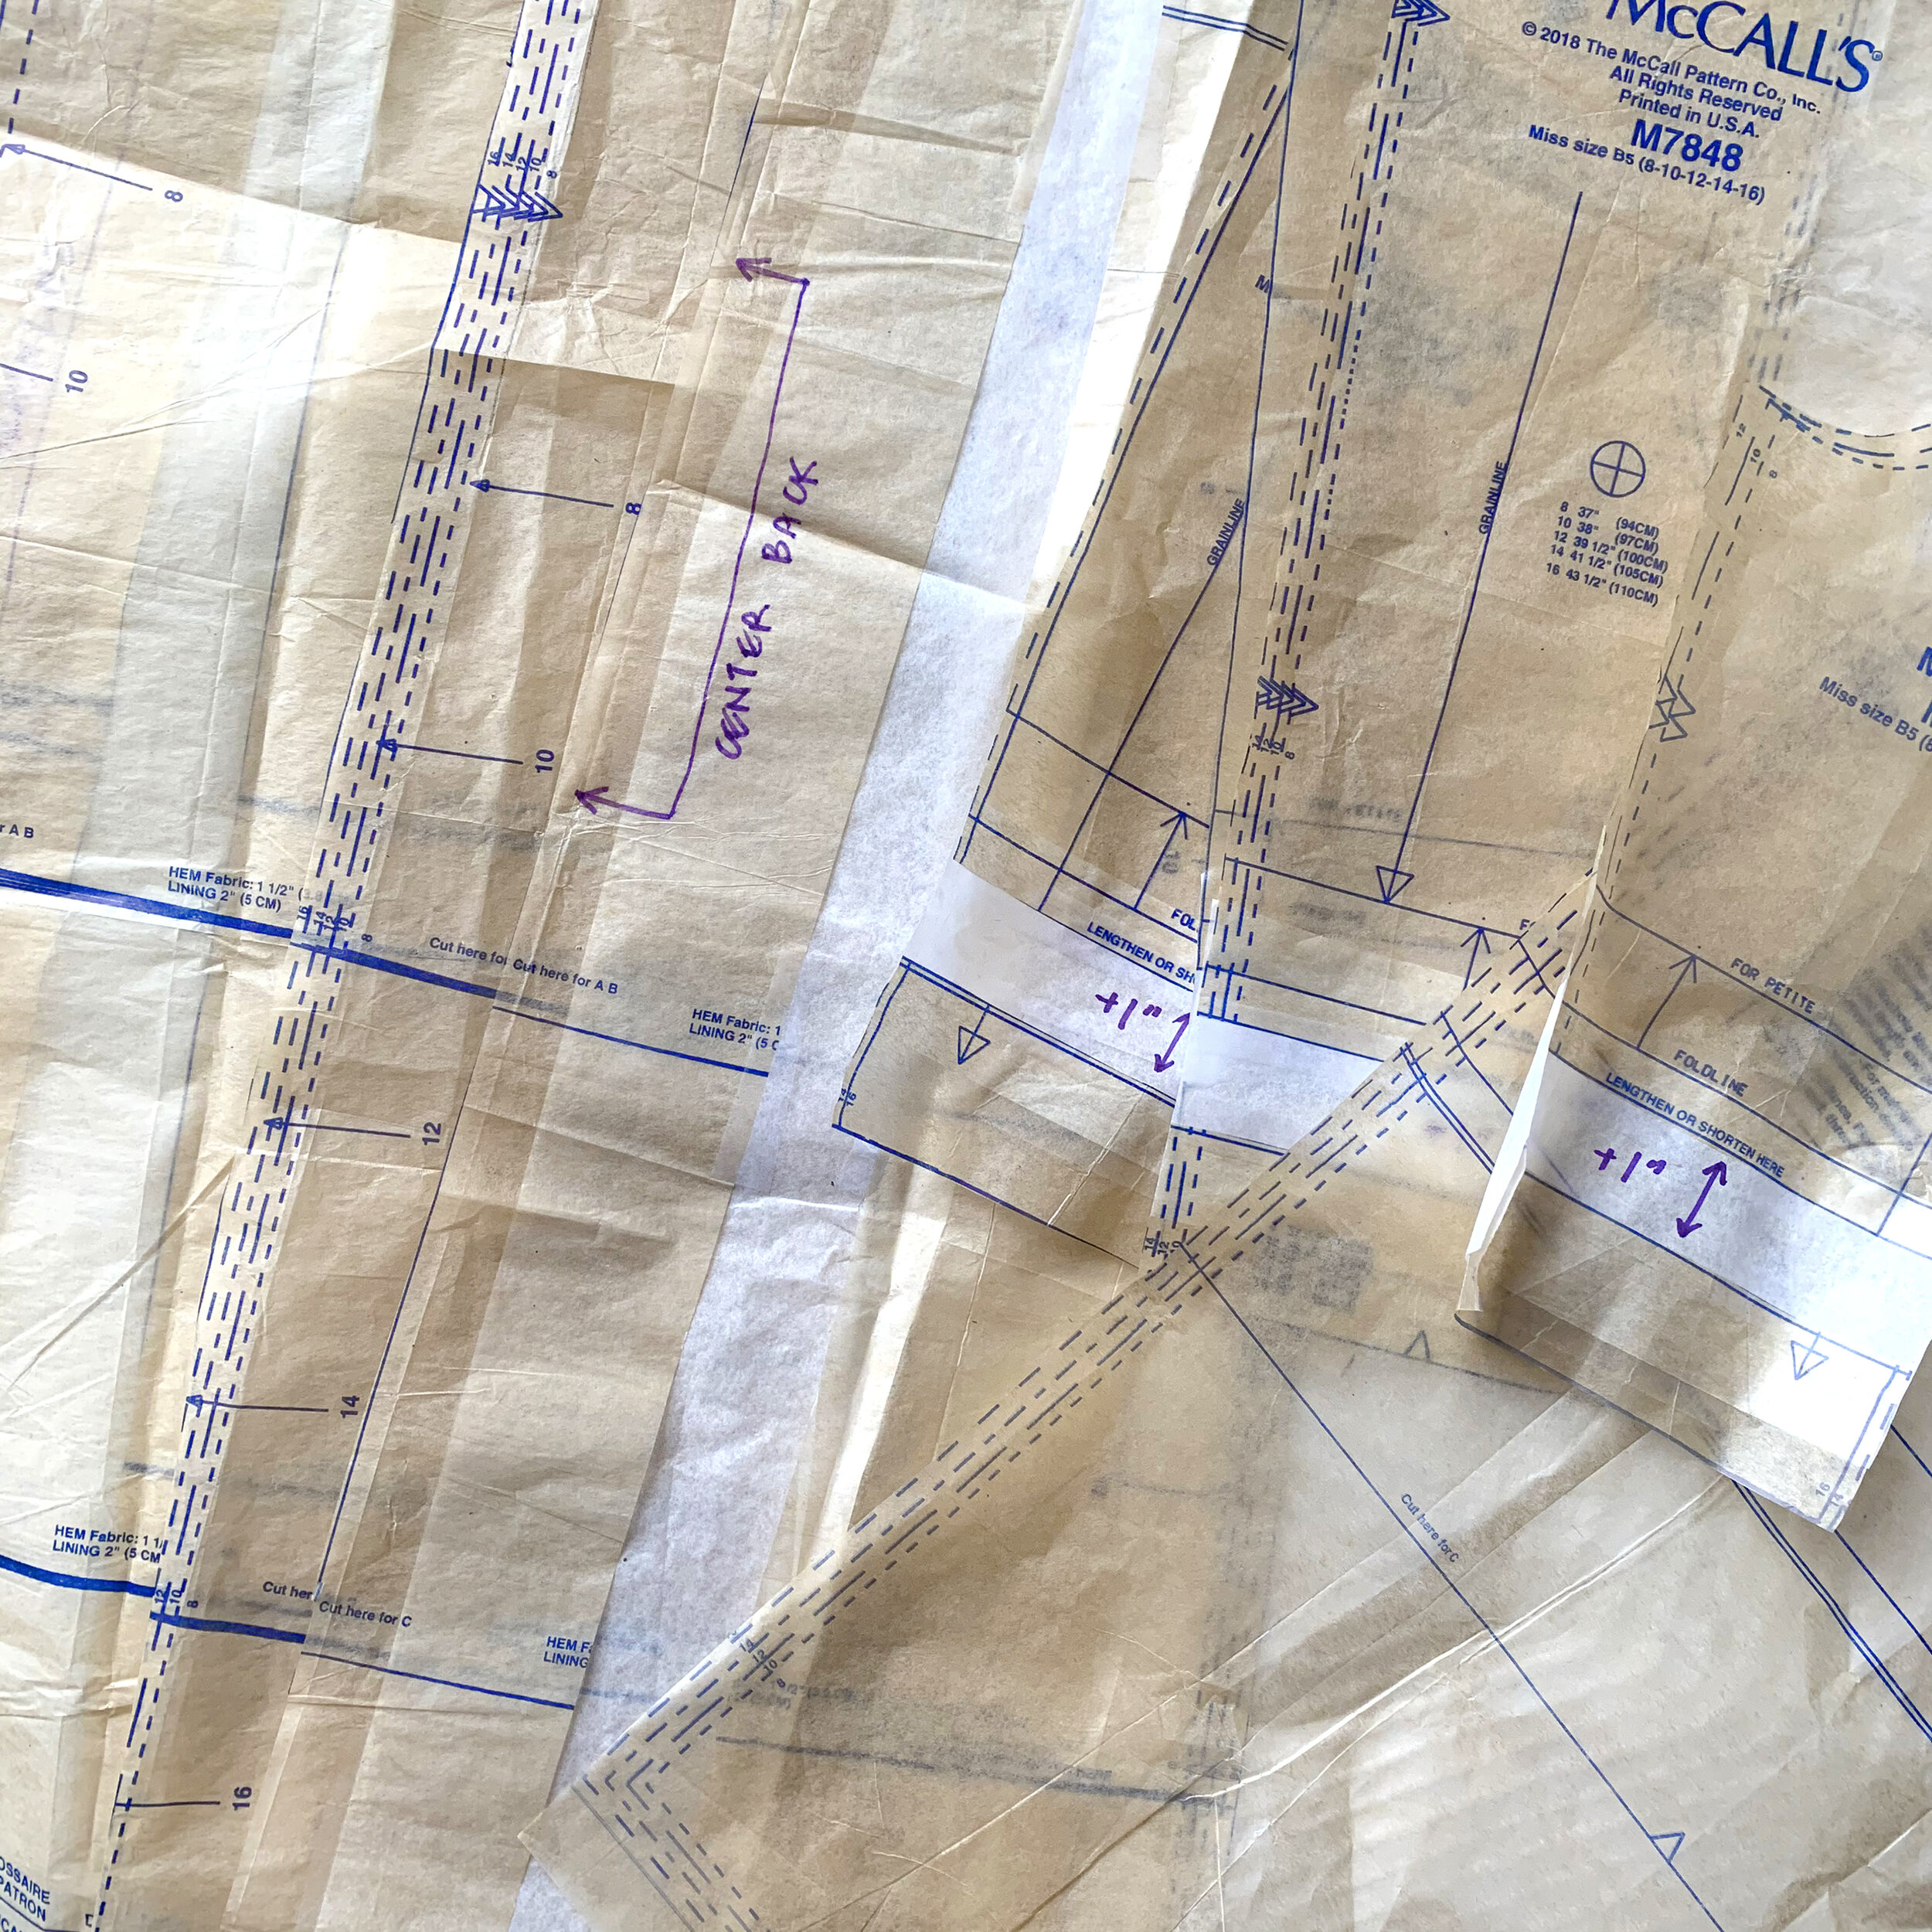
Here you can see how I added 1” to the bodice length, and graded from size 12 to size 14 at the waist - you can see it best at the far right side of this image.
This pattern requires minimal alteration for me (as usual for McCall’s), and as always, I started with my typical modifications. I lengthened the bodice 1”, but later in the process shortened it 1/2”, so ultimately I only lengthened 1/2”. I slashed and spread the center back skirt piece to give myself 1” total extra width at the low hip.

Once the 2 piece sleeve is assembled, it has more dimension, and mimics the shape of your arm, gently bent at the elbow.
My biggest change was to swap out the sleeve. This pattern comes with a 1 piece sleeve, and I prefer a 2 piece sleeve for better range of movement. I borrowed the sleeve from Butterick 6385. I have always read that 2 piece sleeves are more “designer", and provide better range of movement. They mimic the natural bend in your elbow, as opposed to being shaped like a straight tube. I went through our coat closet. Every winter coat in there, even a cheap one from H&M, has 2 piece sleeves. Even jean jackets! So I was sold. The pattern pieces look quite different from the 1 piece sleeve pattern that came with 7848.

My coat is view C of McCall’s 7848, but the sleeves were borrowed from Butterick 6385.
Before cutting or sewing, I cut out the 2 piece sleeve pattern, without selecting a size yet. I figured I could make these patterns work together because one is McCall’s and one is Butterick. These brands have slightly different pattern blocks, but the sizing is similar because they are sister brands. I walked my seam lines. This means, I marked the actual seam lines (5/8” in from edge of pattern piece), and then overlapped them, “walking” them to match the entire length of the seam. The sleeve should have ease, aka be a little longer than the armscye piece. My armscye is cut at size 12. It seemed like the size 12 sleeve might be a bit small in that armscye. I’ve learned the hard way over the years: you can cut something smaller, but you can’t cut it bigger! So I went with size 14.
My pattern is now ready, I can begin cutting my fabric with confidence! XO Martha