McCALLS 7848 - SEWING A COAT PART 3: SHELL CONSTRUCTION

My tissue pattern has been altered, now it’s time to start sewing! The first step is sewing the “shell”, or the outside, fashion fabric portion of my coat. Once I had everything cut out and pinned together, it went together easily; I found the pattern to be well drafted. The instructions do not include any information regarding pressing, seam finishing, or grading, so I kept my Tailoring book by my side throughout. Unfortunately, right before I pressed my seams, I noticed something was off with my fabric: some pieces were notably darker than others. At first I didn’t believe my eyes, but the fabric has a shading issue, meaning the dye was absorbed unevenly, creating some dark/light patches across the yardage.

I had to lighten this photo to capture the shading issue, but it was very visible to the naked eye. It wasn’t until after assembling the bodice that I noticed!
I know from my work as a textile designer that this is just something that happens sometimes in the dyeing process - and may be why this bolt ended up at a jobber! I had to re-cut 2 bodice pieces. While cutting, I was reminded of the importance of thoroughly reading the pattern instructions and tissue *before you start cutting* - I didn’t have enough fabric to cut the facings. It was also at this time that I remembered I had purchased the end of the bolt. UGH. I'll get back to that later.

If the face and back of your fabric look similar enough that you might make a mistake, add a chalk X on the back side! It will brush off easily after your pieces are assembled. I learned this trick the hard way.
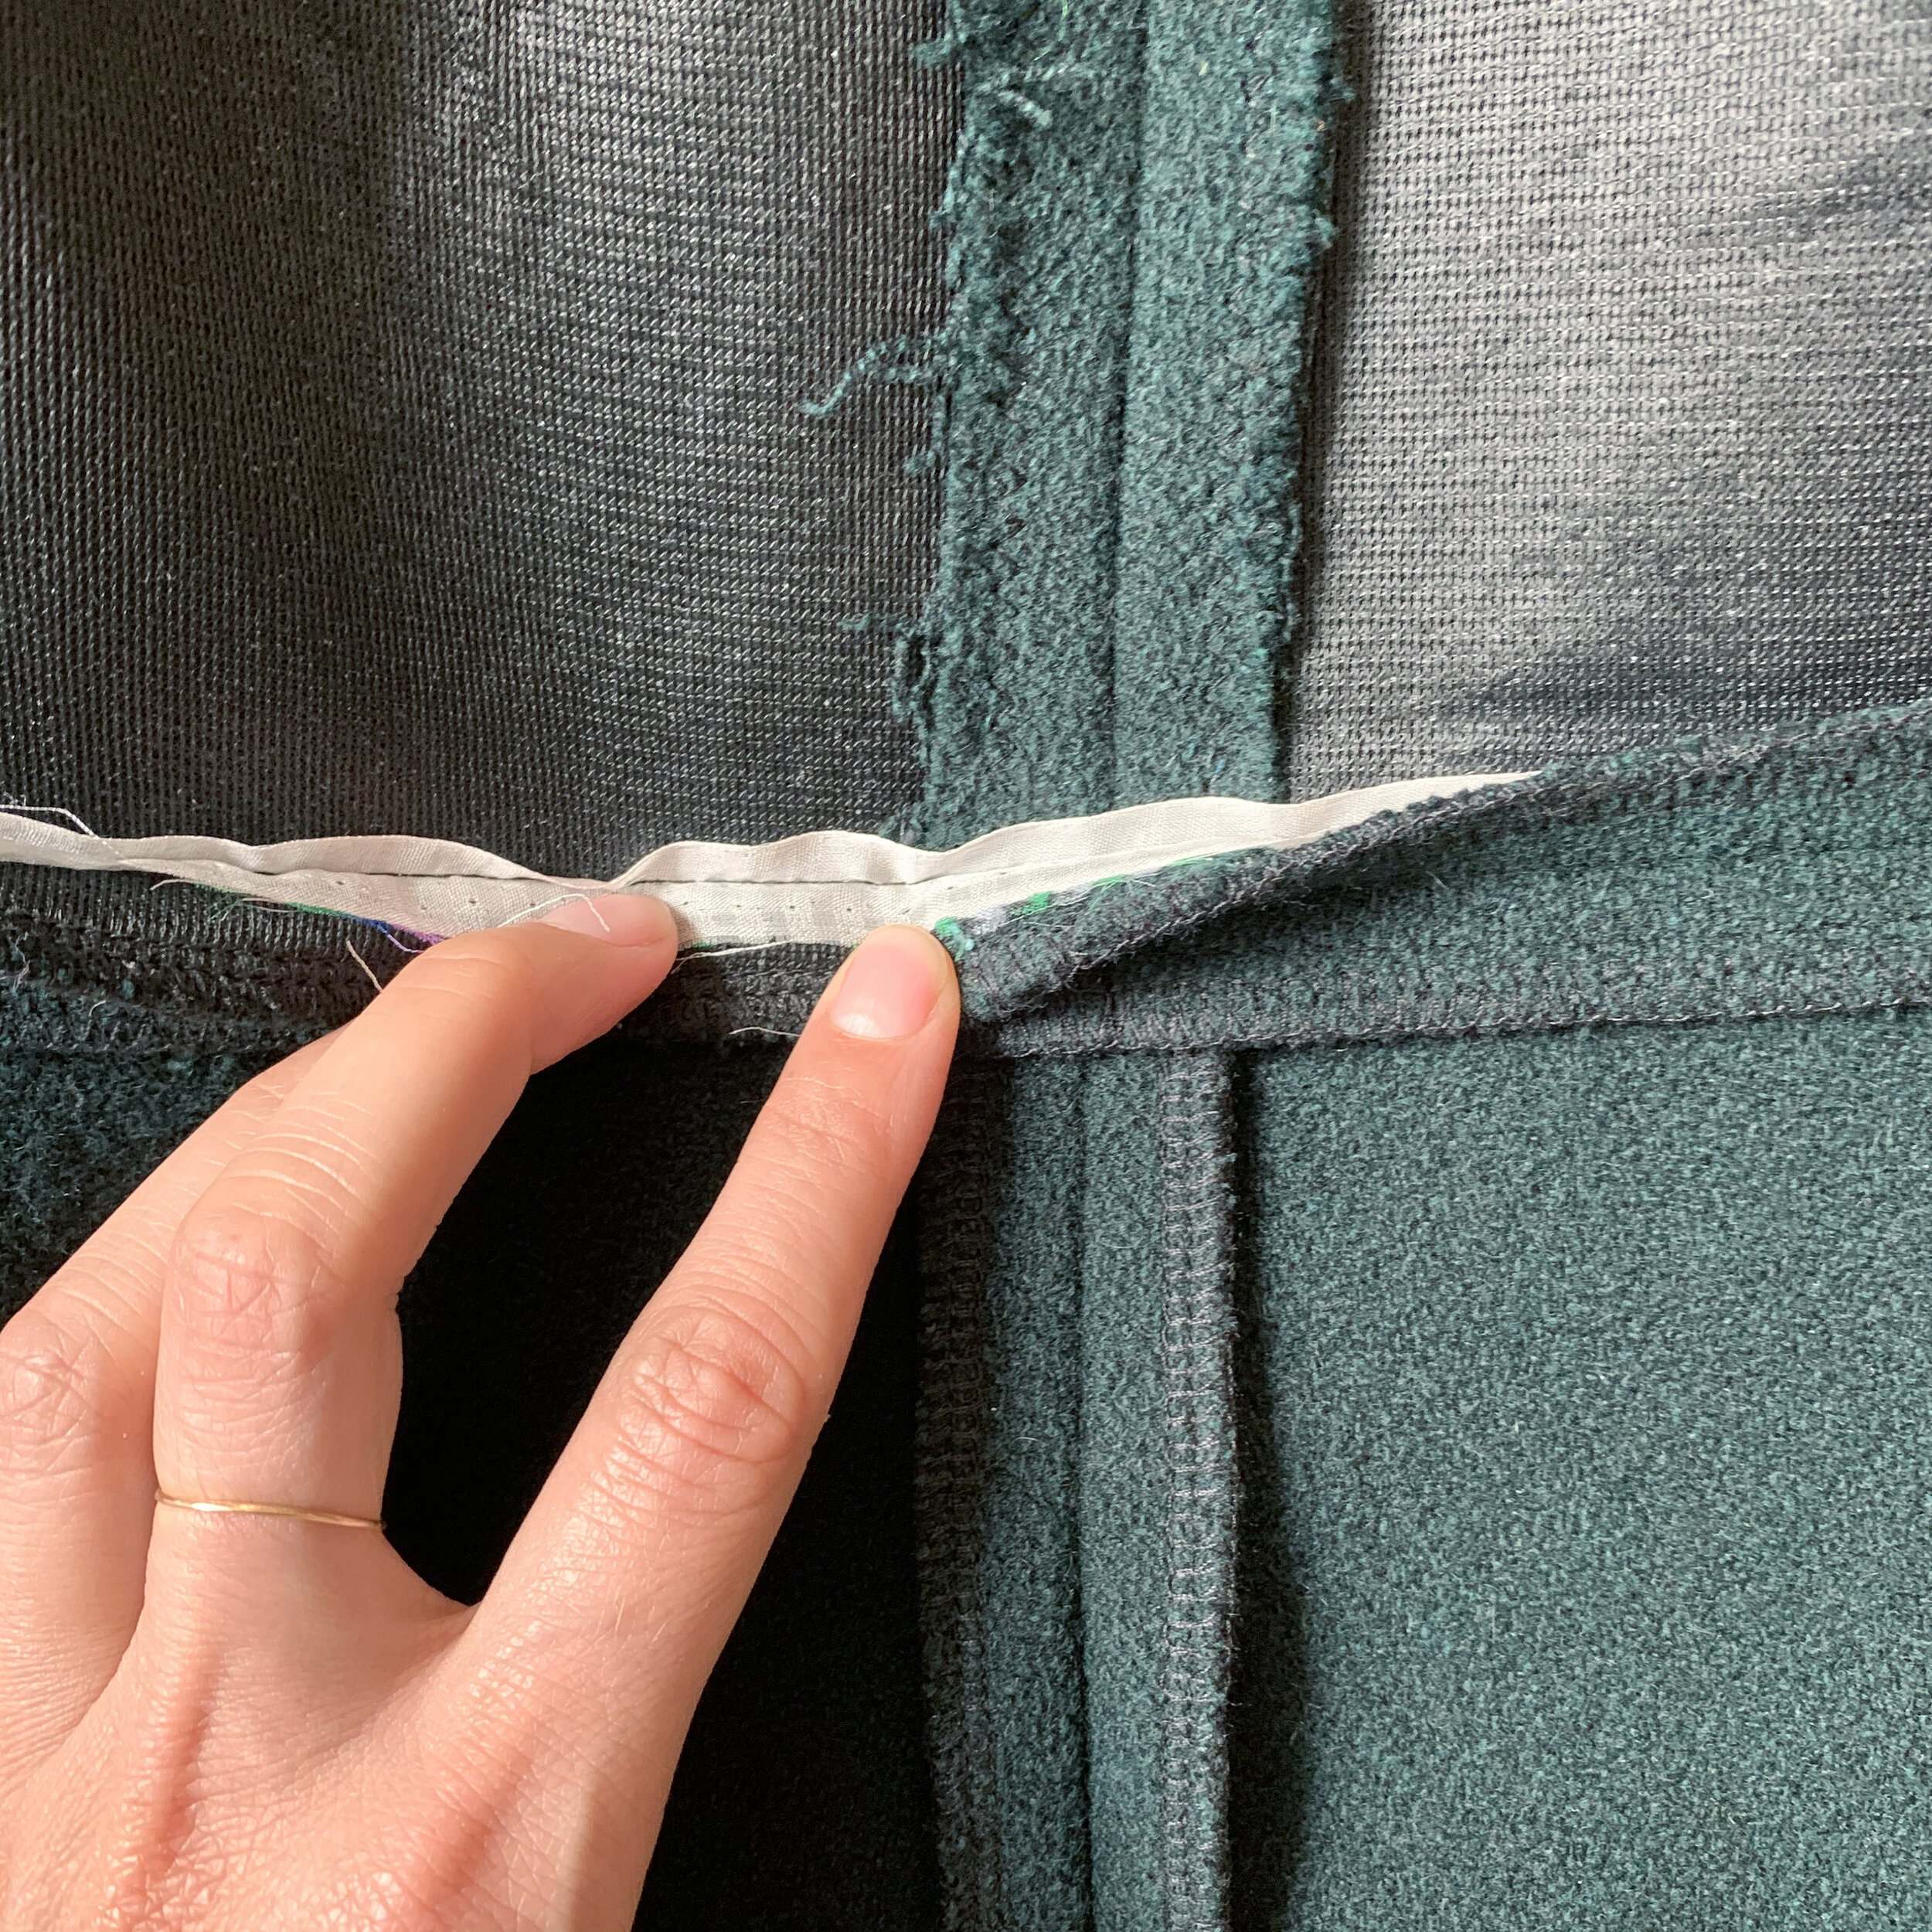
Here I am pointing to an area I needed to clip, but I don’t like how it isn’t neat and tidy. I am not sure how I could have done this differently.
In the process of making this coat, one of my biggest learnings has been about trimming, clipping, and grading. I always do these things, but with a coat, you really need to plan ahead, and the fabric is thick and prone to raveling. Overall I did a good job with it, but there are a couple places where I clipped and then later realized I shouldn’t have, and some spots are bulky in spite of my best efforts. It was critical to press with steam, a pressing cloth, and my clapper, and there are a couple of seam allowances that I loosely hand stitched in place so they won’t move once the coat is fully assembled.
A peek at the organza selvedge I added to my waist seam to prevent stretching. You can also see that I didn’t think ahead to serge the seam allowances of my bodice. I zig zag stitched the bodice seam allowances after assmbling, because it was easier to get them under my sewing machine foot than shove them through my serger.
As you can see from the top (bodice) portion of this photo, I interfaced a lot. I fused my entire bodice and the center front skirt panels, and all facing pieces. I wanted to fuse anywhere that came in touch with the zipper, for support and to prevent stretching. The amount I fused is definitely overkill, however, the coat still feels drapey, and I can’t think of any negatives from doing this (maybe I’ll learn them later!). I also added a thin strip of silk organza selvedge to my horizontal waist seam and the shoulder seams. This should help those seams retain their shape over time.

The sleeve eased into the armscye with no poufs or wrinkles.
In my post about pattern tissue alterations, I explained how I used the 2 piece sleeve from a different pattern. The sleeve went in really easily, which I was so thankful for! The wool was beautiful to work with. After basting the sleeve into place, I made some small adjustments to the easing, and then sewed. Next, I steamed and pressed the seams, and the wool molds perfectly into place.

I purchased 1/2” shoulder pads, but removed the basting that holds them together, to customize the height of the pads I will be using in my coat. Now that I know how shoulder pads are made, I can easily make my own for my next project.
Now is the time to add shoulder pads! This pattern does not call for them, is not drafted with space for them, and I did not alter my pattern to accomodate them. But, I have narrow shoulders, and I knew I wanted something in there to sharpen my shoulder line a little bit. I bought 1/2” shoulder pads and thin sleeve heads - I wrote about sourcing these items in this post. If I had wanted to accomodate 1/2” or 1/4” pads, I could have made a few simple alterations to the shoulder, but instead, I widdled my shoulder pad down to about 1/8” of felt and non-woven interfacing. I pinned them into the shoulder and tried on my coat, made a few small adjustments, and then sewed them into the coat using loose hand stitches.

I marked the 5/8” seam allowances with chalk on the face of my shell. This helped me place the zipper teeth just inside the seam allowance. Here you can also see how I clipped my seam allowances inside the collar.
The last thing I will do to my shell is to add the separating zipper. This kind of zipper is very easy to install with a zipper foot - and I say that as someone who hates installing zippers. I highly recommend hand or machine basting the two halves of the zipper in place before you sew them - this way you can guarantee that the neckline and waist seams line up perfectly when you zip it closed.
Now that the zipper is correctly in place, my shell is fully assembled! This is a nice place to be in the coat making process, because I can try on the shell, and I know it fits, and that I like the style. But there is still so much work ahead! Next, I will sew the lining and facings, including a few little touches to personalize my coat. Back to sewing! XO Martha