FLORAL TWO PIECE - NEW LOOK 6511 AND MODIFIED McCALL'S 7547

About a year and a half ago, I bought some yellow floral fabric in Japan that I coveted. I made it into a dress and loved it so much, until I learned more about fitting and realized all the reasons it was uncomfortable could be solved with some tweaks to the pattern. Too late for that dress, but, when we returned to Japan this past spring, I figured, it couldn’t hurt to look for it again at Tomato Select in Nippori Fabric Town. Guess what? The bolt of that yellow barkcloth was in the exact same place! And this fabric you’re seeing now was right next to it. I snapped up 3 meters of each without batting an eye. I’m happy to let the yellow sit in my stash, but this blue floral with neon yellow blossoms needed to be sewn up immediately.

The top is a little boxy and the pants are fairly high waisted. These shapes make a lot of sense in this textured cotton.
My first thought was pants. Then jumpsuit. And then the inevidible outcome of a two piece matching set. Ideal for mixing & matching throughout my wardrobe, or wearing together for maximum impact. And of course I had to whip up some resin and glitter bangles to complete the ensemble! I only wear these big bangles in the summer (it’s hard to deal with them when you’re taking a coat on and off) and I can’t live without the clunky clanky sounds they make.

I made the pants first, because they would take the most fabric and I was weirdly the most excited about them. I rarely wear printed pants, and if I do, it’s leopard. So these feel a little zany, even to me. For the pattern, I chose McCall’s 7547 from my stash, because I had already made 3 muslins of these pants on my journey to making my own pants block. If buying ready-to-wear pants is easy for you, then you probably won’t need to do that, but I’ve been getting really fussy about fitting pants this year. In addition to alterations to improve fit, I also made a few design changes.
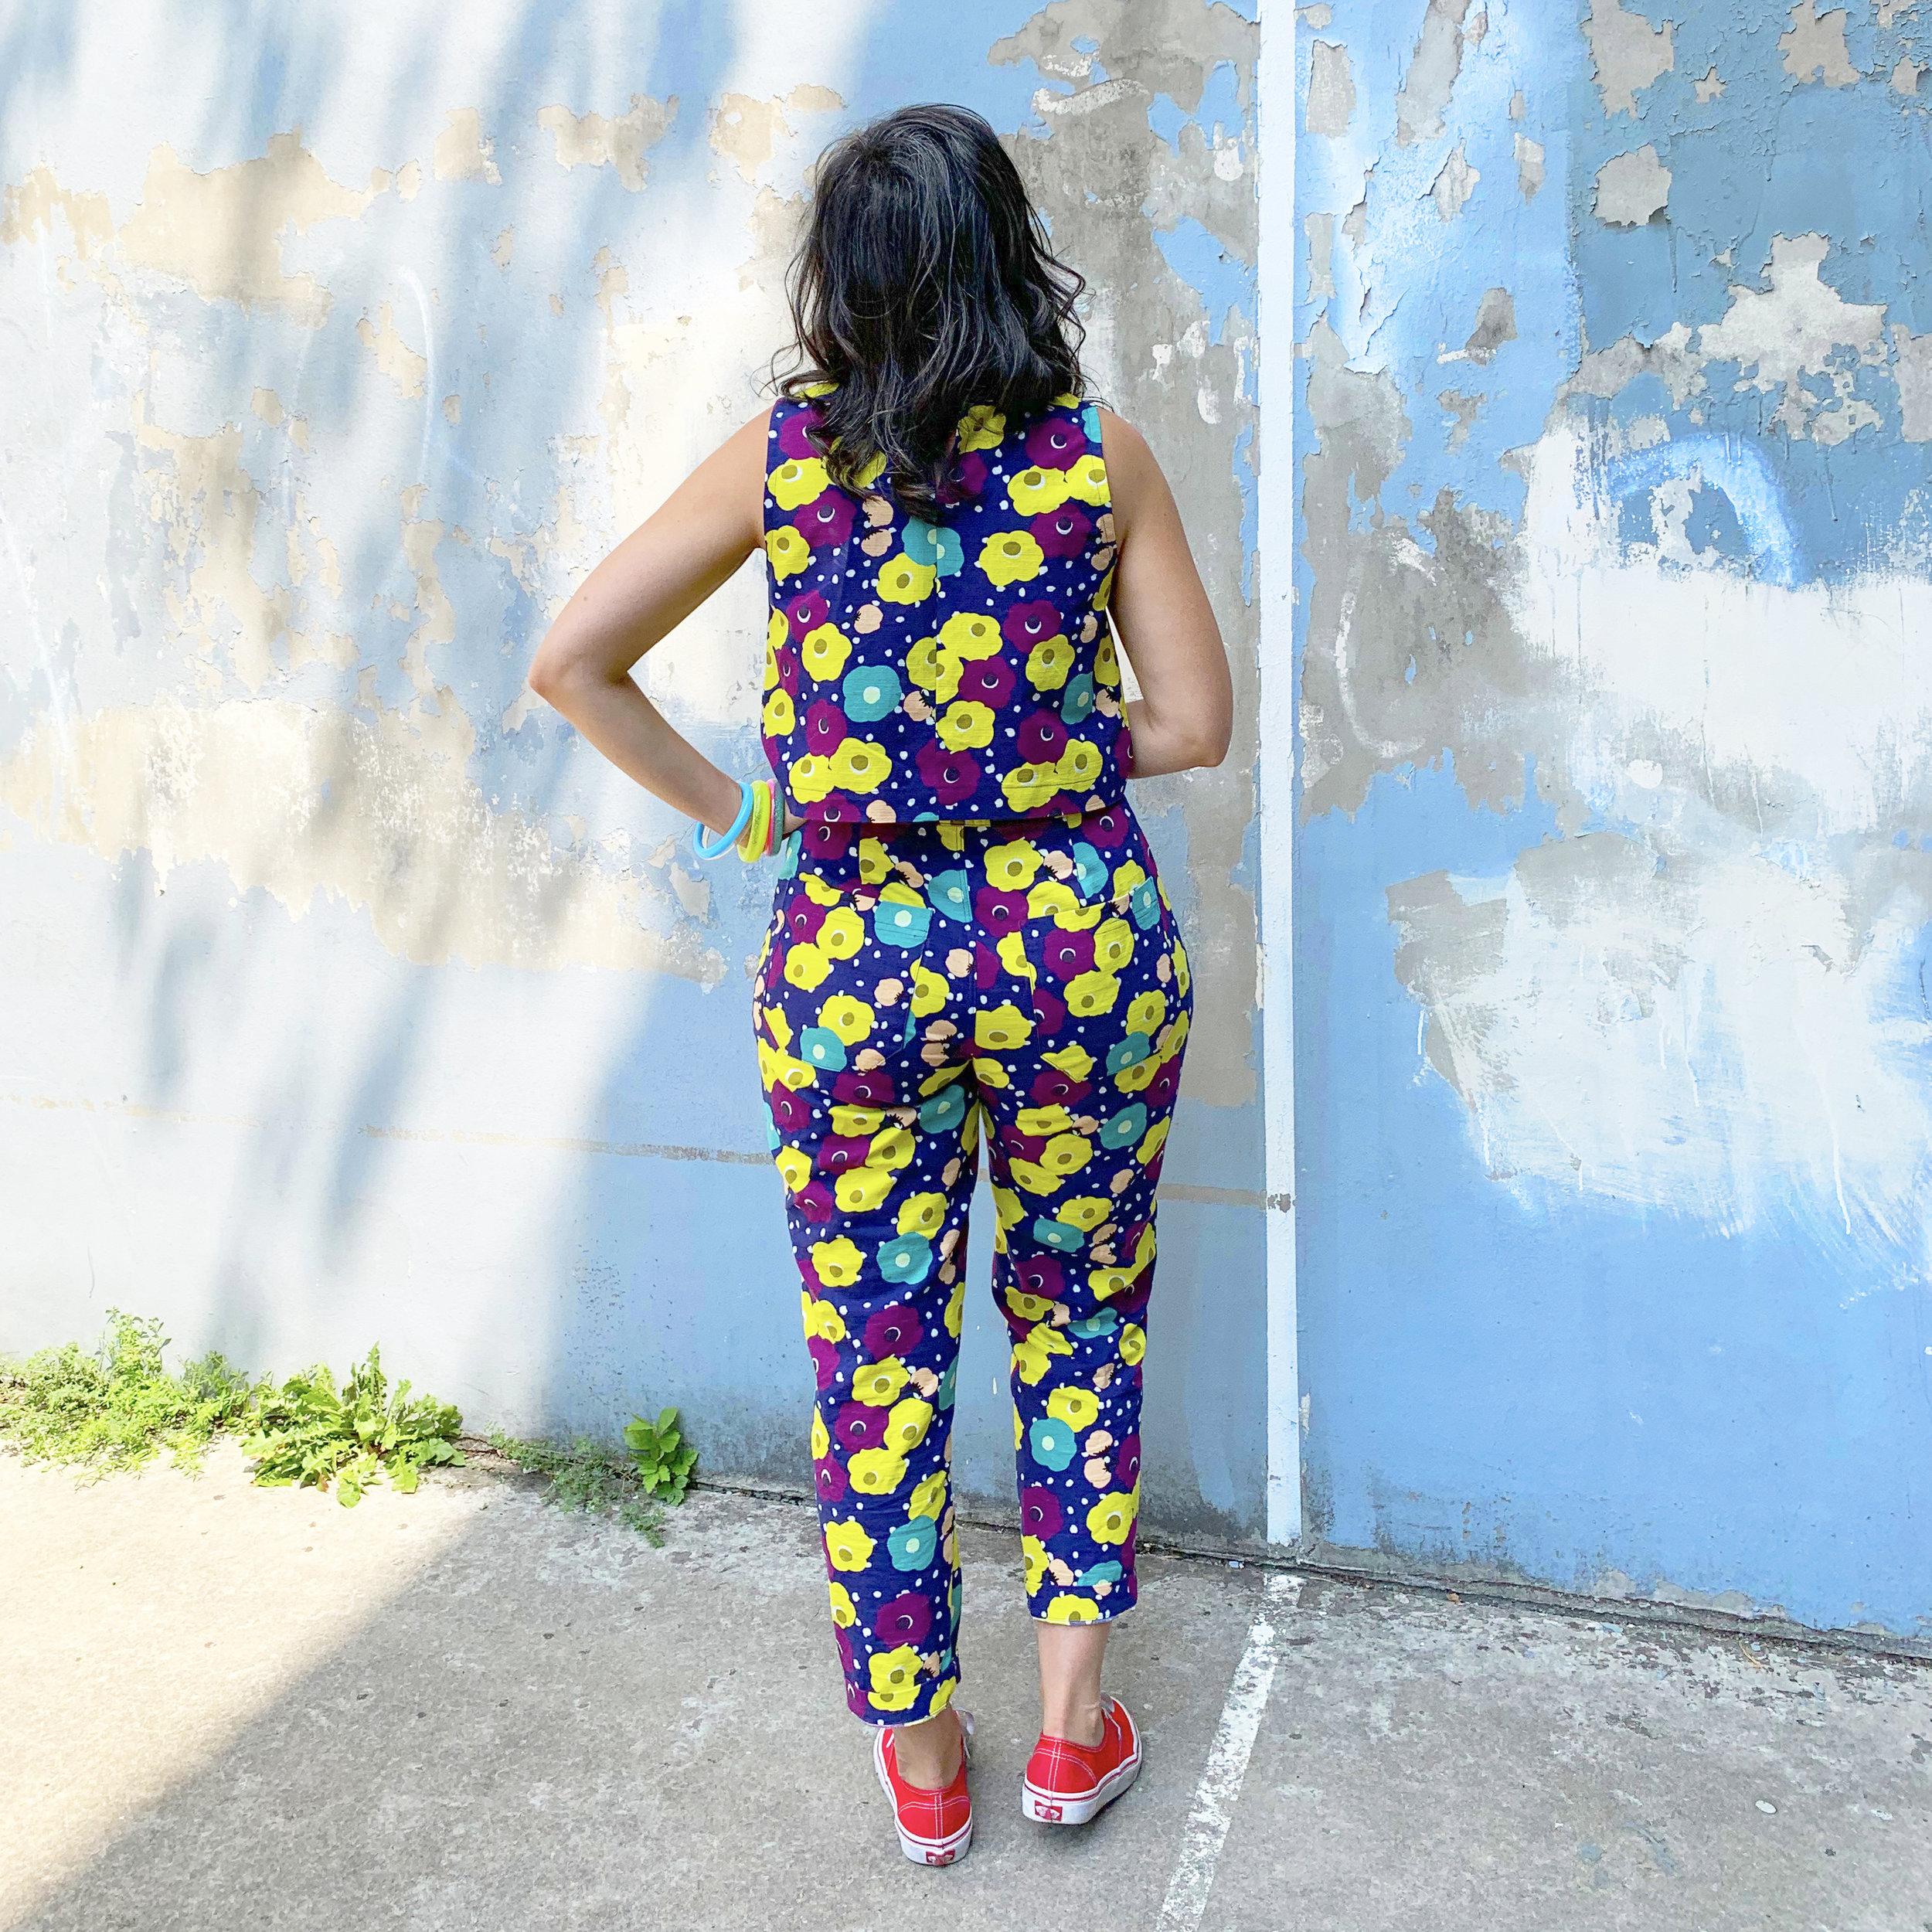
Good thing my hair is covering the back of the neckline, I haven’t sewn on the button yet!
This is a simple, high waisted pants pattern. To begin with, I made a 1.5” full front thigh adjustment, which is a pretty specific pattern alteration that works really well for my full quads. It’s not a super common alteration though, so you likely don’t need it. I also lengthened the legs 1”, and slimmed them down quite a bit. I did most of the leg slimming/shaping on a muslin, so it is specific to my legs, and transferred my changes to the pattern pieces.
I eliminated the front patch pockets, and used the back pockets from True Bias Lander Pants. I snipped off the corners because I prefer this pocket shape. The line drawings for this pattern and the Lander Pant look similar, but the pattern pieces are very different. The Landers have much bigger (aka more useful and more flattering) pockets! Use those pattern pieces if you’ve got em!

Back pockets and top stitching details. I have found that for the most flattering back pocket placement, you should sew on the pockets after the pants are fully constructed.

The most significant changes I made were to add a zipper fly. Because the pattern calls for a faux front fly (with a side seam zipper), there is already a cut-on fly. You just need to draft a fly guard piece, or borrow one from another pattern you own (it’s kind of just a rectangle….trapazoid? it’s easy to draft). I used a regular coil zipper and a jean tack button.
I also drafted a curved waistband. This was a major improvement to the fit of these pants. I didn’t enjoy the drafting but it wasn’t difficult. I also eliminated the belt loops, because I don’t plan on wearing a belt here.

For the record, I took these photos alone at the edge of a public playground and no one batted an eye, except a man who stared at me from across the street, and then kept getting closer until I left. Fun!
I know that was a lot of information! Don’t worry, the top is much easier. I used New Look 6511. I’ve made this a bunch of times. It only requires a scant half yard of fabric, possibly even scraps, to make this version. I only use the bodice front and back pieces. I lengthen the bodice 2”, drop the neckline 1”, and in place of facings, I finish the neckline and armholes with store bought bias binding. I can whip one up in about 1.5 hours, probably less if I focused. Tbqh, I think this outfit would be most flattering with a more fitted top, but I was on a deadline and didn’t have much fabric. I am really happy with the results, and I think both pieces will blend well into my existing wardrobe.

Last but not least, a close up on my Buried Diamond jewelry. I feel such joy when I tell people I made everything I’m wearing….might need to branch out even more! ;) Let me know if you have any questions about these patterns, I’m happy to help! XO Martha