TUTORIAL: HOW TO MAKE SPAGHETTI STRAPS

I have been documenting my current sewing project in Instagram stories. It is a vintage Butterick dress with laces that tie in bows up the front, and I have added a few other bow details as I go. I like to show my process as much as I can, but I don’t always have a free hand, good lighting, or space in my brain to do so. I have received a bunch of questions about how I make such long, thin spaghetti straps, so I’m going to show you how I do it.
Before we begin: you must make samples with your fabric. There is no escaping that. I always make samples with scraps of the fabric I am using, because each fabric has it’s own limitations, and you will need to listen to the fabric to have successful spaghetti! This project works best with thin, lightweight fabric, with some give across the bias. It will not execute well in stiff or heavy fabric. I will note along the way a few things you may need to adjust, depending on your fabric.
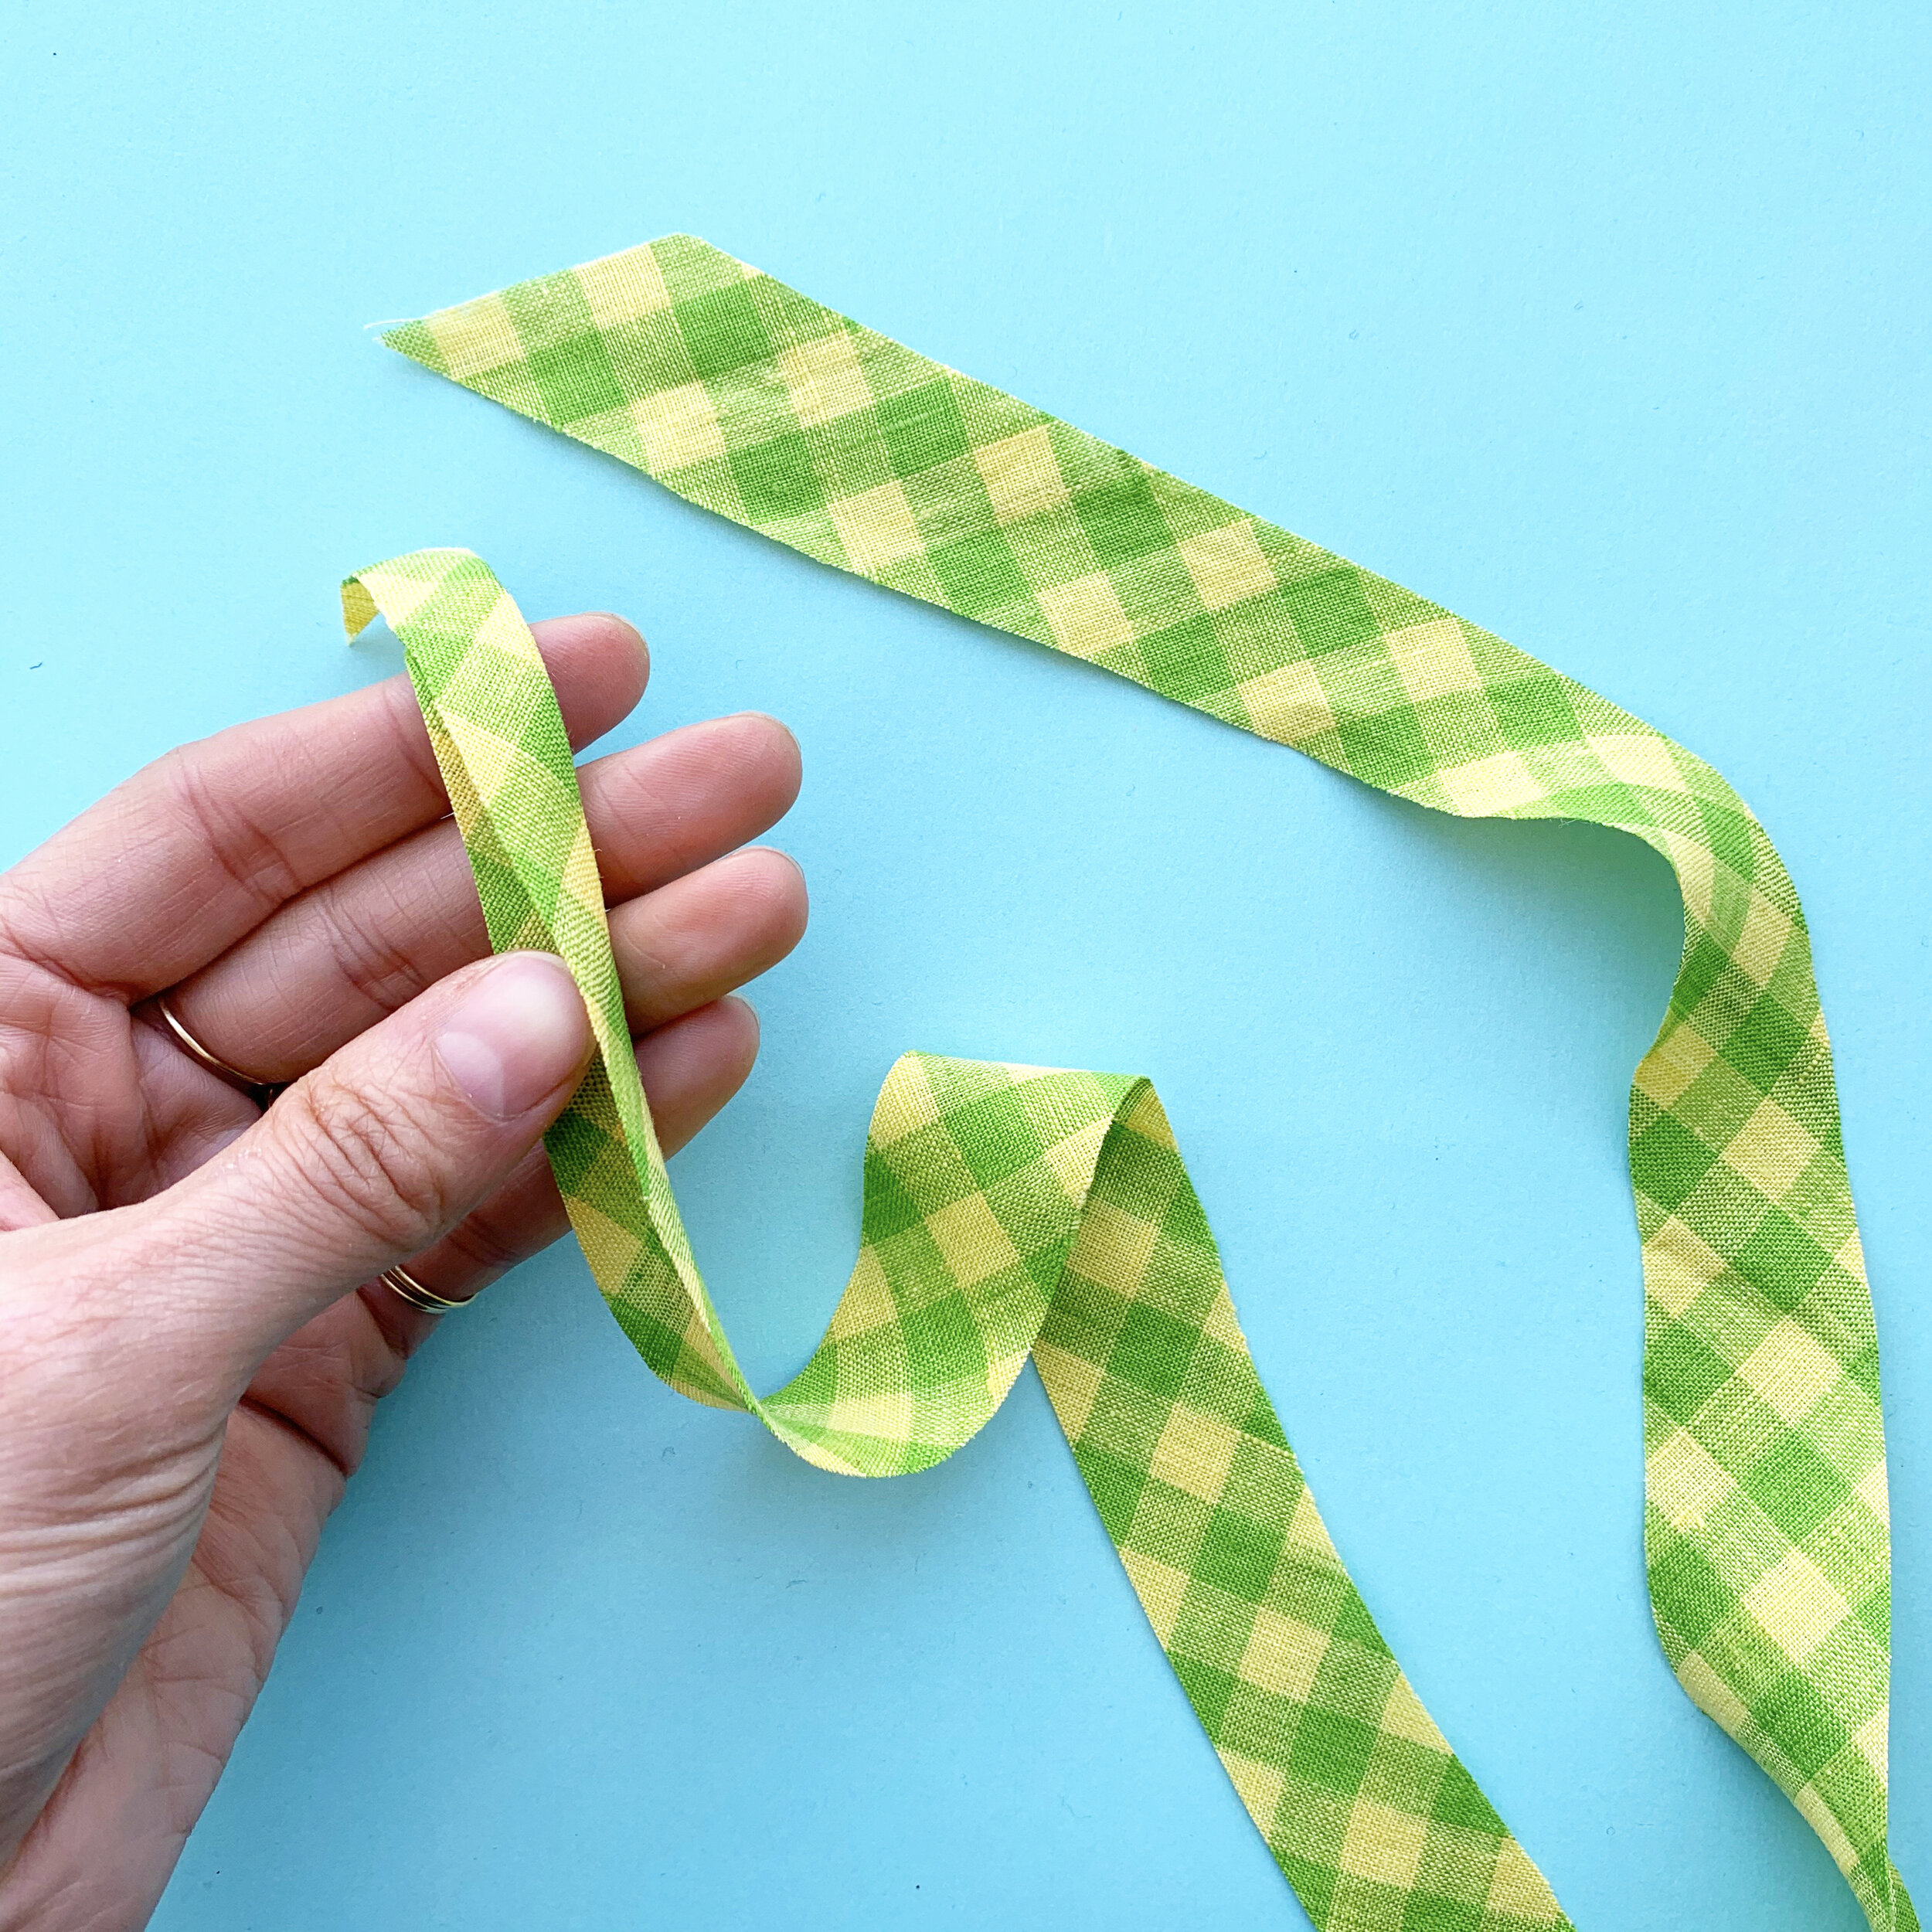
1. Start with 1” bias strips. Before cutting, make sure your fabric is on grain and well pressed to ensure you are cutting consitently at 45º. For super thin spaghetti, I prefer to use long bias strips with no piecing. When you piece the strips as you would when making bias tape, you are creating bulk that won’t turn inside out neatly. So start with strips that are long enough for your project, plus a few inches so the ends can be trimmed neatly.

2. Fold your strips in half, with right sides together, taking care not to stretch the fabric in any direction. If you are using pins, pin the fabric to hold it in place.
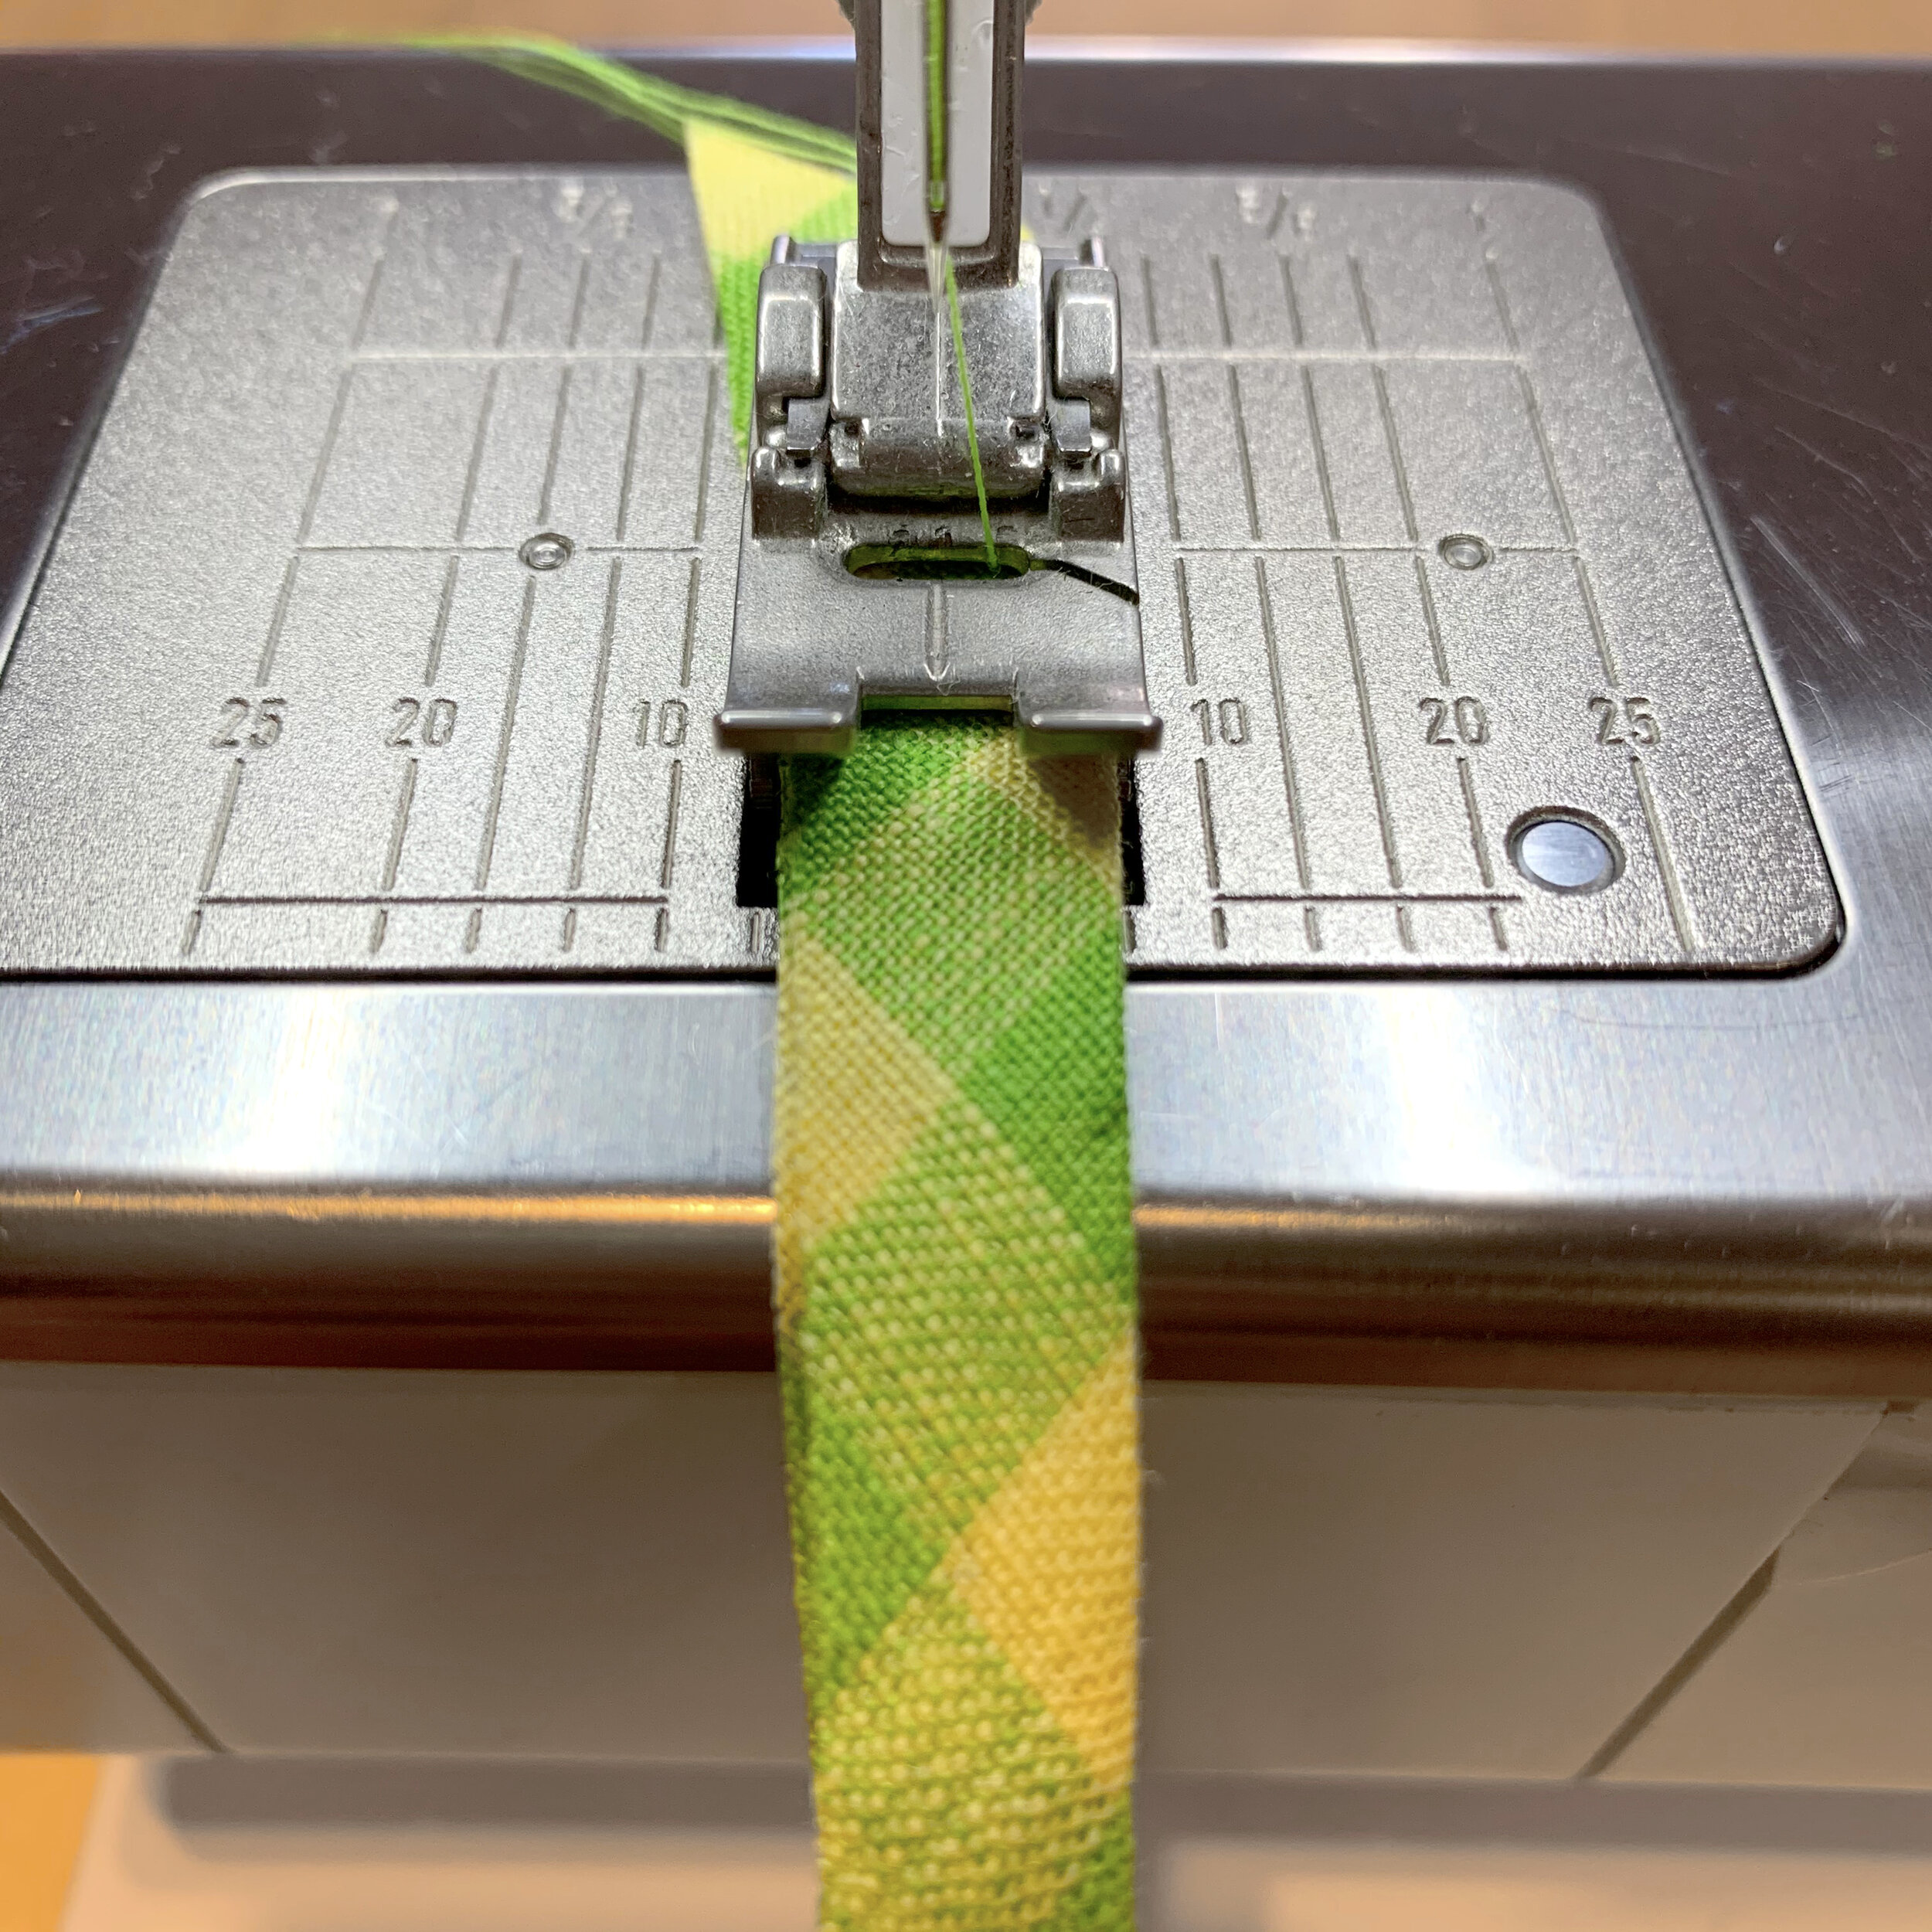
3. Here is where testing is important!! It is time to sew. I like to use a slightly longer stitch length (3 on my Bernina) because longer, looser stitches will turn inside out more easily than short, tight ones. When making the decision about your stitch length, take into account how light your fabric is, what stitch length you’ve been using for the rest of the project, and how much strain the ties will be under (in this case, very little). Make a few tests and then determine what works best for your fabrc.
As you work, try not to stretch the fabric, and use consistent pressure as you feed the fabric through the machine. I begin sewing in the center of the folded in half bias strip. I center it under the foot. That’s it! That’s where I start. After making a test spaghetti, I determine if I can make the tube thinner, or if it must be thicker. The only way to know this is to sew one, and try to turn it (i.e. complete all steps of this tutorial with it). It is worth testing! You may be able to get a thinner spaghetti than you first thought!
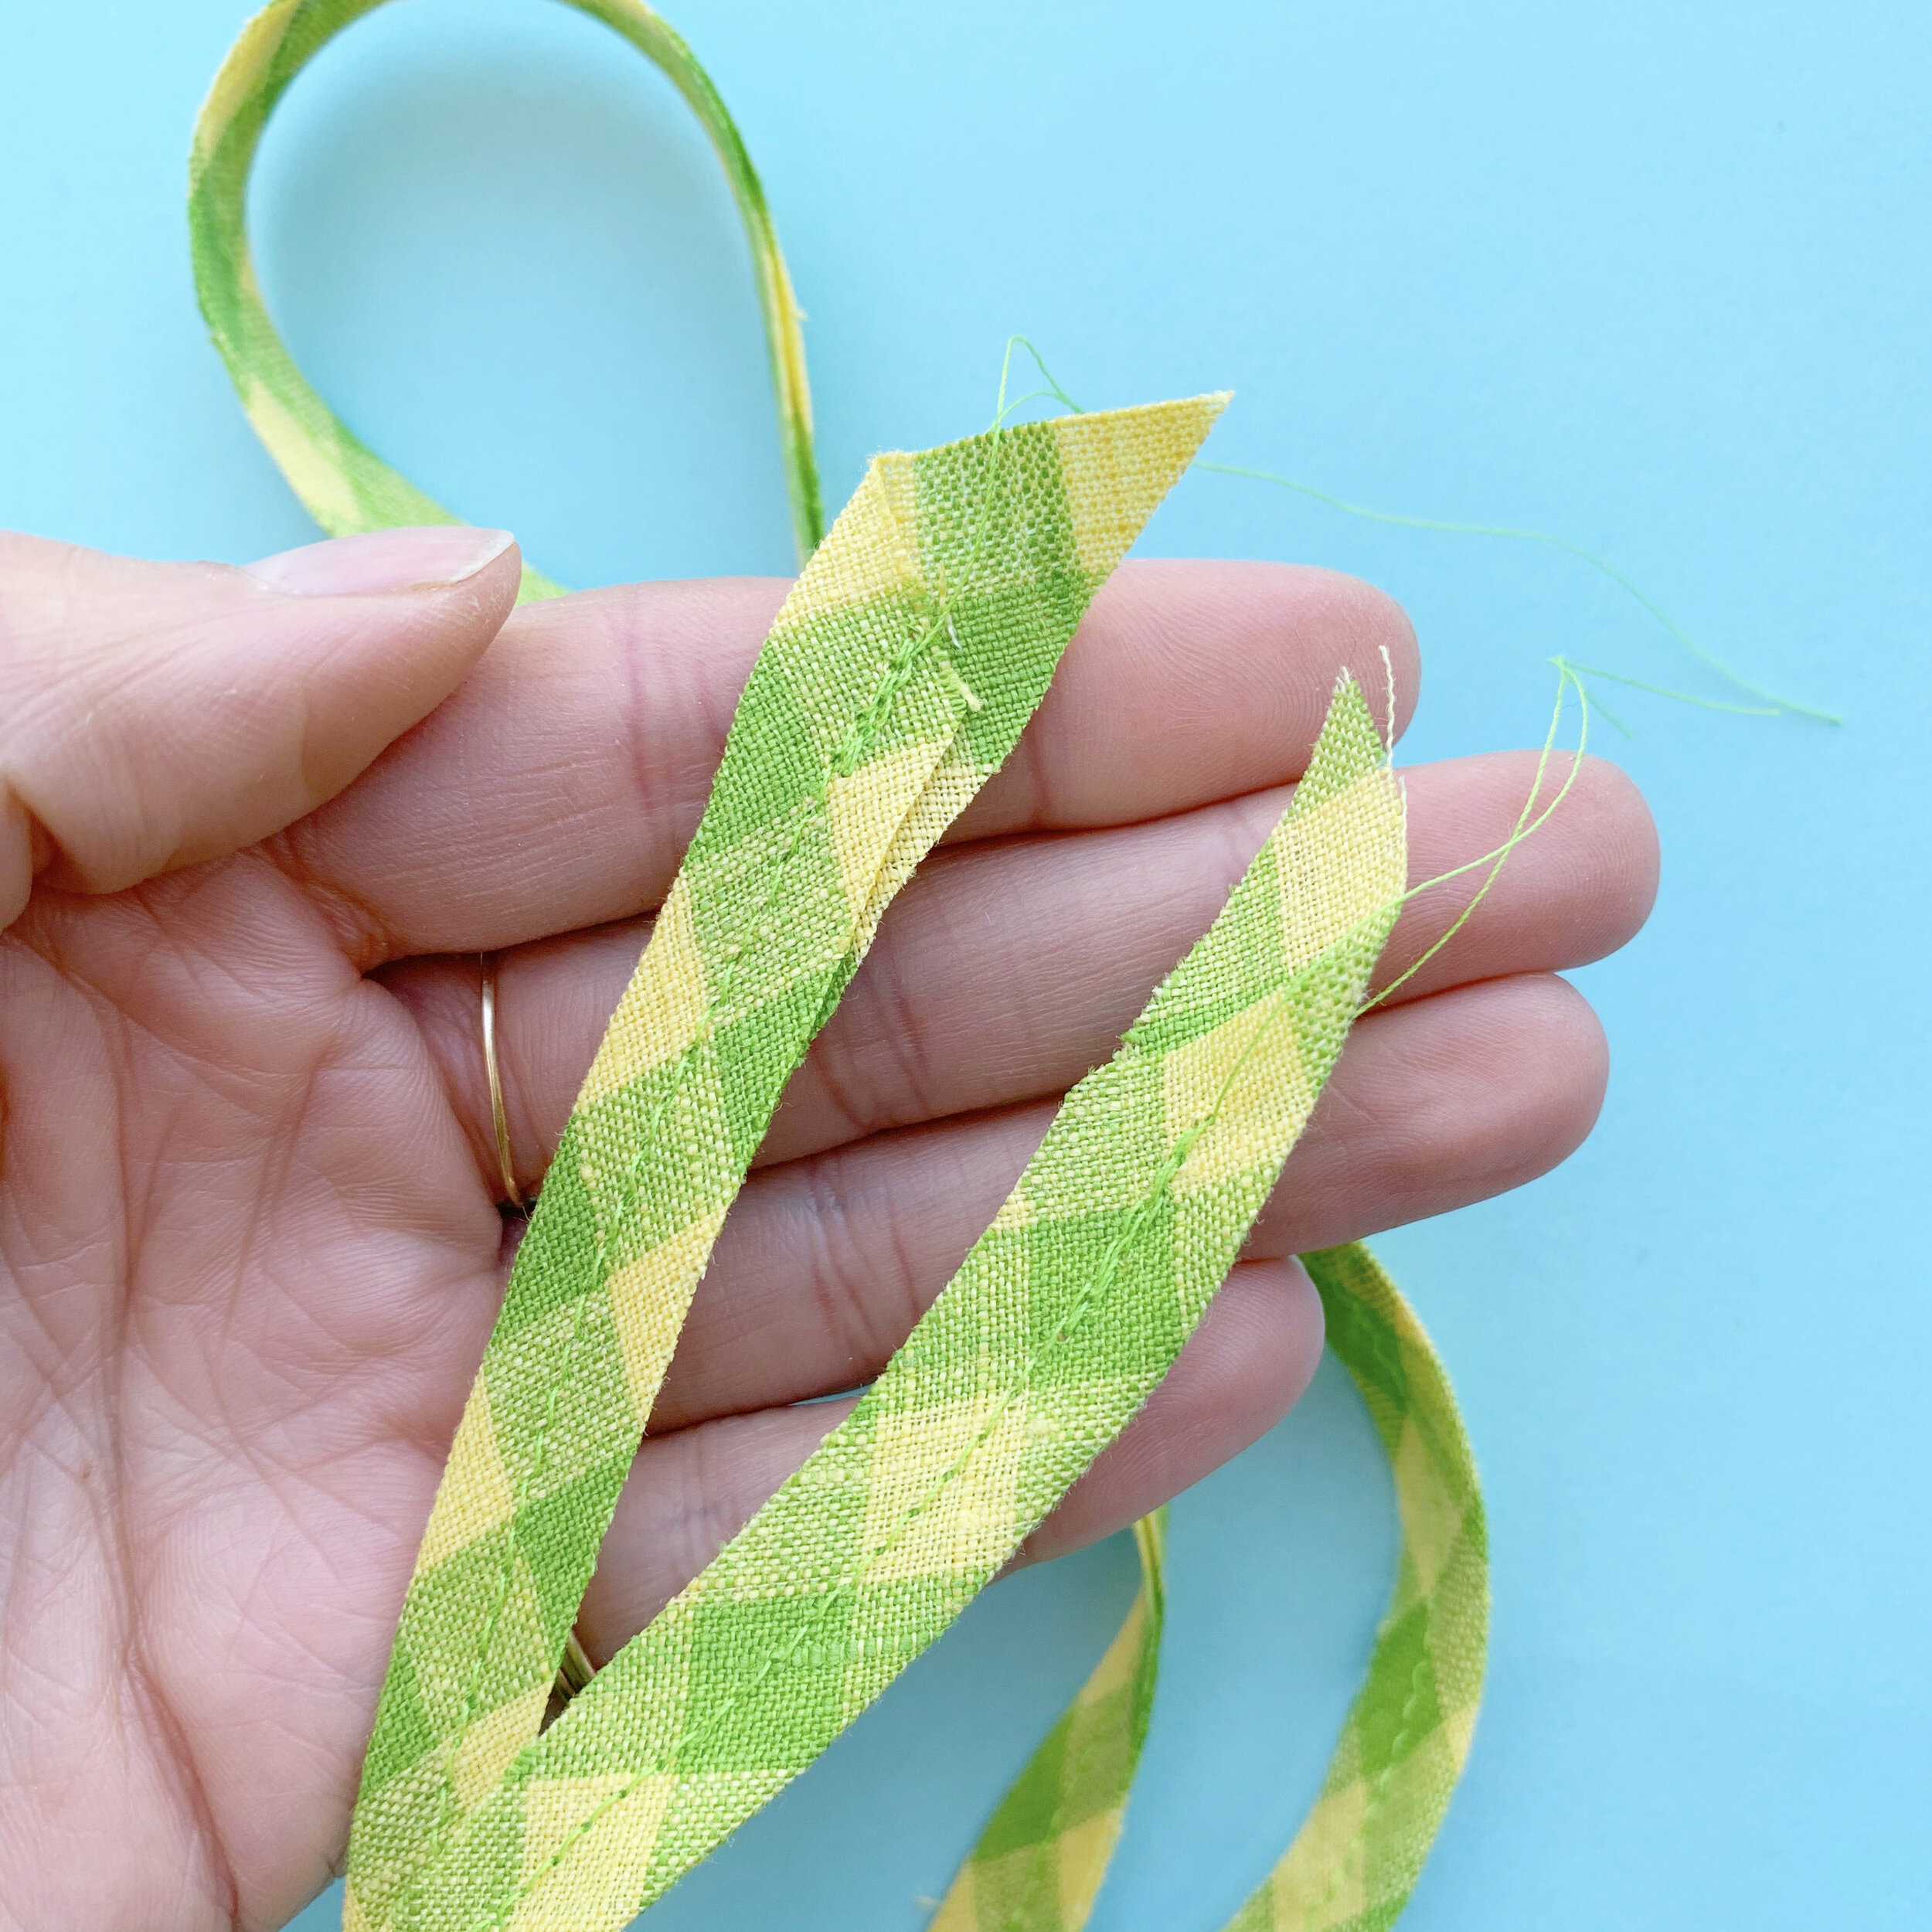
4. It is critical that you back stitch at the start and finish of each tube!! Just do it! Or it will be a mess later.

5. Leaving the back stitching in tact, trim both ends of the tube. Trim off the excess at the ends, and trim a triangle off the seam allowance, to make the seam allowance more minimal at the opening of each end of the tube.

6. Carefully trim any excess seam allowance from the length of the tube. You can use scissors, but I find it is faster to use a rotary cutter. The thickness of your fabric will determine how much seam allowance can remain - you may not even need to trim it. Make sure there is enough seam allowance left that your fabric will not unravel, causing your spaghetti to disintegrate later.

7. Here’s my secret sauce: I use a Dritz Loop Turner. They usually cost less than $5. I don’t know where I bought mine, it’s just one of those things I’ve always had in a drawer. If you don’t have one, you can use a Bodkin (like a needle, but with a dull point), or probably a dull plastic needlepoint needle.

8. Insert the loop turner into your tube, scrunching it down until the entire tube is on the long part of the loop turner. Do not twist your tube! Put it on there as straight as possible.

9. First of all, I’m sorry about my dry skin. I live in New York, and there’s a pandemic. Wash your hands for 2 Happy Birthdays, and then keep going just a little bit, please. Anyway, here is how you want the latch hook at the end of the loop turner to be positioned.
Next, carefully begin to pull the loop turner (from the end with the loop on it), causing this latch hook to go inside the tube. Move slowly but deliberately as you begin to force the tube inside out. This step requires practice. You might mess it up, and make your fabric all tattered, or rip it, or the latch will come undone and you’ll have to re-do it. Practice makes perfect! You should be starting with a practice spaghetti! So don’t be frustrated, just give it a few tries.
You will feel it when it starts doing what you want! At that point, pull carefully and slowly until the whole tube begins to transform into a spaghetti.

10. See? It’s happening! Go slow. If you try to force too much of the scrunched part to turn inside out, it just won’t move, and you cannot force it. Find a rhythm, and roll with it.

11. There she is! A beautiful fresh spaghetti! Maybe your fresh spaghetti looks a little rumpled? That’s normal, it just experienced a metamophosis. I like to gently tug on it from both ends at the same time, and then press it with a lot of steam. It will look much more professional after the steam. You can now cut this down to your desired length.
To finish the ends, I choose from a few methods: tie it in a knot, sew on a tassel, fold it over and machine stitch in place, or hand finish by tucking the ends inside the tube and stitching closed (that one isn’t particularly fun but looks great).
I hope this helped! Let me know if you have any questions by leaving a comment here (it is significantly easier to answer questions here than via instagram). XO, Martha
f you have found this post helpful, please consider making a “tip” to my Kofi account. Any amount is appreciated, and tips help offset the cost of creating my blog content, and keep this blog ad free. Thank you!