PLAID CANDY CONFECTION: McCALL'S 7929 WITH USEFUL ALTERATIONS
When McCall’s 7929 was first released, I snapped it up. Not only does it have a cute fitted bodice and puff sleeves, but it is a Laura Ashley licenced pattern, and I try to add them to my collection as they come out. I currently own a lot of blouses - the kind that are a little more billowy and soft - but have found a need for more fitted, structured tops. This fit the bill!
As usual before starting a project, I looked up the hashtag for this pattern (#M7929) on Instagram and checked to see if there were other blog posts or pattern reviews around. A few people mentioned making “bust adjustments” but didn’t specify what exactly they did. Erica Bunker not only said she made an FBA (Full Bust Adjustment), but helpfully showed her pattern piece! She also added a shirred panel to the back to the garment, replacing the button up placket. As it is really difficult to button yourself up the back, I decided to add a shirred panel as well.
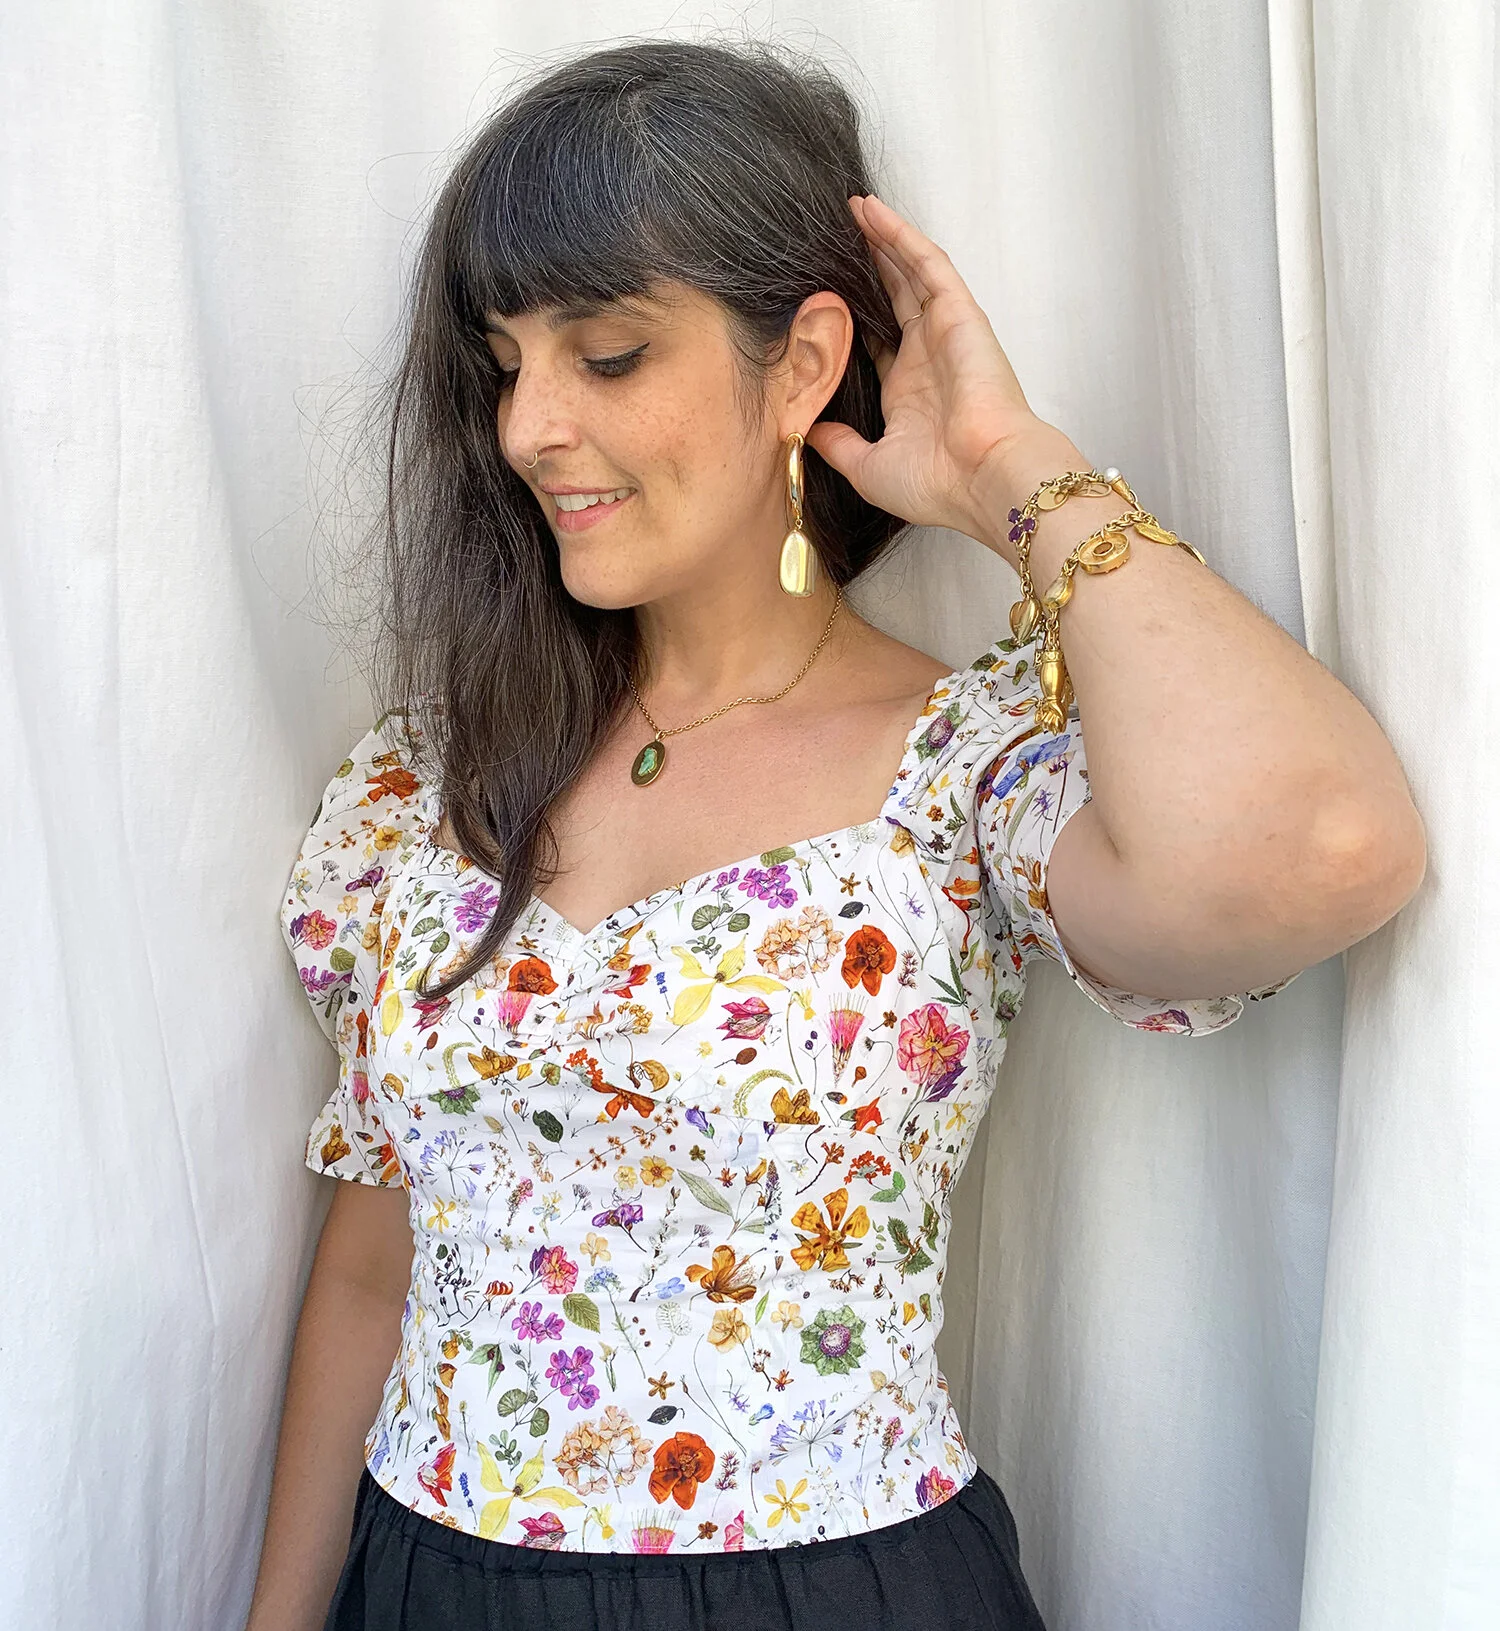
My first version is my usual size 12 with no fitting adjustments other than the shirred panel. My fabric is this Liberty Tana Lawn that keeps on giving!! (Here is a dress and a top in the same fabric.) I used the back pattern pieces, but instead of folding the fabric into a placket, just shirred it. This worked well, and it was easy enough to fully line the top (as per envelope) except for the stretchy back panel.
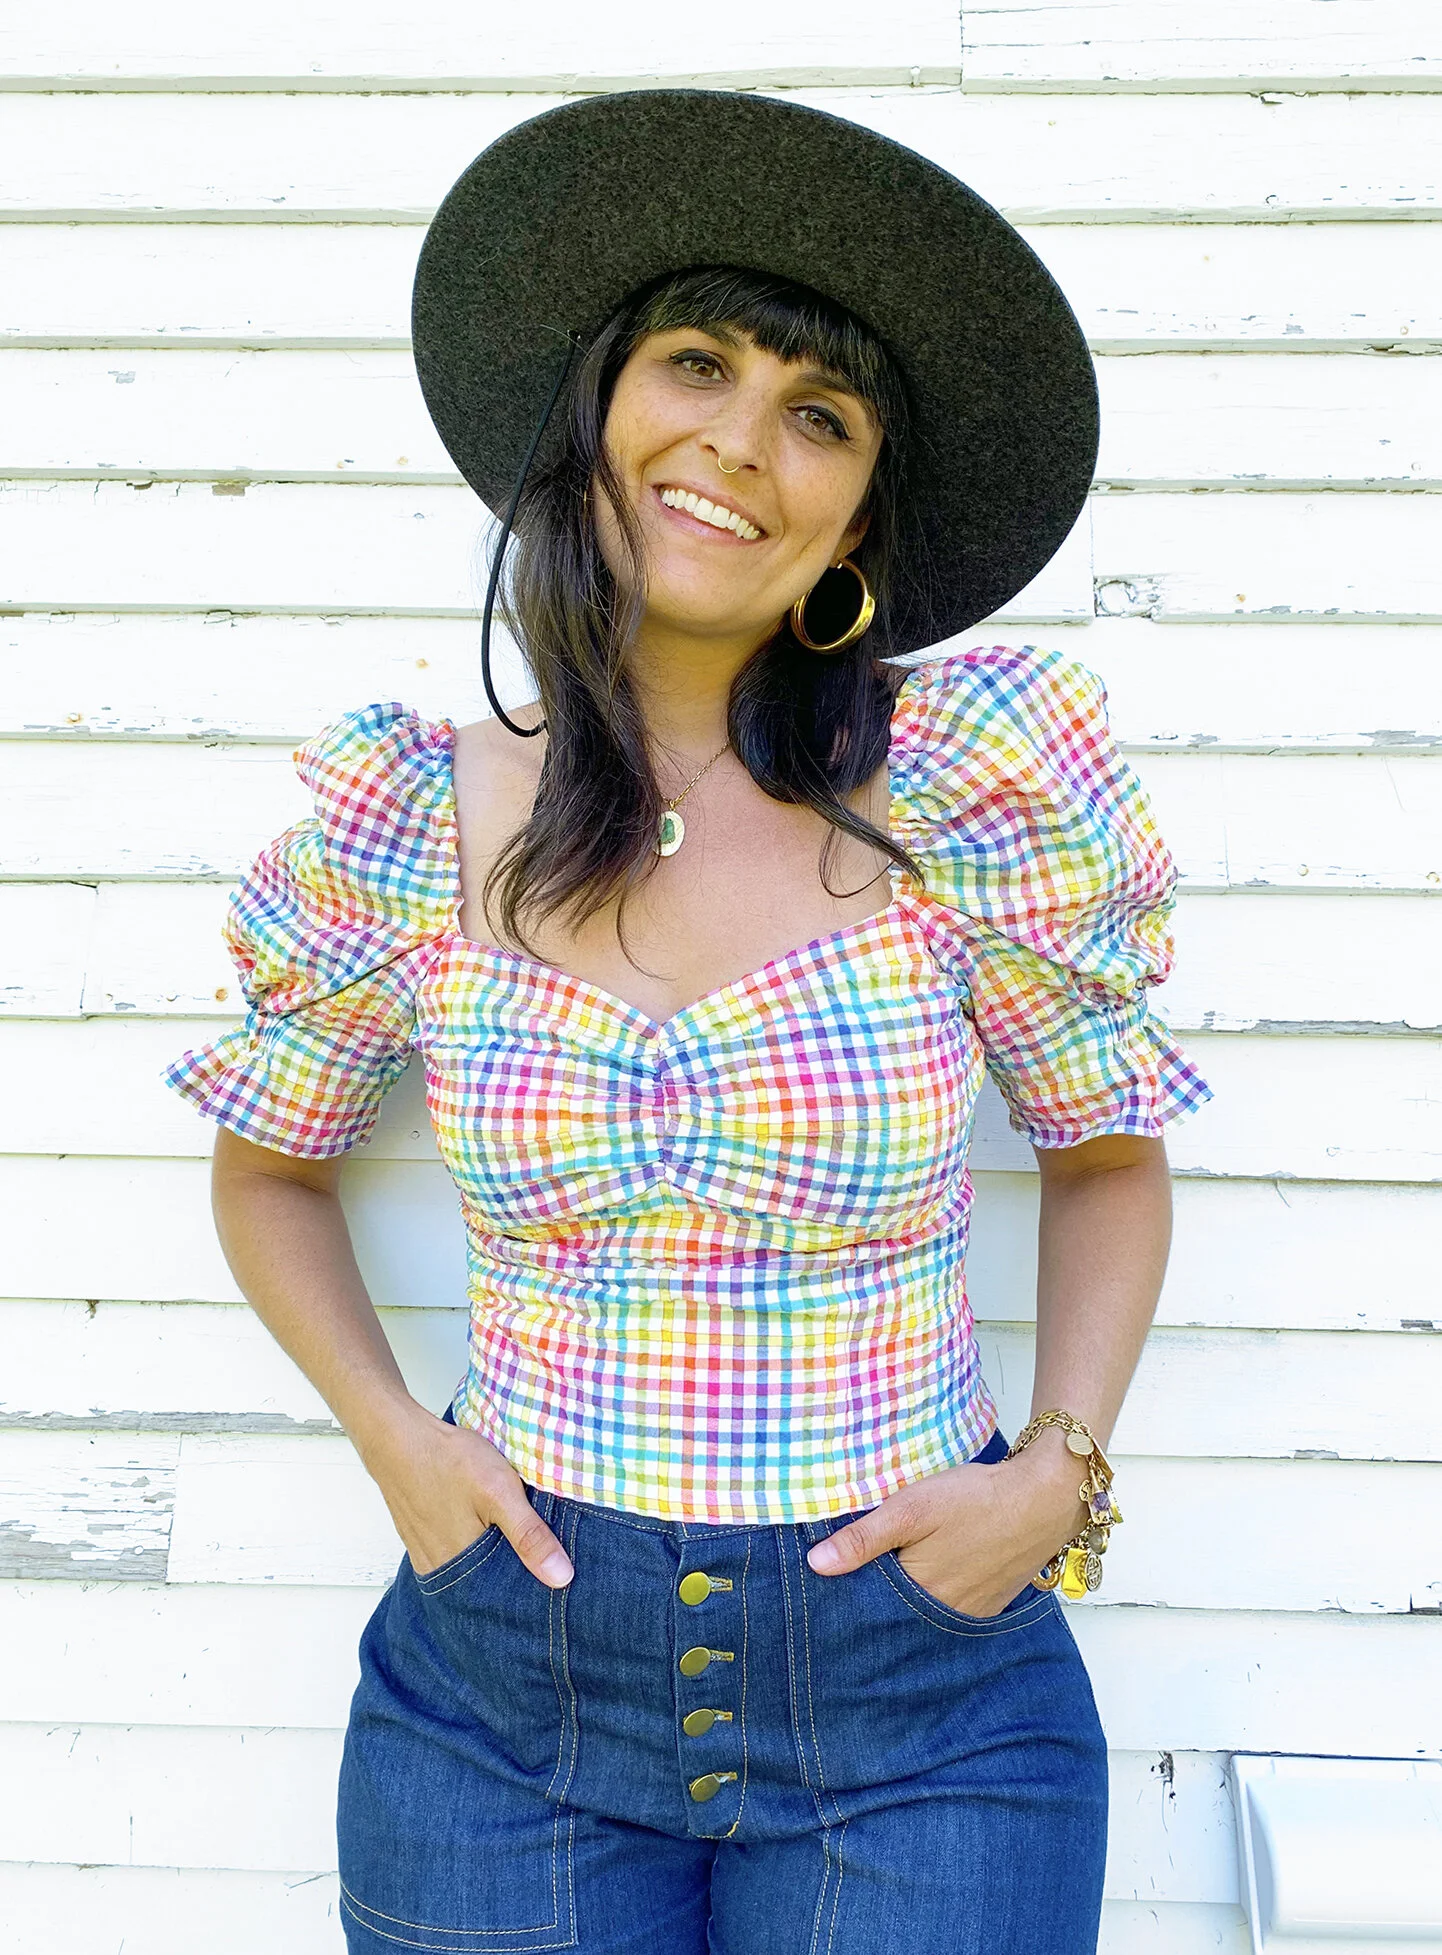
This version realllllly needs a bust adjustment on me. You can see how the underbust seam has floated up about 2” too high, and is landing on my bust. Not only does this look incorrect to me, it’s not comfortable - the top keeps riding up, no matter how much I try to pull it down. I do not usually require an FBA, but I do usually need to add length to my bodices. So the experimentation began.
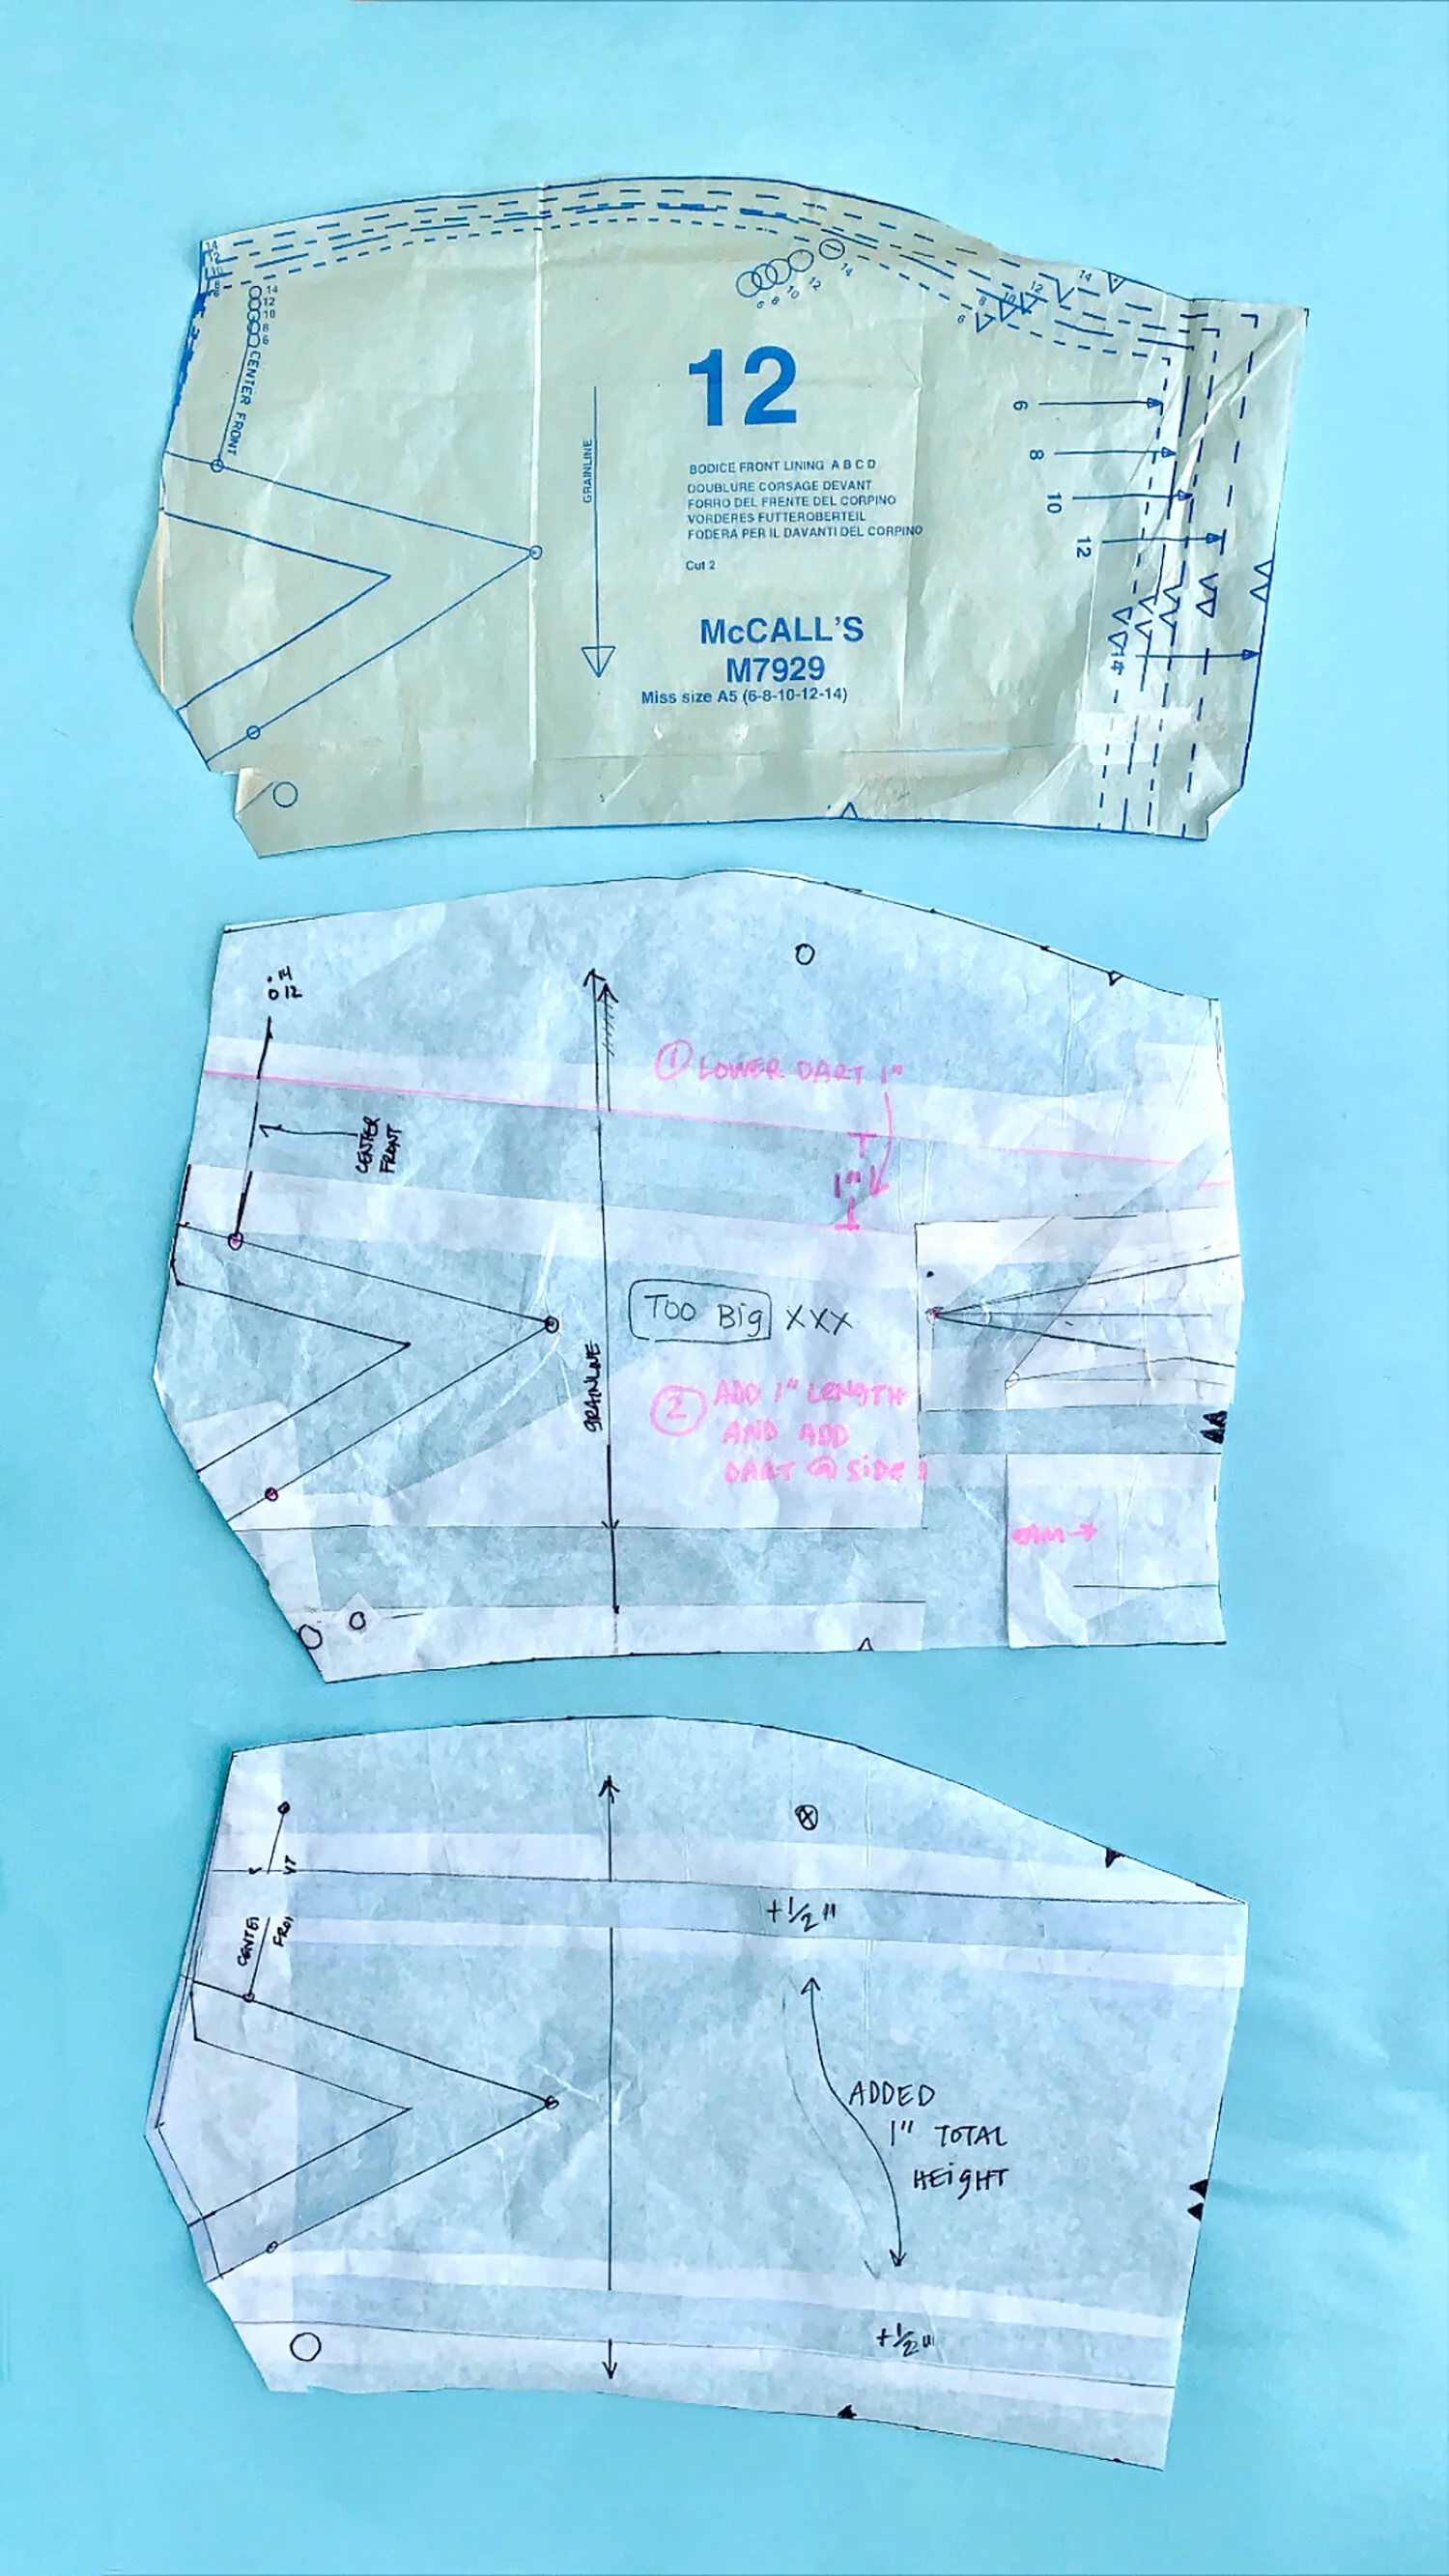
Here you can see the evolution of my pattern pieces. There was a fourth version too, but it was just a mess! My first attempt included adding 1” length to the bust piece (a typical adjustment for me), and the classic FBA - this came out way too big. I made the FBA at the side seam (the pattern has a dart at center front) and added a small dart at the side seam. This resulted in too much length, width, and volume.
What ended up working for me was quite simple: I added my usual 1” length, but broke it up so as not to distort the pattern piece too much. I added 1/2” above the dart, and 1/2” below. What these pattern pieces do not show is that I had to remove about 1/2” width from the side seam of this pattern piece for an ideal fit on my body.
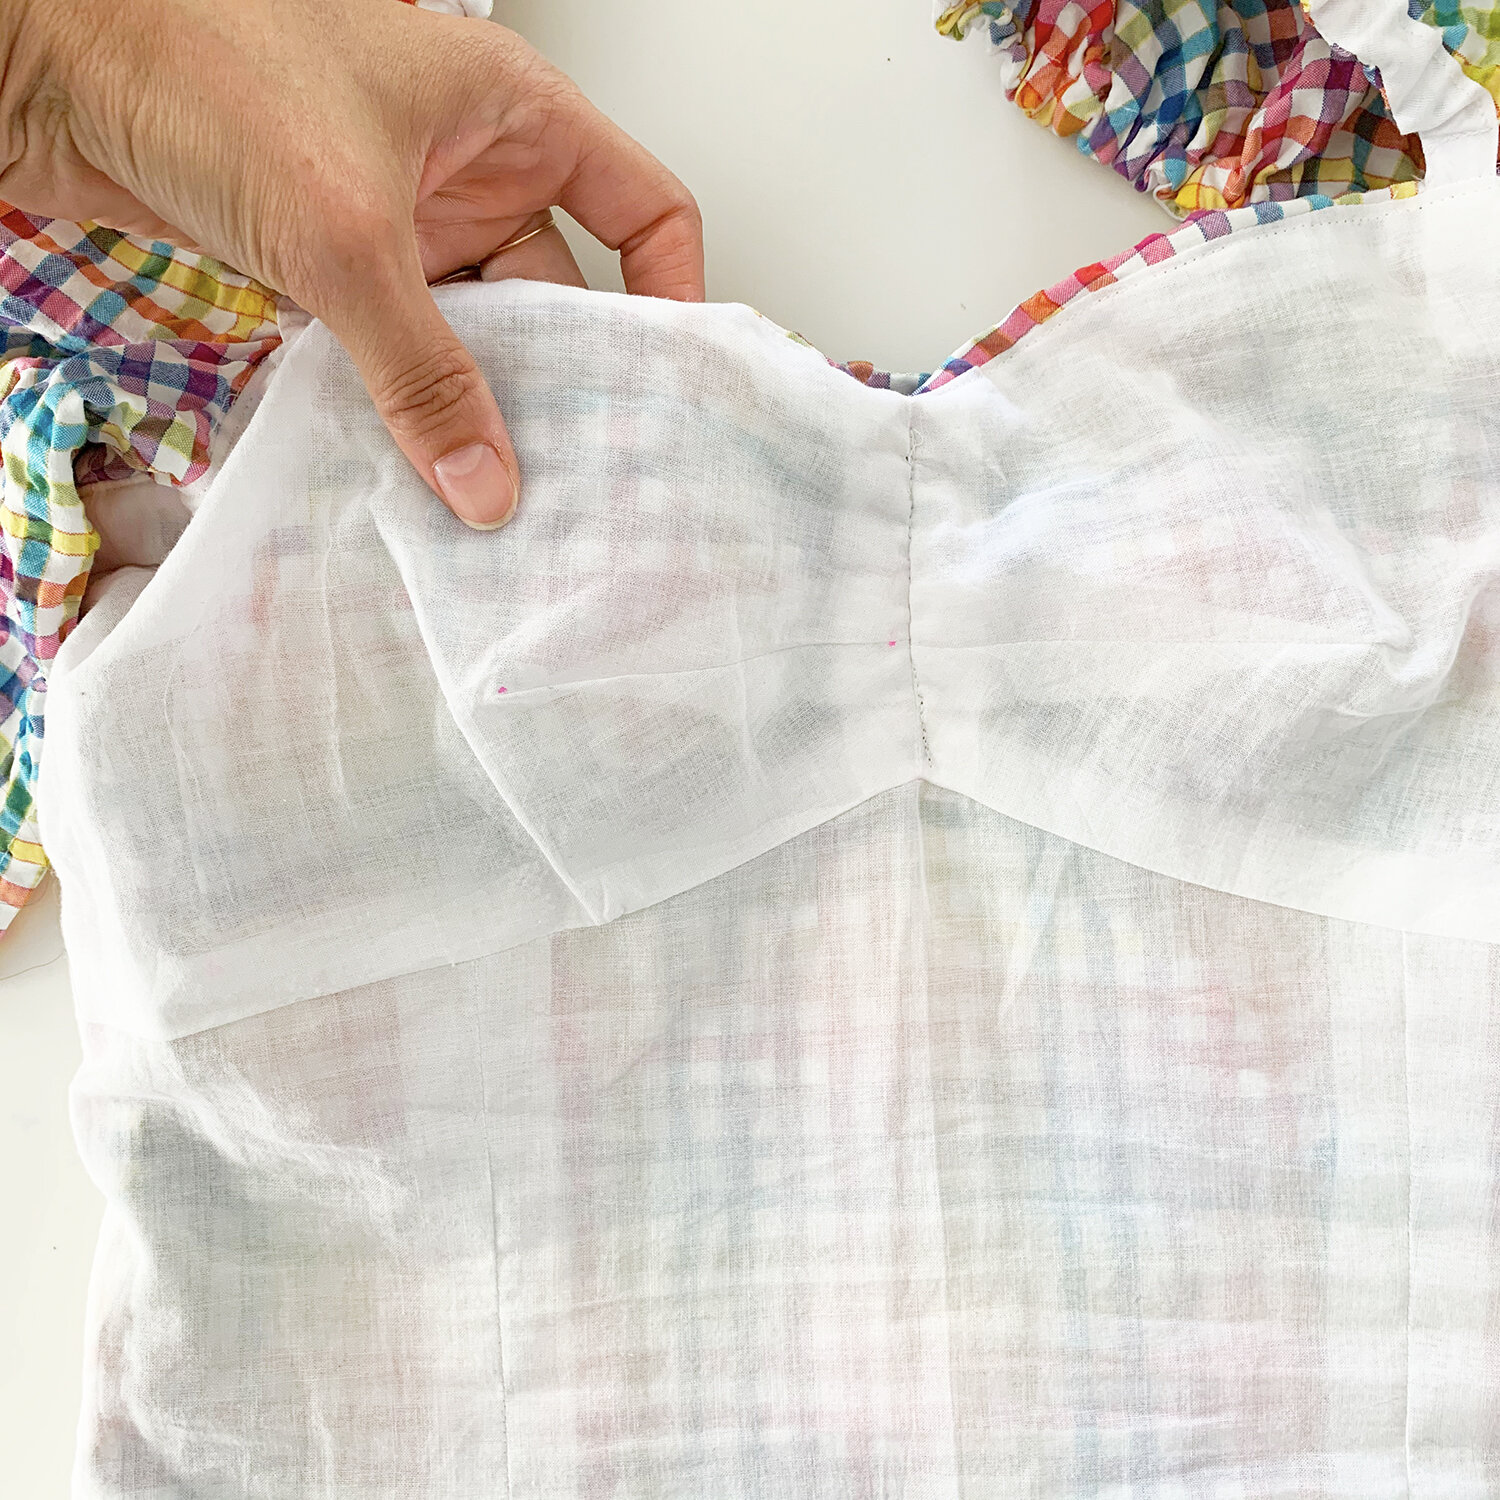
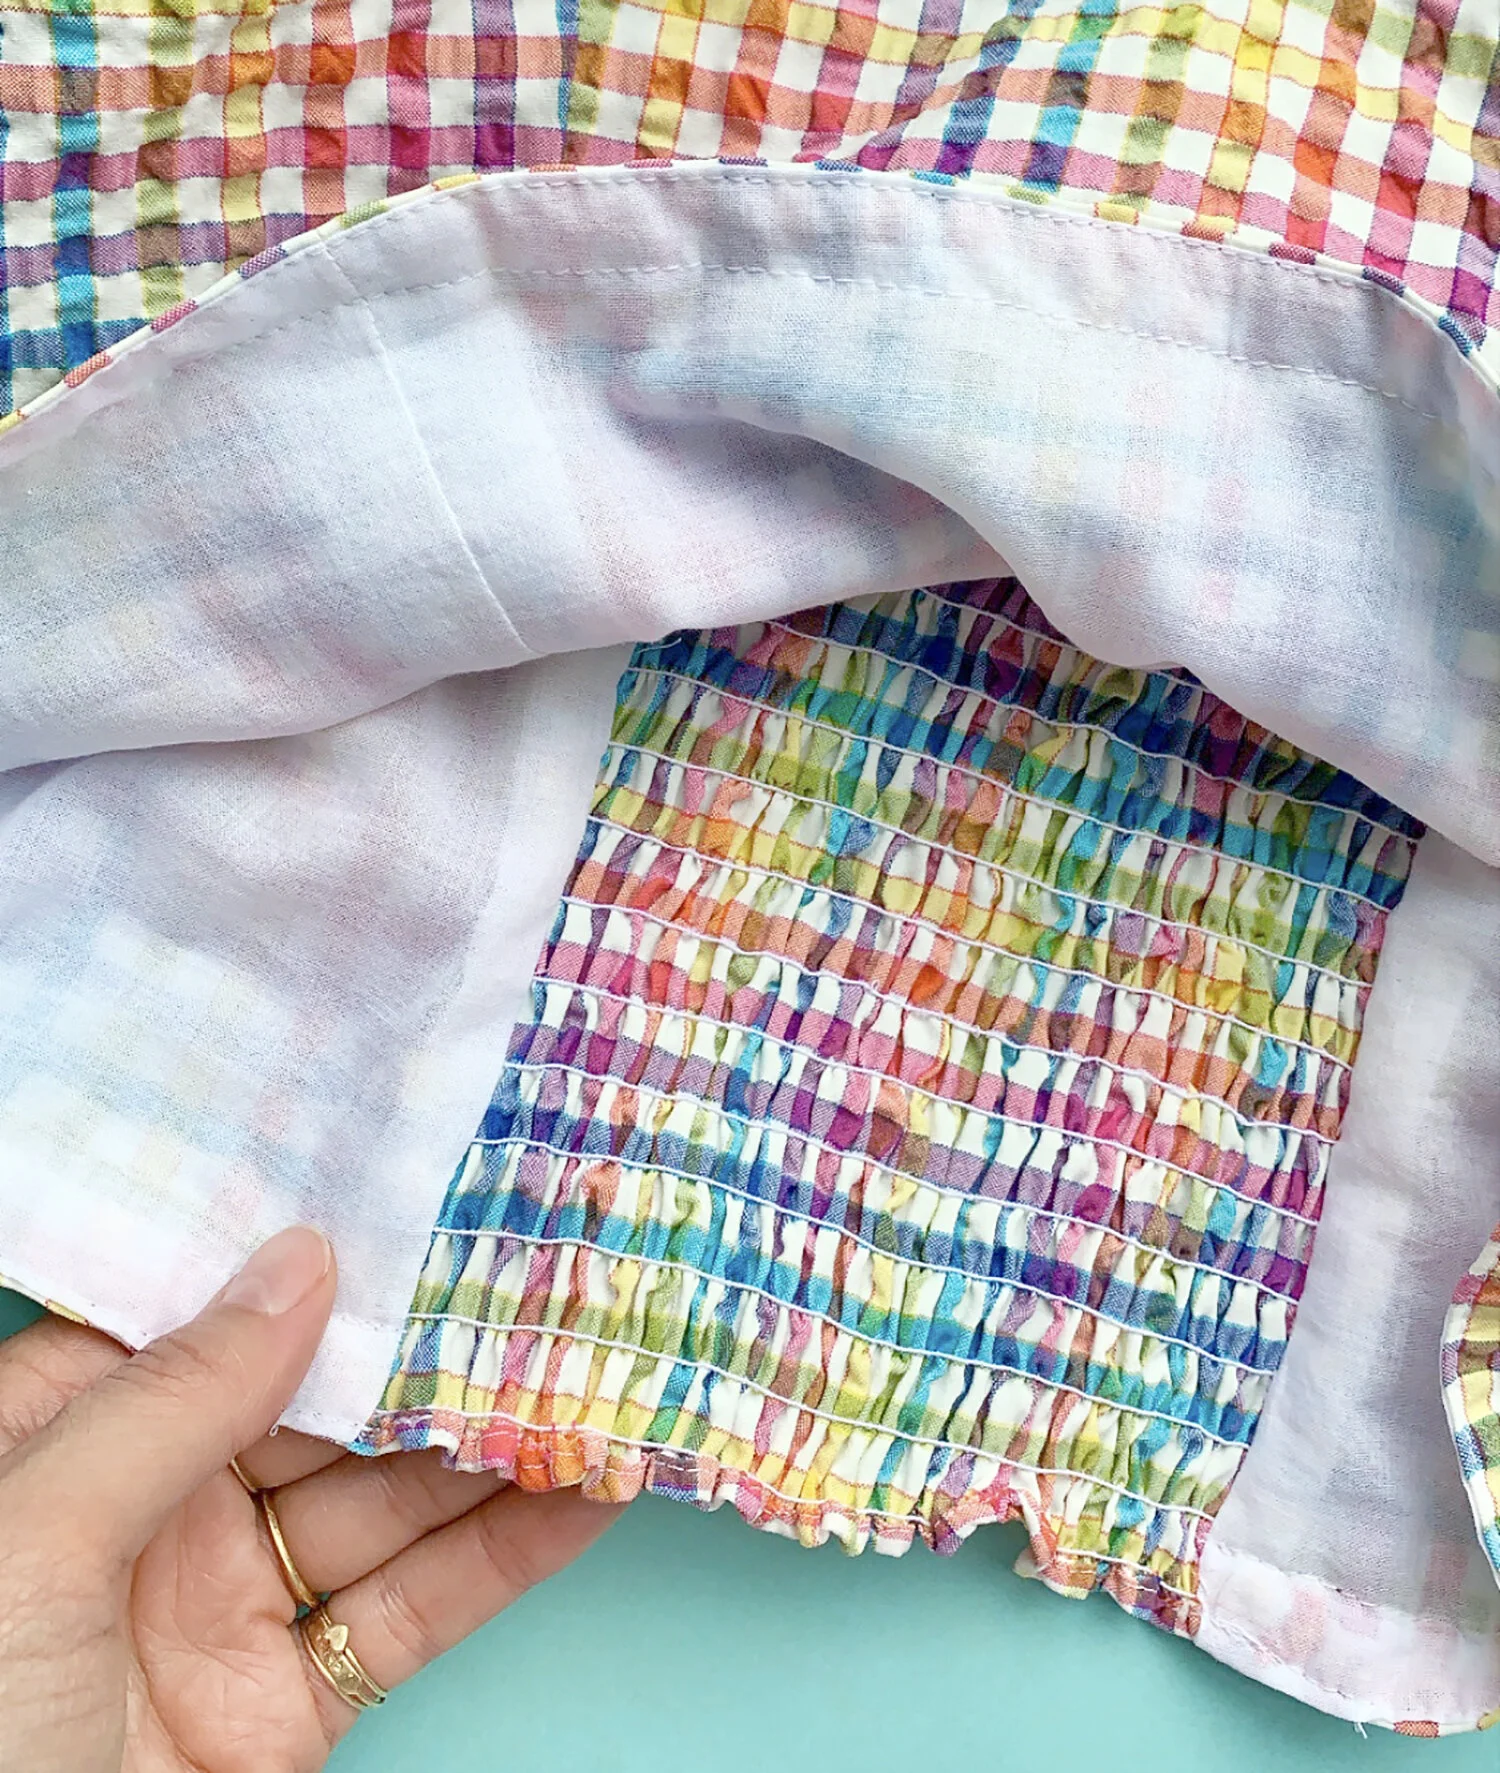
Here you can see the lining. The lining is the more structured part of the garment, so it is essential that it fits. The bust section is the pattern piece I showed above. The pink dots are Crayola Ultra Clean Washable Marker, which washes out with plain water, or in the laundry (I’ve never had a problem with this marking tool, and you get a full rainbow of colors in a package).
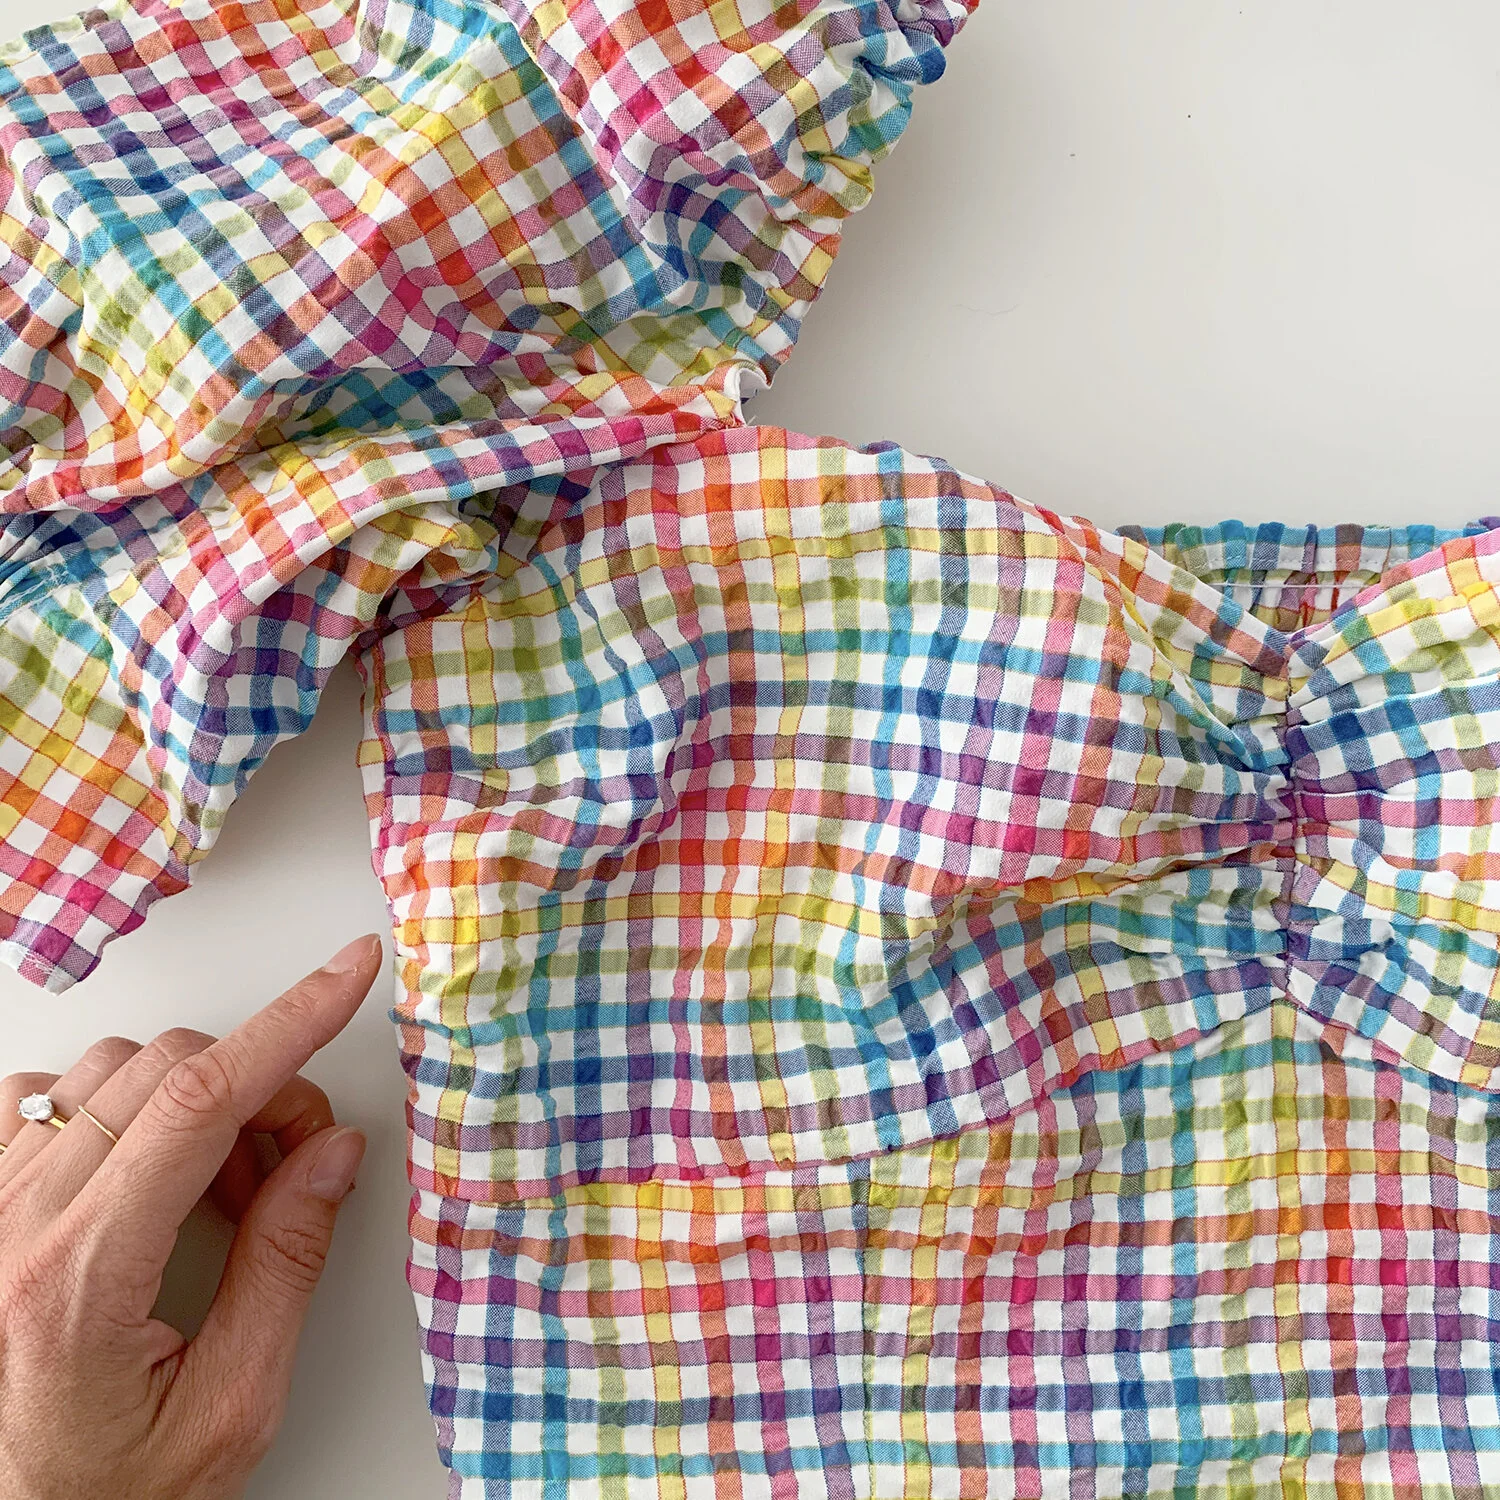
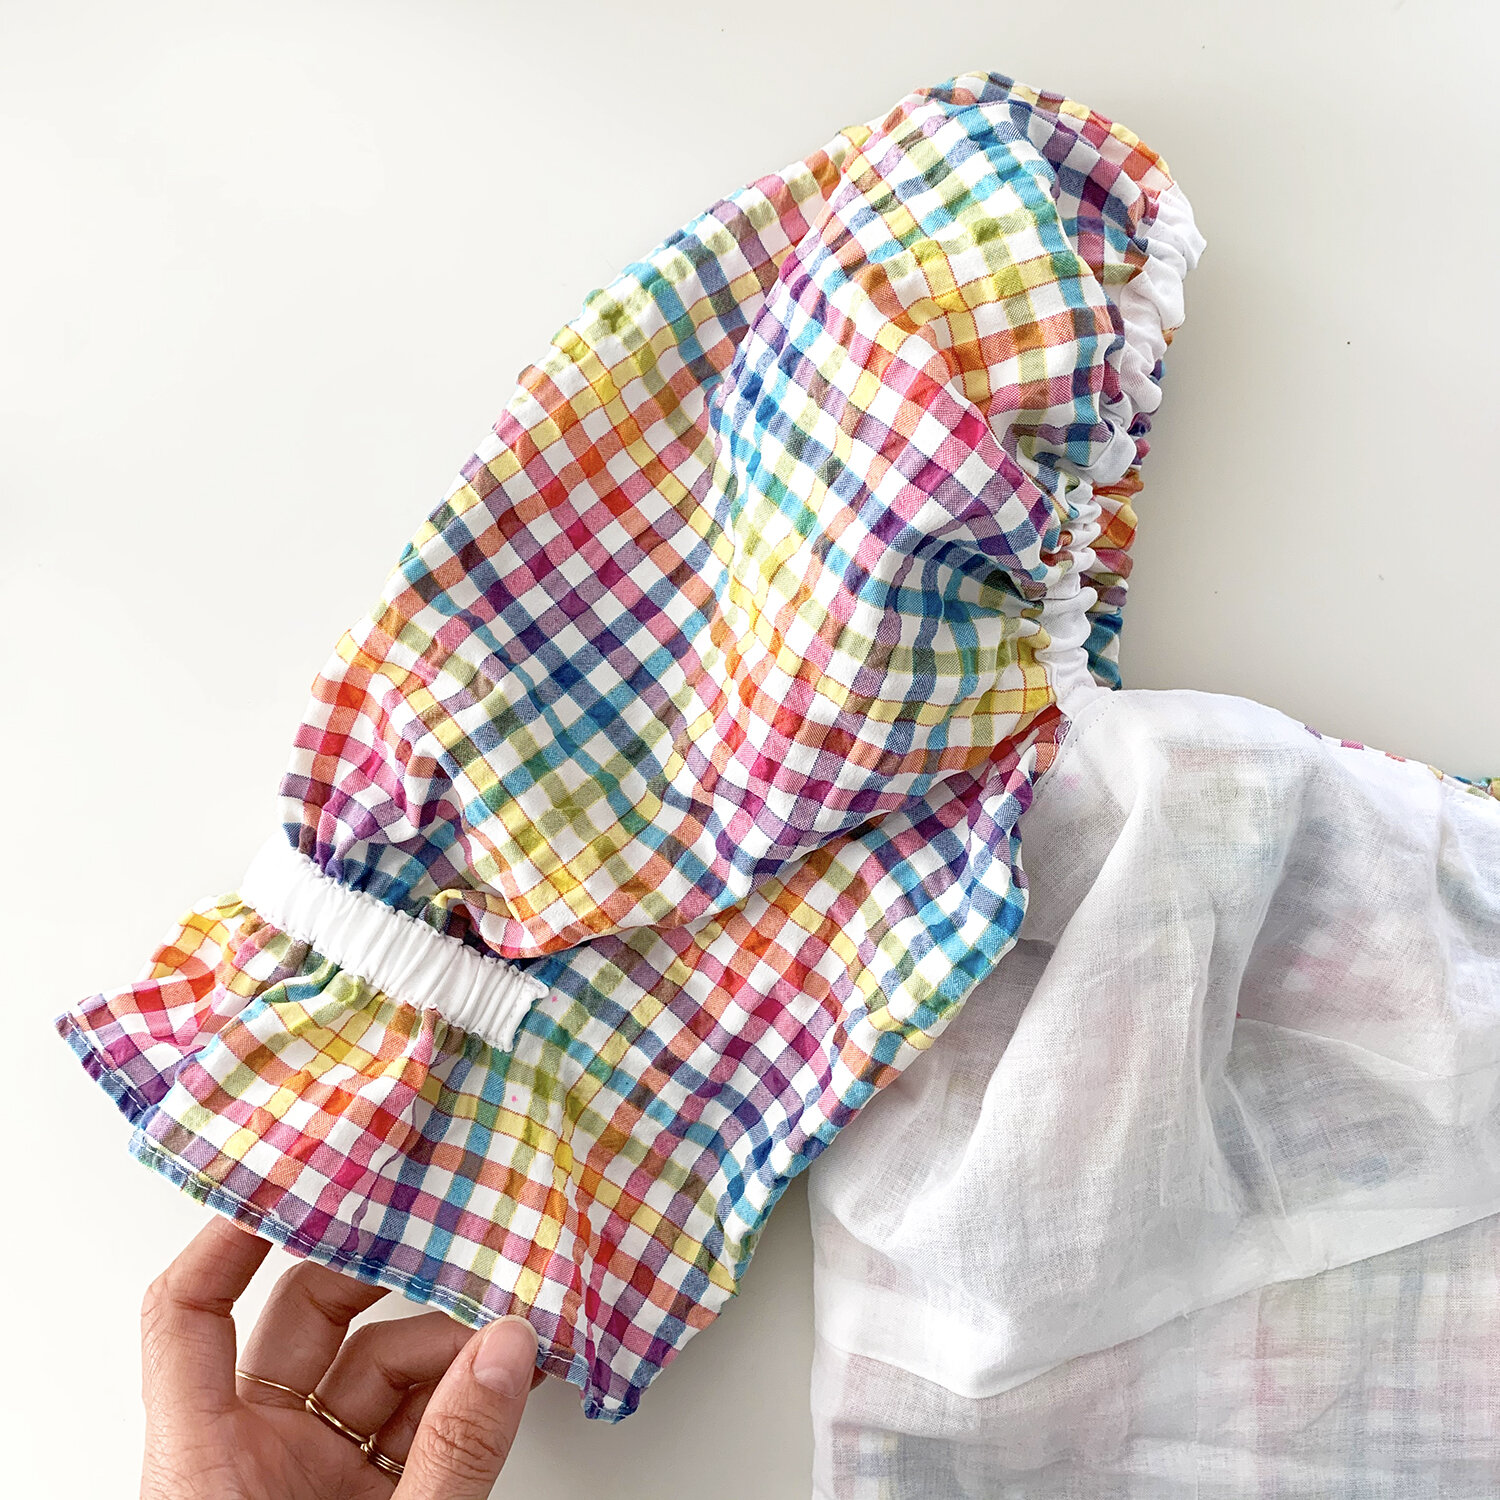
On the shell of the garment, the fabric is ruched, and a different pattern piece is used than the lining. I added 1.5” of height to this shell piece, so it could gather a bit more. So: I added 1” to the lining pattern piece, 1.5” to the shell (plaid), leaving 1/2” more fabric on the shell than the lining. I simply gathered this excess into the side seam - not an issue structurally and helps the fabric distribute nicely over the bust. You can see me pointing to it in the photo above. I stitched in the ditch down the center front seam to attach the shell to the lining, to anchor everything together.

Here is the ruched panel. It’s okay that it looks messy at this point! it will be lined at the edges. I left the bottom edge unhemmed until close to the end of construction, because I suspected I would want to shorten the top, and I did.
This fabric benefits from using a Microtex needle. If you don’t have one, at least you a fresh needle, as the fabric is densly woven and can snag. After shirring a bunch of garments this summer, my preferred brand of elastic thread is Dritz. You get more on the spool and it costs less than Gutermann, and my machine seems to give more consistent results with it. The way I hand wind the bobbins is also a variable, so your mileage may vary.
Applying the lining requires some flip-flopping things around, kind of like bagging a jacket lining. It’s worth going slowly so you only have to do it once (ask me how I know…). I added edgestitching and top stitching at the hem, hidden in white stripes on the plaid, to hold things together. Because you take this off/on over your head, I wanted to make sure the layers all stay in place as the fabric shifts around.
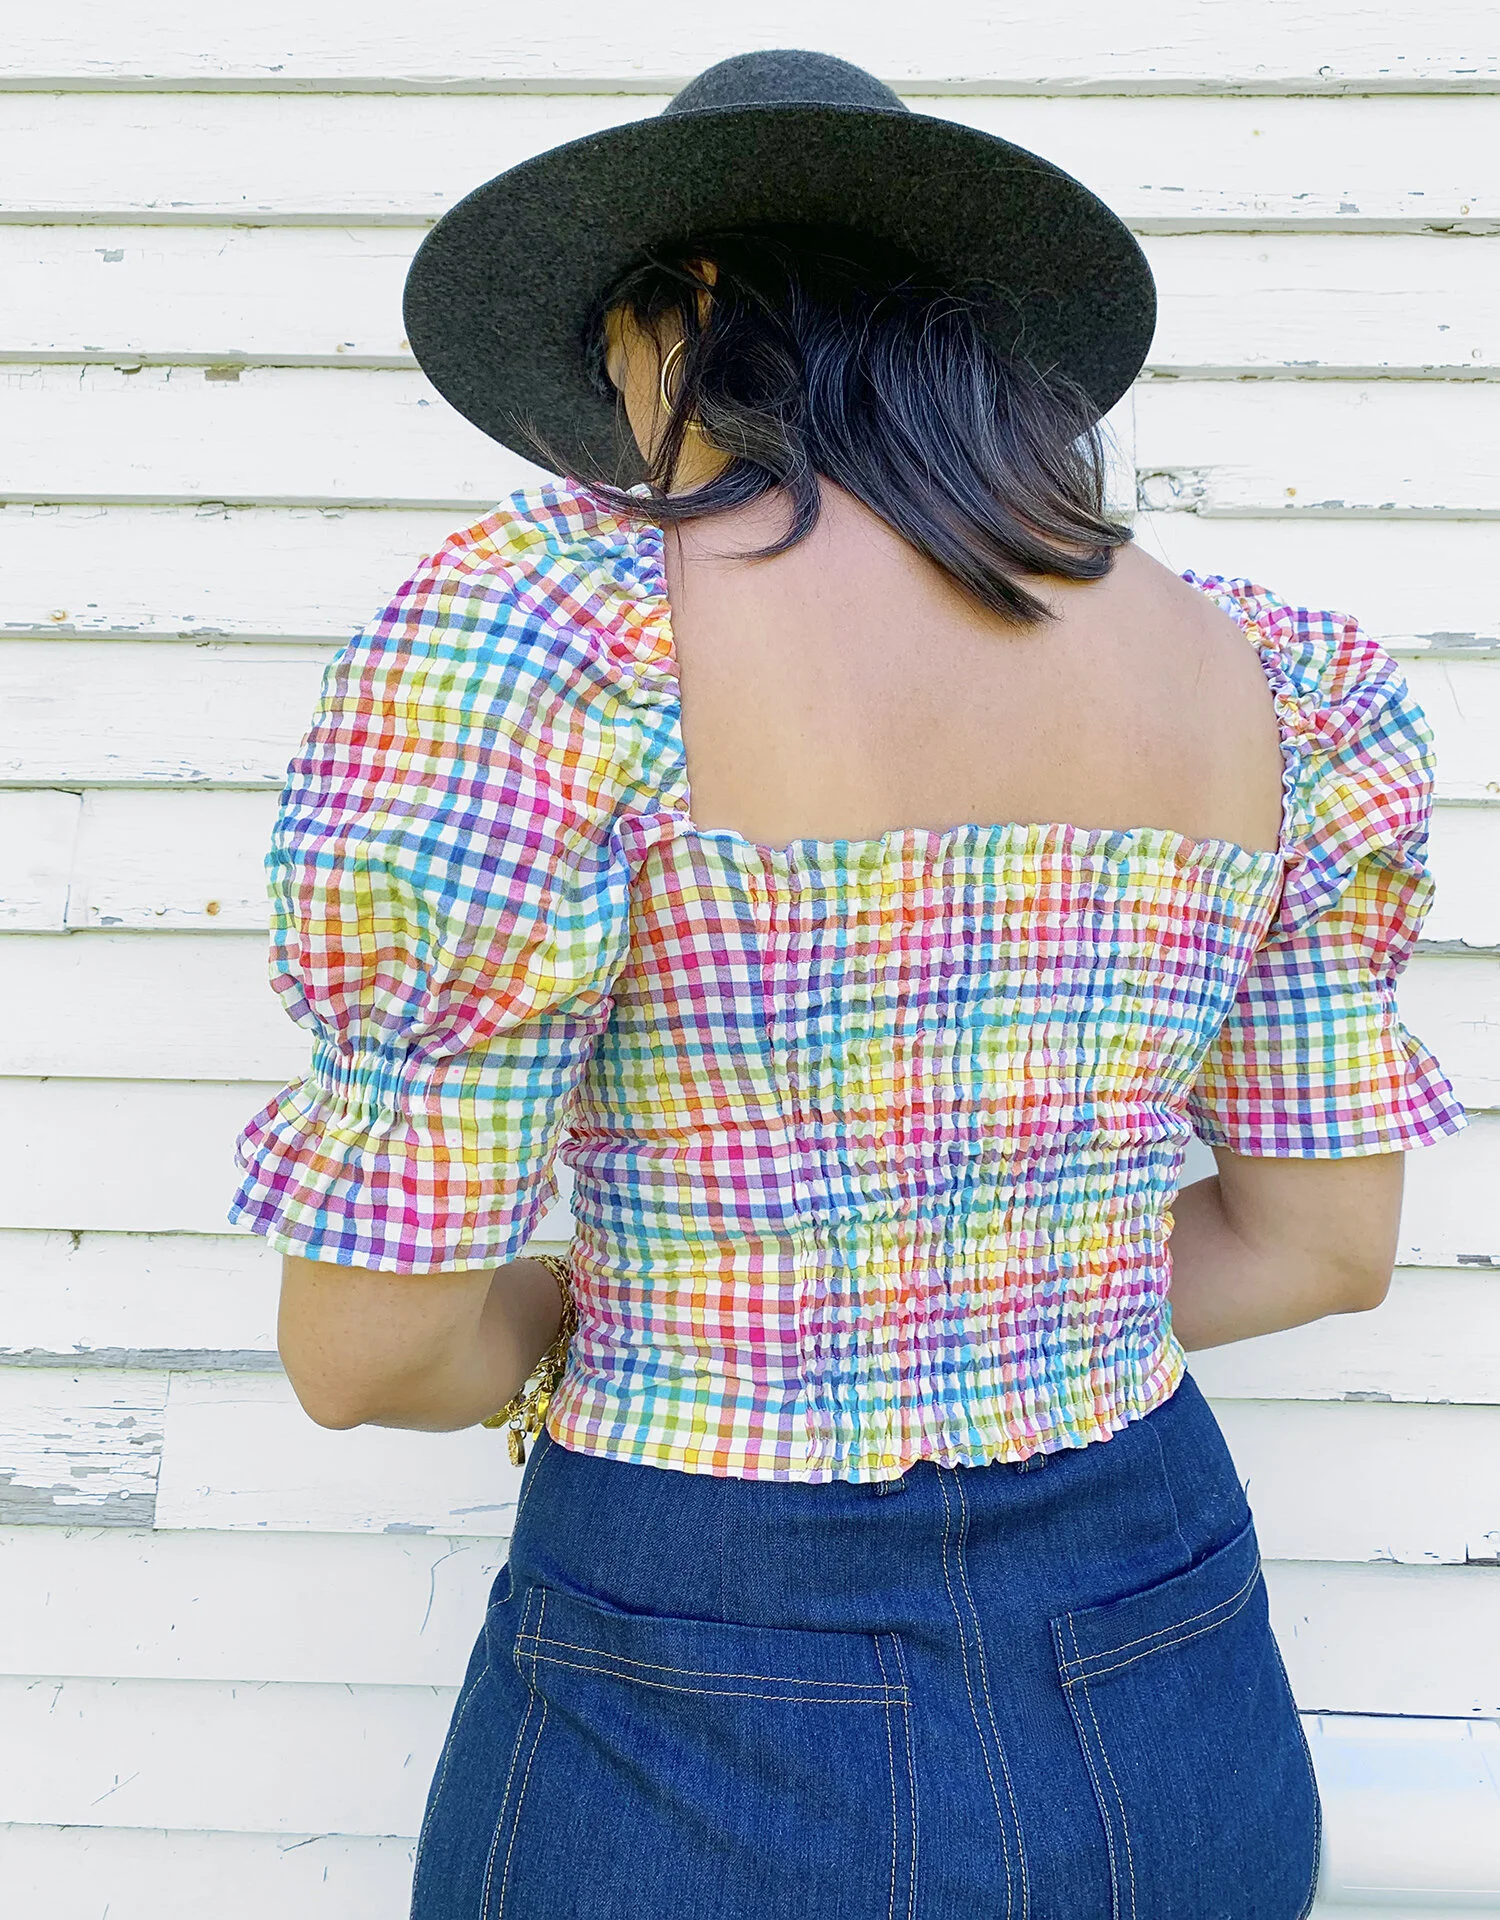
Every fabric takes shirring a little differently. I took the shirred back panel in about 1/2” at each side with this plaid, and have no trouble getting the top on/off. The Liberty Tana lawn version is a little more rigid and I kept the full width.
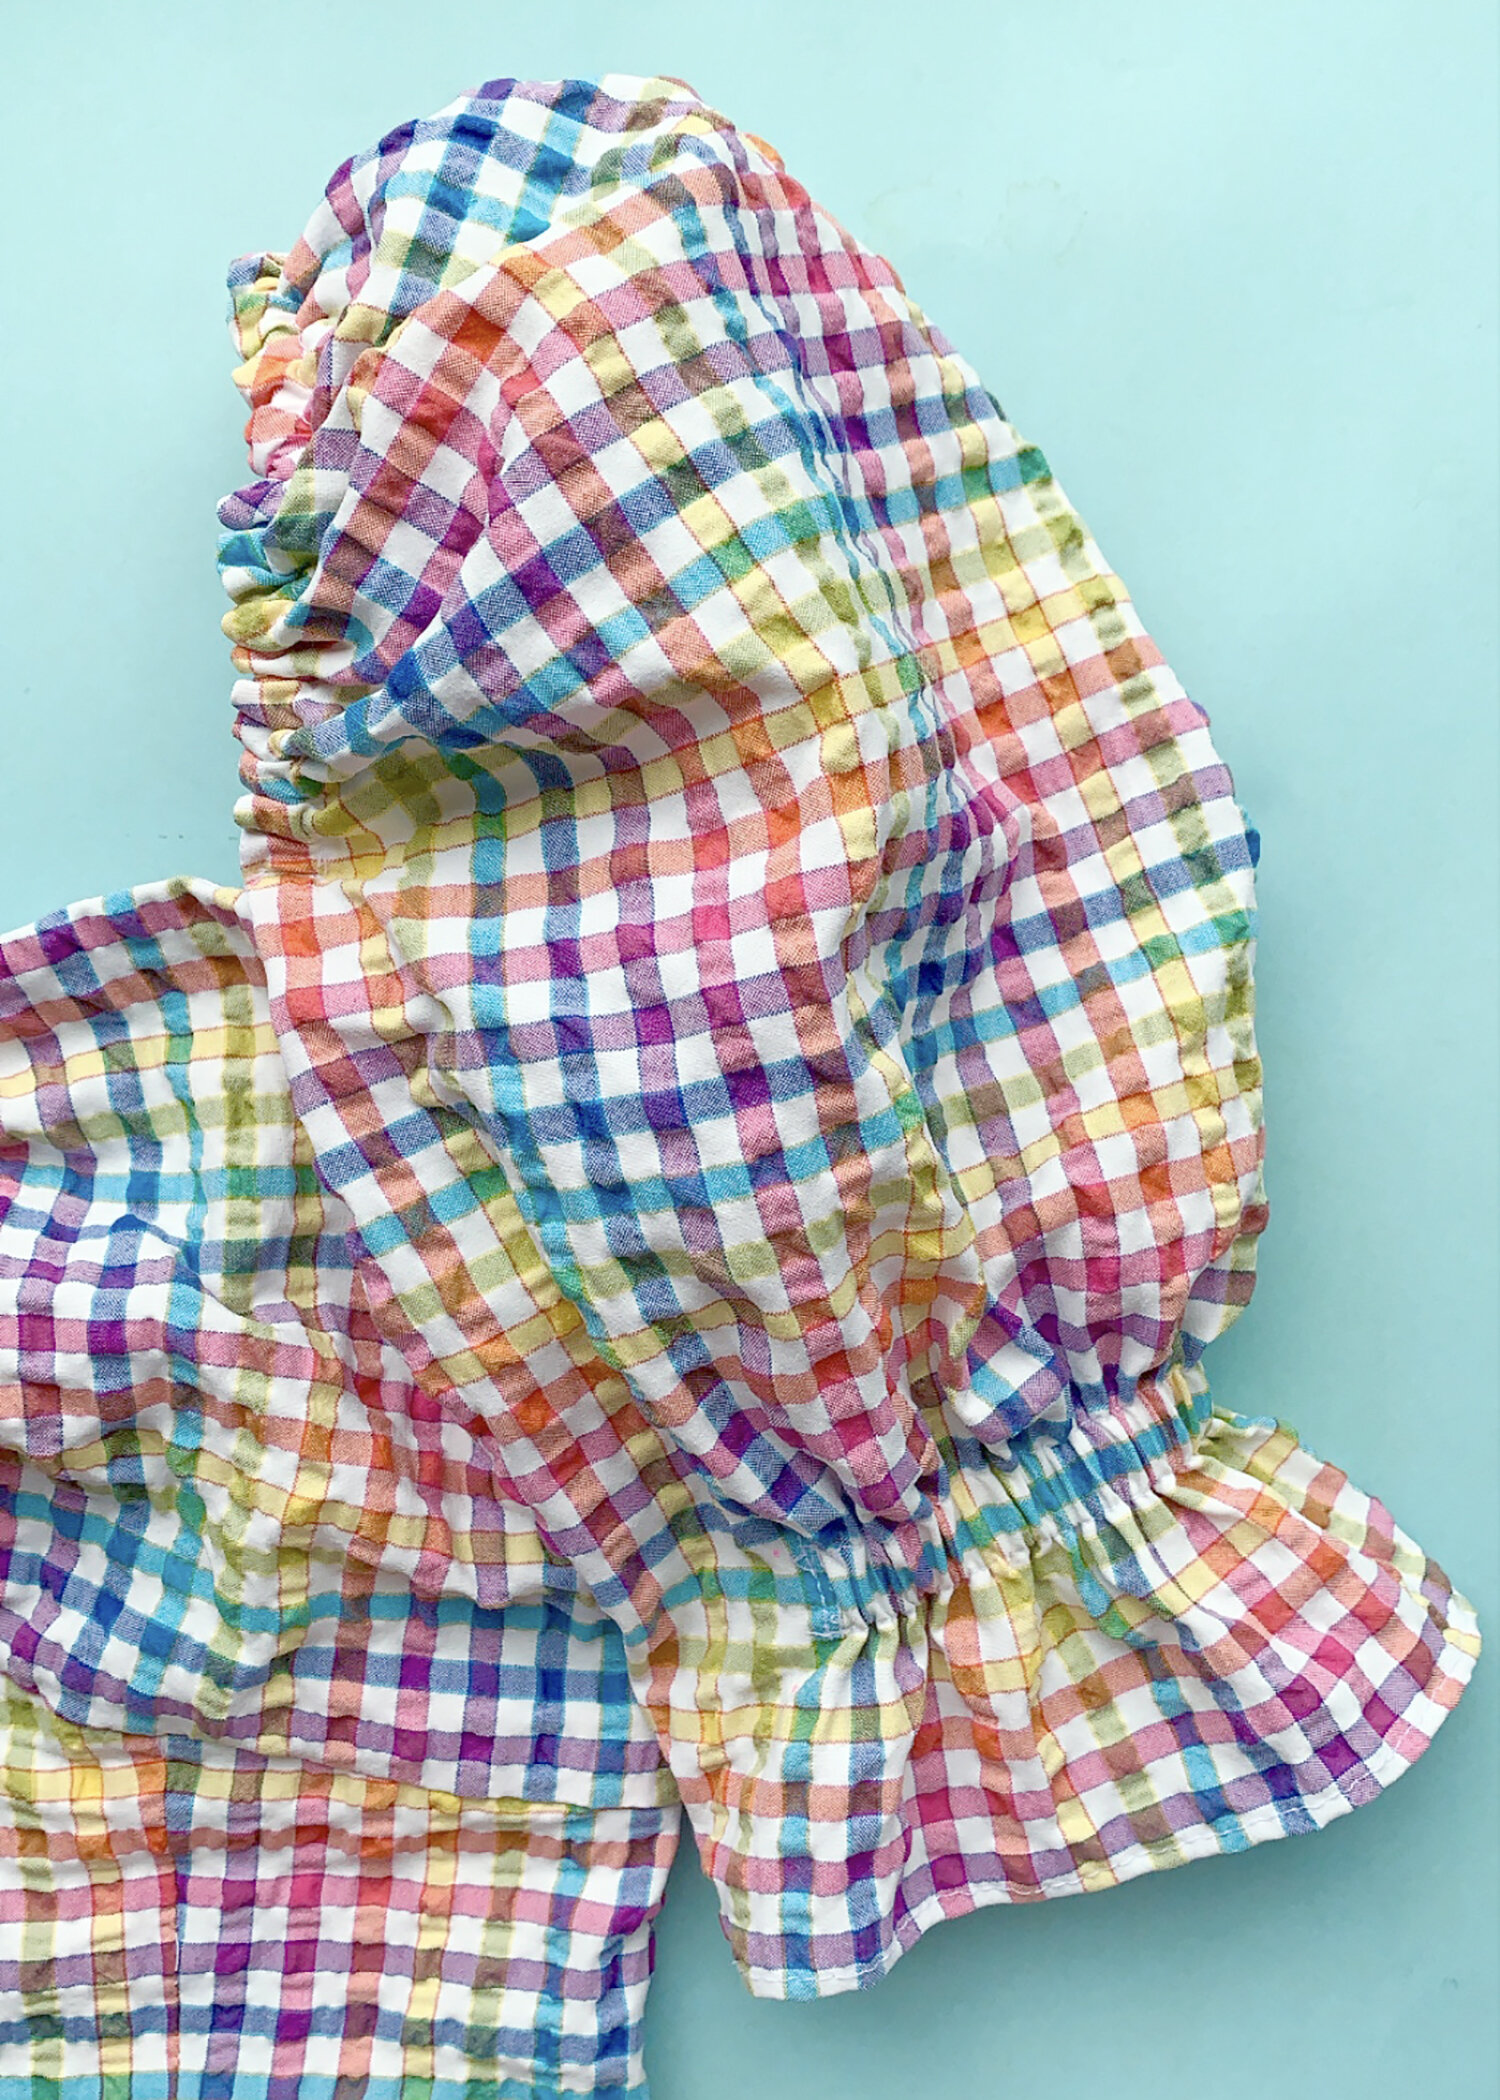
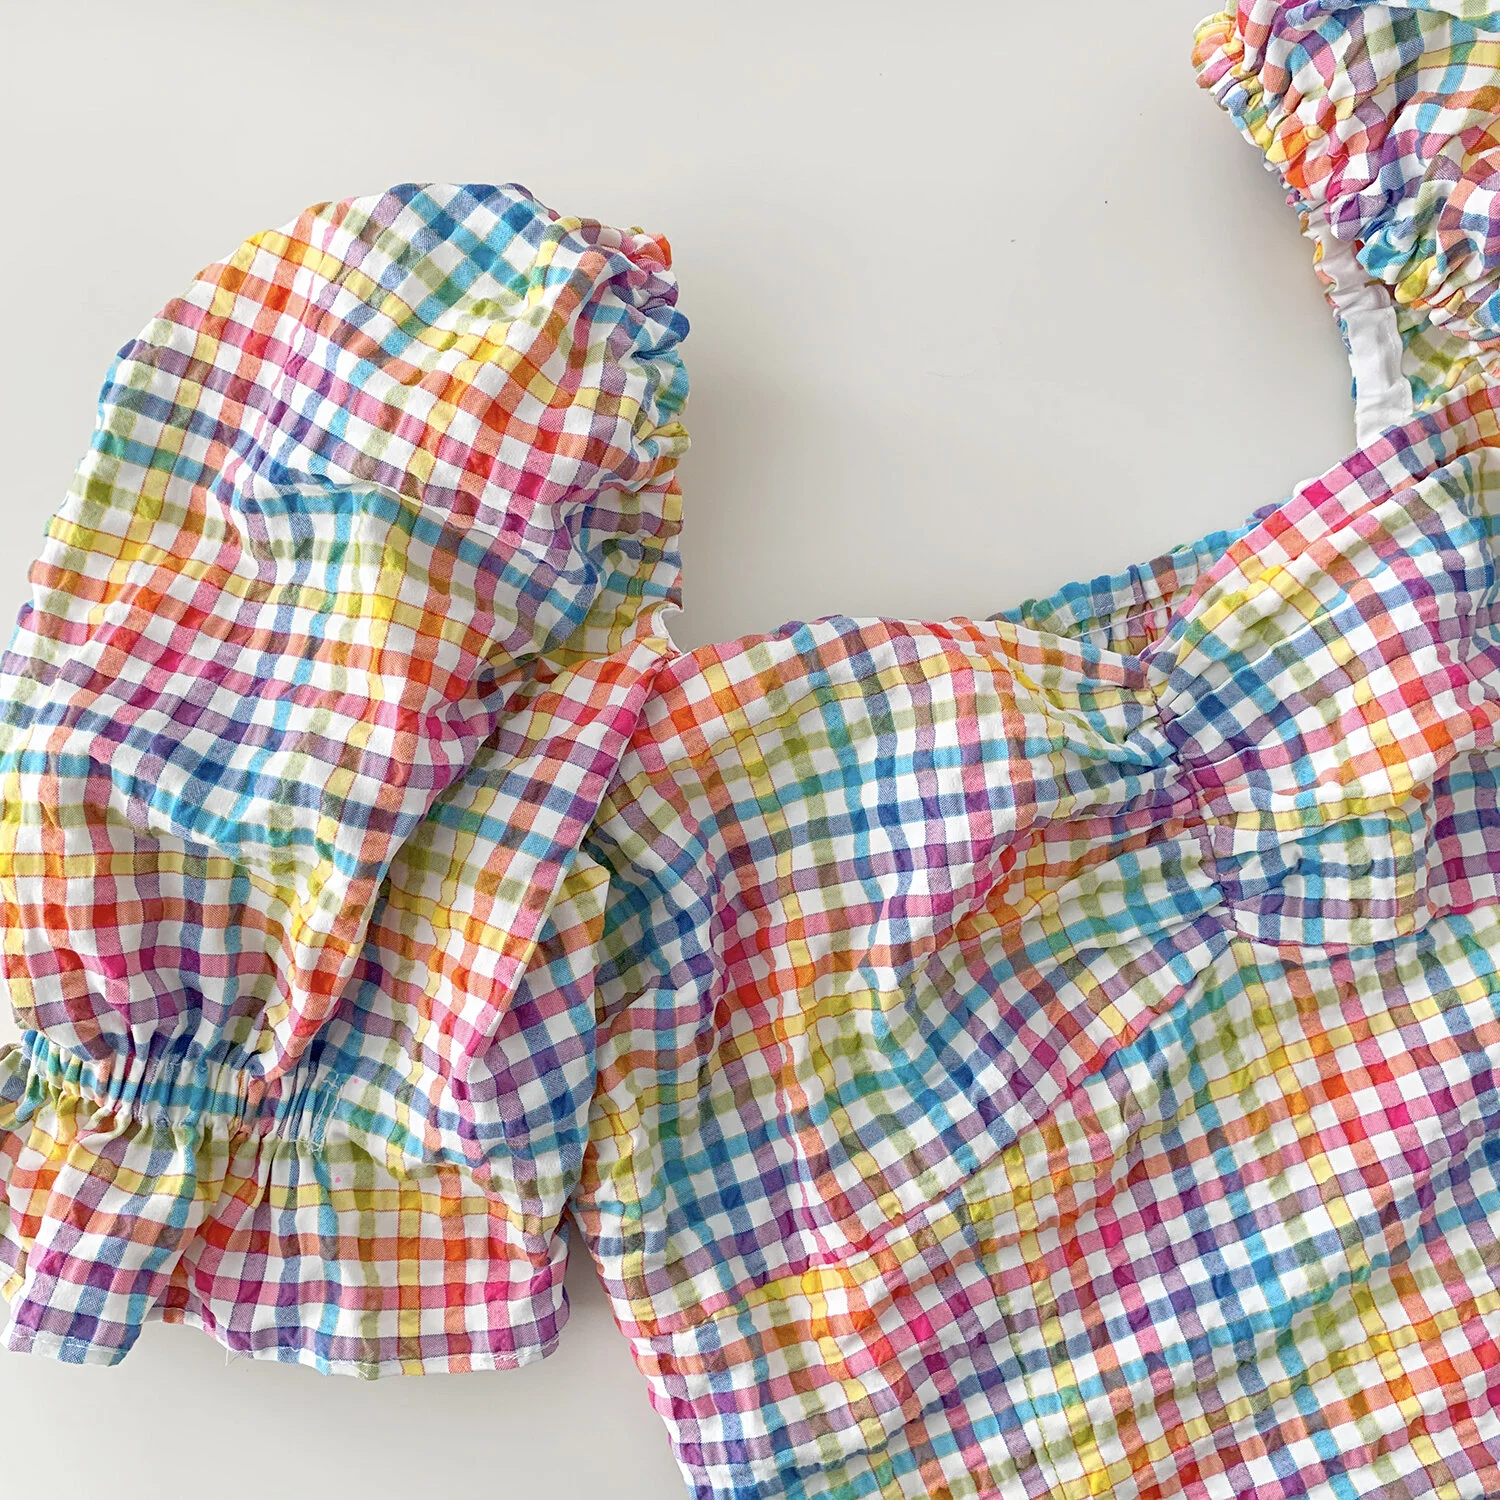
When it comes to sleeves, the more puff, the better, right? I think so, too. This fabric holds volume beautifully! I added 2” width to the center of the pattern piece via slash & spread. I also added to the part of the sleeve that attaches to the top edge of the bodice - I extended each piece 1/2”, because on my trial version, you could see my bra straps. By adding fabric there, I could move the sleeves in 1/2” front and back, to conceal my bra straps.
I love how the sleeve volume is formed! Even though I added 2” width to the sleeve, I kept the elastic piece that goes in the partial cuff casing at 5” (length indicated in pattern). So the sleeve fits the same, you just need to make sure your fabric is thin enough to add the additional 2” of gathering.
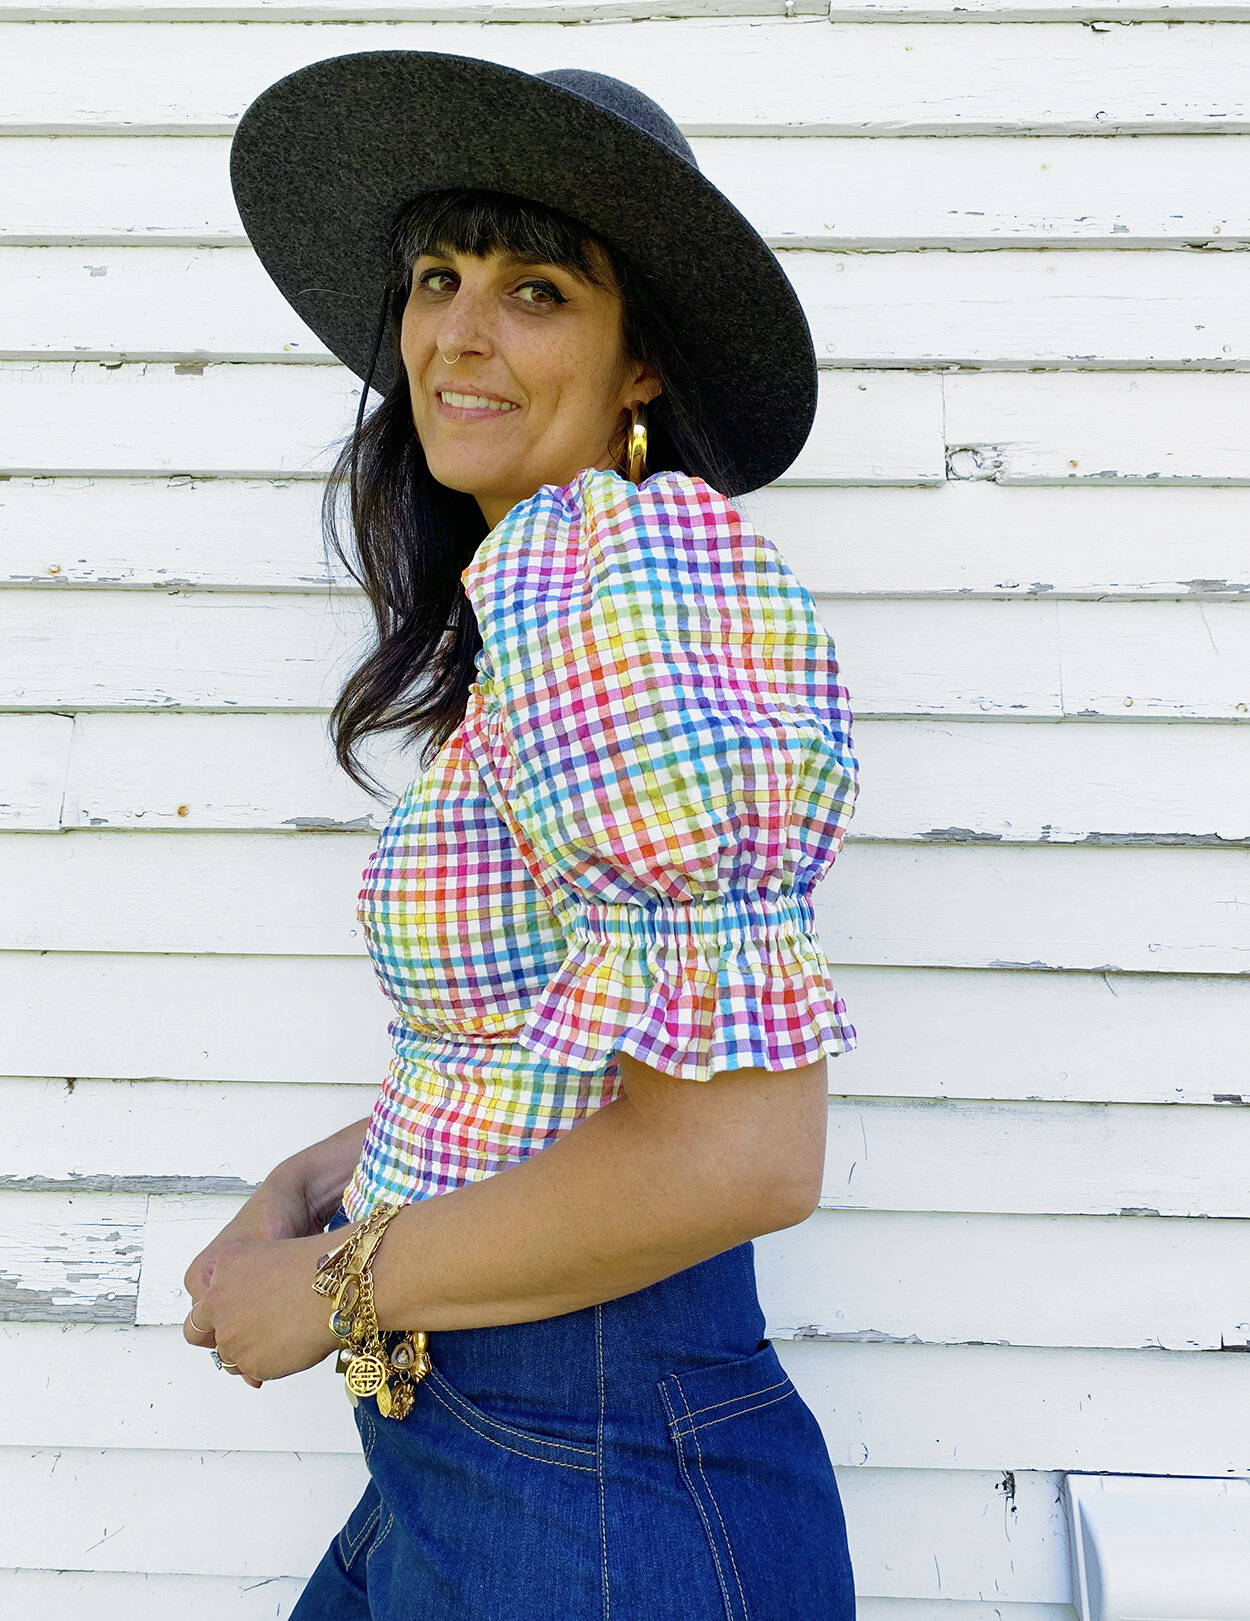
The resulting sleeve is nice and puffy! And, my bra straps do not show at all. Win/win.
I am so pleased with how this top came out! I was frustrated by all the bust adjustments, but they were totally worth it. The underbust seam stays put now, and the top is super comfortable. Now that I have the pattern adjusted, I will likely make another version. I also think this would make a great dress bodice.
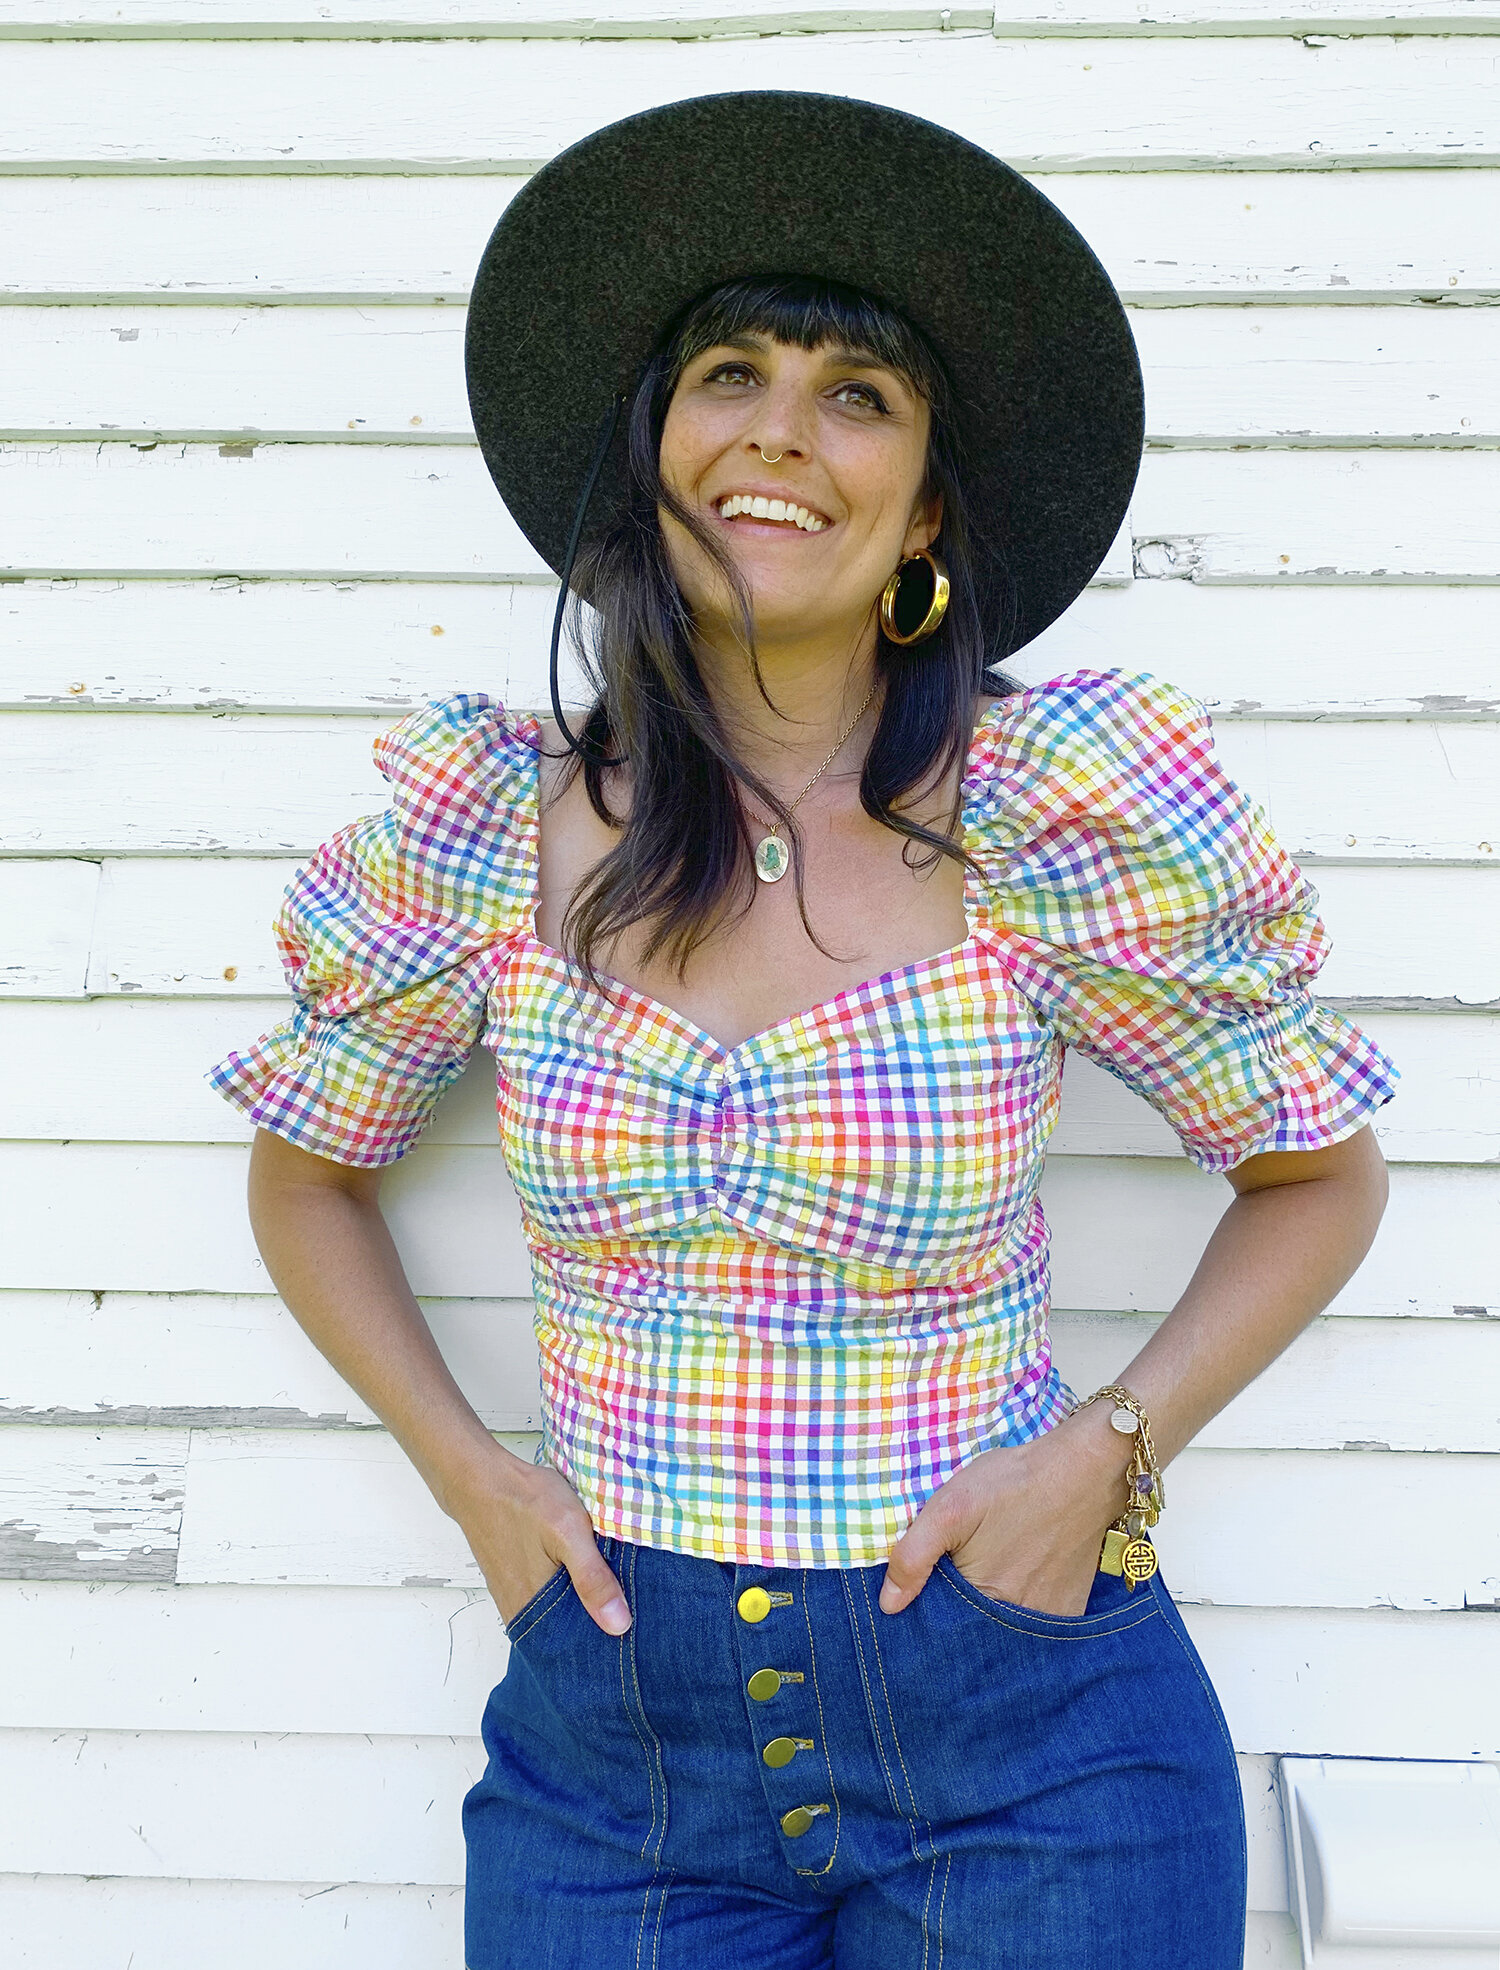
M7929 pairs perfectly with my trusty True Bias Lander Pants jeans! I’m sure this outfit will be on heavy rotation.
XO, Martha