DETAILED PATTERN REVIEW - MCCALL'S 7974 IN PINK LINEN

I’m gonna dive right in, because this will be a long post. As you know, I sew a lot of Big 4 dress patterns, both vintage and contemporary, and I usually skip a muslin. I make my typical adjustments and get right to sewing. This dress required more work than usual - I don’t think that makes it a bad pattern, rather, a pattern with more pieces that required more modifications to achieve a good fit. This post is an in depth pattern review for how I achieved a good fit for my body. You will likely need different modifications for your body, but hey, all information is helpful!
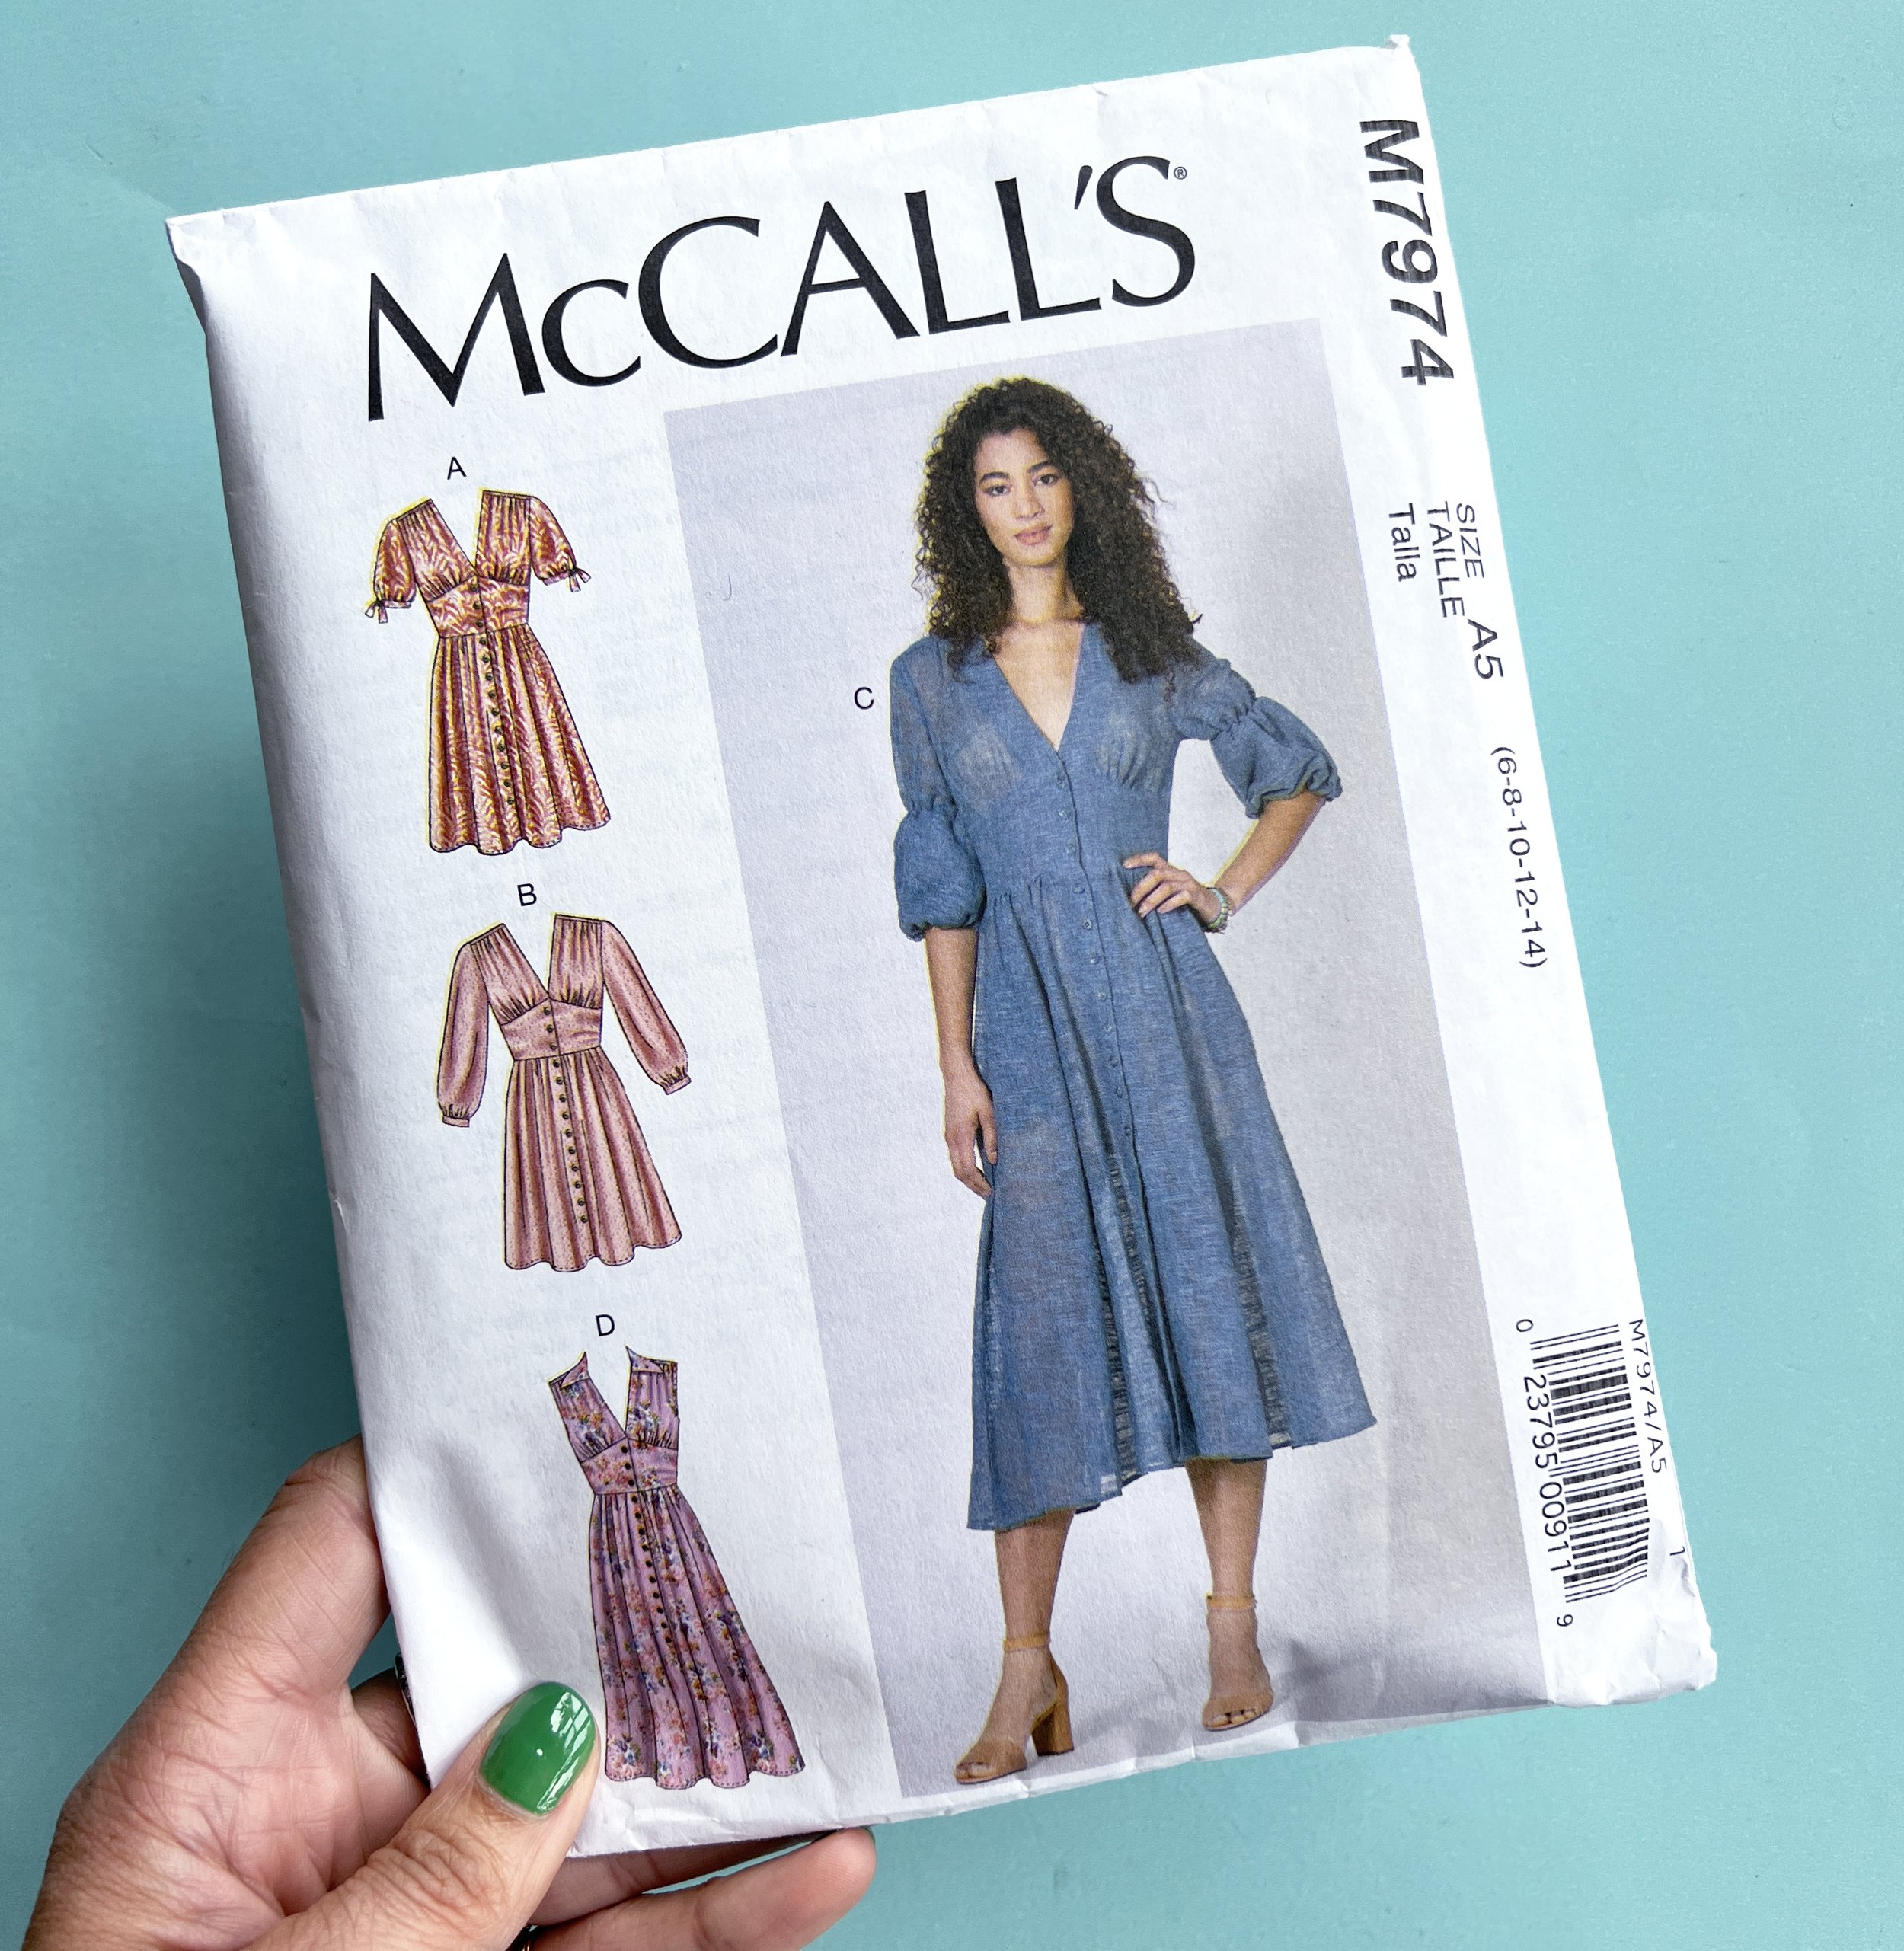
The pattern envelope describes this dress as: "Buttoned front dress has sleeve and length variations, fitted bodice with front midriff, back yoke and gathered skirt with side seam pockets."
SIZING & INSTRUCTIONS:
My envelope includes sizes 6-14 and I started with my usual size 12. I bought this right when it was published in 2019; I love the soft style and I've been wanting a new pattern for a button front dress.
McCall’s rates this pattern as "Easy". I would classify it as "Intermediate", as it's pretty fiddly with a yoke, angled (stretch prone) front neckline, front midriff, detailed sleeve options, seven panel skirt, and 13 button/holes. This pattern is not beginner friendly. I recognize "Easy" and "Beginner" are not the same, but they get conflated. I suspect this was given an "Easy" rating to lure people in. The pattern hashtag has over 1000 entries on instagram, and if you dig into them, a lot of people have had a variety of troubles with the pattern (there are also plenty of entries that do not mention fitting or do not have much of a caption at all).
The instructions include 71 steps, but how many you use depends on which view you are sewing. I think the instructions are very good, however some techniques are explained more thoroughly than others. The illustrations are also very good, and the pattern includes many markings, all of which I found to be accurate.

Detail shot of pink linen M7974. Lots of gathering means you will use lots of thread sewing this dress!
MATERIALS:
My fabric is a light weight linen from FabricMart, pre-washed and dried on HOT (this was laundered in the USA - I don’t have a dryer in the UK). I got the "Lucky You!" sticker on my fabric, meaning I got the end of the bolt and some extra fabric for free. I scored an extra 3/4 yard, which allowed me to make a bodice muslin out of my real fabric, which was extremely helpful.
Shell buttons are from my stash - at some point I bought a large box of these Mother of Pearl buttons. Some of them were irregular - too thick or thin, had a slightly yellow tint, or the surface wasn’t smooth. I used those irregular buttons here..

BODICE MUSLIN:
Unfortunately I don’t have any photos of my muslin (I’ll update if I dig it out and unpin it).
For my muslin, I made my usual standard adjustments of 5/8" narrow shoulder adjustment and adding 1" length above the apex. It was a mess: major gaping at the neckline, excess fabric through the shoulder and side of bust, side seams sewn at an angle that created way too much ease in my bust circumference, and then tapered lower than my natural waist and was too small (because it went below my waist, where my body begins to curve out again). Surprisingly weird results, somehow too big and too small at the same time.

My modified front bodice pattern tissue for M7974.
BODICE:
It is impossible for me to be brief here, so I’m going to list my mods with the reasons I made them.
• Bodice BACK has a lengthen/shorten line, but bodice FRONT does not *eyeroll* - the front L/S line is on the midriff piece. As someone who always needs to add 1" to bodice length above the apex (I am 5'8", and that's where one of my extra inches is), adding the length to the midriff piece would not only distort the proportions of the dress, but would not solve my fitting issue. If the underbust seam is hitting too high, you'll want to add length to your bodice piece, not the midriff piece.
• I lengthened the bodice 1-1/4" above the apex (front & back), 1" is a standard adjustment for me. Added the length to the back bodice in the same place, ignoring the L/S line on the tissue.
• Removed a 3/4" wedge at the center front neckline edge via slash & close, to remove gaping, tapering to 0 at the armscye.
• Shaved 1/4" off the front neckline edge at the top where it attaches to the yoke, blending to 0 about 4" down the edge (this created a more smooth line after removing the 3/4" wedge).
• Because my fabric is very shifty and prone to stretching on the bias, I stay stitched a few pieces before getting started, including the center fronts. I did this immediately after cutting the pieces and handled them minimally. I highly recommend adding stay stitching to the center fronts for any fabric.
• Re-drafted the front facings as that was easier than modifying the existing piece at this point. I made my facing 1/8" shorter than the bodice piece at both top and bottom, to help hold this piece closer to the body when worn.
• Bottom edge of bodice, where it attaches to the midriff piece: I removed 3/4" from the bottom edge at side seam, curving to 0 just before the gathering markings.
• I re-angled the side seams. They are drafted at an angle from armpit to bottom of waist in a way that makes me suspect this bodice would fit a standard mannequin perfectly... but not my body.

My modified back bodice pattern tissue for M7974.
INTENDED FIT:
Since I’ve done a lot of fitting, I wanted to weigh in on the intended fit of this dress. If you look at the dress on the envelope cover, it's up for interpretation how it is meant to fit at the waist. The illustration suggests fitted/tight; yet the model is wearing a dress that is looser at the waist. I think it's meant to fit as per the model… Is there excess ease in the pattern? I don’t know because it didn’t fit me “out of the envelope”, but if your expectation is for this to be tighter/fitted at the waist, you might need to adjust for that, it depends how similar your shape is to how this was drafted.
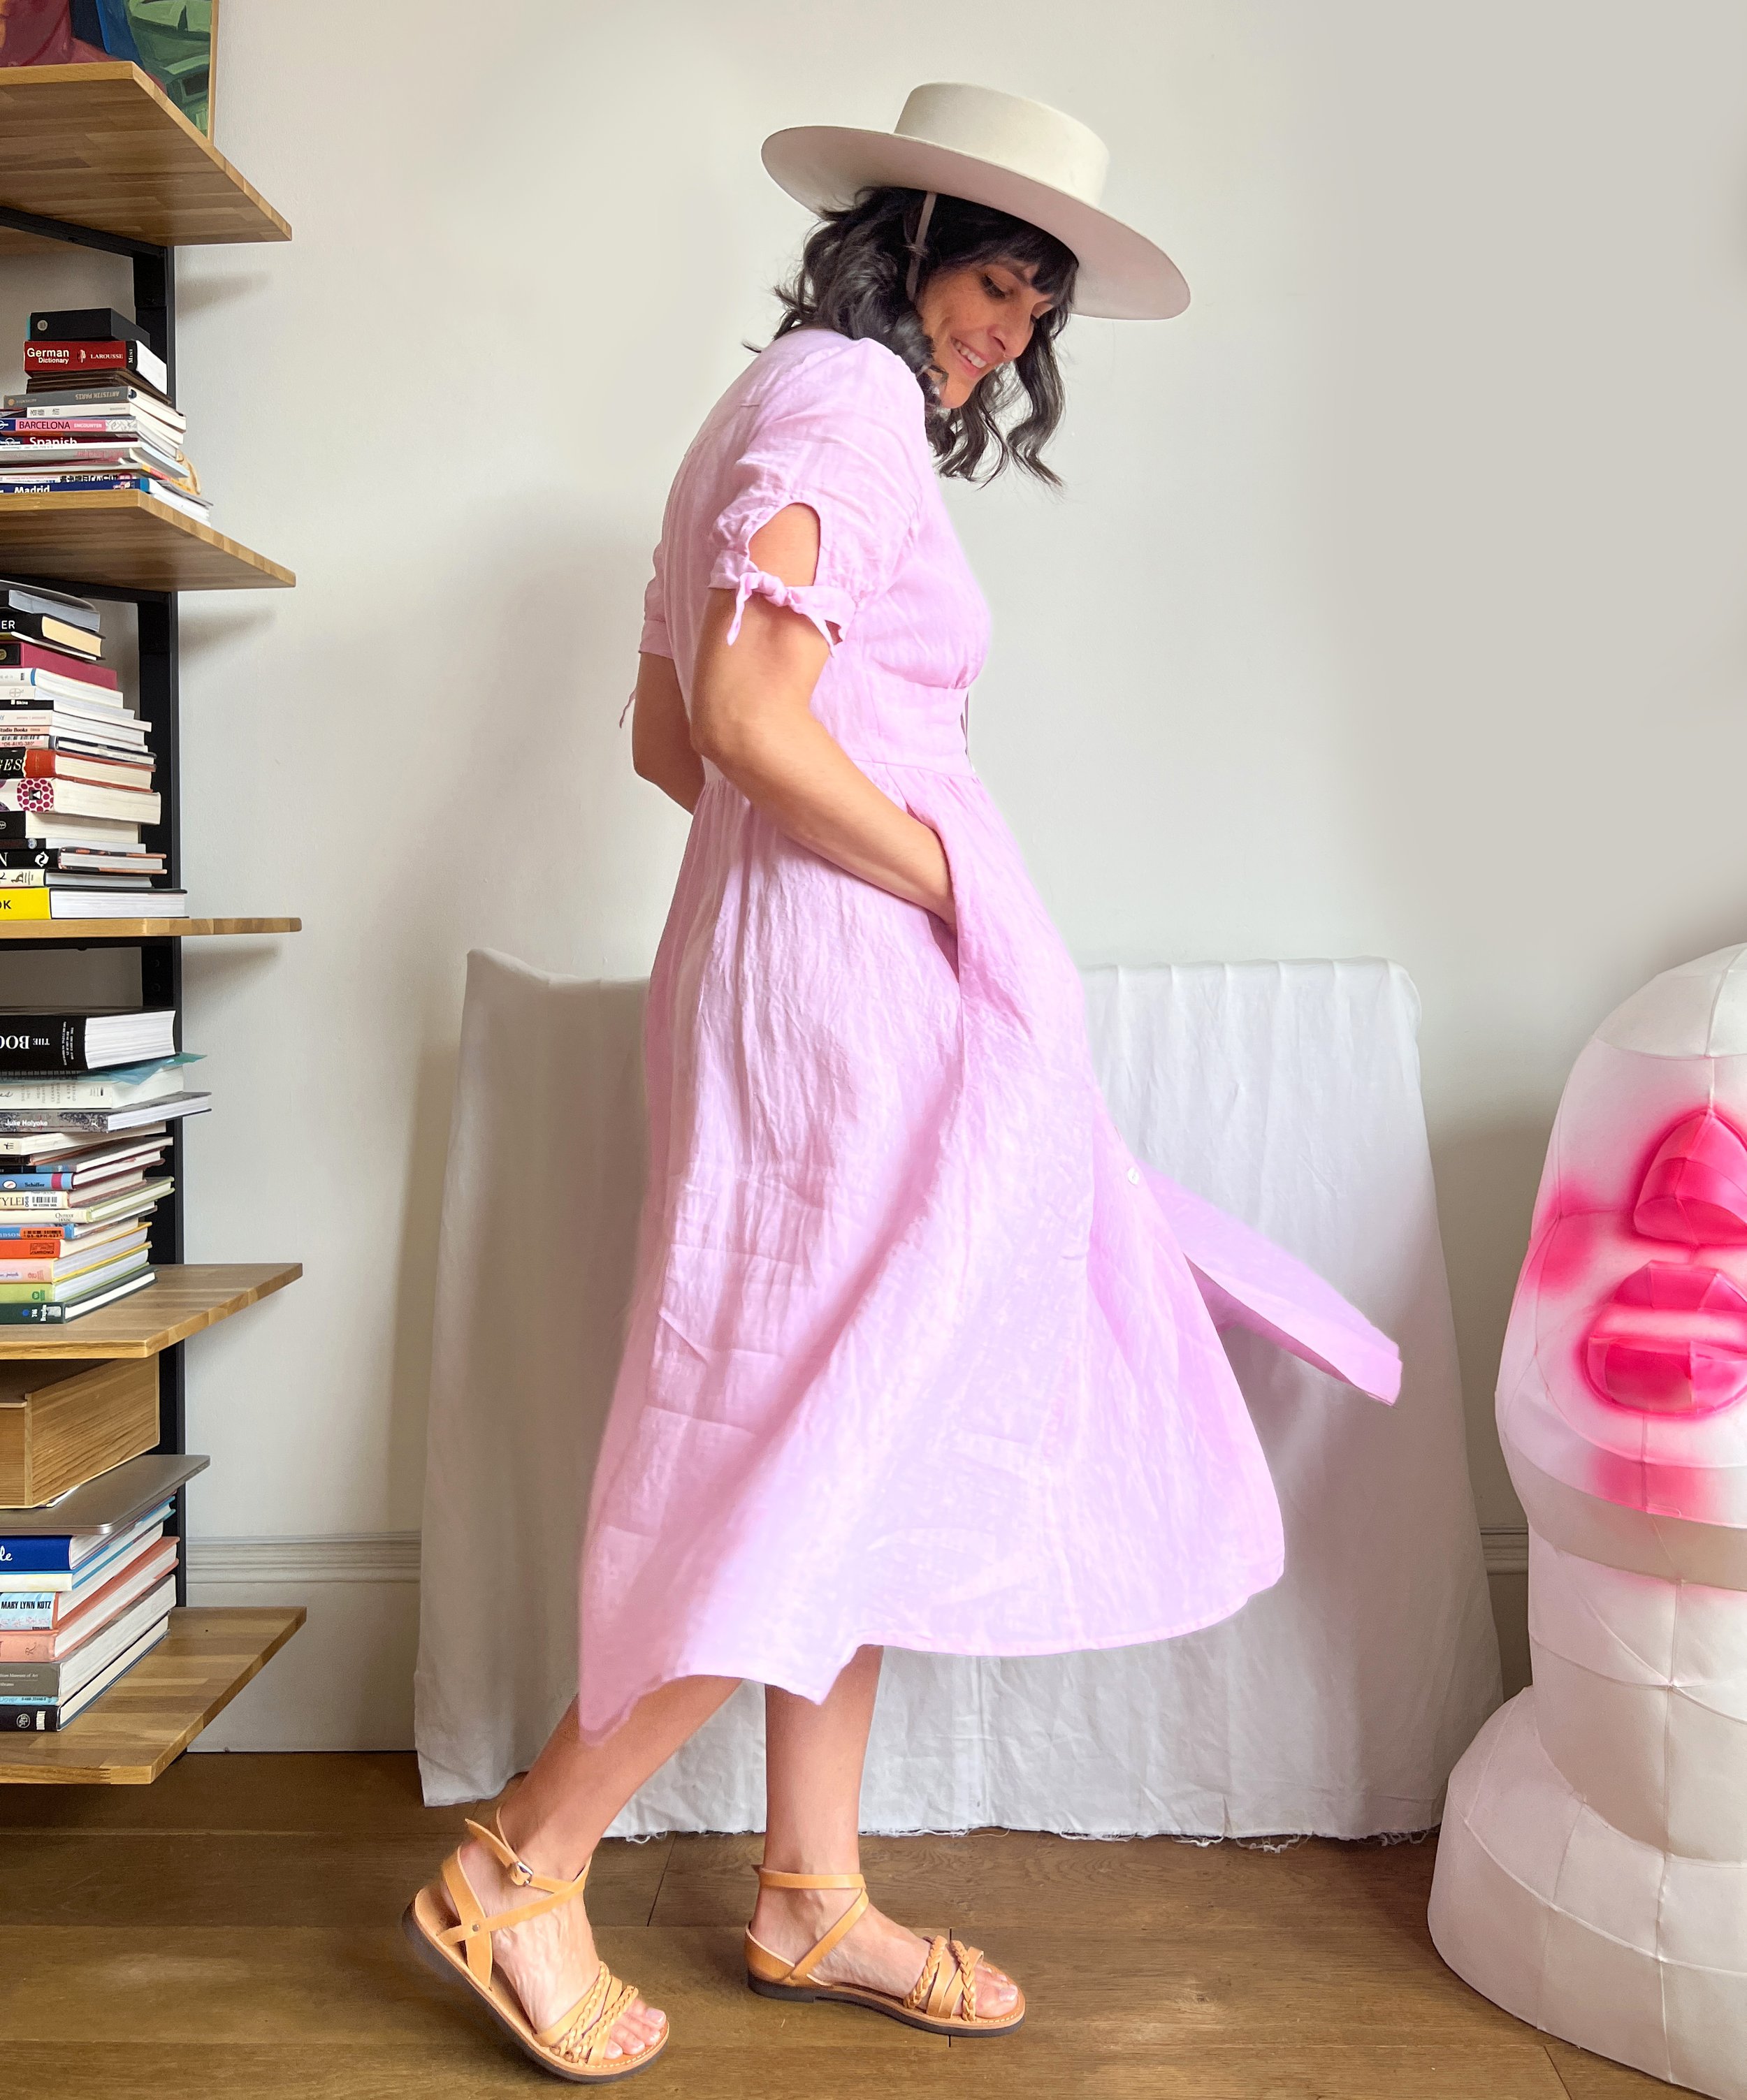
A bit of a side view. I do not like how the sleeve fits my arm - it may be my adjustments, or it may be the pattern, but I would like more ease through the bicep.
SLEEVE:
• I cut the armscye at size 6 (the most narrow size) and then removed 5/8" to further narrow the shoulder. I probably should have done a proper narrow shoulder adjustment, but I was losing patience. I always need a narrow shoulder adjustment, but the last few current McCall's patterns have made me realize that their drafting block and my body are incompatible at the shoulder. The shoulders are just way too wide for my body, so I have actually stopped buying new release McCall's patterns.
• I walked the sleeve seam and the armscye seem, and decided to cut the sleeve at size 14 and then modified it to accommodate how much I narrowed the shoulder. Next time I'd add a bit more height to the sleeve cap. But also, I won't use this sleeve again because I'm not in love with the tie (personal style preference).
• I used self fabric for the bias facing at the sleeve slit (idk what to call that part). The pattern provides 5 steps (steps 20-25) dedicated just to this standard application of bias tape....yet doesn't tell you to clip the curved seam allowance. I found it physically impossible to turn the bias tape without clipping. It's always interesting to see where they choose to put a lot of information vs where they assume you know what to do. Because while the sleeve alone takes up almost an entire page of the instructions, Step 14, where you are attaching facing and the back yoke, has you: pin, match centers, clip, baste, stitch, trim AND understitch ALL IN ONE SENTENCE!! (It is clear instruction, just an interesting imbalance imho.)

I think the back of the dress has a nice fit.
SKIRT:
• Cut skirt at length C plus 2", hem is 5/8".
• When attaching the skirt to the bodice, it hit my waist at an awkward spot, so I removed the skirt and reattached it, lifting it up 3/8" (aka: shortened bodice 3/8" from the bottom).


Here are a couple of details (click on the photos to enlarge them): the interior seam allowances were serged with a 3-thread narrow overlock stitch. The sleeve with the bias faced slit and tie.
CONCLUSION:
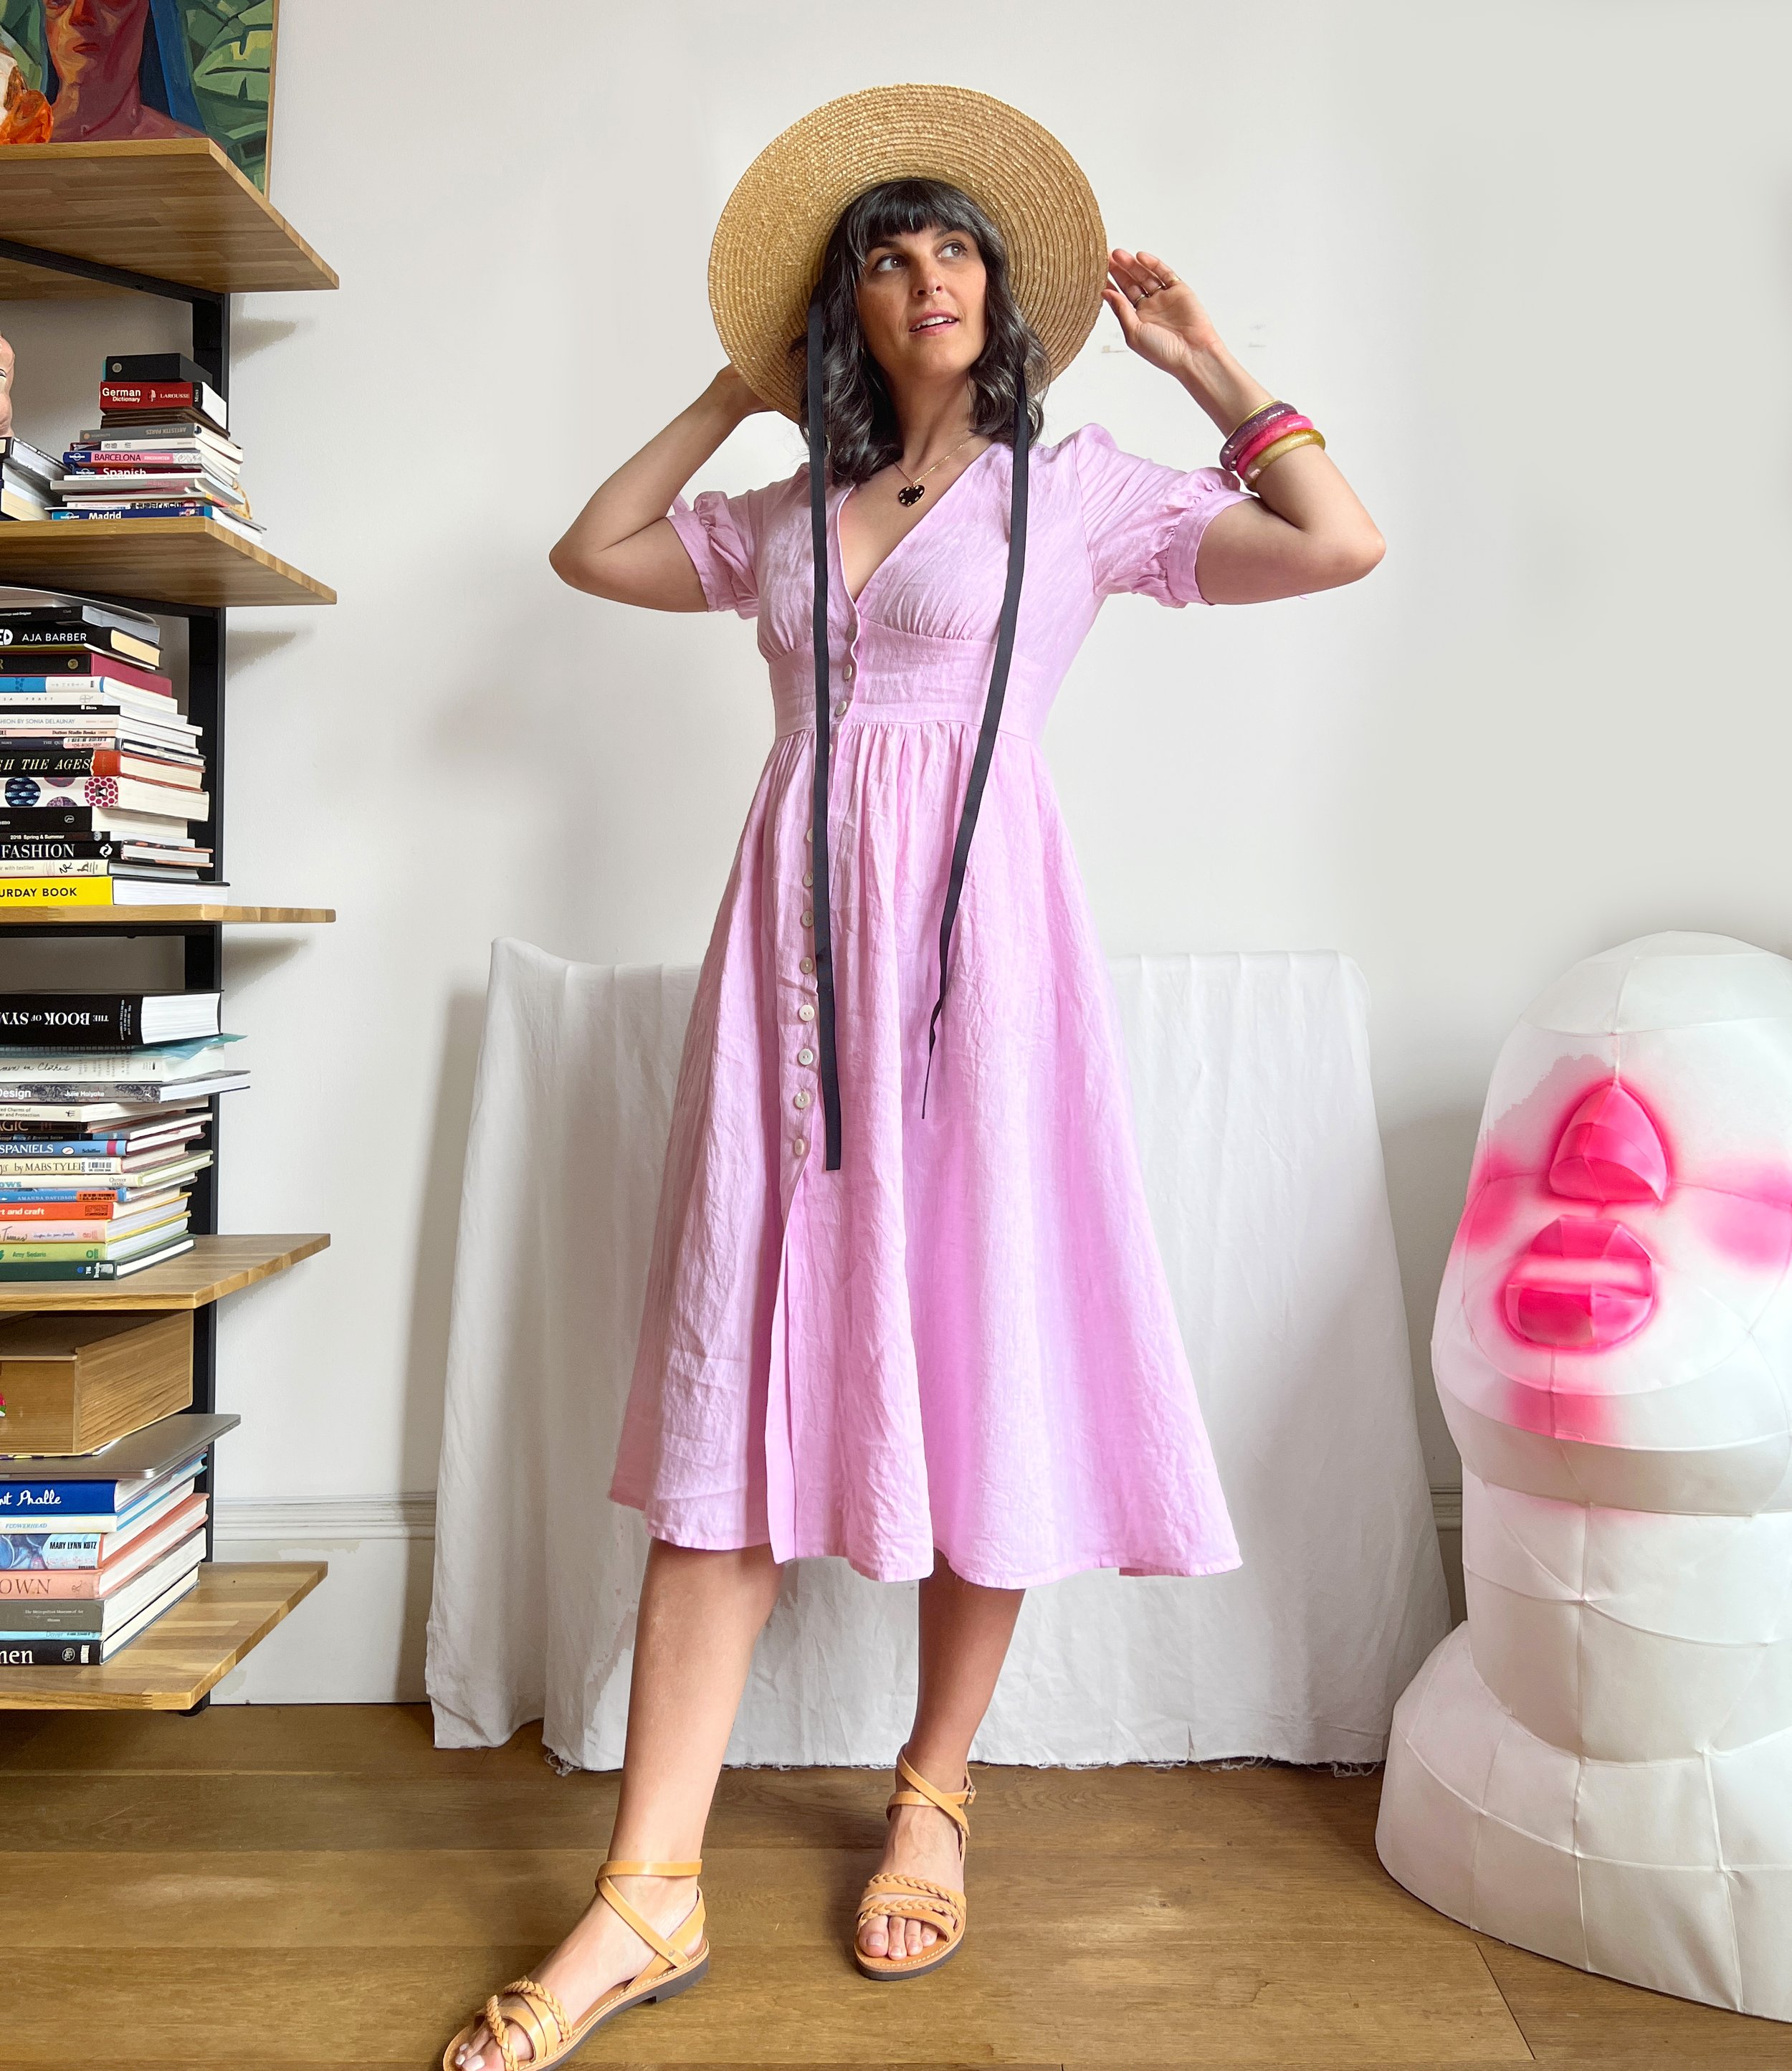
I’ve worn this dress a few times and it has grown on me with each outing. I wore it to dinners in Greece, I’ve worn it on the rare sunny afternoon we get in Glasgow. The fit is comfortable, the skirt length is great (but I find the front skirt to be too full and will reduce it on the next version), and the pockets that come with this pattern are nice and deep!
I recommend the pattern with the caveat that you should plan to make a muslin. Maybe you’ll luck out and it will fit you without alterations, but better safe that sorry. I have already sewn this again with a few modifications, so I will make a MUCH SHORTER post about that soon.
XO, Martha