SEWING MY OWN WEDDING DRESS - PART 5: FINISHING TOUCHES
This is the fifth installment in my series about sewing my own wedding dress. You can check out the previous posts here: Part 1, Part 2, Part 3, Part 4.
Sewing your own wedding dress is a wildly different experience than buying one - you don’t have the big “Say Yes To The Dress”. That emotional moment is replaced by months hunched over your sewing machine, threading hand needles, and hoping the stupid thing looks ok at some point, because it sure doesn’t look good right now!
WHEN IS IT DONE??
Completing the bodice and skirt both felt like accomplishments, but the magic didn’t happen until they were attached. And even then, it was missing a little something. It needed a little pizzazz, some frosting!
The dense neckline ruffle, a touch of beading, a double sided satin sash, and a custom label all did the trick! Let’s take a closer look at those details.
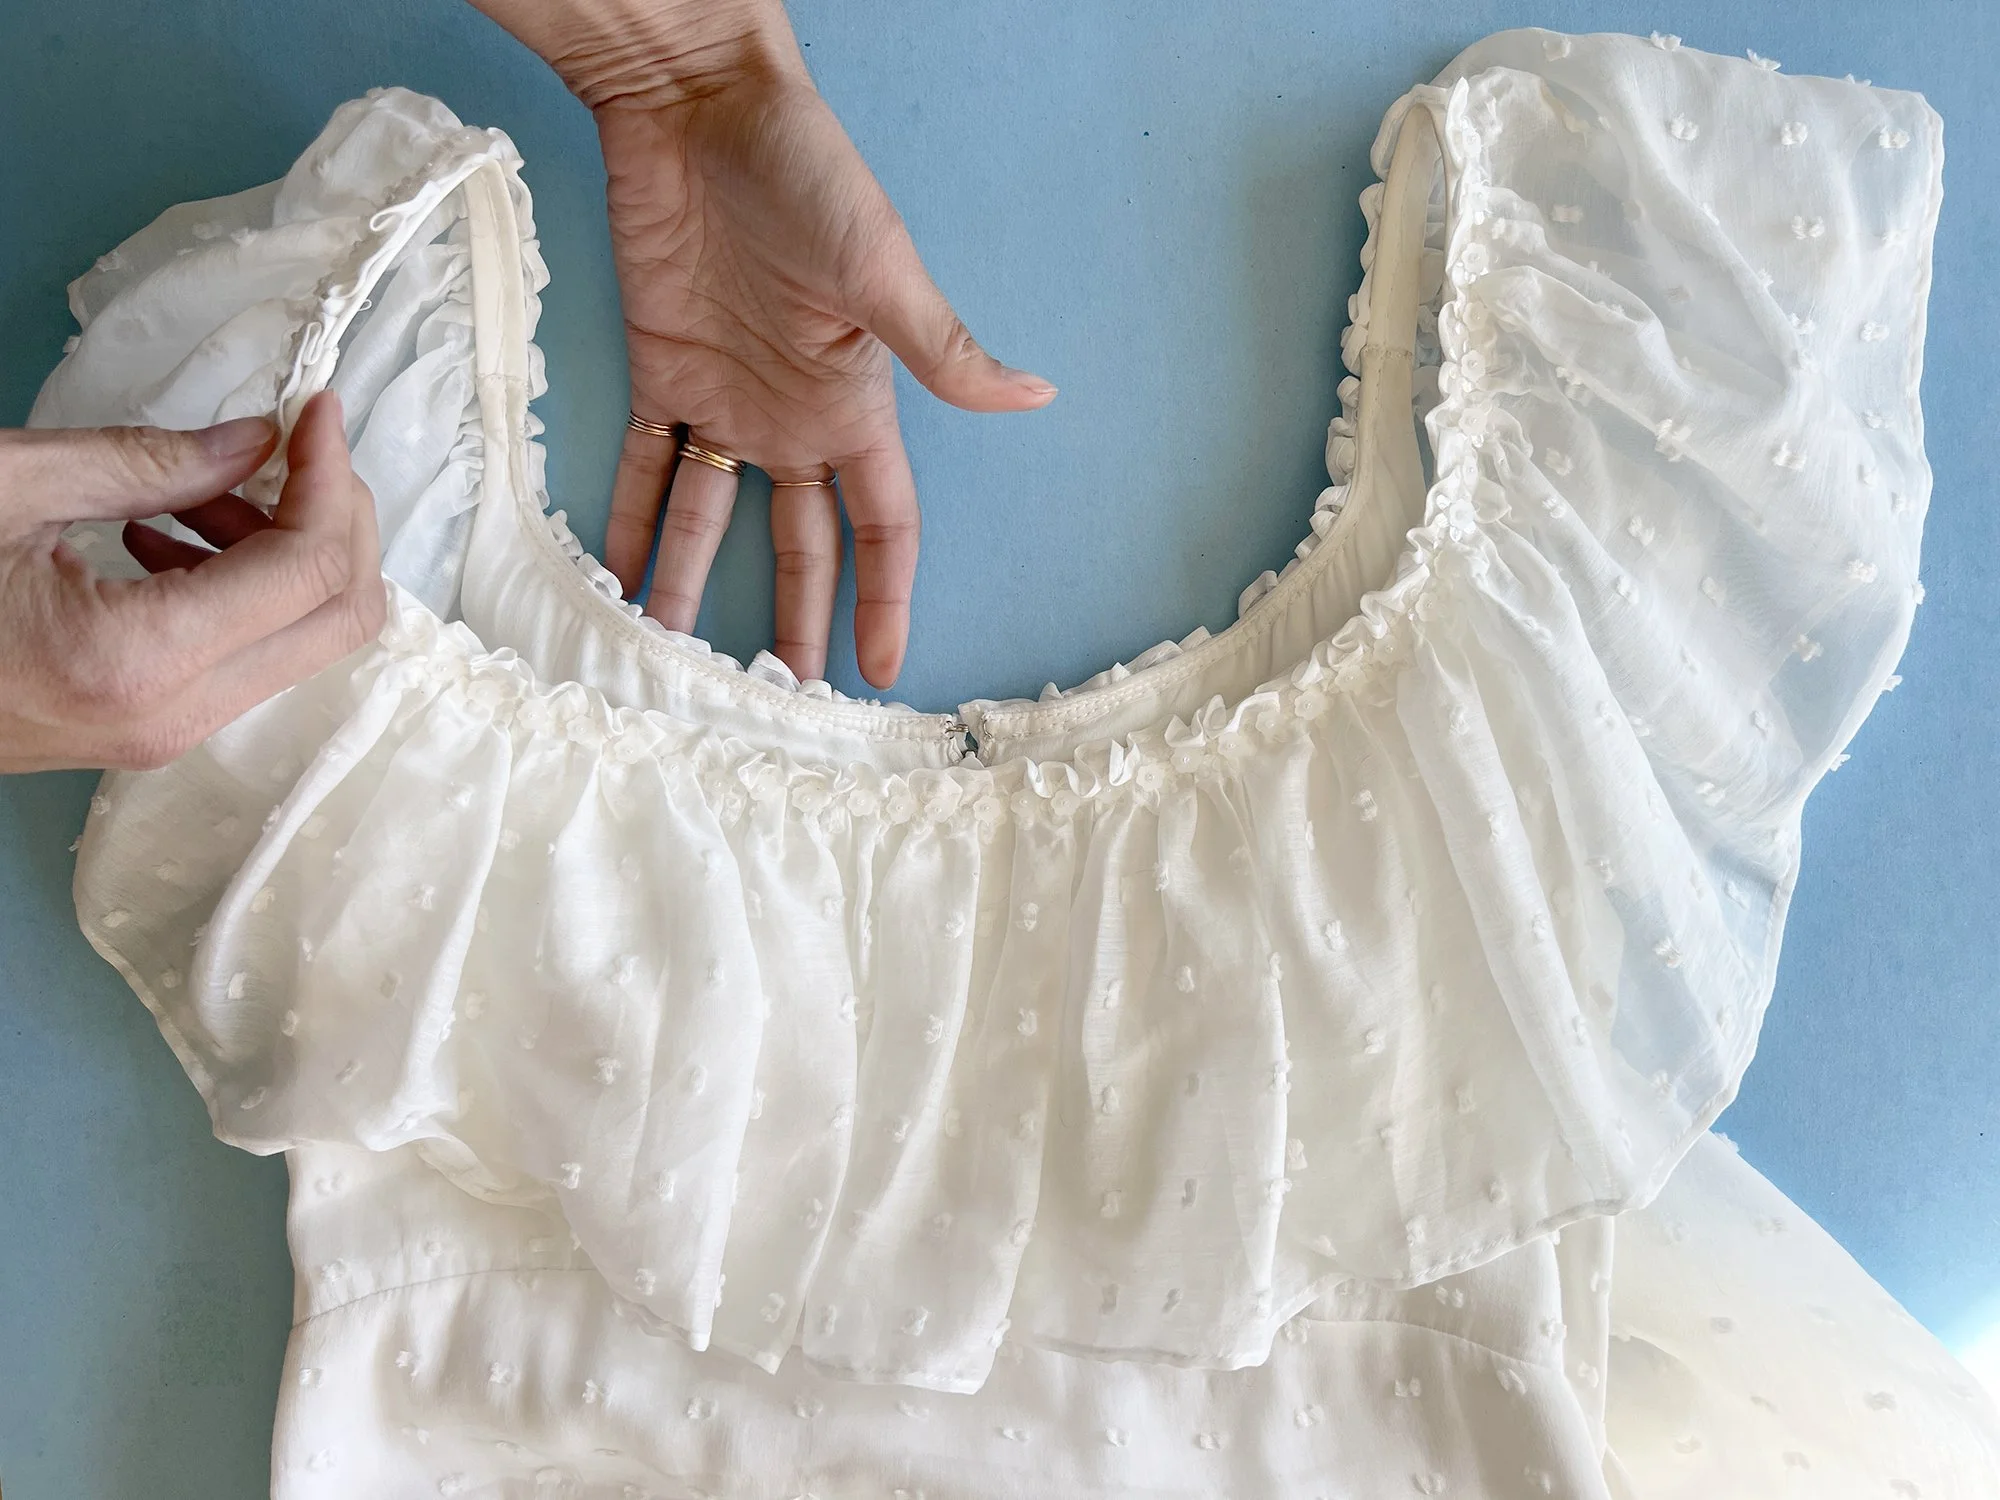
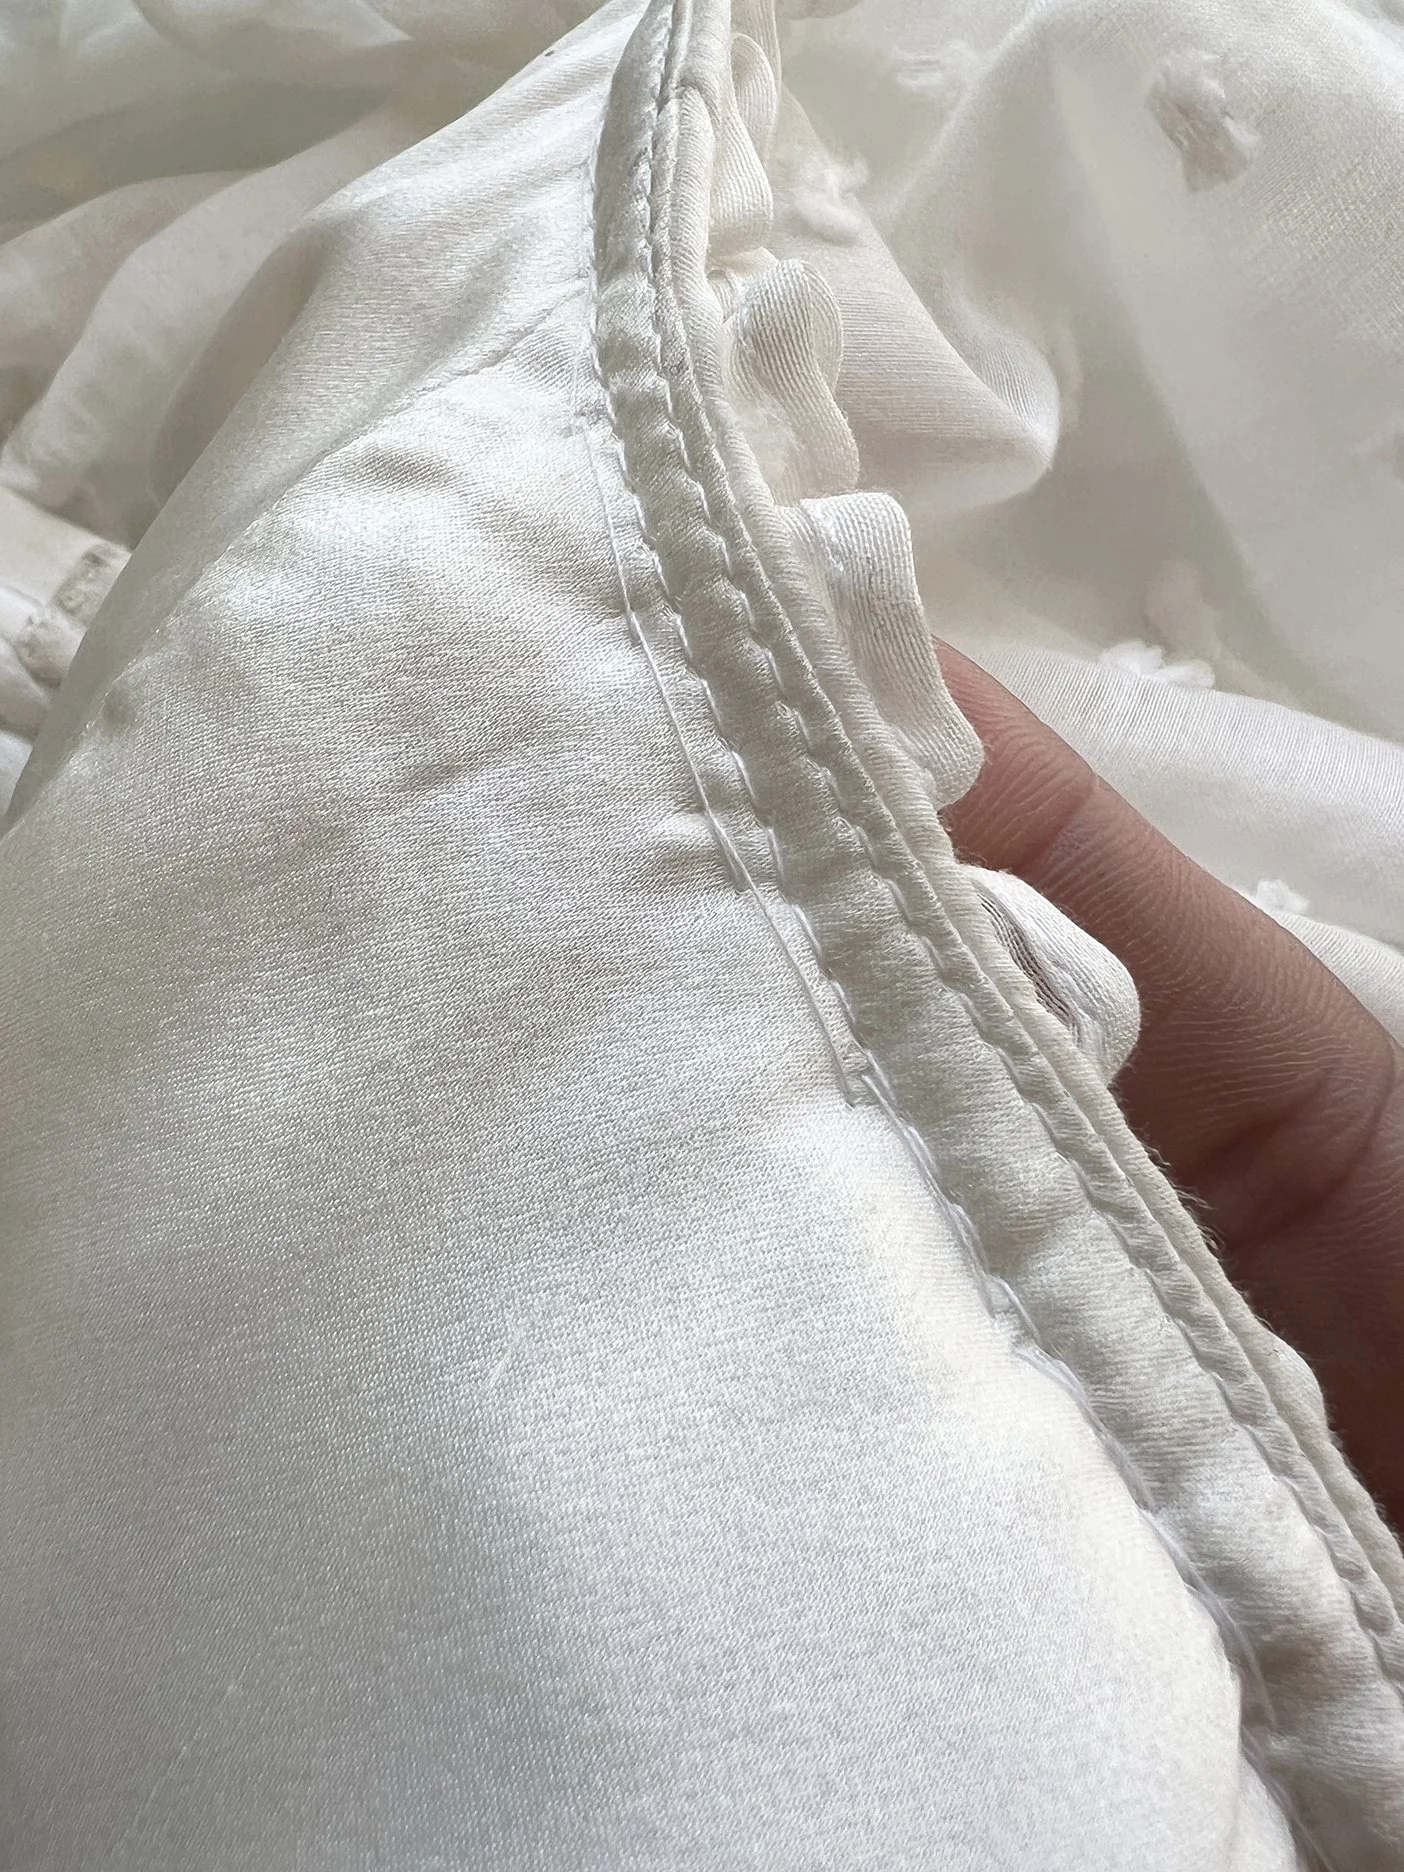
The neckline ruffle added drama and movement to the dress.
The ruffle is open at center back, but falls densely and conceals the zipper.
THE NECKLINE RUFFLE:
The neckline ruffle follows the pattern, but I made mine a little bit longer - and therefore denser - than the pattern piece. I can’t remember by how much, it was only a few inches. The ruffle is cut on the crossgrain.
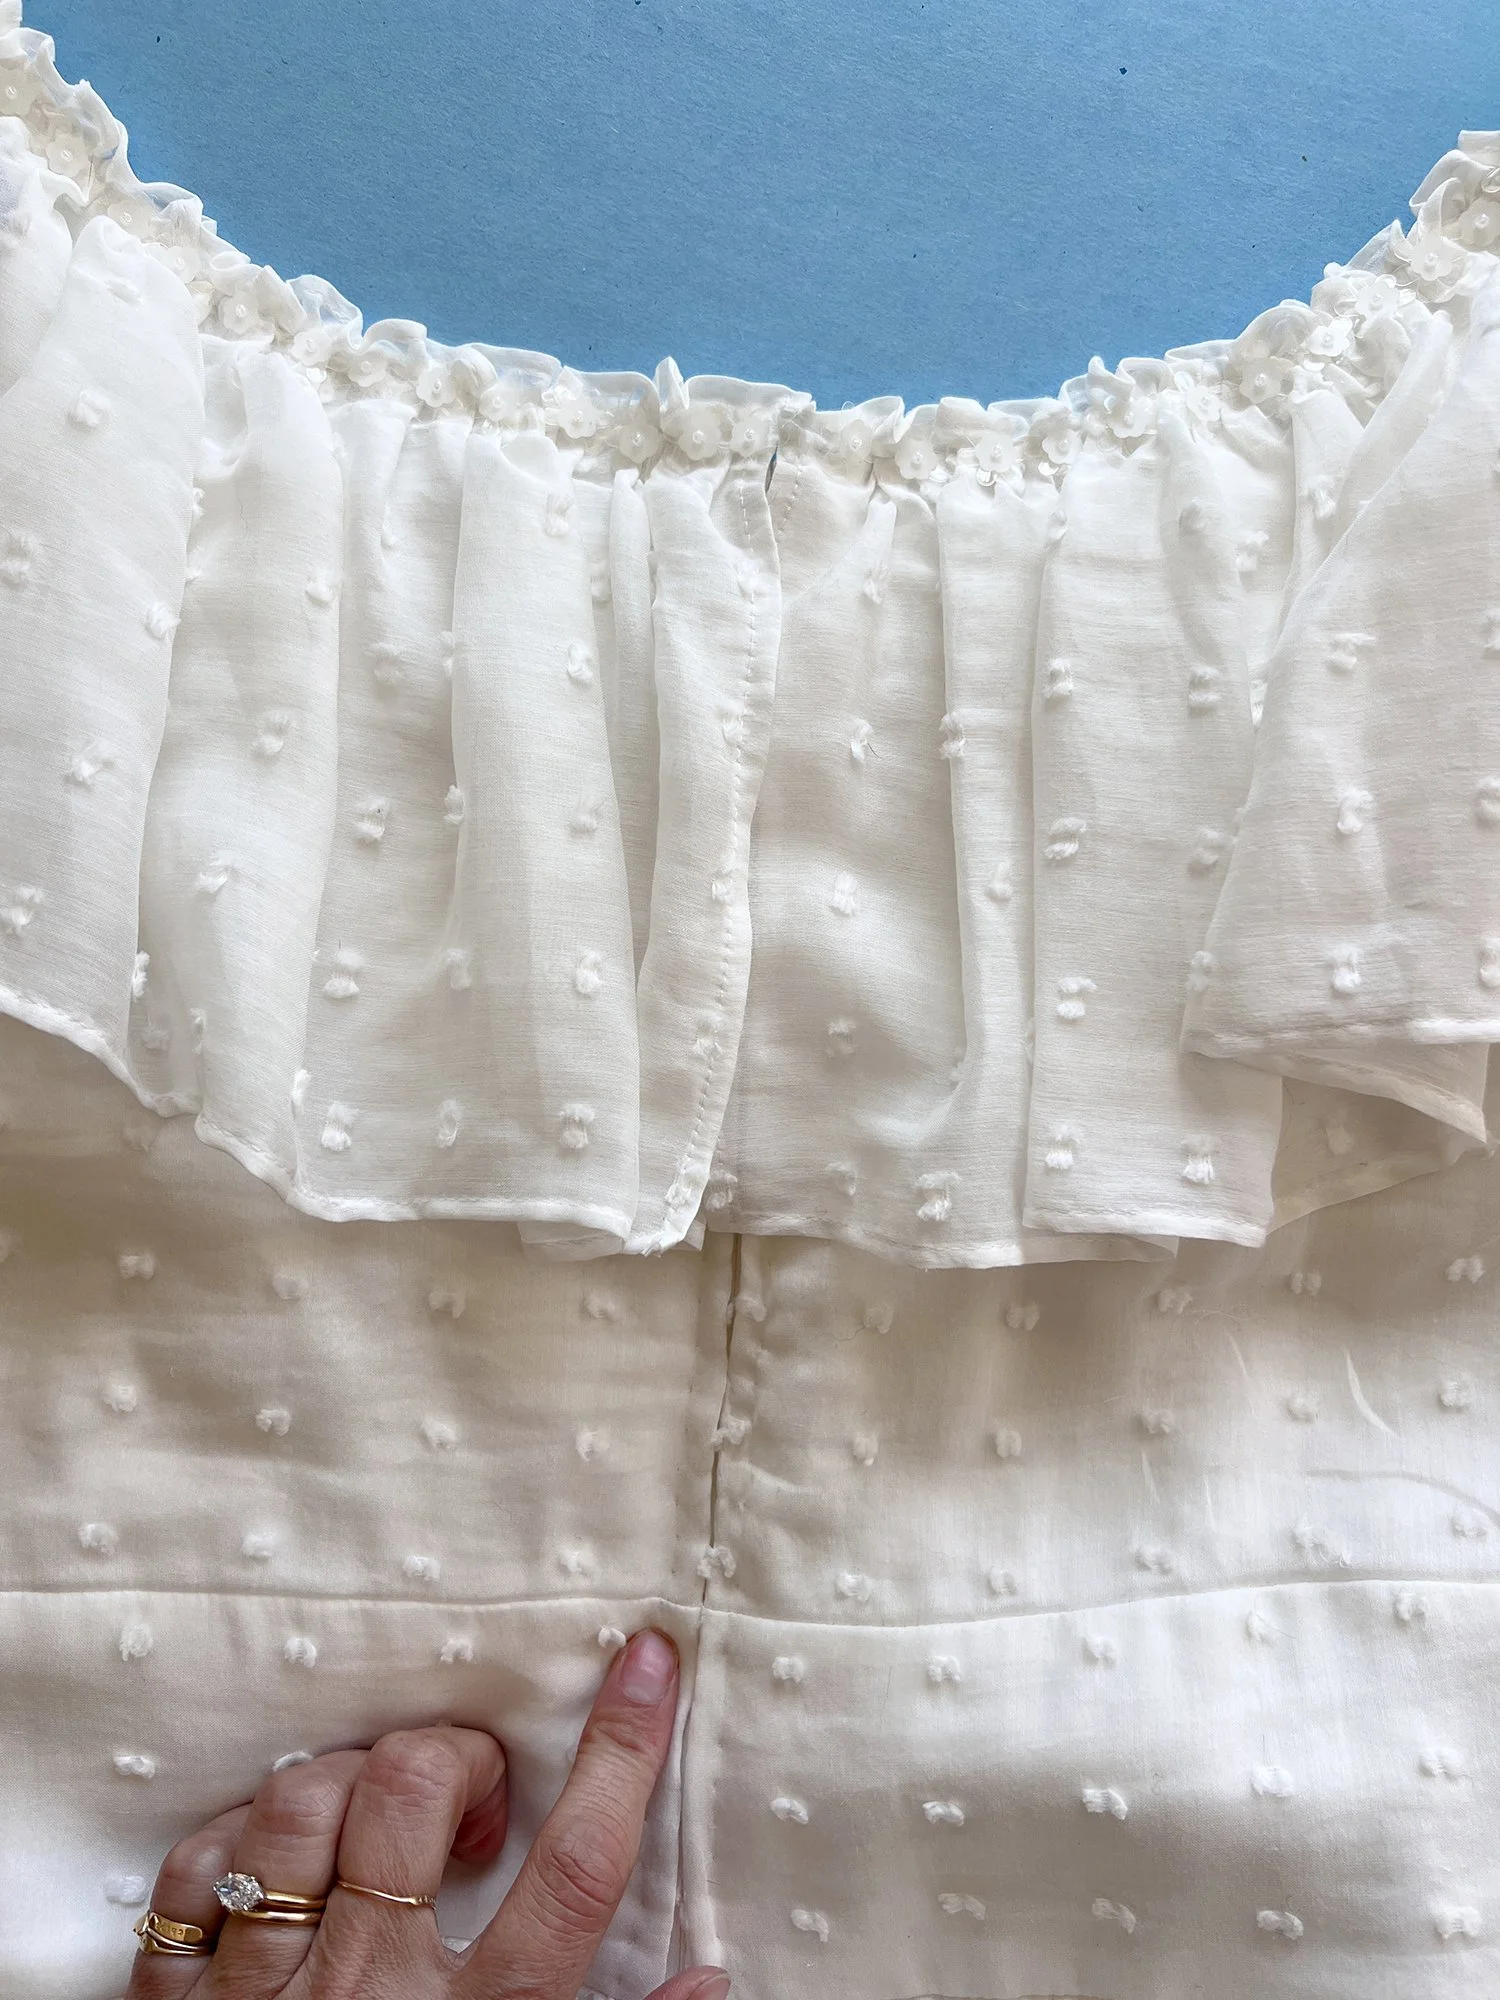
The tiny rolled hem on the neckline ruffle.
Both edges of the ruffle are hemmed, adding texture along the neckline.
The ruffle is baby hemmed on both edges, gathered, and then applied on top of the bodice along the neckline. I used a long stitch length and applied it on the sewing machine, careful to keep the machine stitches right on top of my gathering stitches.

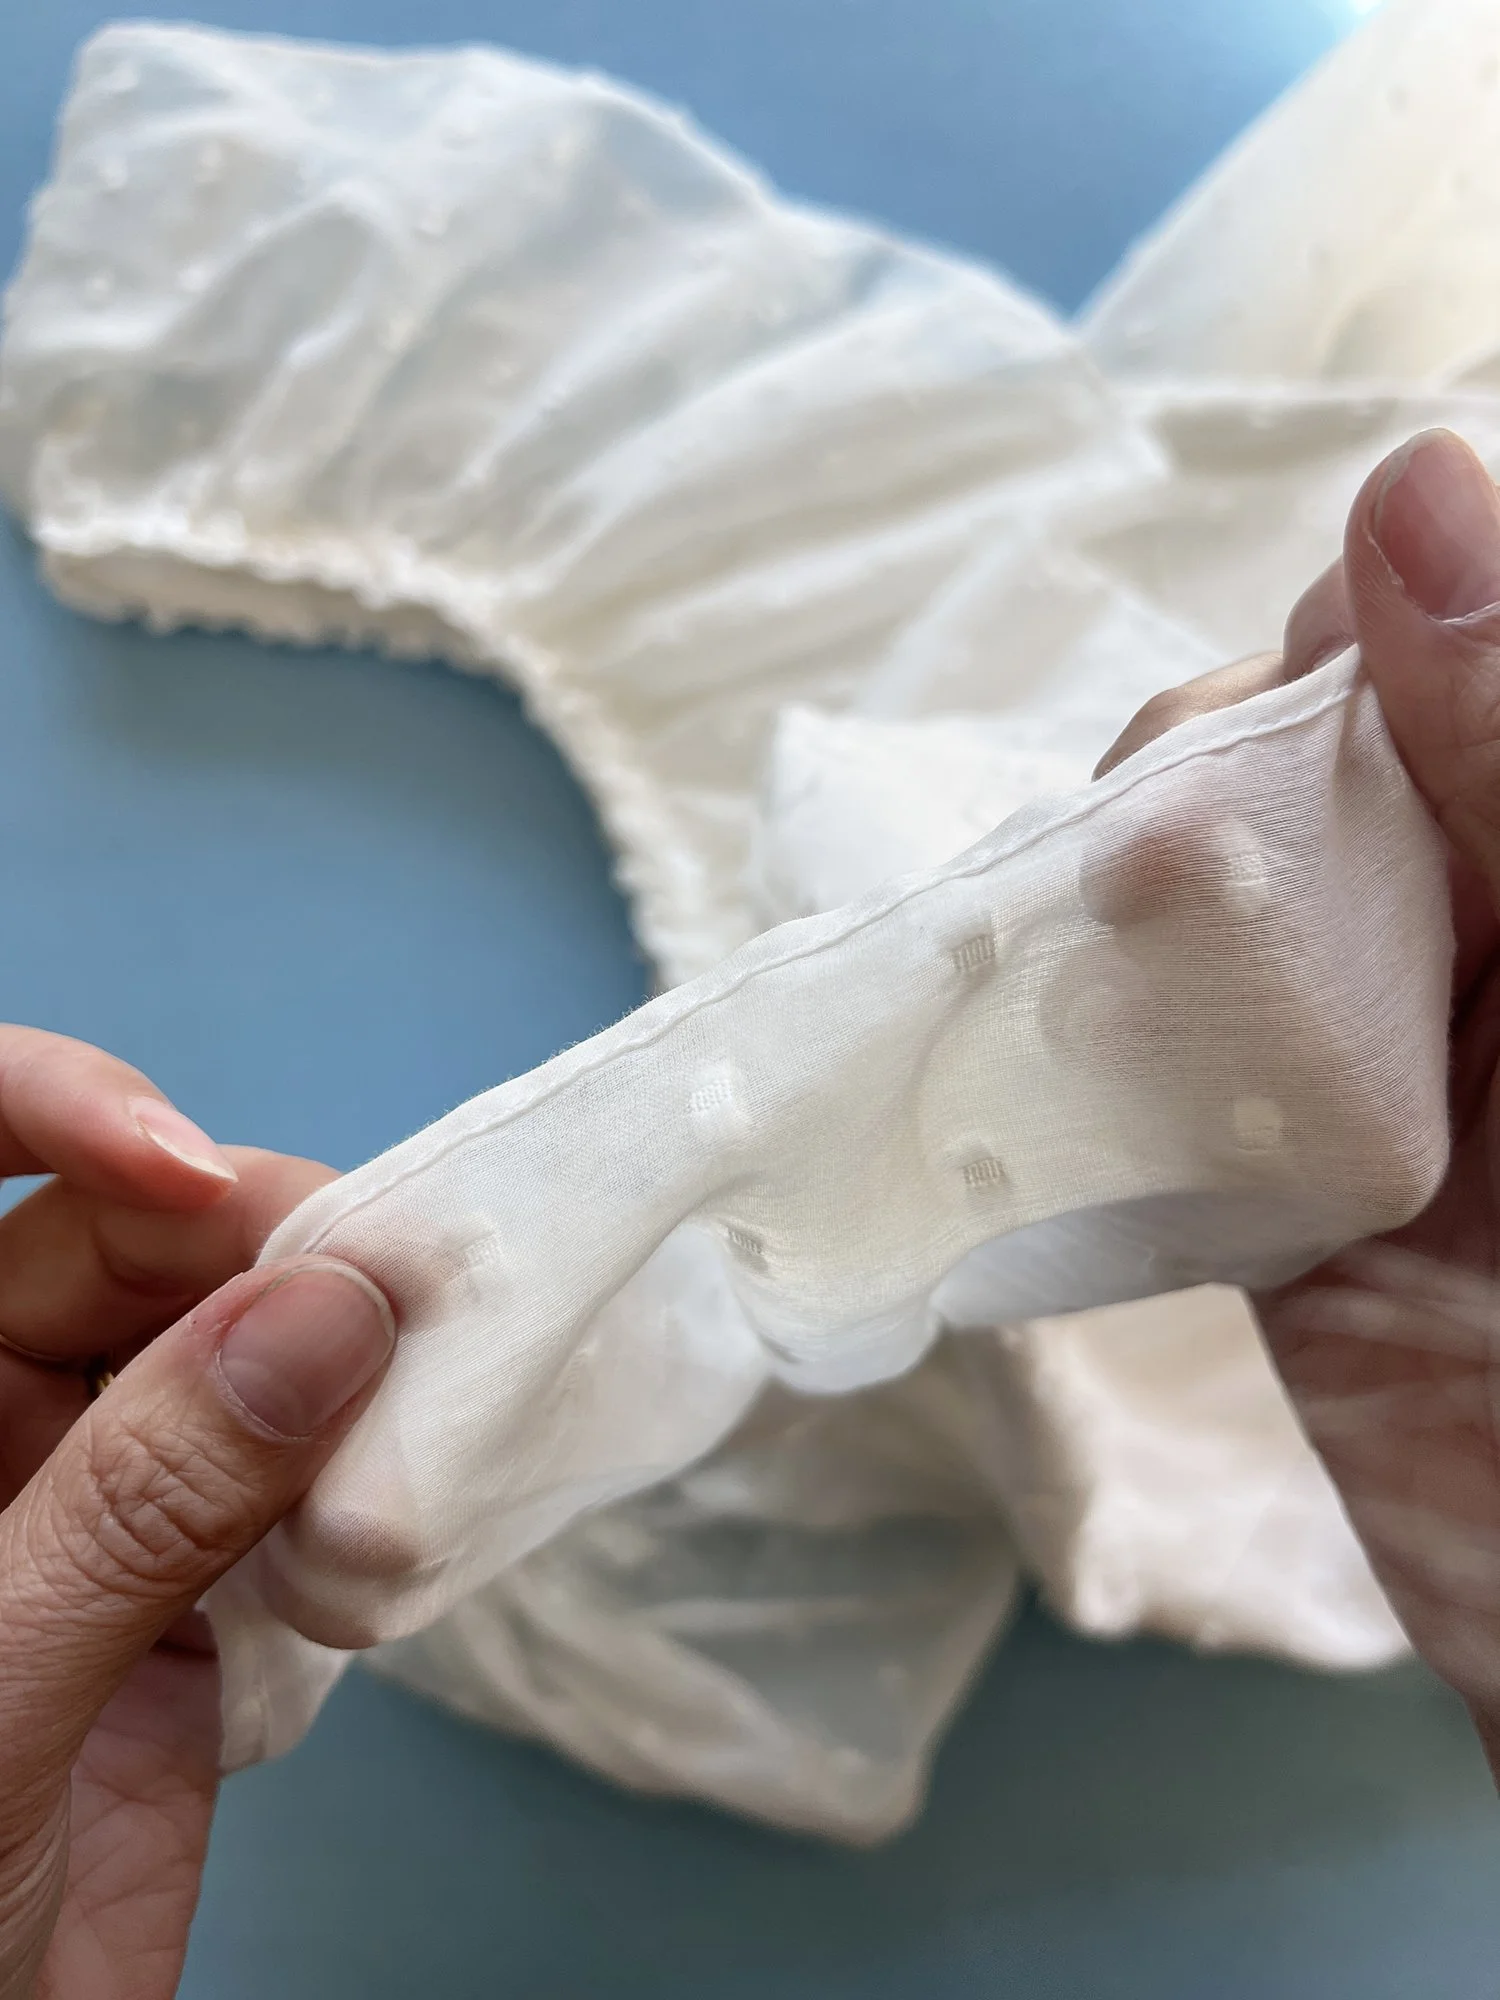
Look closely: there are larger clear sequins beneath the white ones. The clear sequins add sparkle in real life.
SEQUINS & BEADS:
I bought a LOT of sequins and beads for this project, in addition to the very healthy stash already in my possession. I had a few ideas, and tried them all. They all got ripped out. It wasn’t until I tried clear sequins that it clicked. The winning combination is: clear flowers with shimmery white flowers layered on top, secured with a tiny white seed bead.
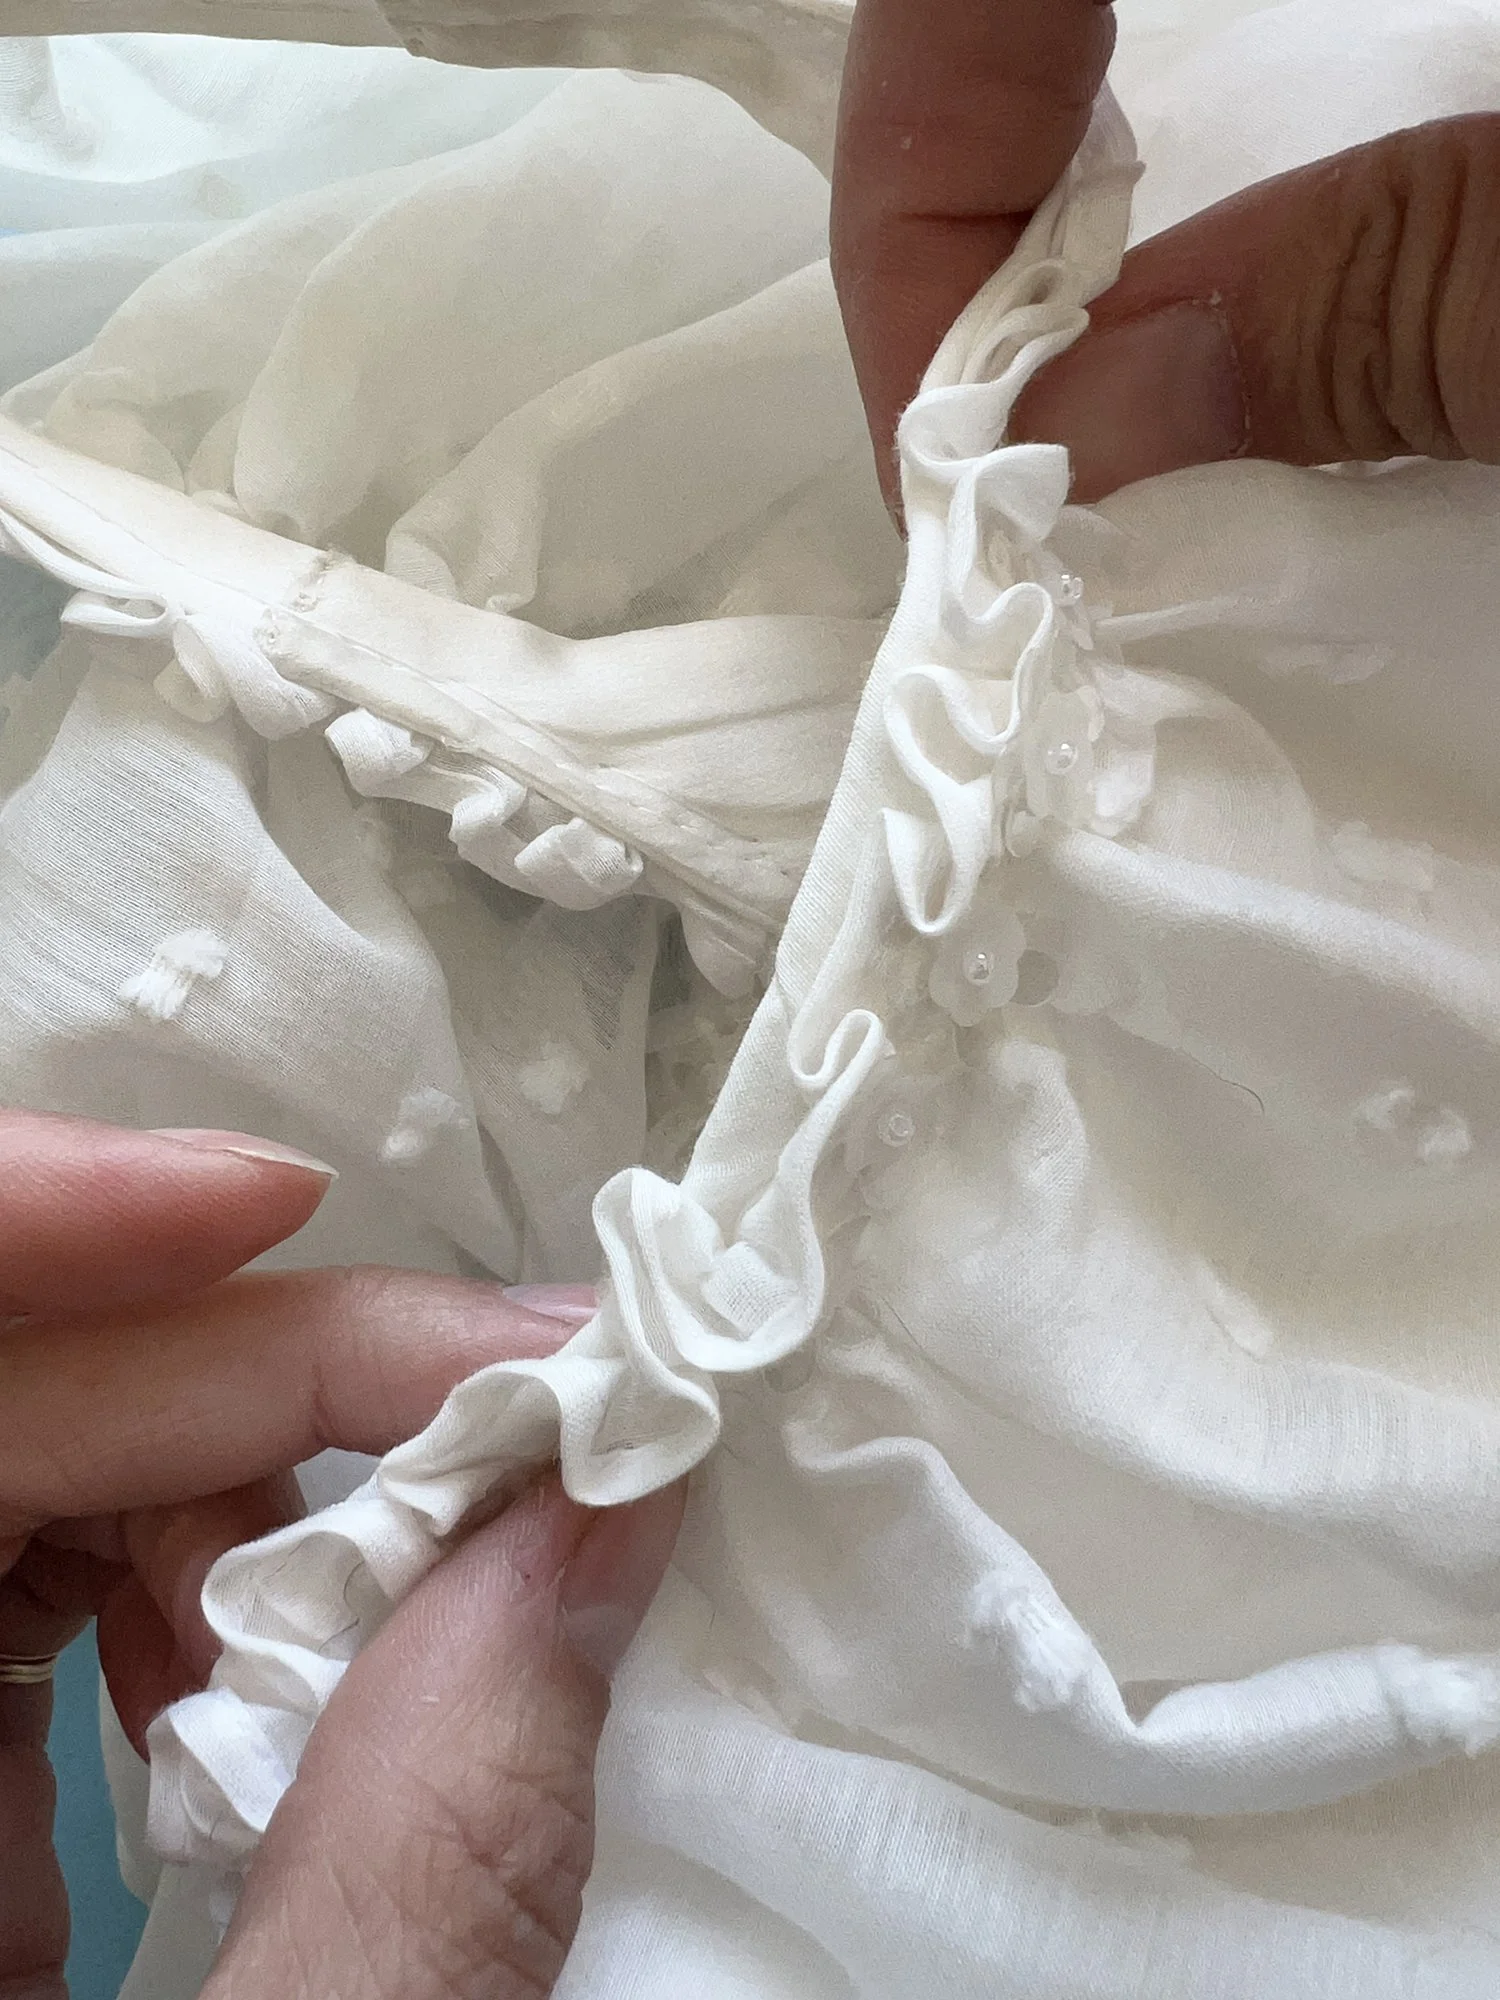
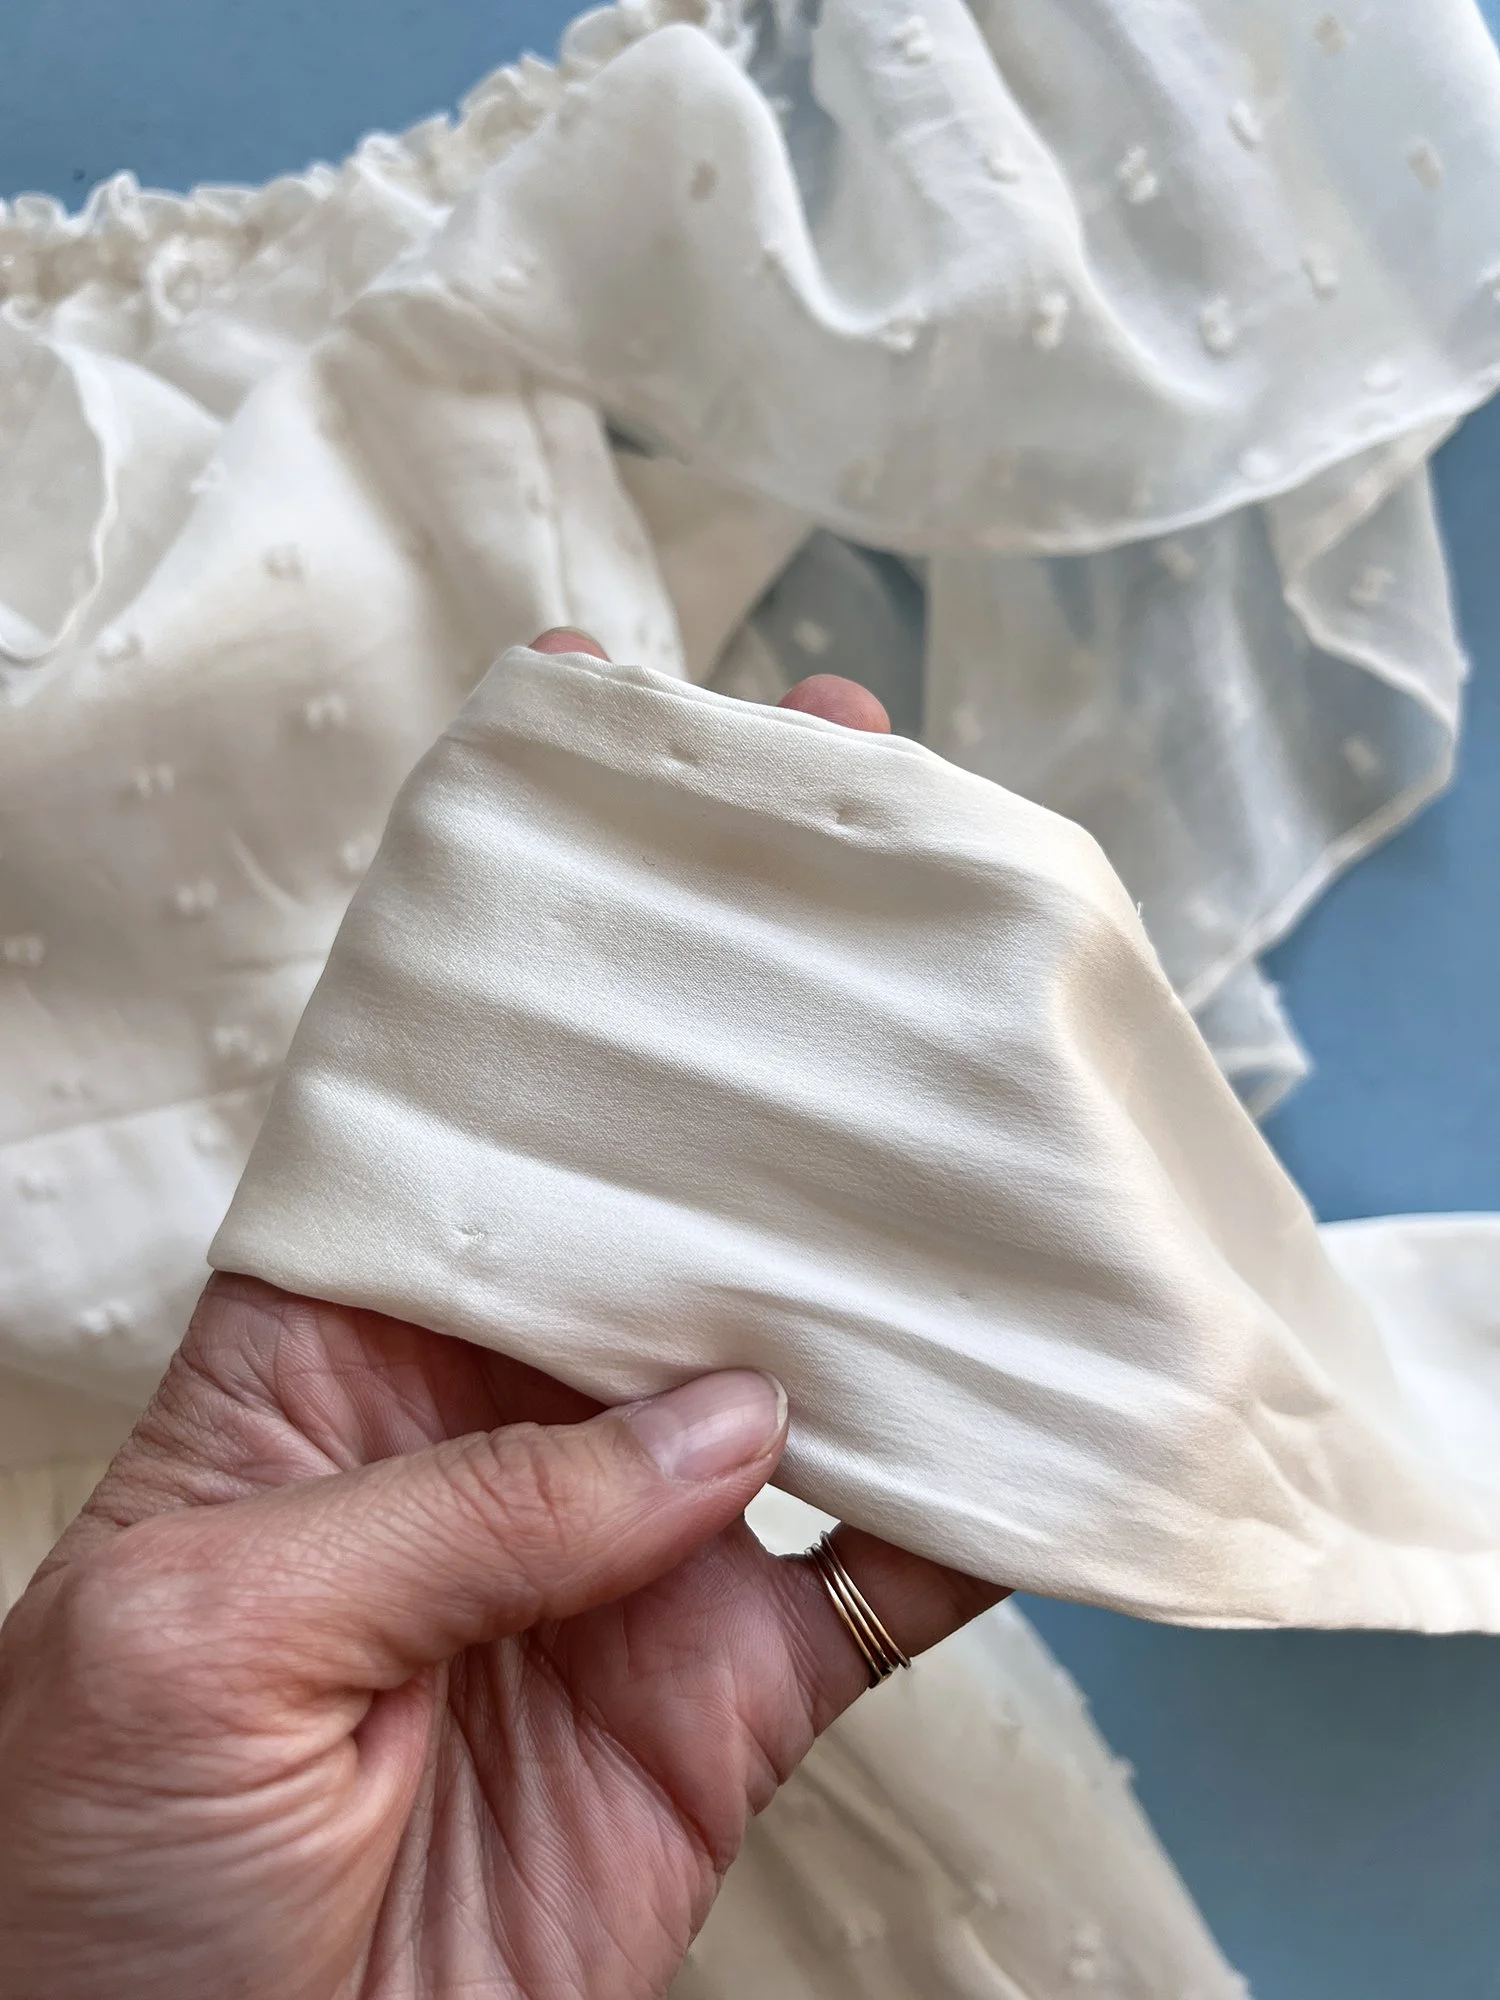
Inside the neckline, you can see the long machine stitches attaching the ruffle, as well as the longer hand stitches attaching the sequins and beads.
This adds texture and shimmer without being overwhelming. It also holds down the center of the ruffle, gently nudging the heavily gathered fabric to fall in a pleasing way.
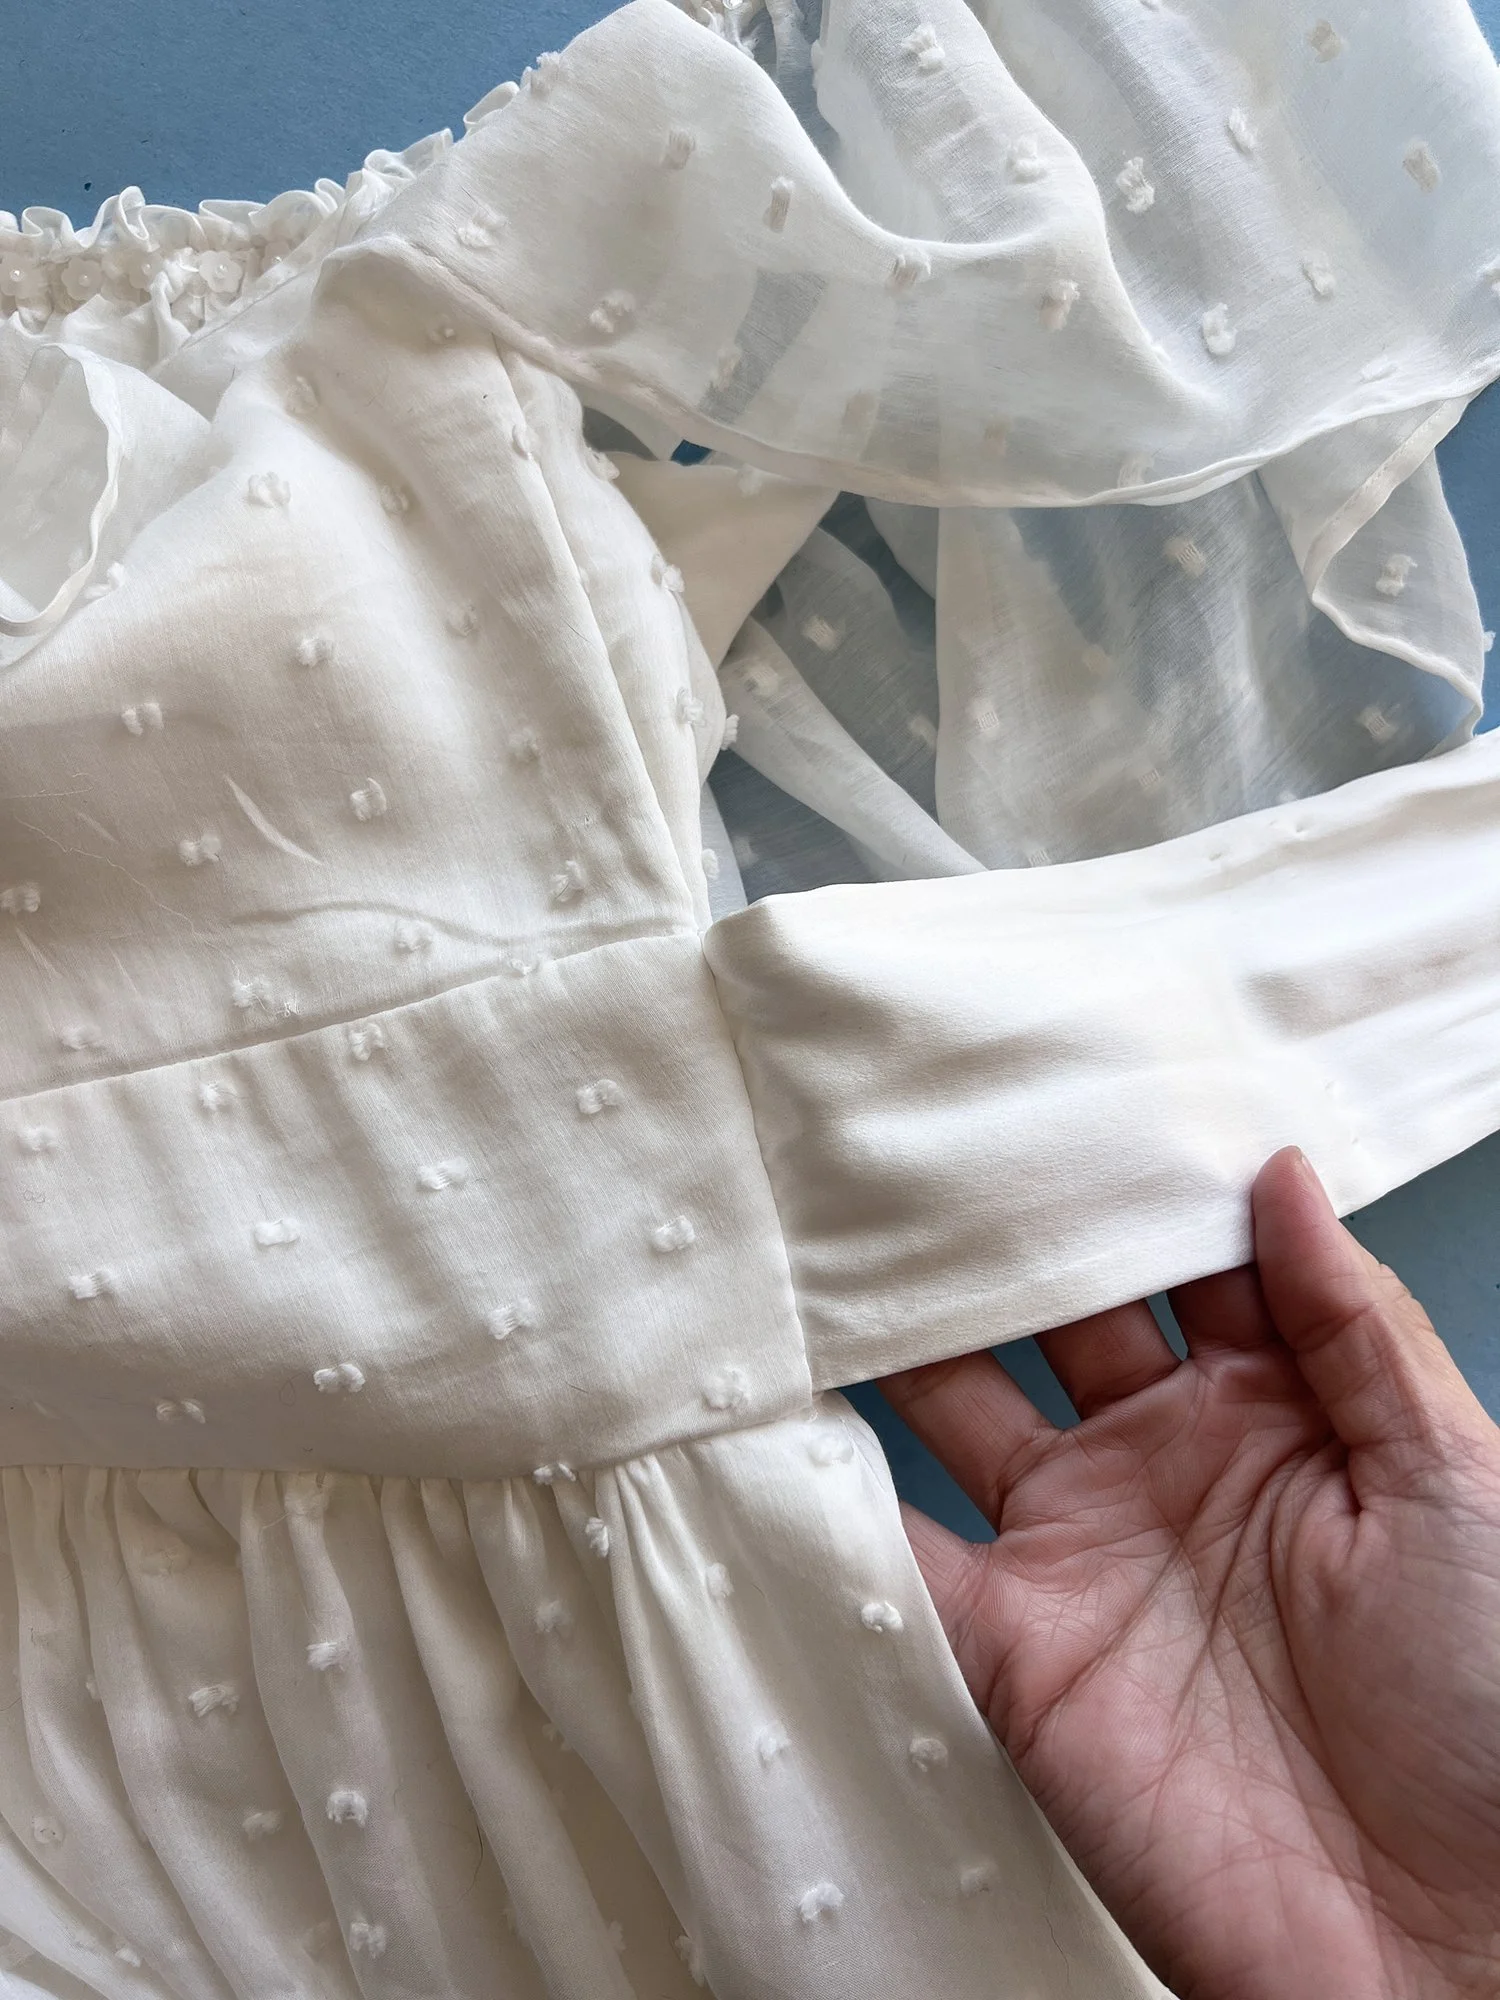
The sash is sandwiched into the side seam.
THE SASH:
The sash is sandwiched into the side seams of the bodice, so it was added earlier on in the process. But I never really considered what I would do with the sash! If I made this dress again, I would make the bow removable or something, but I didn’t think ahead like that.
Here you can see the pin holes from where the bow was held in shape with safety pins - the pin holes can be removed with steam.
To make a perfect bow that holds it’s shape, by friend Carolyn (who did my hair and makeup on the big day) used a few little safety pins to secure the fabric into shape. She did it perfectly, so you could not see the pins, but the bow looked just right.

My custom label.
CUSTOM LABEL:
After the beading, the dress was “finished”, but it didn’t feel done to me. I hung it up and looked at it for a few days before deciding it needed a special label inside to commemorate the day. I made a few samples and then the final one - it came together quickly and made the dress feel complete!
The fabric used is my silk charmeuse lining, interfaced with a light fusible interfacing - this is essential to keep the fabric stable. I also recommend a fresh microtex needle.
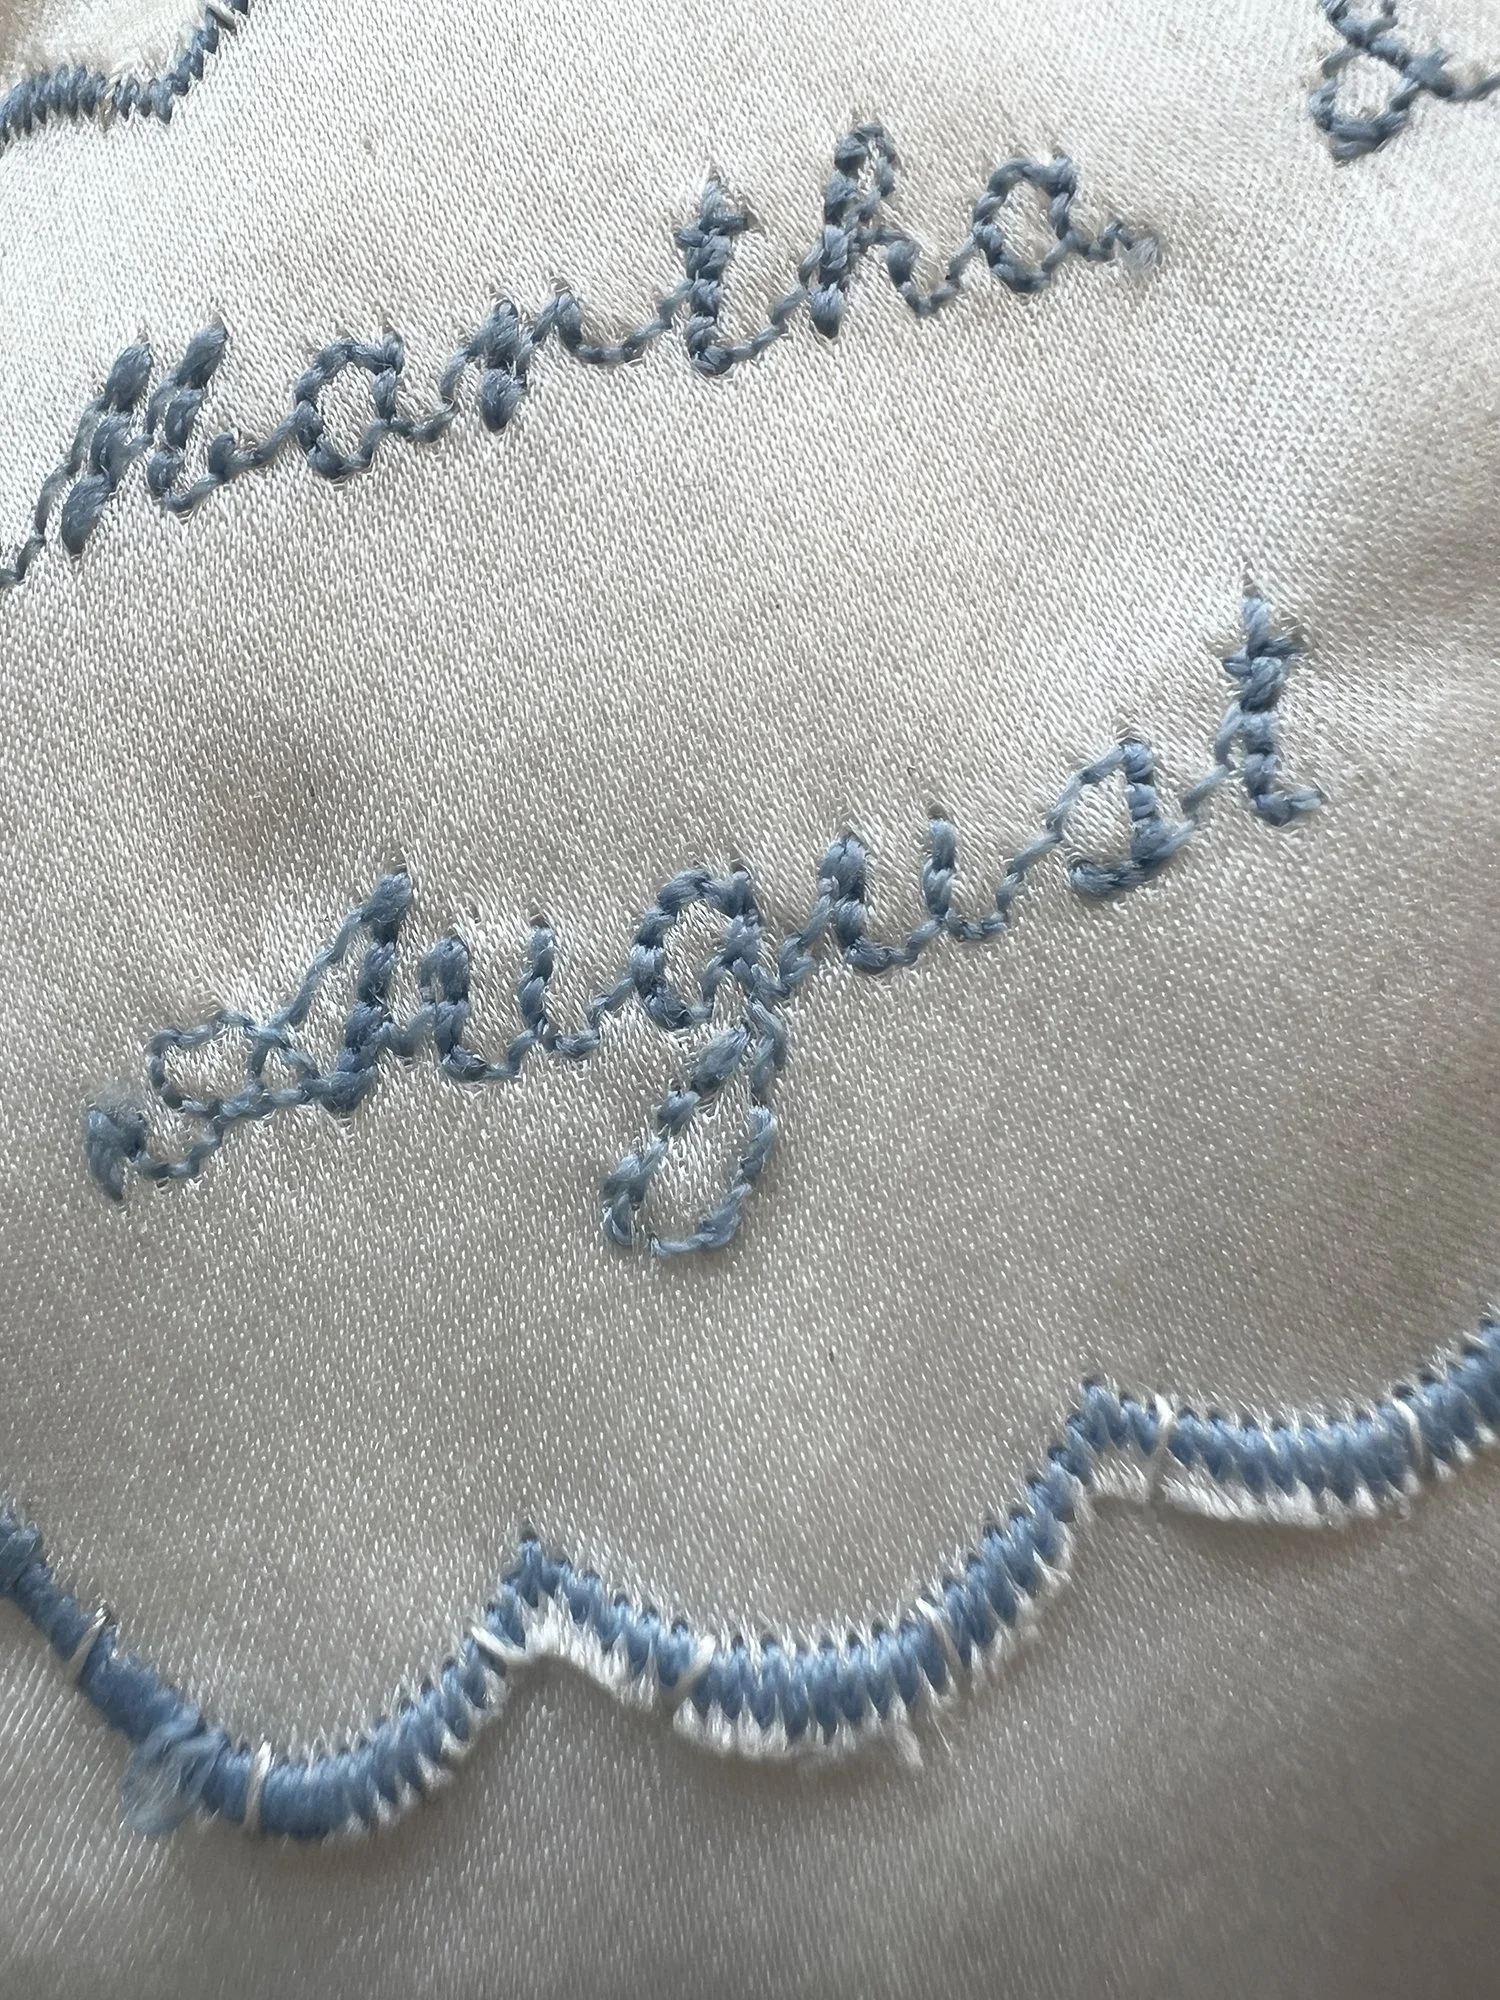
A detail of the lowercase “g”. You can also see how I hand stitched the label to the dress using white thread, so there was no risk of blue showing through the fabric.
FONT STITCHES:
I used the font stitches on my BERNINA 735 to spell out our names and the date, placing a “__” between each word. Those stitches were picked out later. For the date, I had to contend with the lowercase letter “g”, which goes below the baseline of the other letters. Any letter that does this will cause all letters to be compressed. To avoid this, I replaced the “g” with an “a”, and added the lower part of the “g” with hand stitches.
For the border, I used a scallop stitch. I actually didn’t really practice this part, and it worked out pretty well. It’s not super perfect, but it’s also just right. It’s a handmade wedding dress! This is a perfect handmade touch!
IT’S DONE!
That’s it, that’s the dress! In my next and final installment, I will share some photos of the finished dress and of our wedding day. Thank you so much for following along. XO, Martha