SEWING MY OWN WEDDING DRESS - PART 4: THE SKIRT
The layers and hems of my wedding dress skirt.
To catch up on this series, you can find Part 1 here, Part 2 here, and Part 3 here.
As I mentioned in my previous post, I focused my wedding dress fitting energy on the bodice. I knew the skirt would be full, as opposed to close fitting, and a shape I know love to wear. But there was still a lot of work to do to make the skirt swishy and romantic. I didn’t bargain for how much energy is required to wrestle with yards and yards of gathered, slippery silk. I recommend giving yourself more time than you think you need for something of this sweeping size!
VINTAGE SKIRT PROPORTIONS:
I have sewn many dress patterns from the 1970s, and I have learned that even when the cover displays a sweeping, full skirt, the pattern pieces are more modest in their fabric usage. I think a few things are at play here: the style of the time, narrow fabrics were more widely available, and the companies were making an attempt to fit pattern pieces within a reasonable amount of yardage. I wanted to capture the swirling energy in the envelope illustration, and I had plenty of fabric, so I modified the skirt.
SLASH & SPREAD:
Starting with the original pattern pieces, I slashed and spread the skirt to both widen it - which would add more gathers at the waistline - and to increase the sweep. So my skirt is more gathered, and has a much wider sweep (hem width) than the pattern tissue. Additionally, I lengthened all skirt layers by 2”, to account for my height in my heels.

All the layers and hems of the skirt - this photo was taken before the wedding. The hems are quite dirty after!
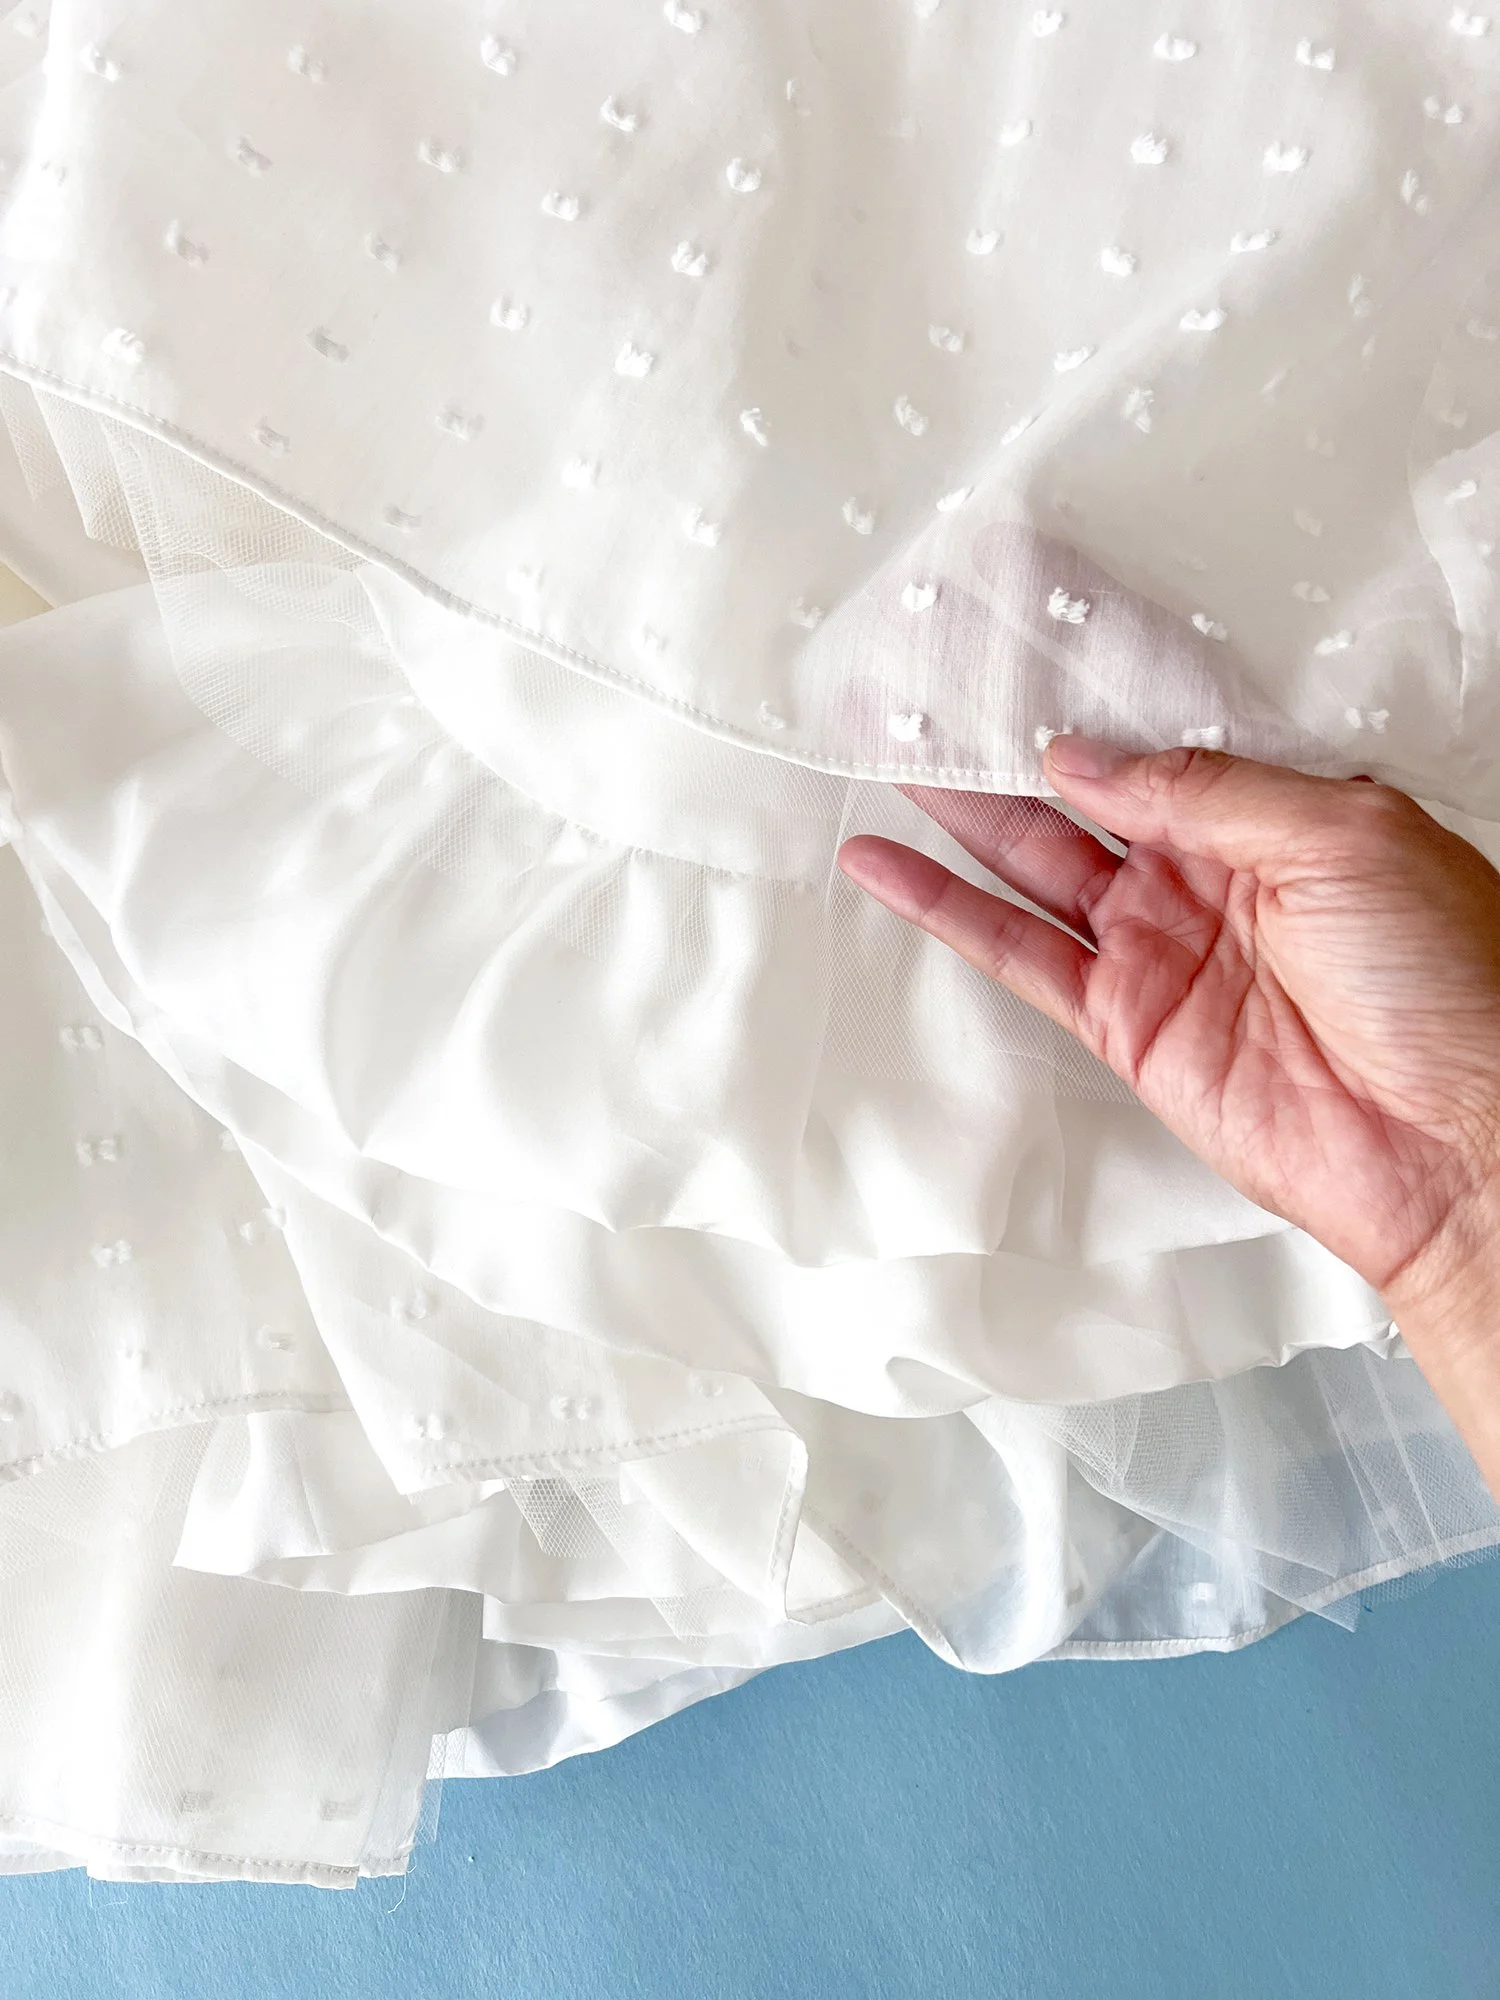
FABRIC LAYERS:
My fabrics are sheer, and I wanted the final dress to be opaque. I chose the layers I used on the top half of my dress based on how the fabrics would behave when sandwiched together in a fitted bodice. For the skirt, the layers would all be attached at the waist/midriff piece, and free flowing from there.
Traditionally, the fashion fabric (my Swiss dot) would be full and gathered, and the layers beneath it would have less volume. While I understand the reasoning for this, I wanted more fullness, especially at the hem, where there is a big, juicy ruffle. The Swiss dot fabric does not have enough body to hold fullness on its own, so I added gathers in the layers beneath it to help fluff it up.
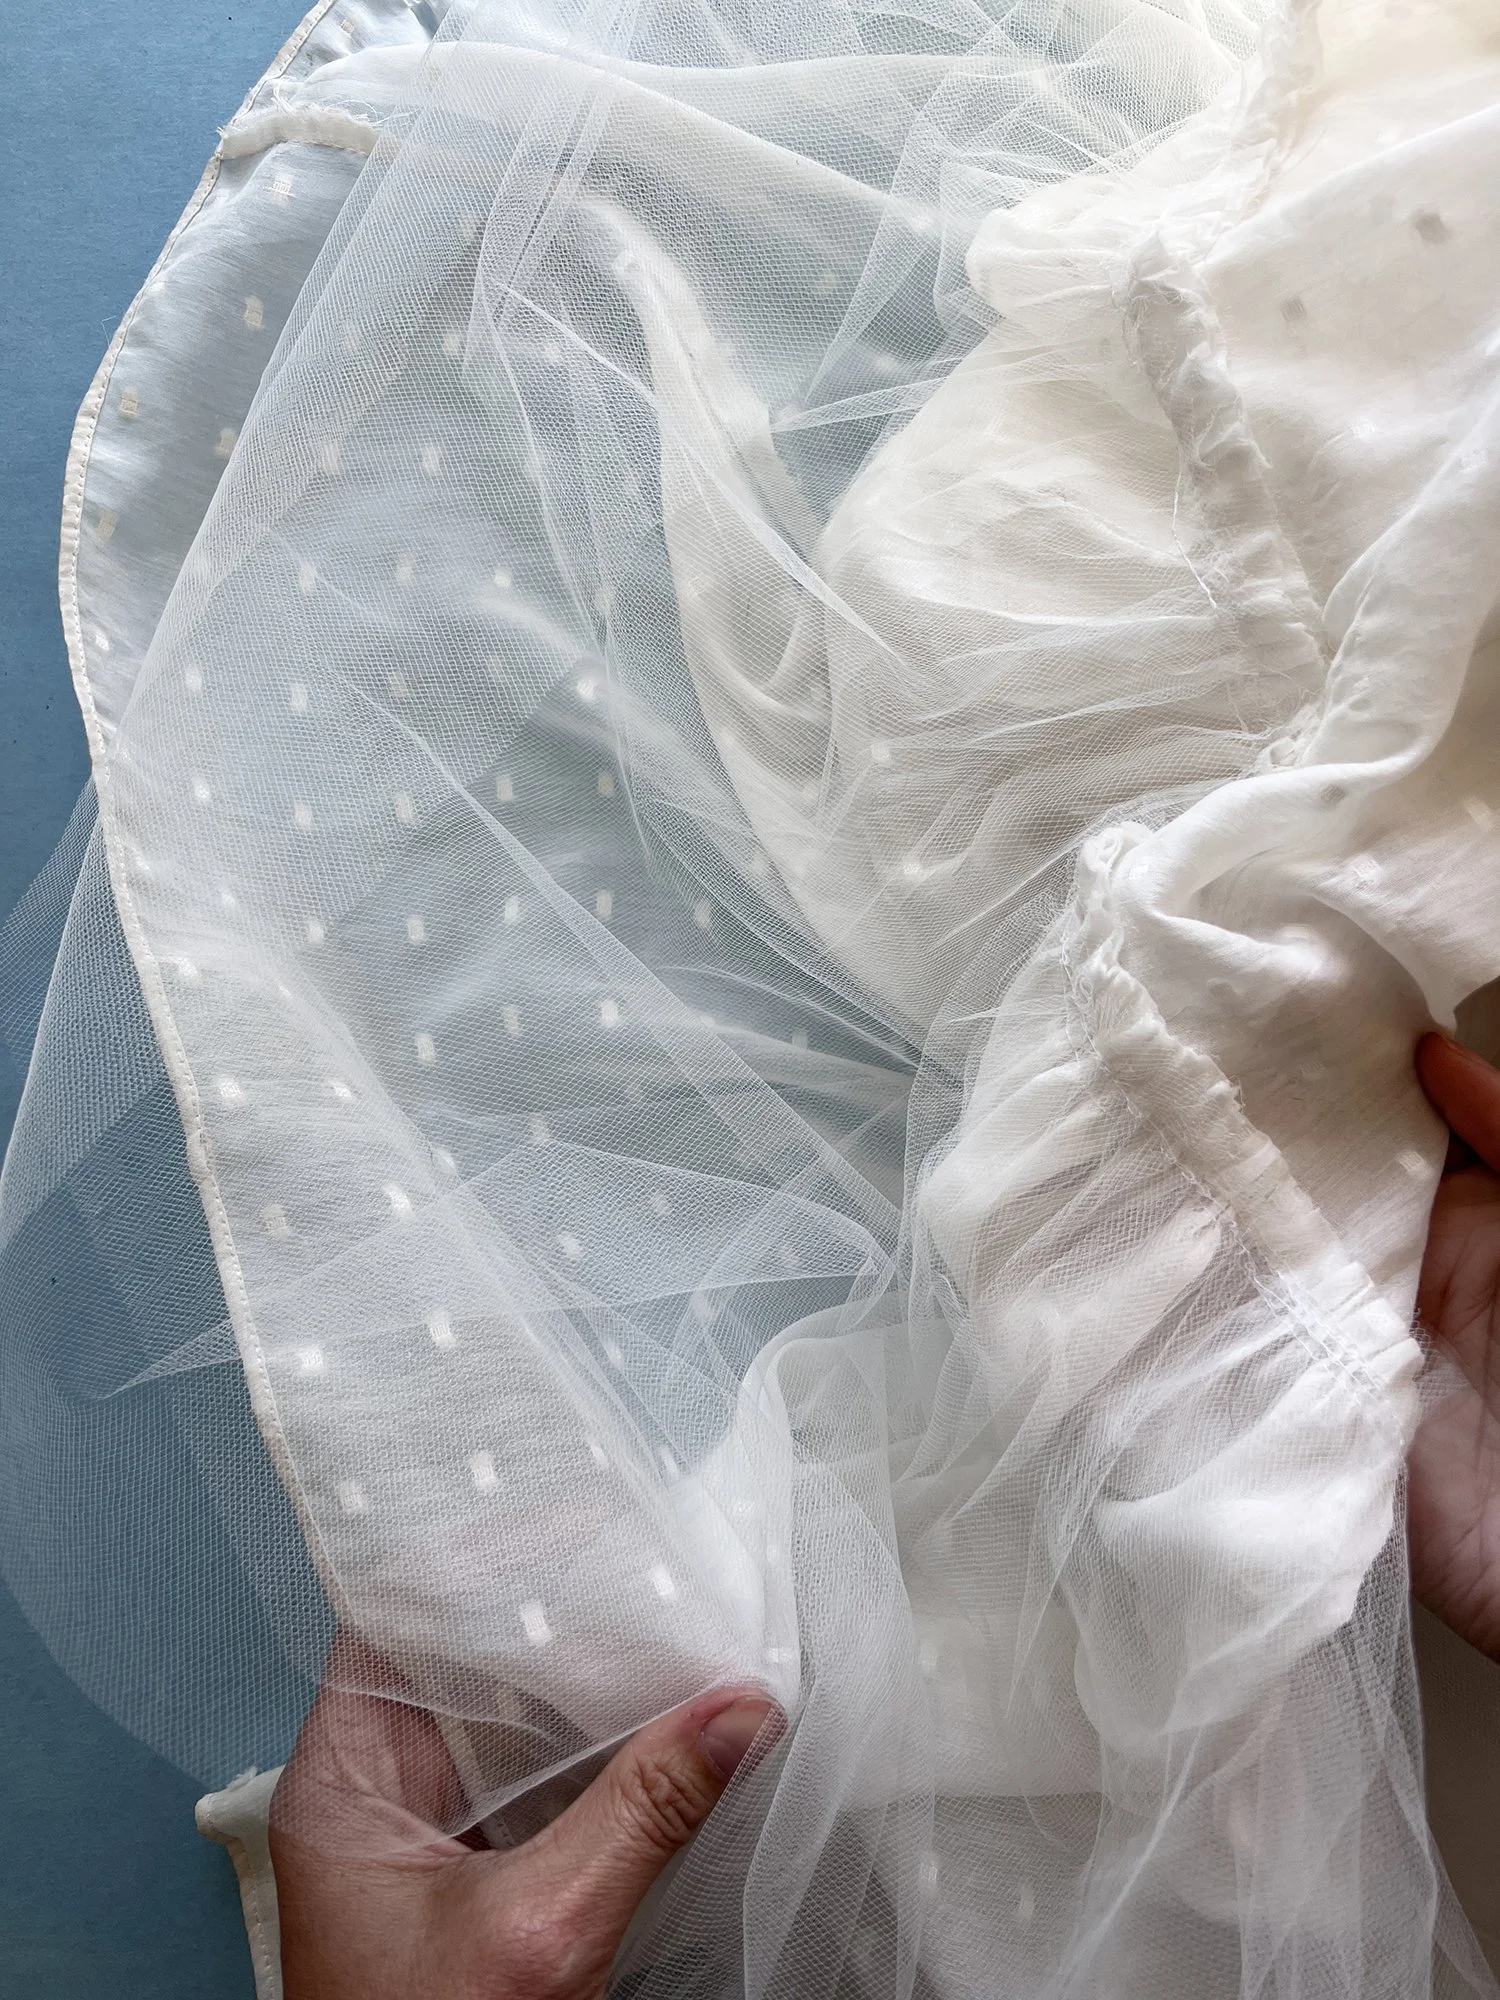
Two layers of soft tulle are gathered with the Swiss dot fabric.
SKIRT LAYER 1:
Cut from my slashed & spread pattern pieces, the outer skirt is Swiss dot with two layers of gathered tulle under the ruffle. The ruffle is 200% the width of the skirt hem above it. The layers of tulle have the same amount of gathering as the fashion fabric. The tulle is not hemmed, as is typical in tulle petticoats and skirts.

I created my “bubble hem” ruffle as a trim, making more than enough for the bottom of the skirt. I then attached it. I found this method easier than ruffling and attaching at the same time, which is possible with the attachment.

The BERNINA ruffler attachment - looks complicated, but in my experience is quite easy to use.
SKIRT LAYER 2:
I got a little creative here, and I was worried about my decisions, but it worked well. The second layer is silk habutai cut at the same fullness as Layer 1. It is then hemmed with a bubbled, pleated ruffle. This bubble hem is made with a strip of fabric, folded over and not pressed. The cut edges are gathered using the BERNINA ruffler attachment - you can see the perfect, even pleats created by the ruffler. Adding this bubble creates a little more fullness at the hem, puffing out the bottom of the tulle ruffles.
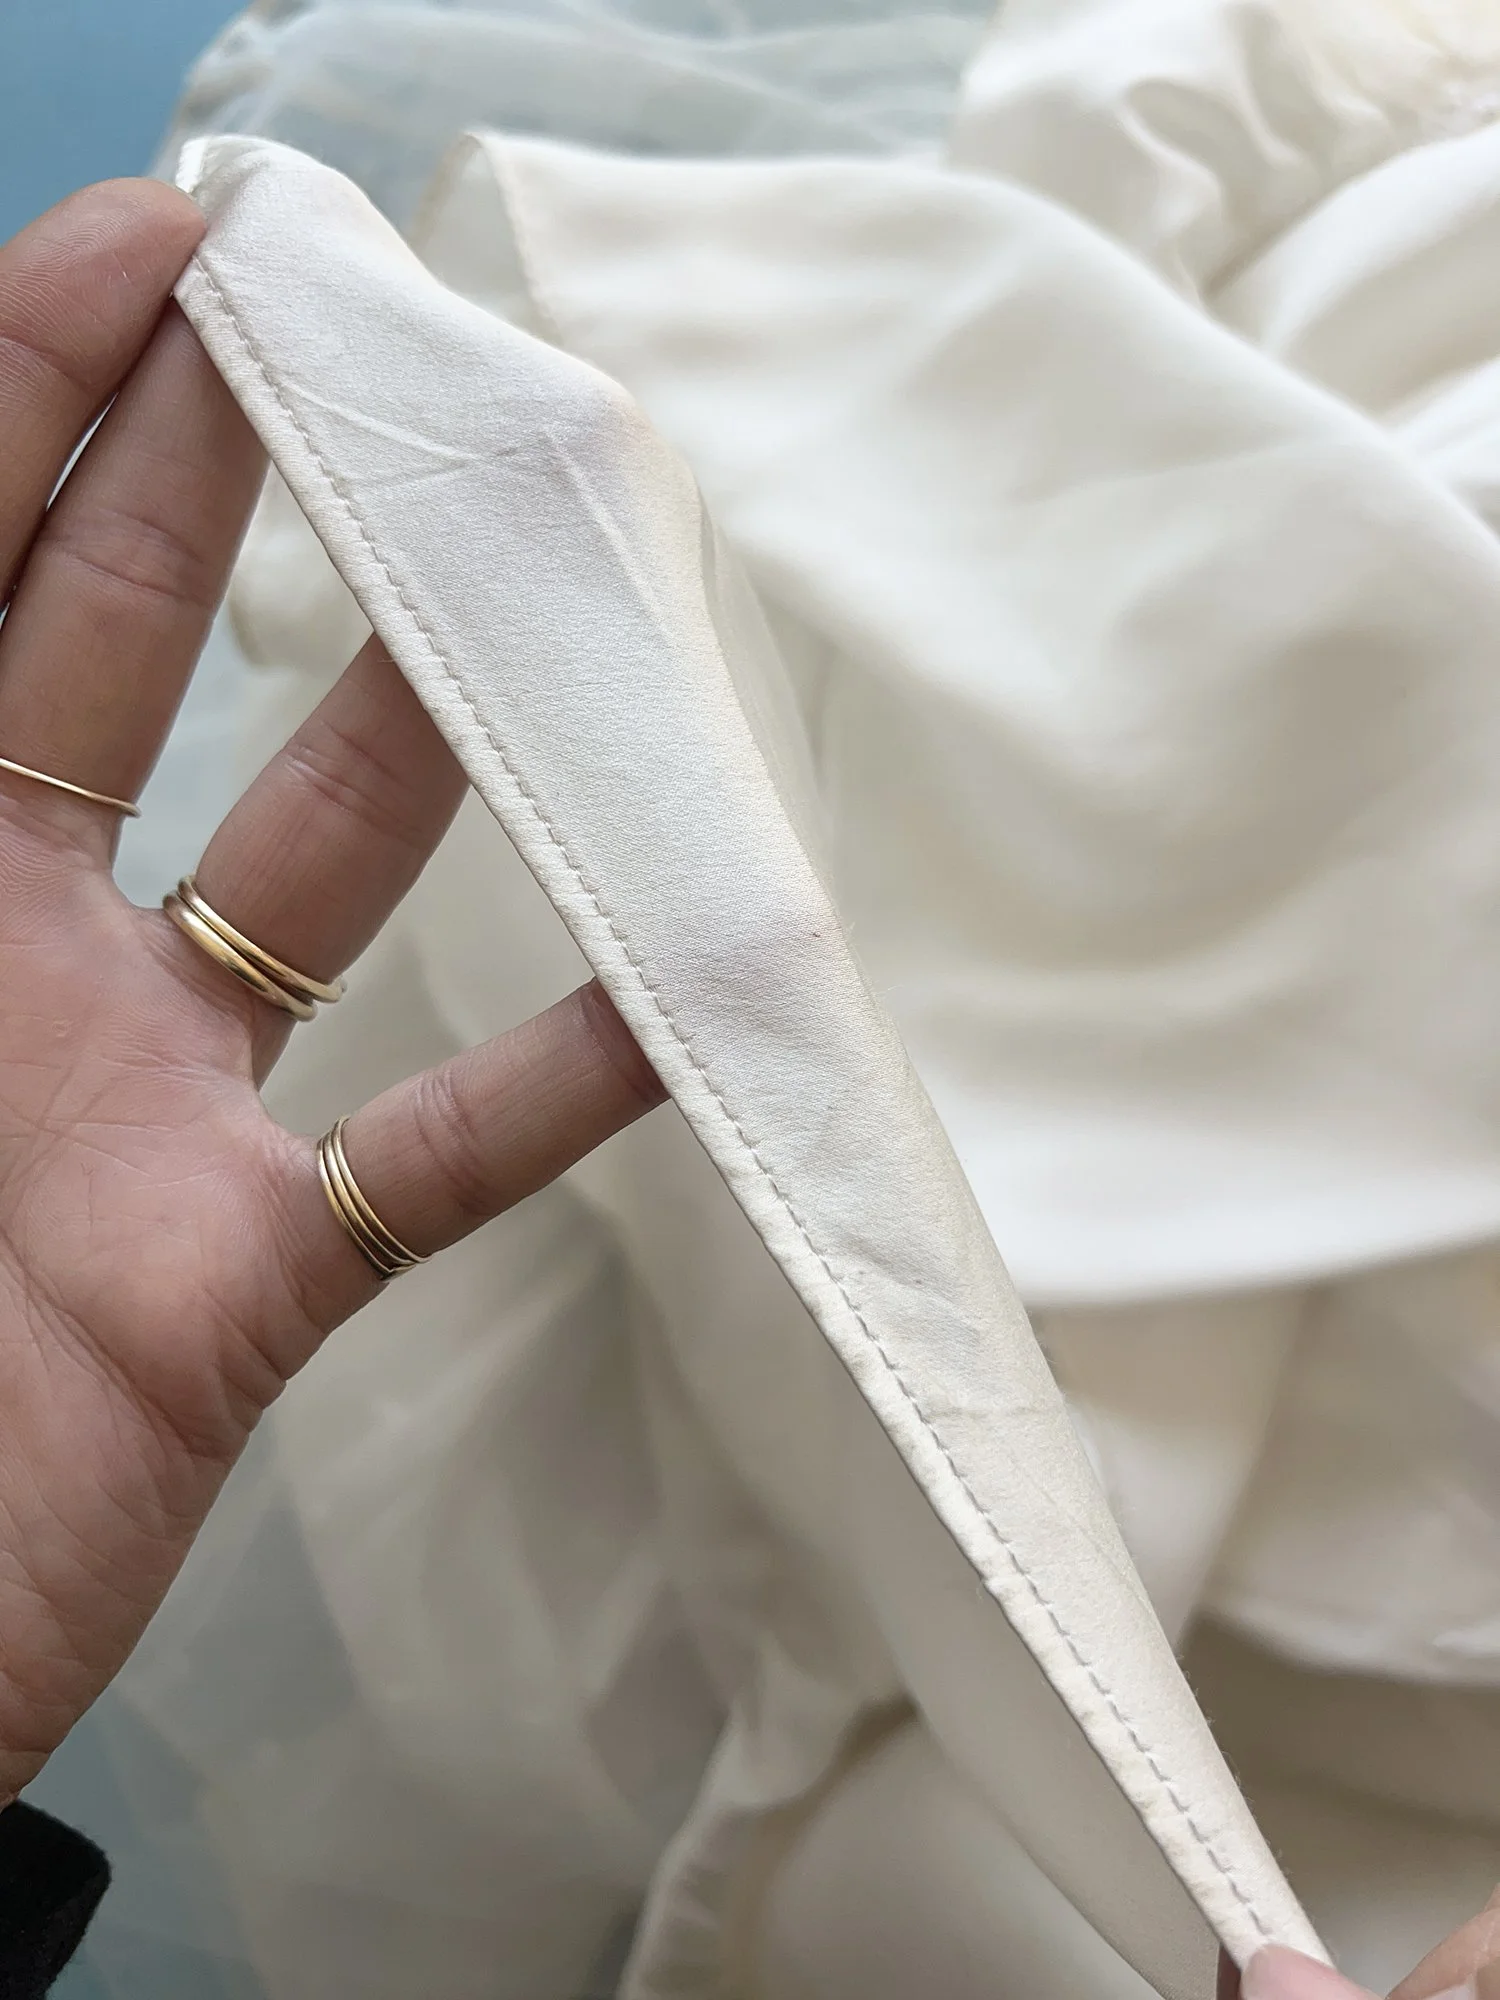
The silk charmeuse lining layer was hemmed with a hemmer foot to create a delicate narrow hem.
SKIRT LAYER 3:
The third skirt layer is the lining. I used silk charmeuse, cut from the original Under Skirt pattern piece, with length added, but no other modifications. This was given a baby hem, using a hemmer foot. The shiny side of the charmeuse faces inward, so the dress does not catch on the body, but glides over my skin when wearing it.
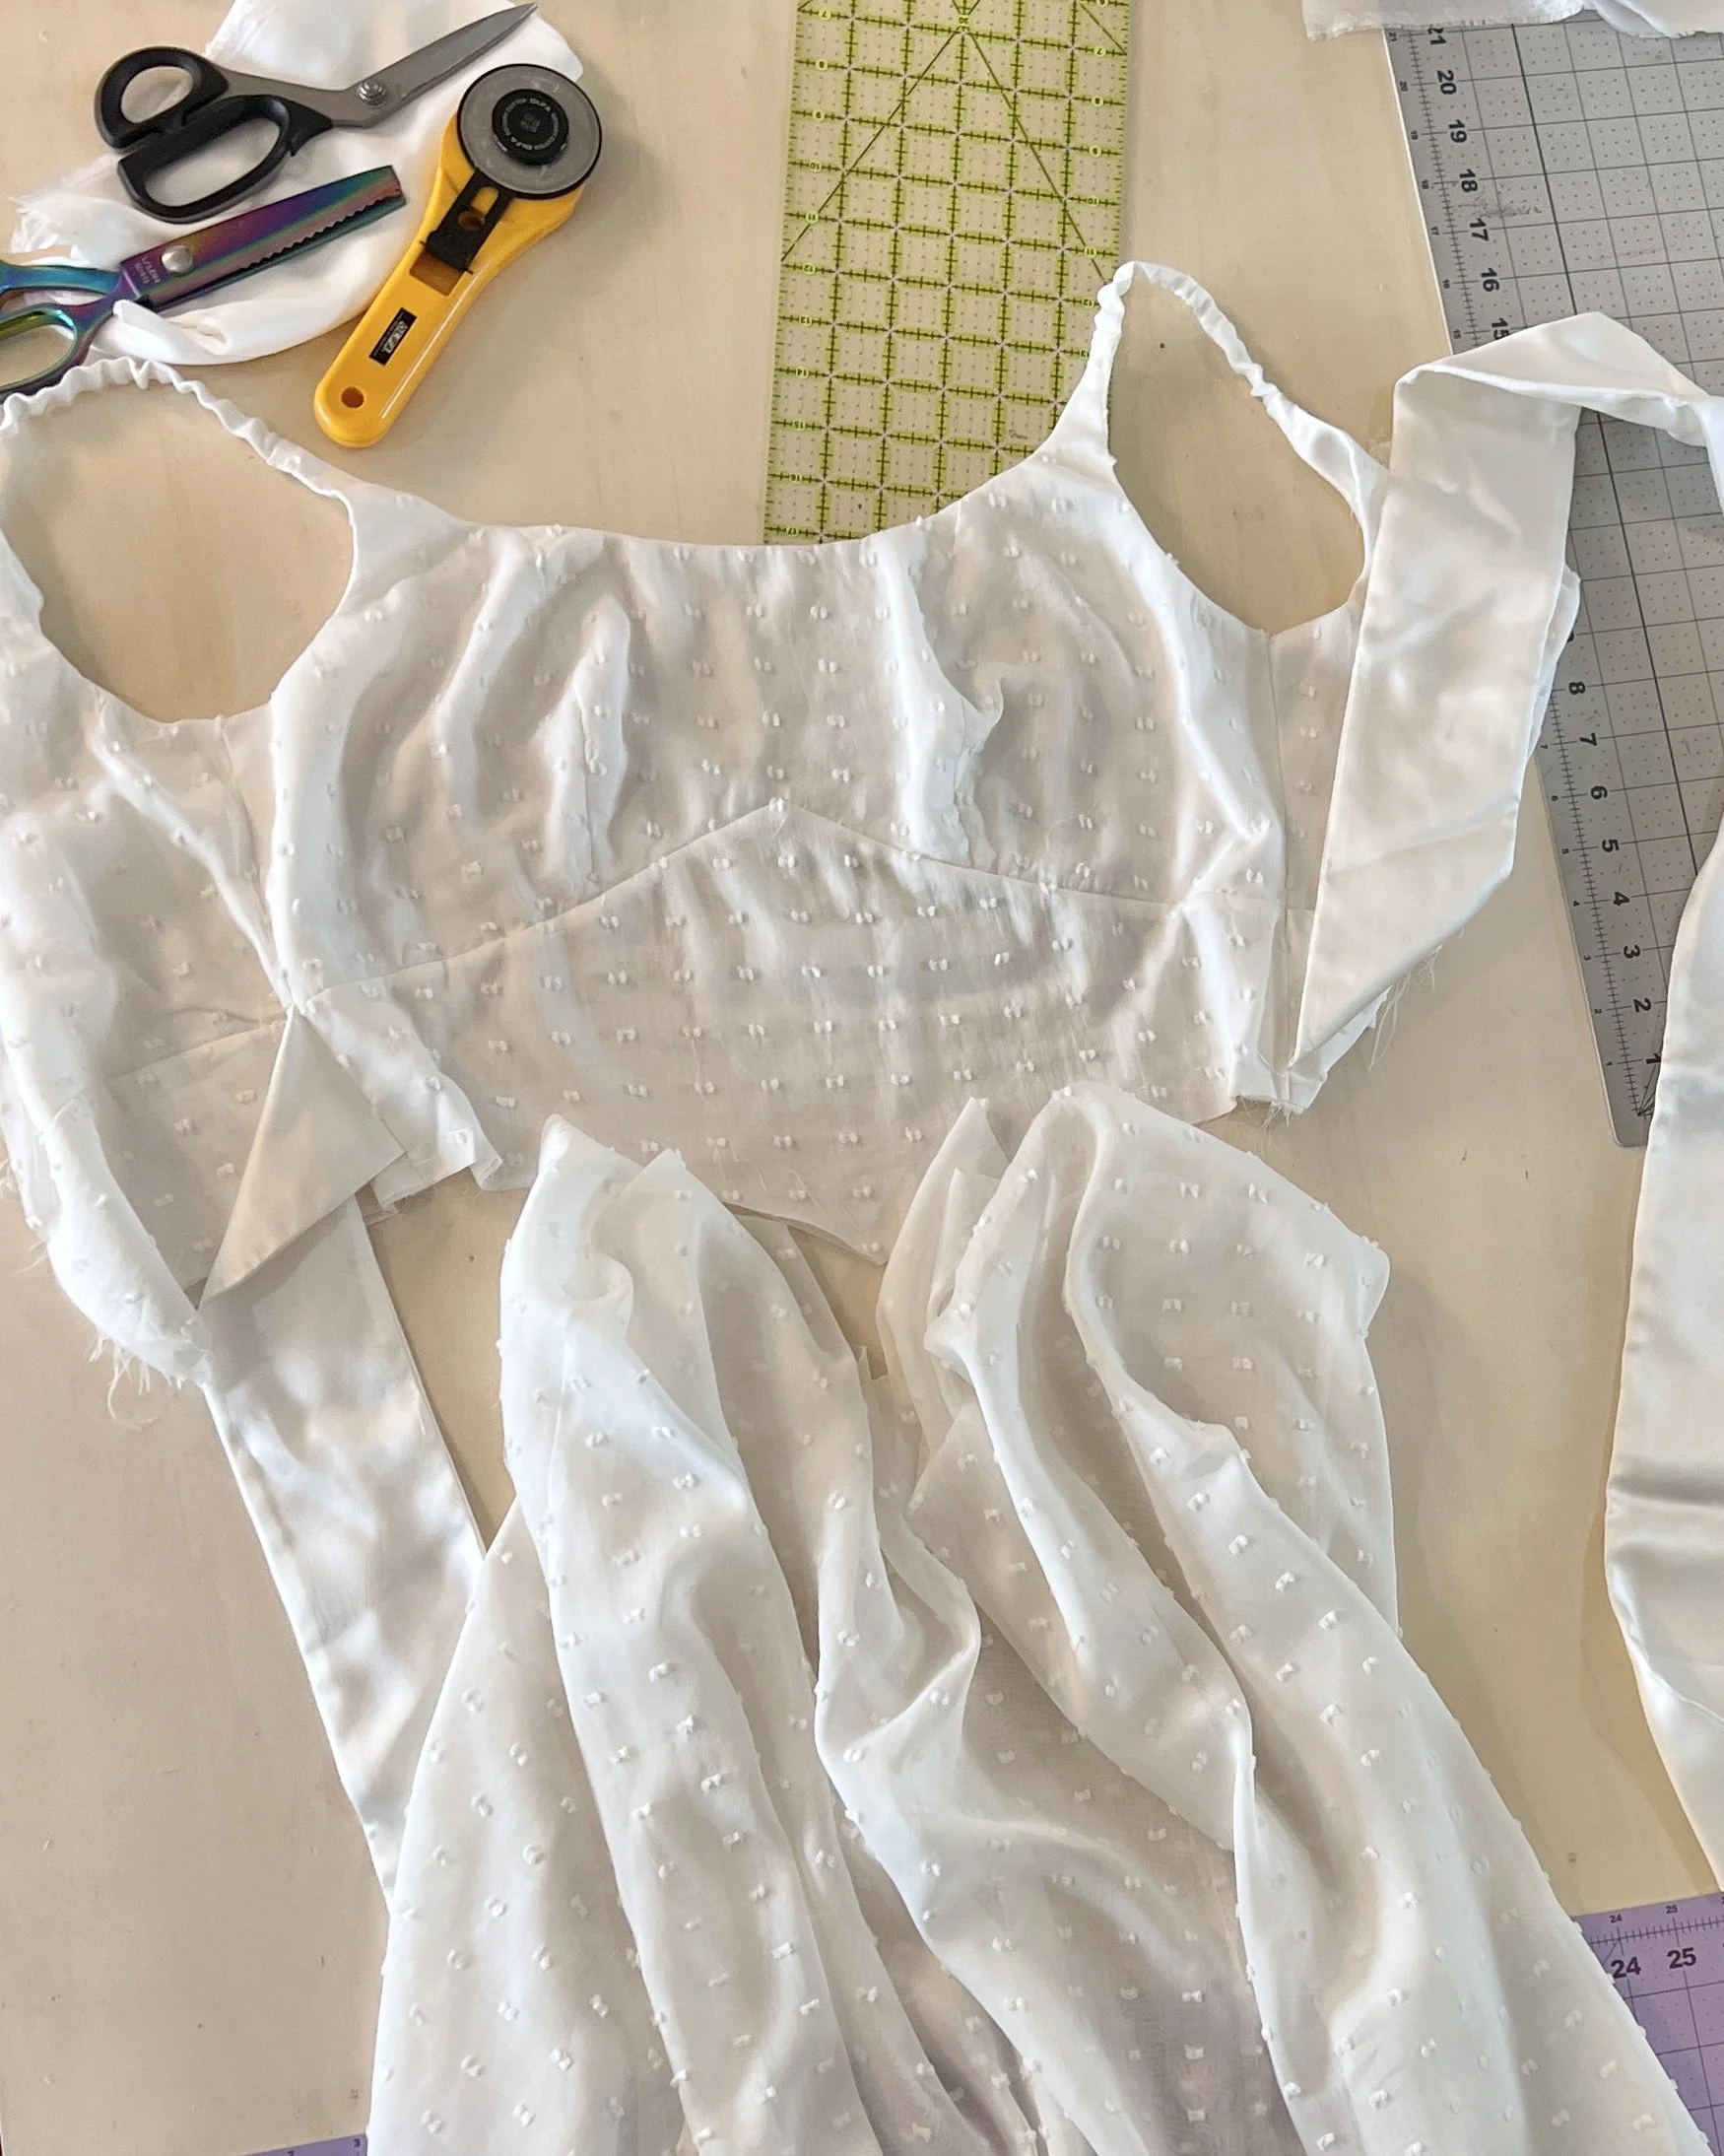
Time to put it all together! The layers of fabric on both the bodice and skirt, combined with the point of the Basque waist, made this a tricky task.
ATTACHING THE SKIRT:
Once I completed sewing all three layers of the skirt, I put them inside of each other in the correct order. The two outer layers were more gathered than the lining. It was a LOT of gathering! And in spite of how light my fabrics are, all together, the skirt is quite heavy. I contemplated adding a waist stay to help hold up the weight of the dress, but on the body, it felt pretty good, so I didn’t add one.
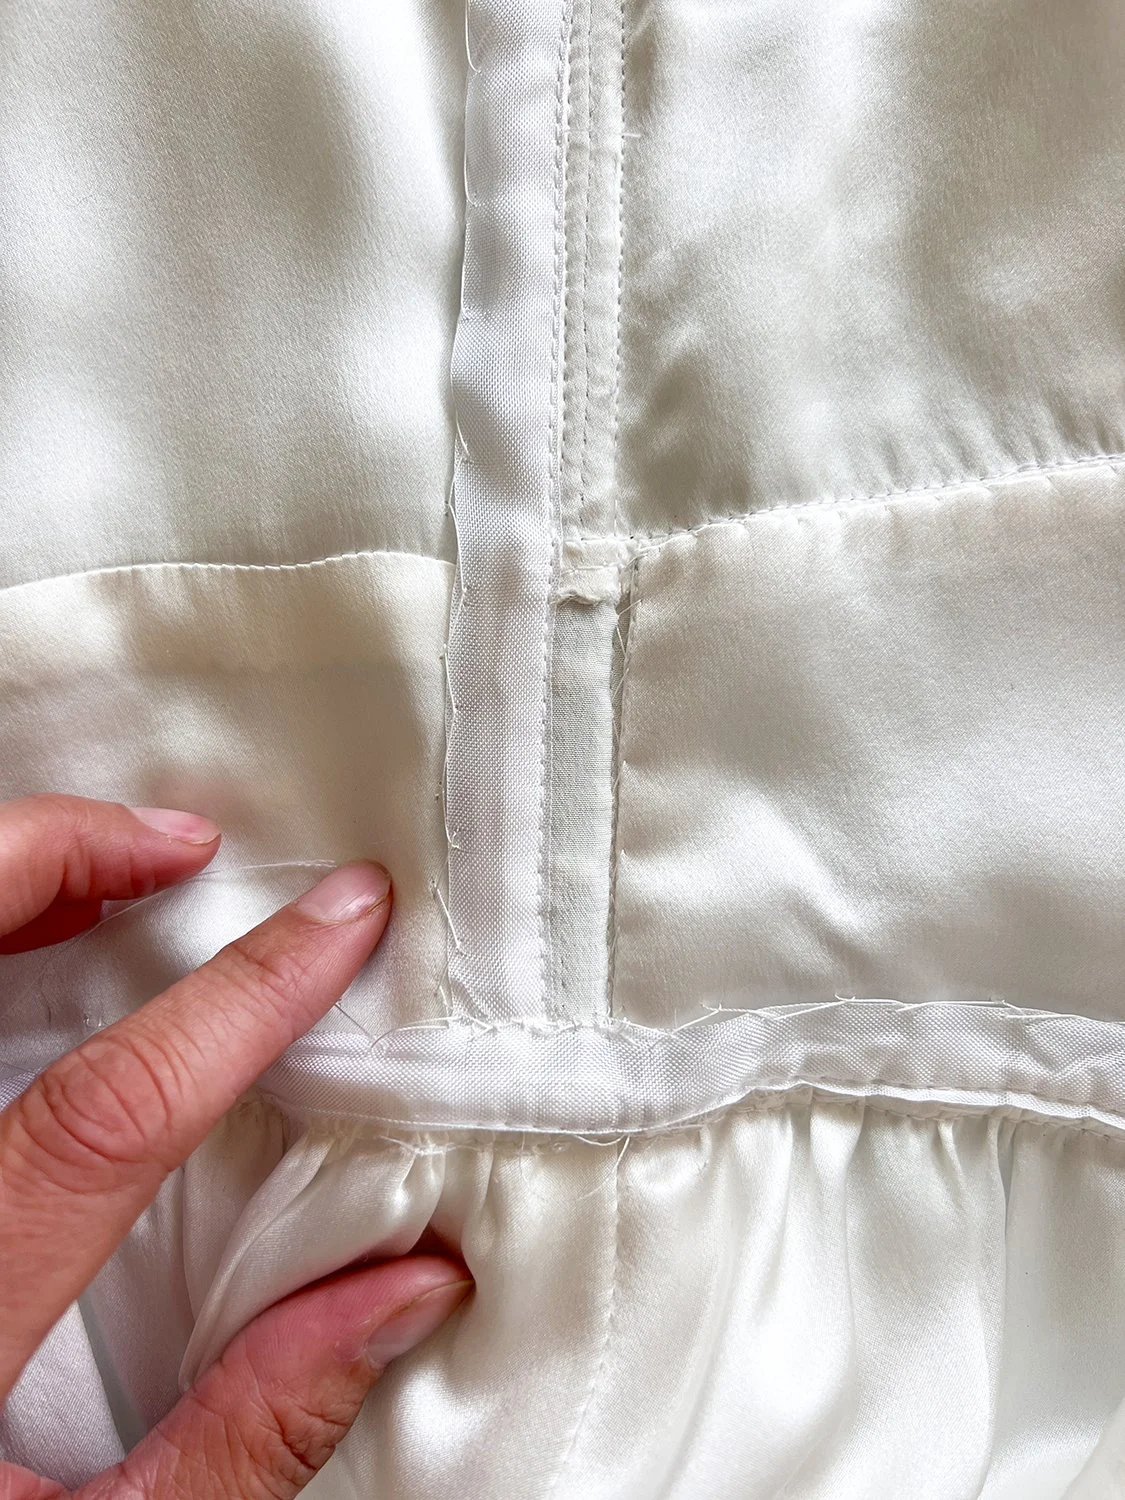
The waistline seam contains all layers of the skirt, which are gathered, as well as all layers of the midriff pieces. To keep it as smooth and flat as possible, I covered the trimmed seam allowances in rayon seam binding.
After attaching all the skirt layers, I needed to finish my waistline seam. This was done with a combination of hand sewing the midriff lining down, and adding rayon seam binding to cover exposed seams. I could have constructed the dress in a manner where the seam allowances were all enclosed, but since this is a dress I plan on wearing only once, I allowed myself to construct it more like a costume.
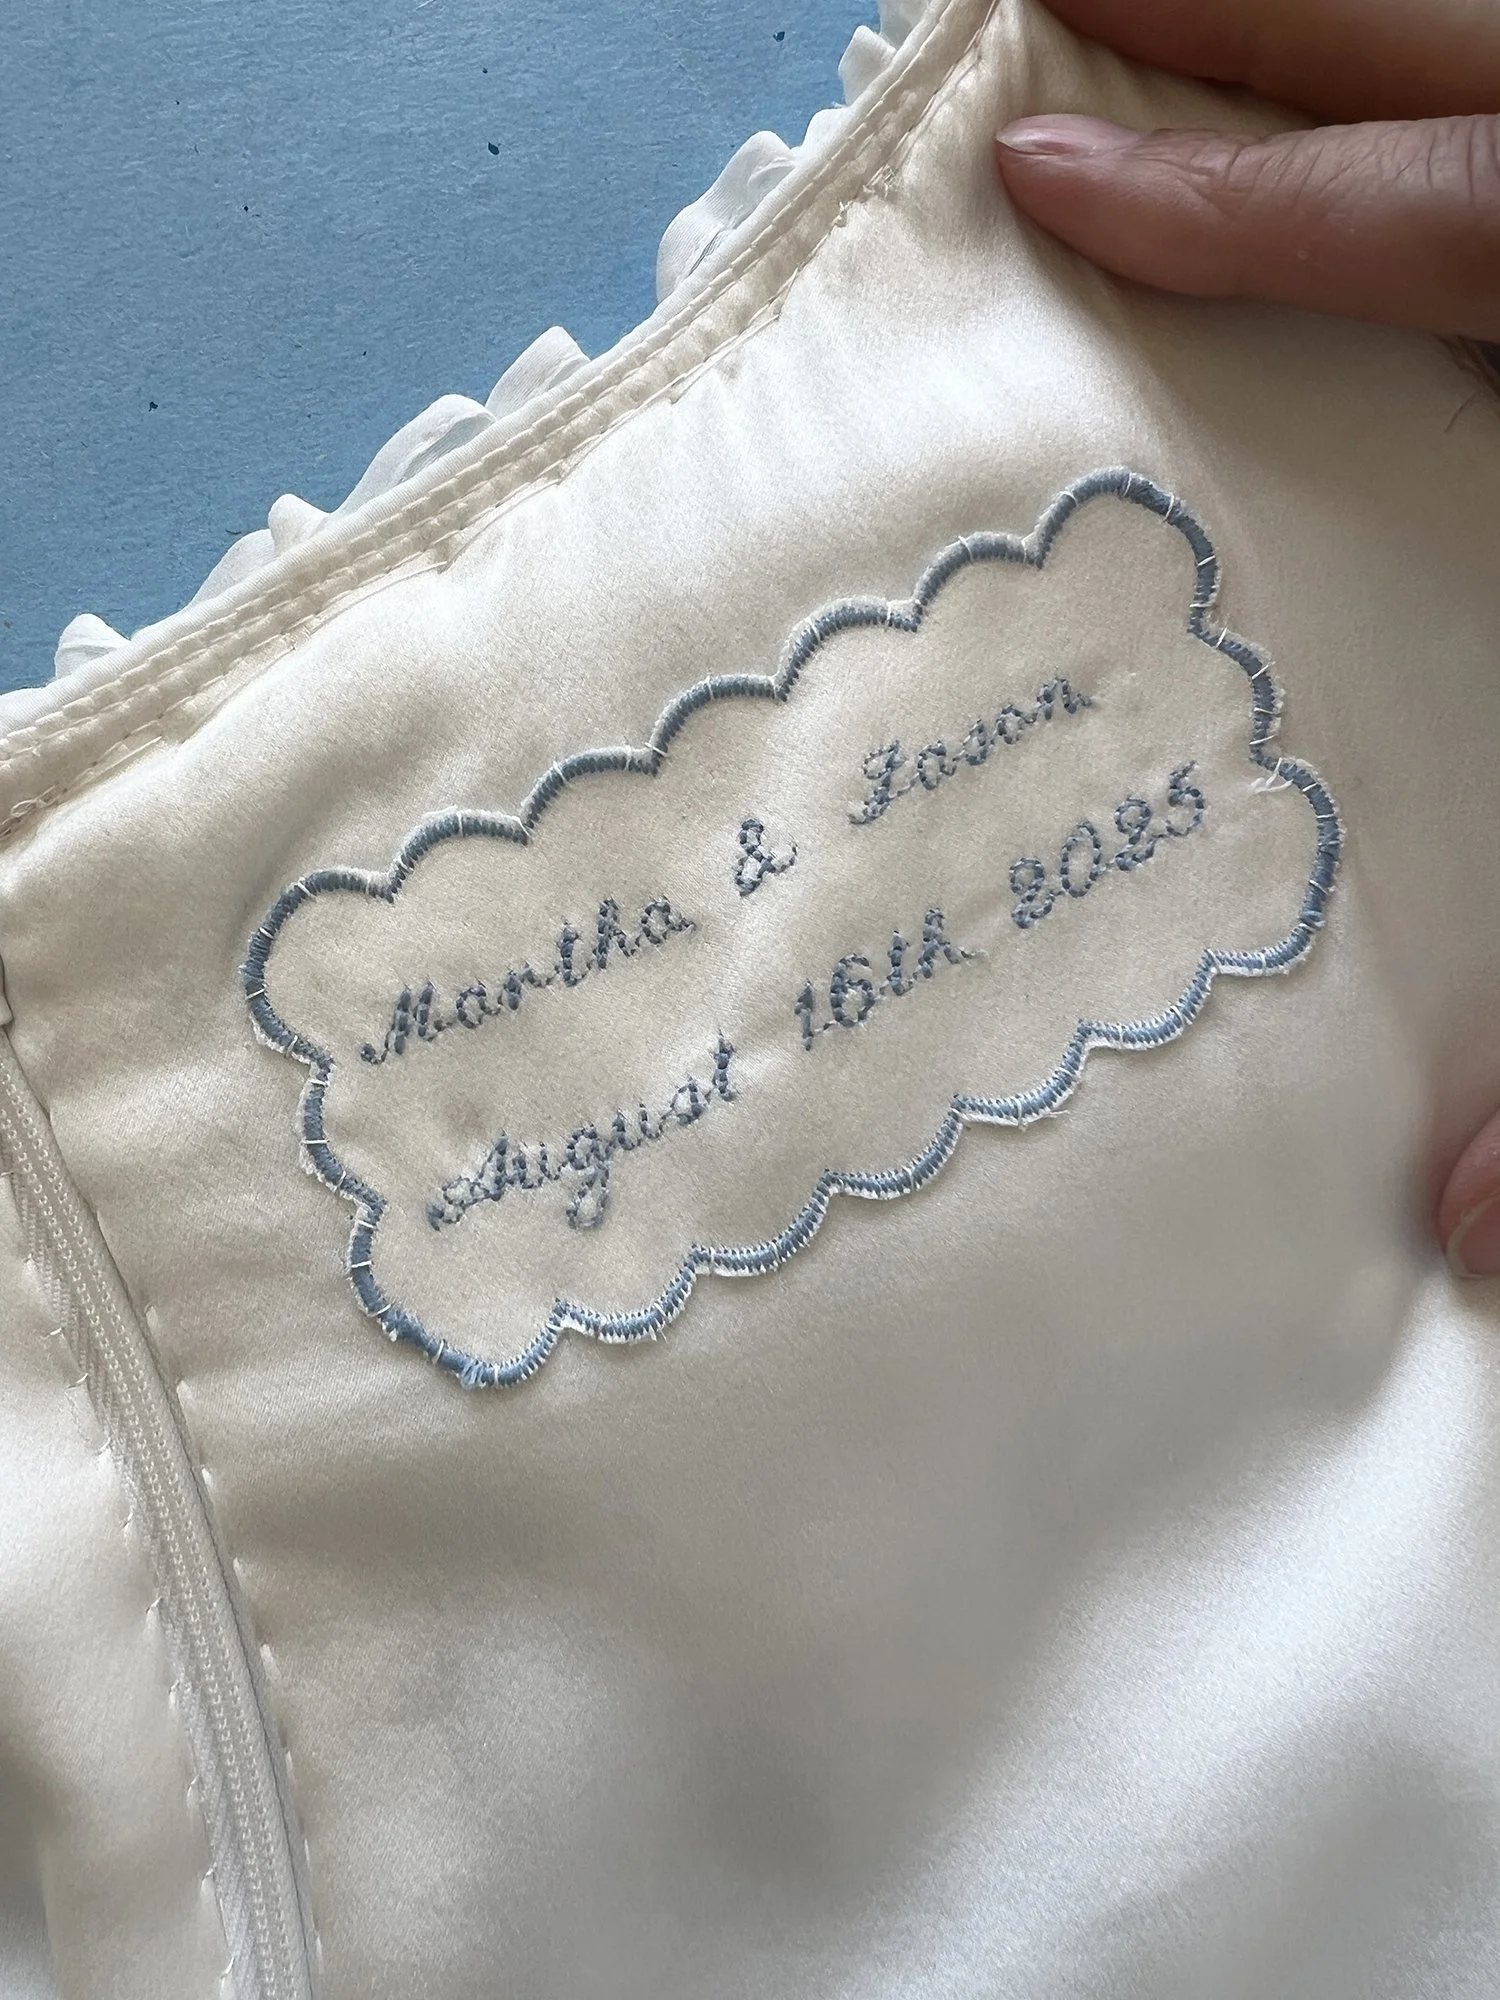
My custom label - this made the dress feel complete! I’ll share the details of making this in my next installment of this series.
In my next and final installment of this series, I will apply the ruffle at the neckline, add beading, and install the zipper. I will also add a large machine embroidered tag to commemorate our wedding day. These last steps were when it started to feel like a Real Dress! I’ll post that soon.
XO