SEWING MY OWN WEDDING DRESS - PART 3: BODICE FITTING

This is Part 3 in my series about sewing my wedding dress. You can read Part 1 here and Part 2 here.
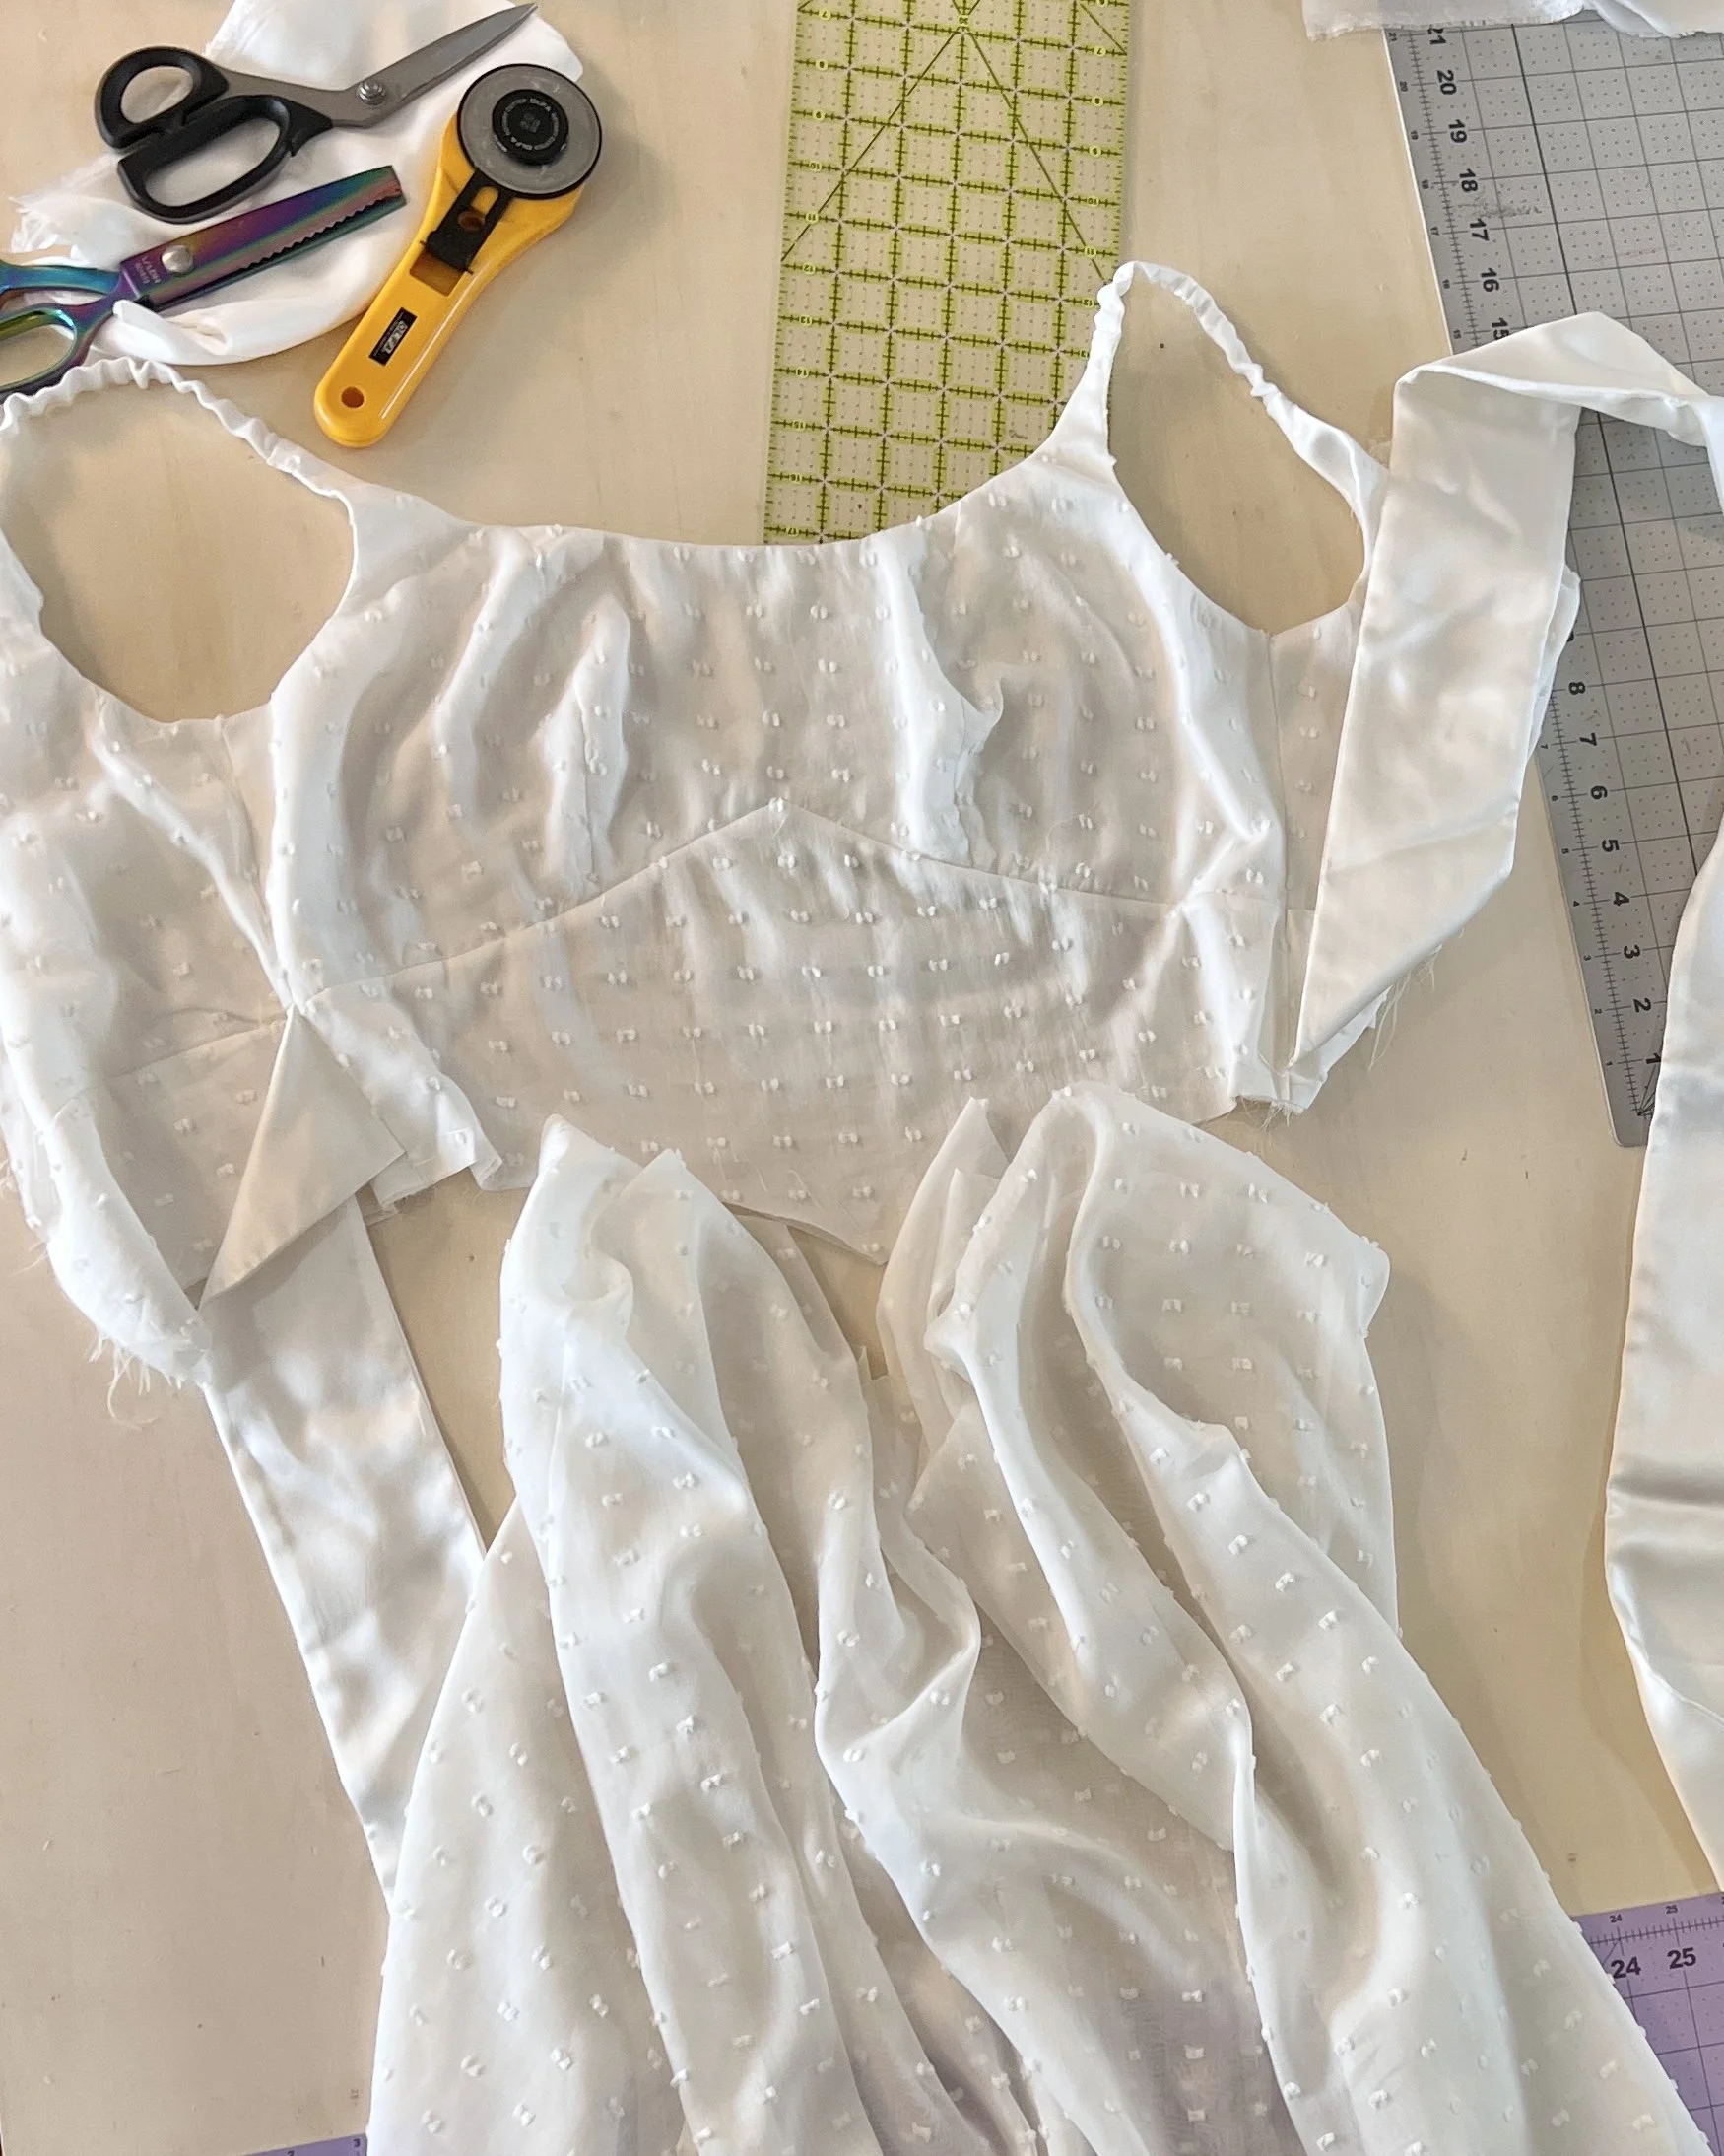
In making my wedding dress, I sewed four bodice muslins, and two full practice dresses - one in handkerchief linen, one in silk CDC. I made many small, incremental changes as I worked, little tweaks slowly building towards bigger changes.
In the late 90s/early 2000s, I had a sewing instructor in Kansas City, Missouri, named Cherry. While taking her classes, I sewed my high school graduation dress: a white silk dupioni shell top and a matching maxi skirt with a big dense ruffle at the hem. She drilled it into me that for every single fitting, you must wear the shoes and undergarments you plan to wear with the finished outfit. I thought of her every time I begrudgingly put on my strapless bra and heels.
BTW, my strapless bra is from Town Shop in NYC, where I was professionally fitted. I have never had a better fitting bra. It’s a fabulous store and I had a great experience there.

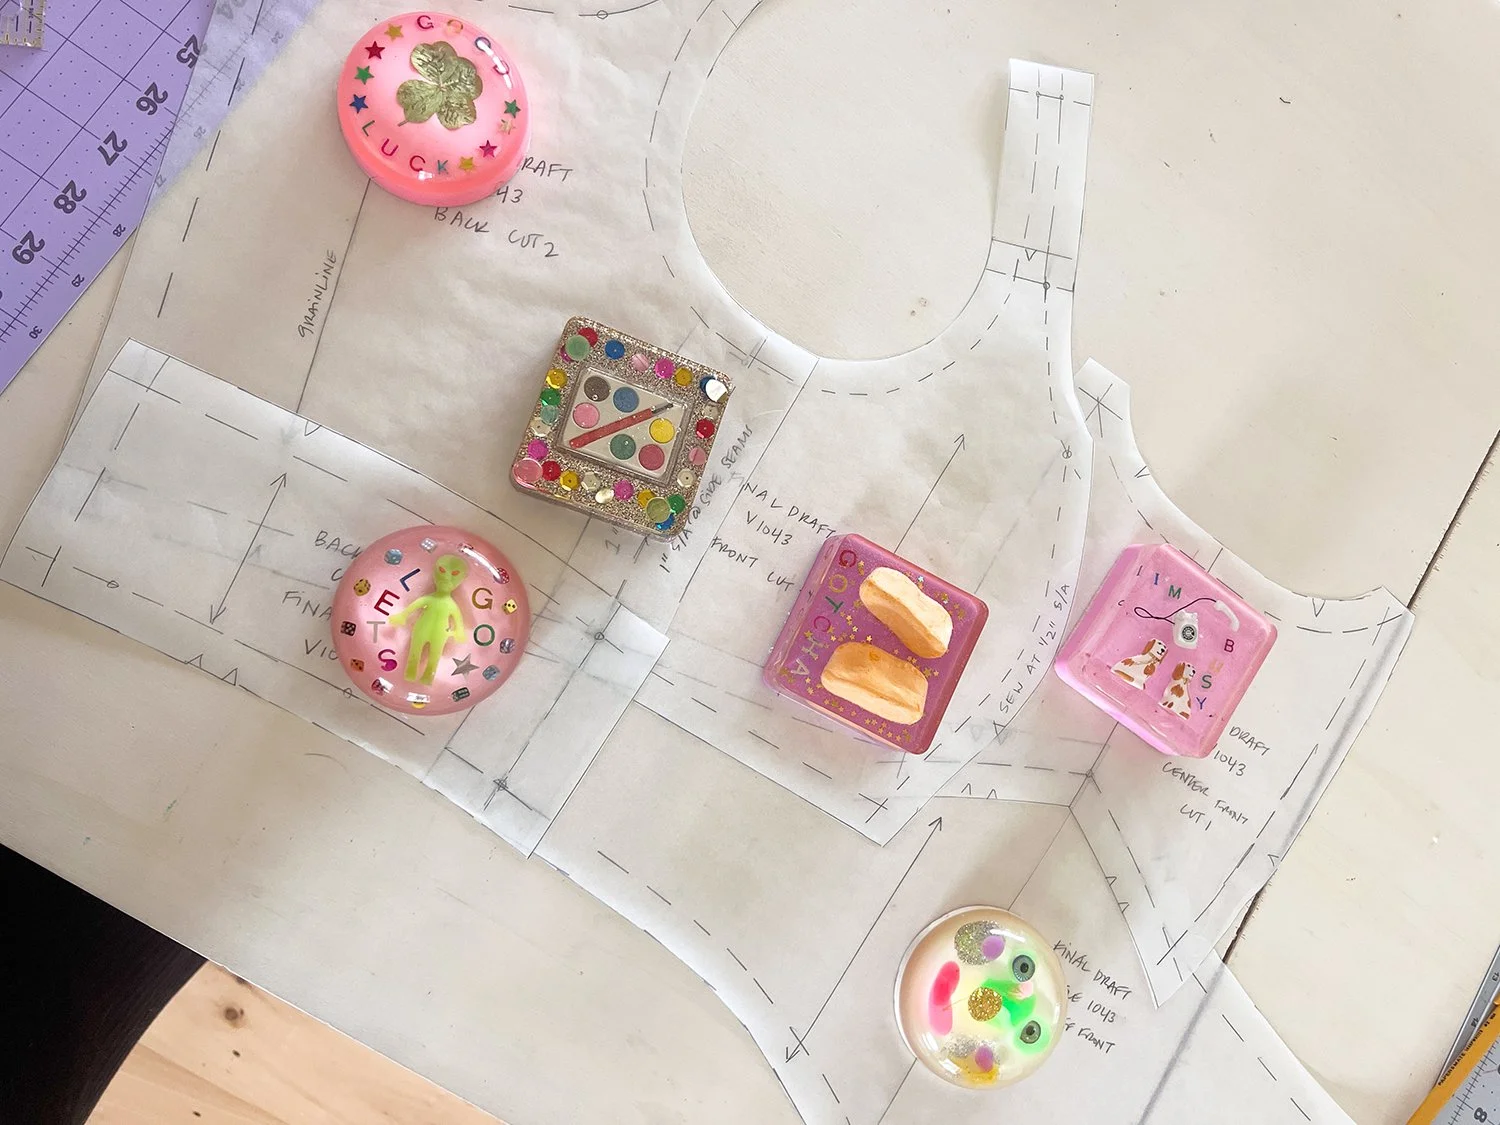
My four wedding dress bodice muslins.
BODICE MODIFICATIONS:
I started with basic, standard adjustments that I make to all patterns:
I added 1" length to the bodice above the apex. I am 5’8” tall, and find I need an extra length here, the Lengthen/Shorten line on all patterns is always too low for where I require additional length.
Then, I made a 1cm Full Bust Adjustment, which usually adds a little more length, so I removed that length, keeping only the added space through the bust.
After each set of modifications and fittings, I would trace off a fresh pattern tissue, and walk my seam lines to ensure all pieces fit together as expected.
I added 1/2" to my side seams, because I had a feeling I would need more room, and I was correct. After I finalized the fit on my practice dresses, I made sure my pattern pieces correctly reflected the the correct side seams and seam allowances. I then increased my side seam allowances from 5/8” to 1" total (adding 3/8” to the seam allowance). This was for easy alterations if needed, and it also allowed me to add boning to side seams easily.
From here, I sewed my first muslin, tried it on, and began addressing further fitting and construction changes.

I did not like the way the ruffle was attached per the pattern instructions, so I instead hemmed the ruffle on both long edges, and applied it on top of the finished bodice.
I used a hemmer foot to hem the ruffle on both edges. I’ll talk about my beading in a later post!
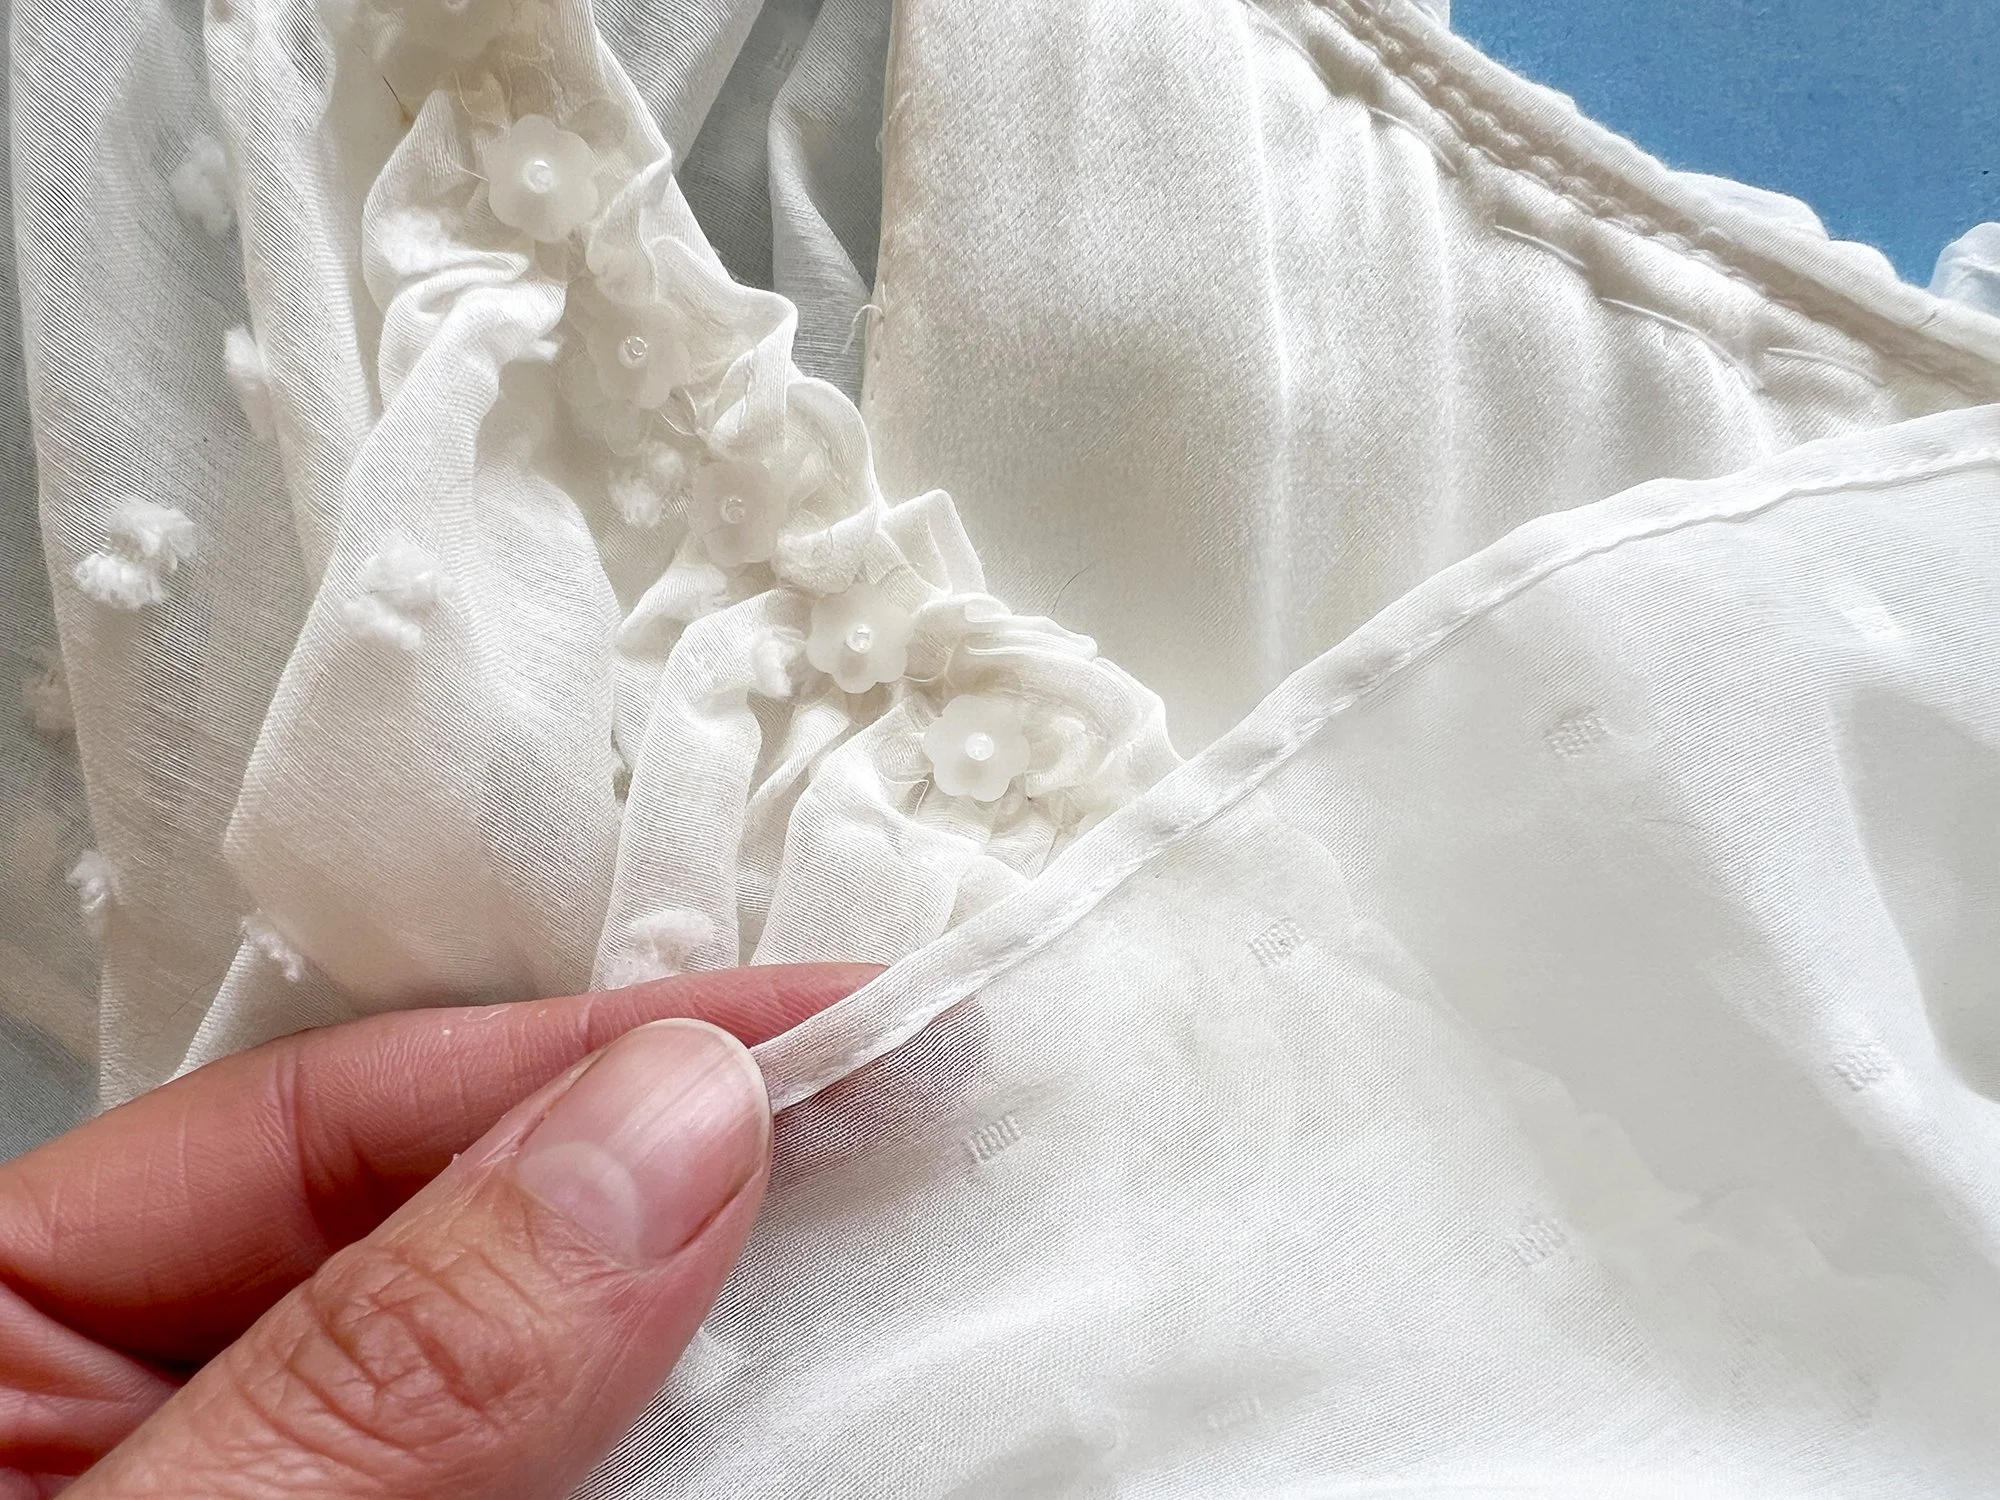
NECKLINE & RUFFLE:
Adding the neckline ruffle felt fussy and annoying to me when fully lining the bodice. The ruffle is sandwiched between the fashion fabric and the lining, and then flops down. Even in my feather light fabric, this got bunchy in the seam allowance and looked a little clumsy. To avoid this, I made a ruffle that I applied on top of the bodice. I hemmed the ruffle with my hemmer foot on both long edges.
Sewing the ruffle on was one of the very last things I did to this dress. After it was added, I considered beading, which we will get to in a future post.
My straps are attached with a combination of hand and machine stitching, and they do not include elastic.
I lengthened the straps 1/2". My straps are interfaced silk charmeuse, and folded into 4 layers. They are very strong and hold their shape well.
As drafted, the straps are elasticated. I eliminated elastic in the straps and along the neckline. I think you need the elastic only if you are planning to switch between wearing the straps on and off the shoulder. Or maybe if you're only going to wear it off the shoulder. It is more casual looking, which I disliked for a wedding gown. In the end, I found I simply did not need elastic for the dress to fit.
While wearing the muslin, I scribbled the new shape onto the fabric. I then transferred this to my pattern tissue, and smoothed it out.
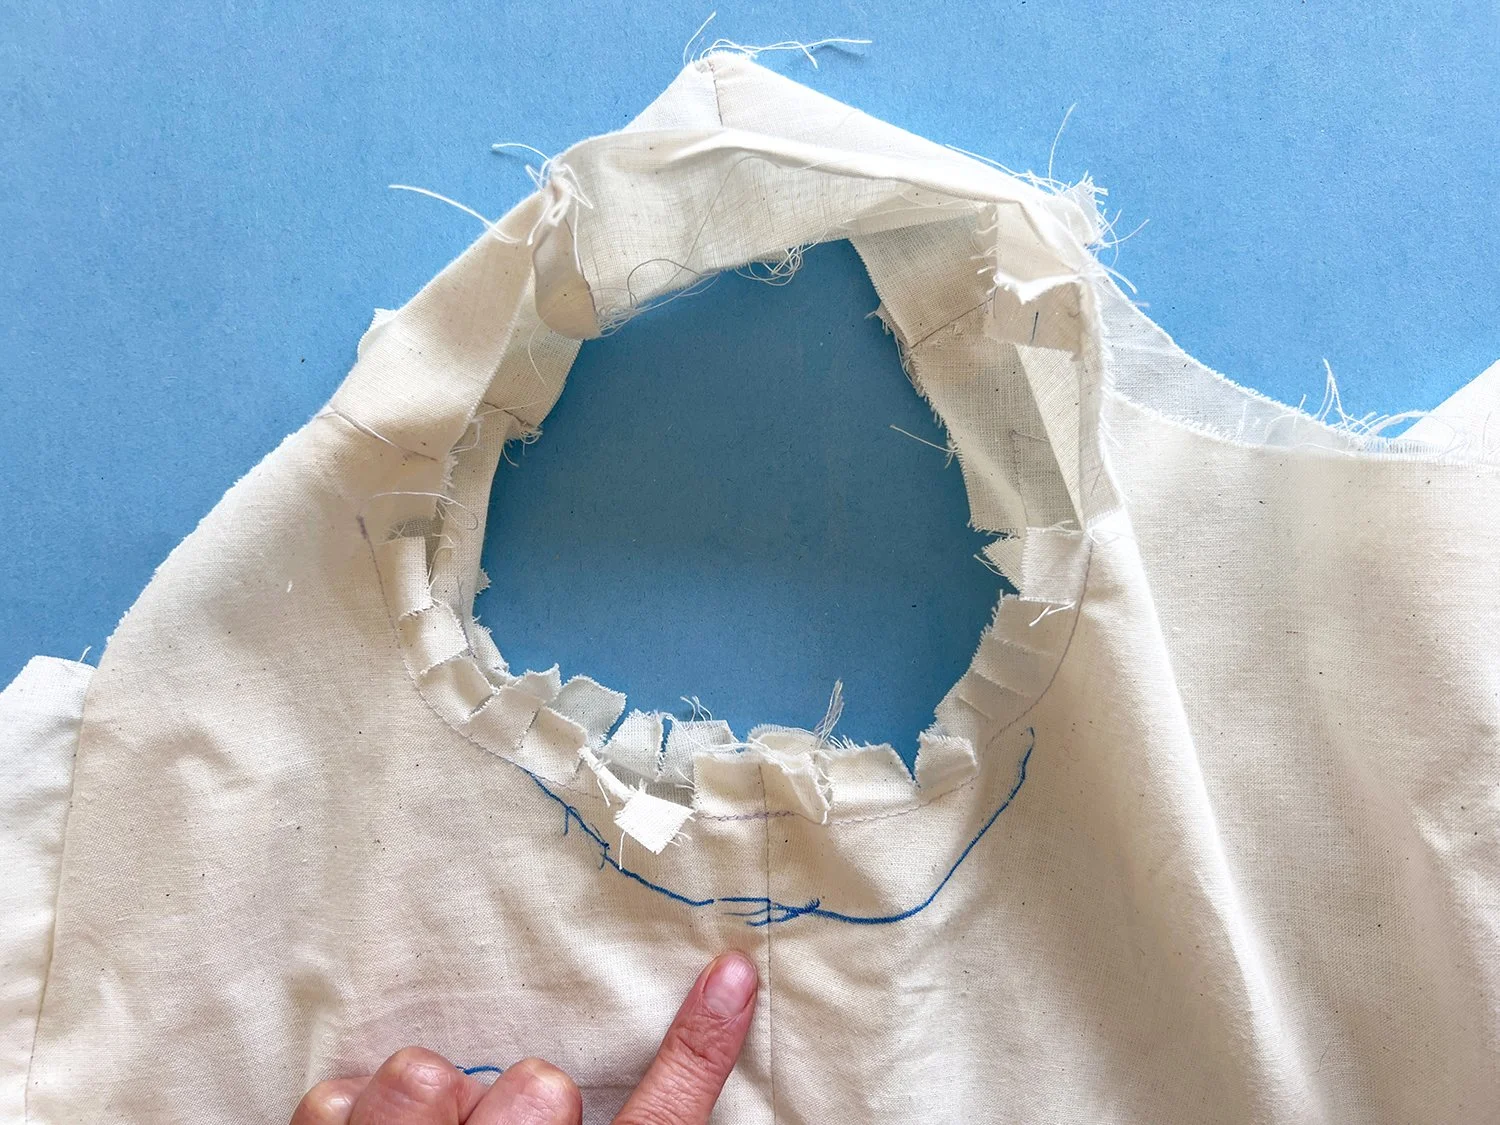
ARMSCYE:
I re-drew the armscye - it comes up very high into the armpit, which I find is often the case with patterns from the 70s. You have some flexibility here because you can wear the straps on or off your shoulder and will need to adjust the strap length and armscye shape accordingly.

I so enjoyed the feeling and effect of spiral steel boning that I put everything on hold and added it to other dresses in my closet.
MIDRIFF FITTING:
To fit the midriff piece I took out a horizontal fisheye dart from the front piece. This shortened the midriff 1" all the way around, but 1.75" total at center front. The way you alter this piece - if you need to at all - is pretty specific to the shape of your body and your preferences about where the waistline falls.
Remember that I added 1” of length above the apex - so this adjustment was based on my proportions.

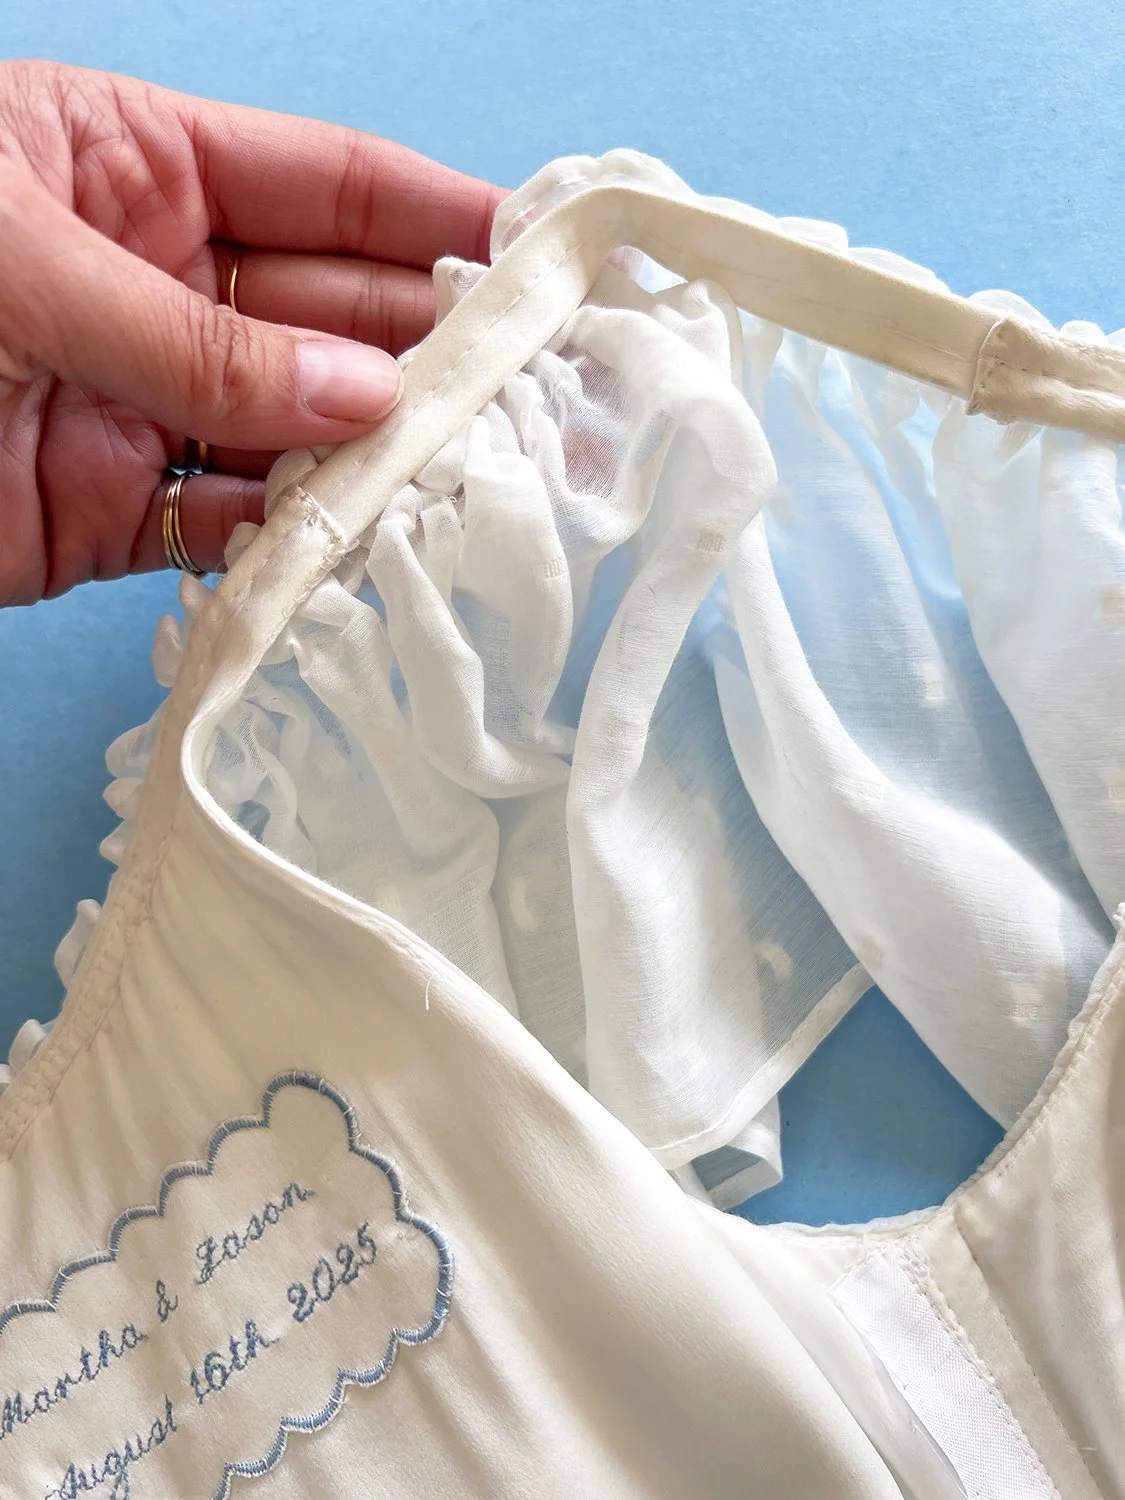
I took these photos to show where the boning is inside of the side seams, but let’s dive in and talk about everything inside my dress bodice: YES, IT’S WEIRD! I decided to assemble it like a theater costume, for easy alterations if I needed them. I could easily have made all seams full enclosed in the lining. Doing it this way gave me peace of mind that I could take in or let out the dress easily as the last minute if necessary. Seam allowances are enclosed in rayon seam binding.
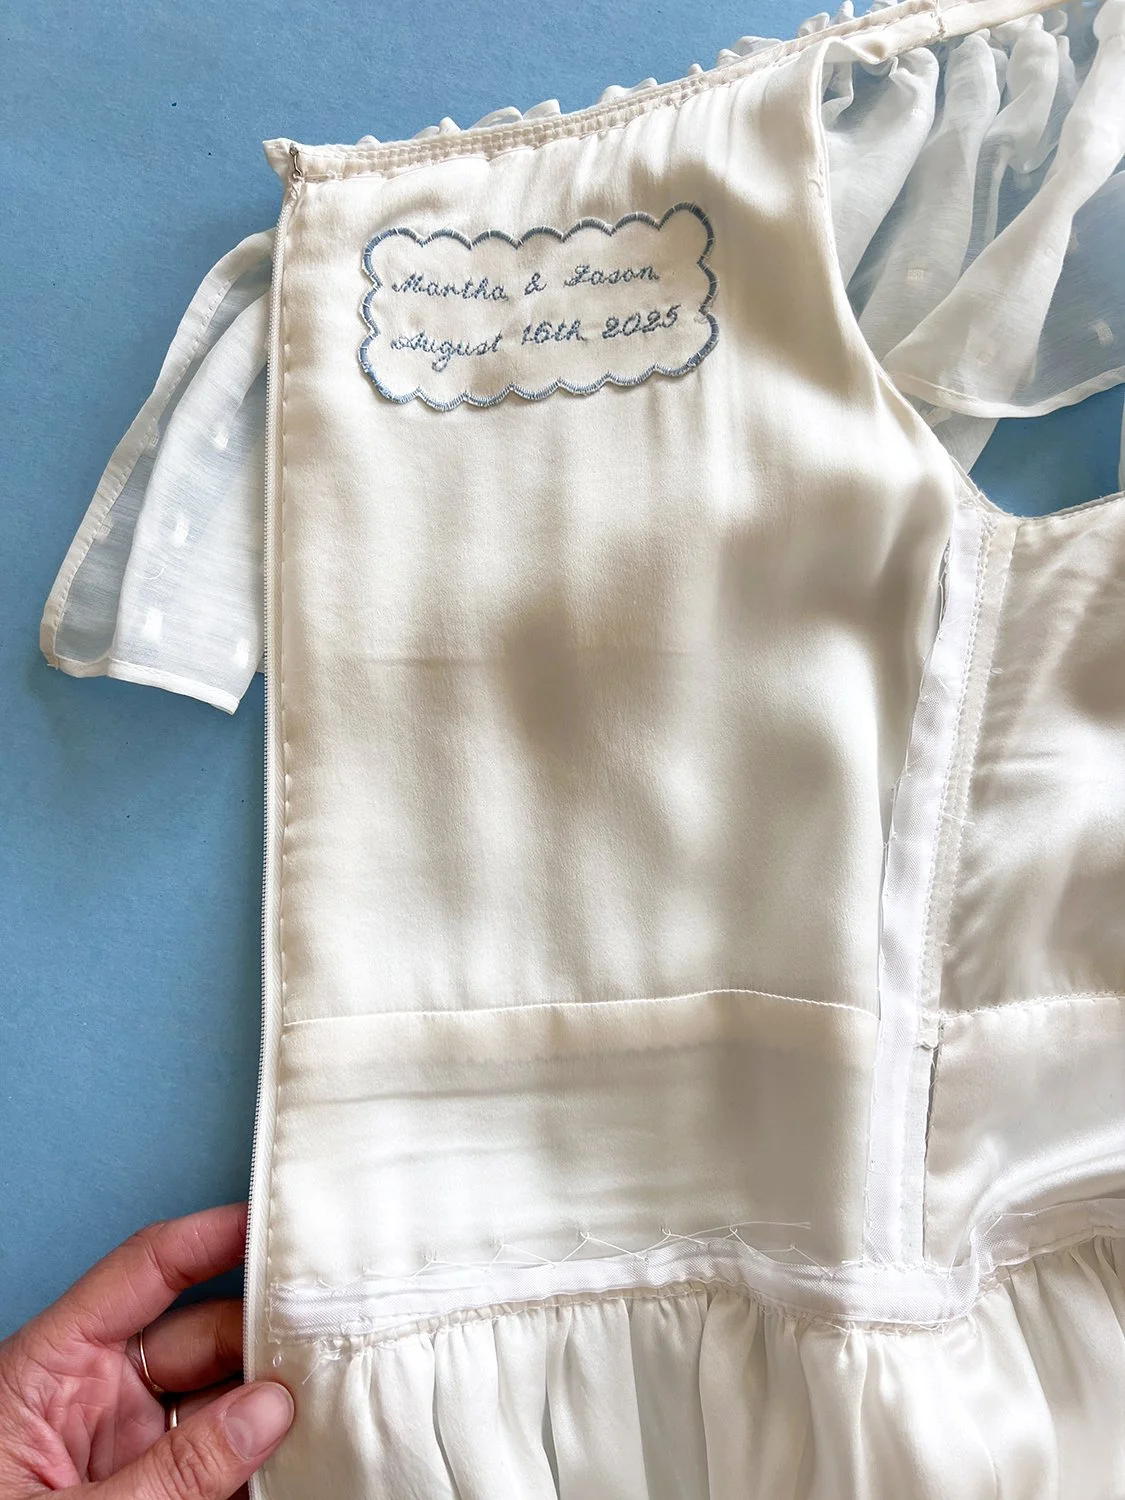
These photos were taken after the wedding. You can see how things have gotten a little roughed up inside - I catch stitched it so the seam binding could move without showing on the exterior of the dress, which is what happened. I added seam binding to the waist because the seam felt a little irritating against my skin, and the binding smoothed it out. Worked great.
BONING:
I added spiral steel boning at the side seams. I could have also added it at center back on either side of the zipper, and also to the front midriff, but I wanted the dress to feel soft.
For the record, spiral steel boning, in spite of the tough sounding name, is quite soft and flexible within a garment. I’m fine with the amount of boning I added, but maybe if I did it again, I’d add more.

My second practice dress - after trying this on, I knew I had my fit dialed in. So I moved on to my final dress, leaving this one unfinished. At some point, I will re-do this zipper and finish off the dress!
NOTES ON MUSLIN FITTING:
Almost all of my fitting energy for this project went towards the bodice. I needed to dial in the bust, midriff, neckline, and especially the strap length and positioning on my shoulder. After making three muslins, I sewed my first practice dress in silk CDC.
I was not totally satisfied with the fit, which was disheartening, but this reminded me of the importance of adding a skirt to a muslin, as the weight of the skirt pulls things down and provides more information than a bodice alone.
I made a fourth muslin, and then a second practice dress in handkerchief linen (silk would have been ideal, but I used what I had on hand). I was finally happy with the fit!

Layers of fabric basted together with silk thread. The basting was removed after construction.
FABRIC LAYERS:
After all that bodice fitting, I still needed to sort out what fabrics I would use, and where. I needed the dress to be opaque, which required three layers of my diaphanous silks. In the end I landed on: Swiss dot, underlined in silk habutai, and lined in silk charmeuse. All layers were basted together with big, loose hand stitches using silk thread that wasn't removed until after the bodice was fully assembled.

The invisible zipper is pinned into place before hand sewing it in place.
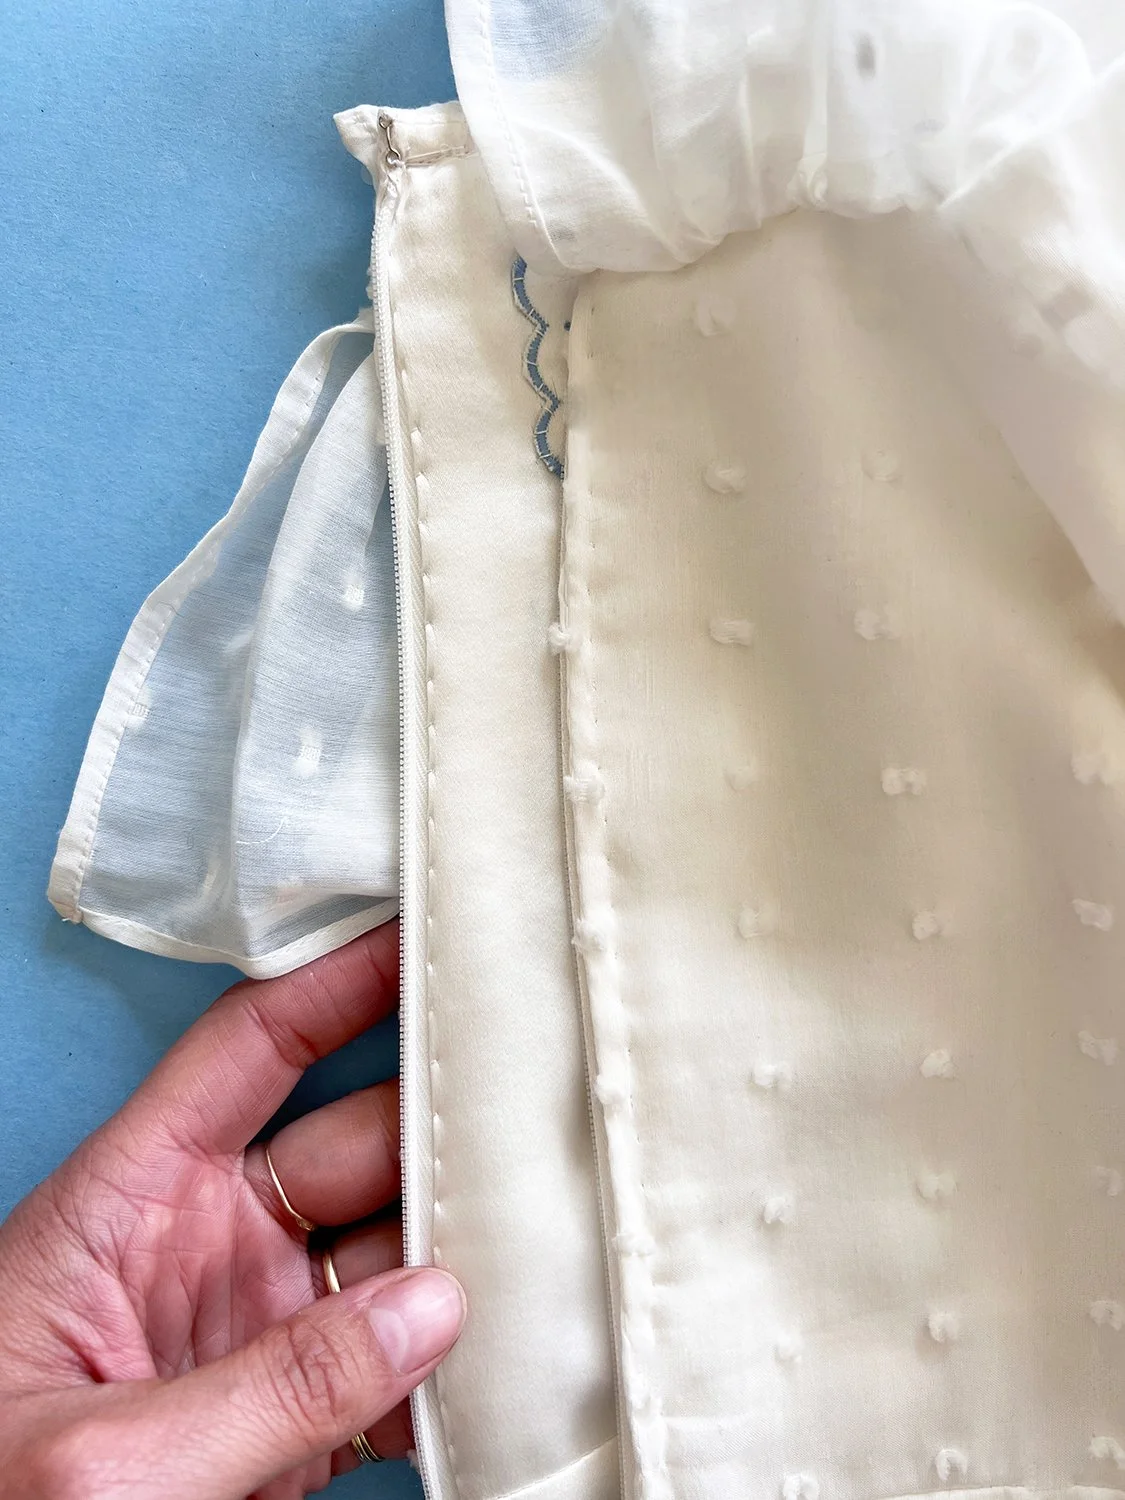
The finished zipper: inside is on the left, outside is on the right.
INTERFACING:
I avoided fusible interfacing for this project, which is sort purist of me - I usually don’t mind using fusible on silk. In retrospect, adding a layer of fusible would have supported the midriff piece better than a sew-in interfacing could. My fashion fabric is desperate to warp and droop, and even a very light, sheer fusible interfacing would provided body and structure. Not adding it is my only regret with this dress!
So did I use any interfacing? Yes, the invisible is supported with strips of silk organza. I hand sewed in the zipper using a pick stitch. I contemplated using my invisible zipper foot, but with three layers of shifty silk, plus the organza, I could see it going sideways fast, and unpicking this fabric is a guaranteed disaster.
Attaching the skirt was a big moment! I literally had nightmares that I forgot this step, and my skirt fell off on my wedding day. You can see here that I still had elastic in my straps - but I hated it! I eventually removed those straps and re-made them, as you can see in another photo in this post.
THE SKIRT:
In my next post, I'll talk about the modifications I made to the skirt pattern and the sash, and walk through the layers of fabric used. The layers of material create the drama and magic of this dress!
XO, Martha