Shirred Success! I made another shirred dress using Vintage Butterick 6355

I’ve been in a bit of a…. lull? with my sewing. I’ve been sewing, but I have a few lingering unfinished projects or out of season garments in the works, and it’s been dragging me down a bit. I’ve also felt a mental block around writing blog posts. Luckily, this project seems to have knocked down some walls and my productivity is returning.
A few weeks ago, Storrs London asked me if I’d like to select a fabric as a gift, they would send it to me with no obligations. I’ve purchased fabric from them before, so I knew I absolutely love the quality of their cotton lawn. I immediately said yes, and selected this print from their offerings. If you like Liberty Tana lawn, this is a very similar quality - excellent smooth hand and drape, doesn’t wrinkle when washed. Very high quality and the prints are gorgeous!
When the fabric arrived in the mail, I knew what had to happen: it would become my birthday dress.

Up close! The sleeves and hem are hemmed using my rolled hem foot for a delicate finish.
Exactly a year ago, I purchased a different print from Storrs to make a shirred dress with vintage Butterick 6355. I liked it so much, I immediately sewed a second one using a Liberty Tana lawn. In the year that has passed,I have worn both dresses on heavy rotation.
I prefer to wear woven dresses, and cotton lawn is maybe my favorite fabric to work with, but I also like the forgiving feeling of stretch. Shirring hits that sweet spot of feeling crisp yet stretchy. You can wear it all day and feel as unrestricted as you would in a knit.

My copy of Vintage Butterick 6355. The envelope is a little battered and the instructions are brittle, but the tissue is in great shape.
I love this pattern, but I want to be clear: I don’t recommend it unless you are comfortable modifying pattern pieces, disregarding instructions when you know they won’t give you the best result, and already know how to shirr (the pattern assumes you are already familiar with the technique). I’ve written more about the pattern in my previous posts about it, but I viewed it with fresh eyes when I used the pattern again.
The bodice pieces are great - I love having a shirred bodice that is not a rectangle - and there are tissue pieces that act as templates to ensure your fabric is shrinking the correct amount (these are very useful). But the methods outlined in the instructions include unnecessary work and they waste fabric. If you’re an intermediate sewer, you’ll be able to look at everything and decide what to use and what to skip.


To use this pattern, you’ll need to already know how to shirr. The instructions simply tell you to shirr, and to follow the instructions on the packaging of your elastic thread. I've only ever bought it as a spool labeled "elastic thread", but maybe it used to come with instructions at the time of publishing (early 1970s).
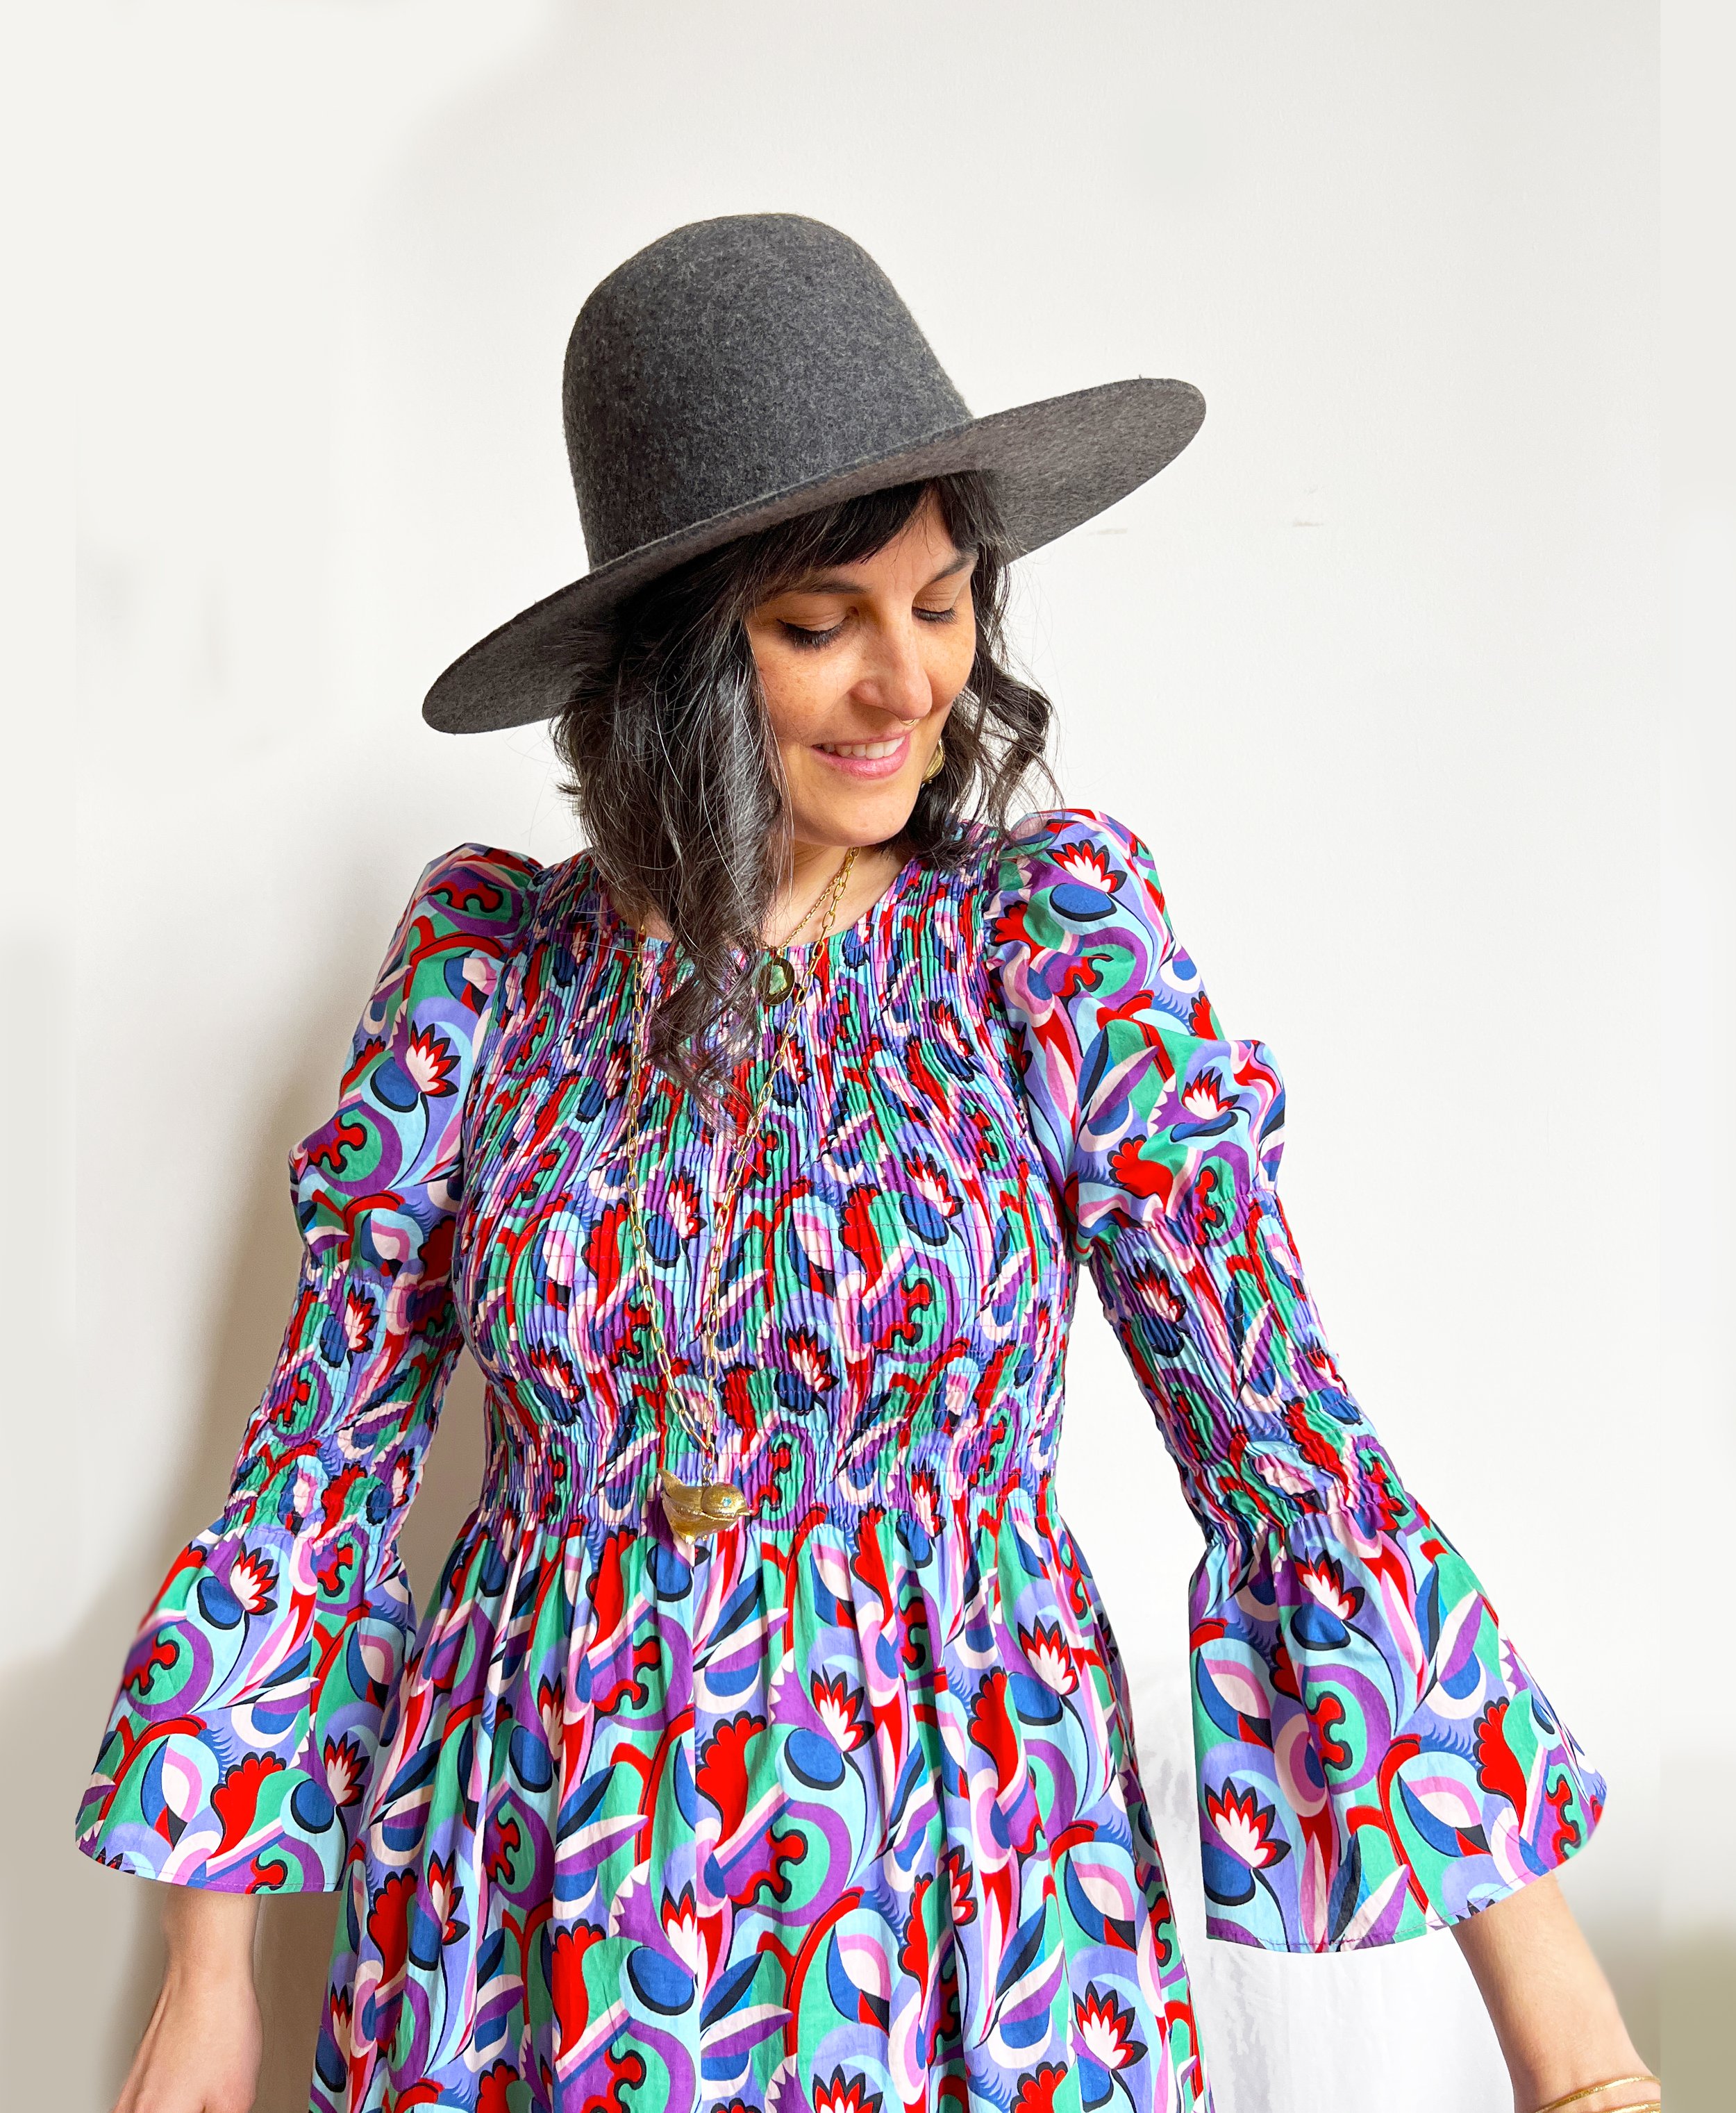
The pattern includes markings to sew rows of shirring, spaced 3/4” apart. For this version, I spaced them 3/8” apart, and the cotton lawn gathered up beautifully. Since this is almost twice as much elastic in the bodice, it fits more tightly than my other versions, but it’s still very comfortable.

Paired with my favorite hat and velvet shoes from Loeffler Randall.
For this version of the pattern, I added a big ruffle at the hem. I modified the sleeve as I had done for my previous version, and then shortened the sleeves 6” from there.
I kept the original neckline, but replaced the pattern’s facings with bias tape (as I did with my two previous versions).

The sleeve head inside of the sleeve.
The sleeves included with the pattern are so fun! I especially love the longer version. It is a sleeve that can lose it’s puff at the shoulder, so I added a sleeve head. I cut the sleeve head on the bias and used a poly/cotton blend that has a bit of bounce to it. Works perfectly!
The shortened sleeves allow me to enjoy the bell shape, but keep my sleeves out of my soup.
This dress was a simple and quick project for me, but the print and the sleeves make it high impact. I am so looking forward to wearing this on my birthday at the end of the month. After that special first wearing, I’m sure I’ll be wearing it whenever possible!
This project has inspired me and reminded me that my first and greatest sewing love is dressmaking. My spirit is lifted, and I’m hoping to keep this momentum, so stay tuned for more blog posts.
XO, Martha