HOW TO REMOVE HEAVY DUTY SNAPS - TUTORIAL Removing Dritz Heavy Duty Snaps
Anyone who has installed hardware knows how much anticipation goes into it: planning the exact placement of each piece, preparing to cut a hole in the center front of an otherwise completed project, hoping you hammer hard enough to set the pieces on the first attempt.
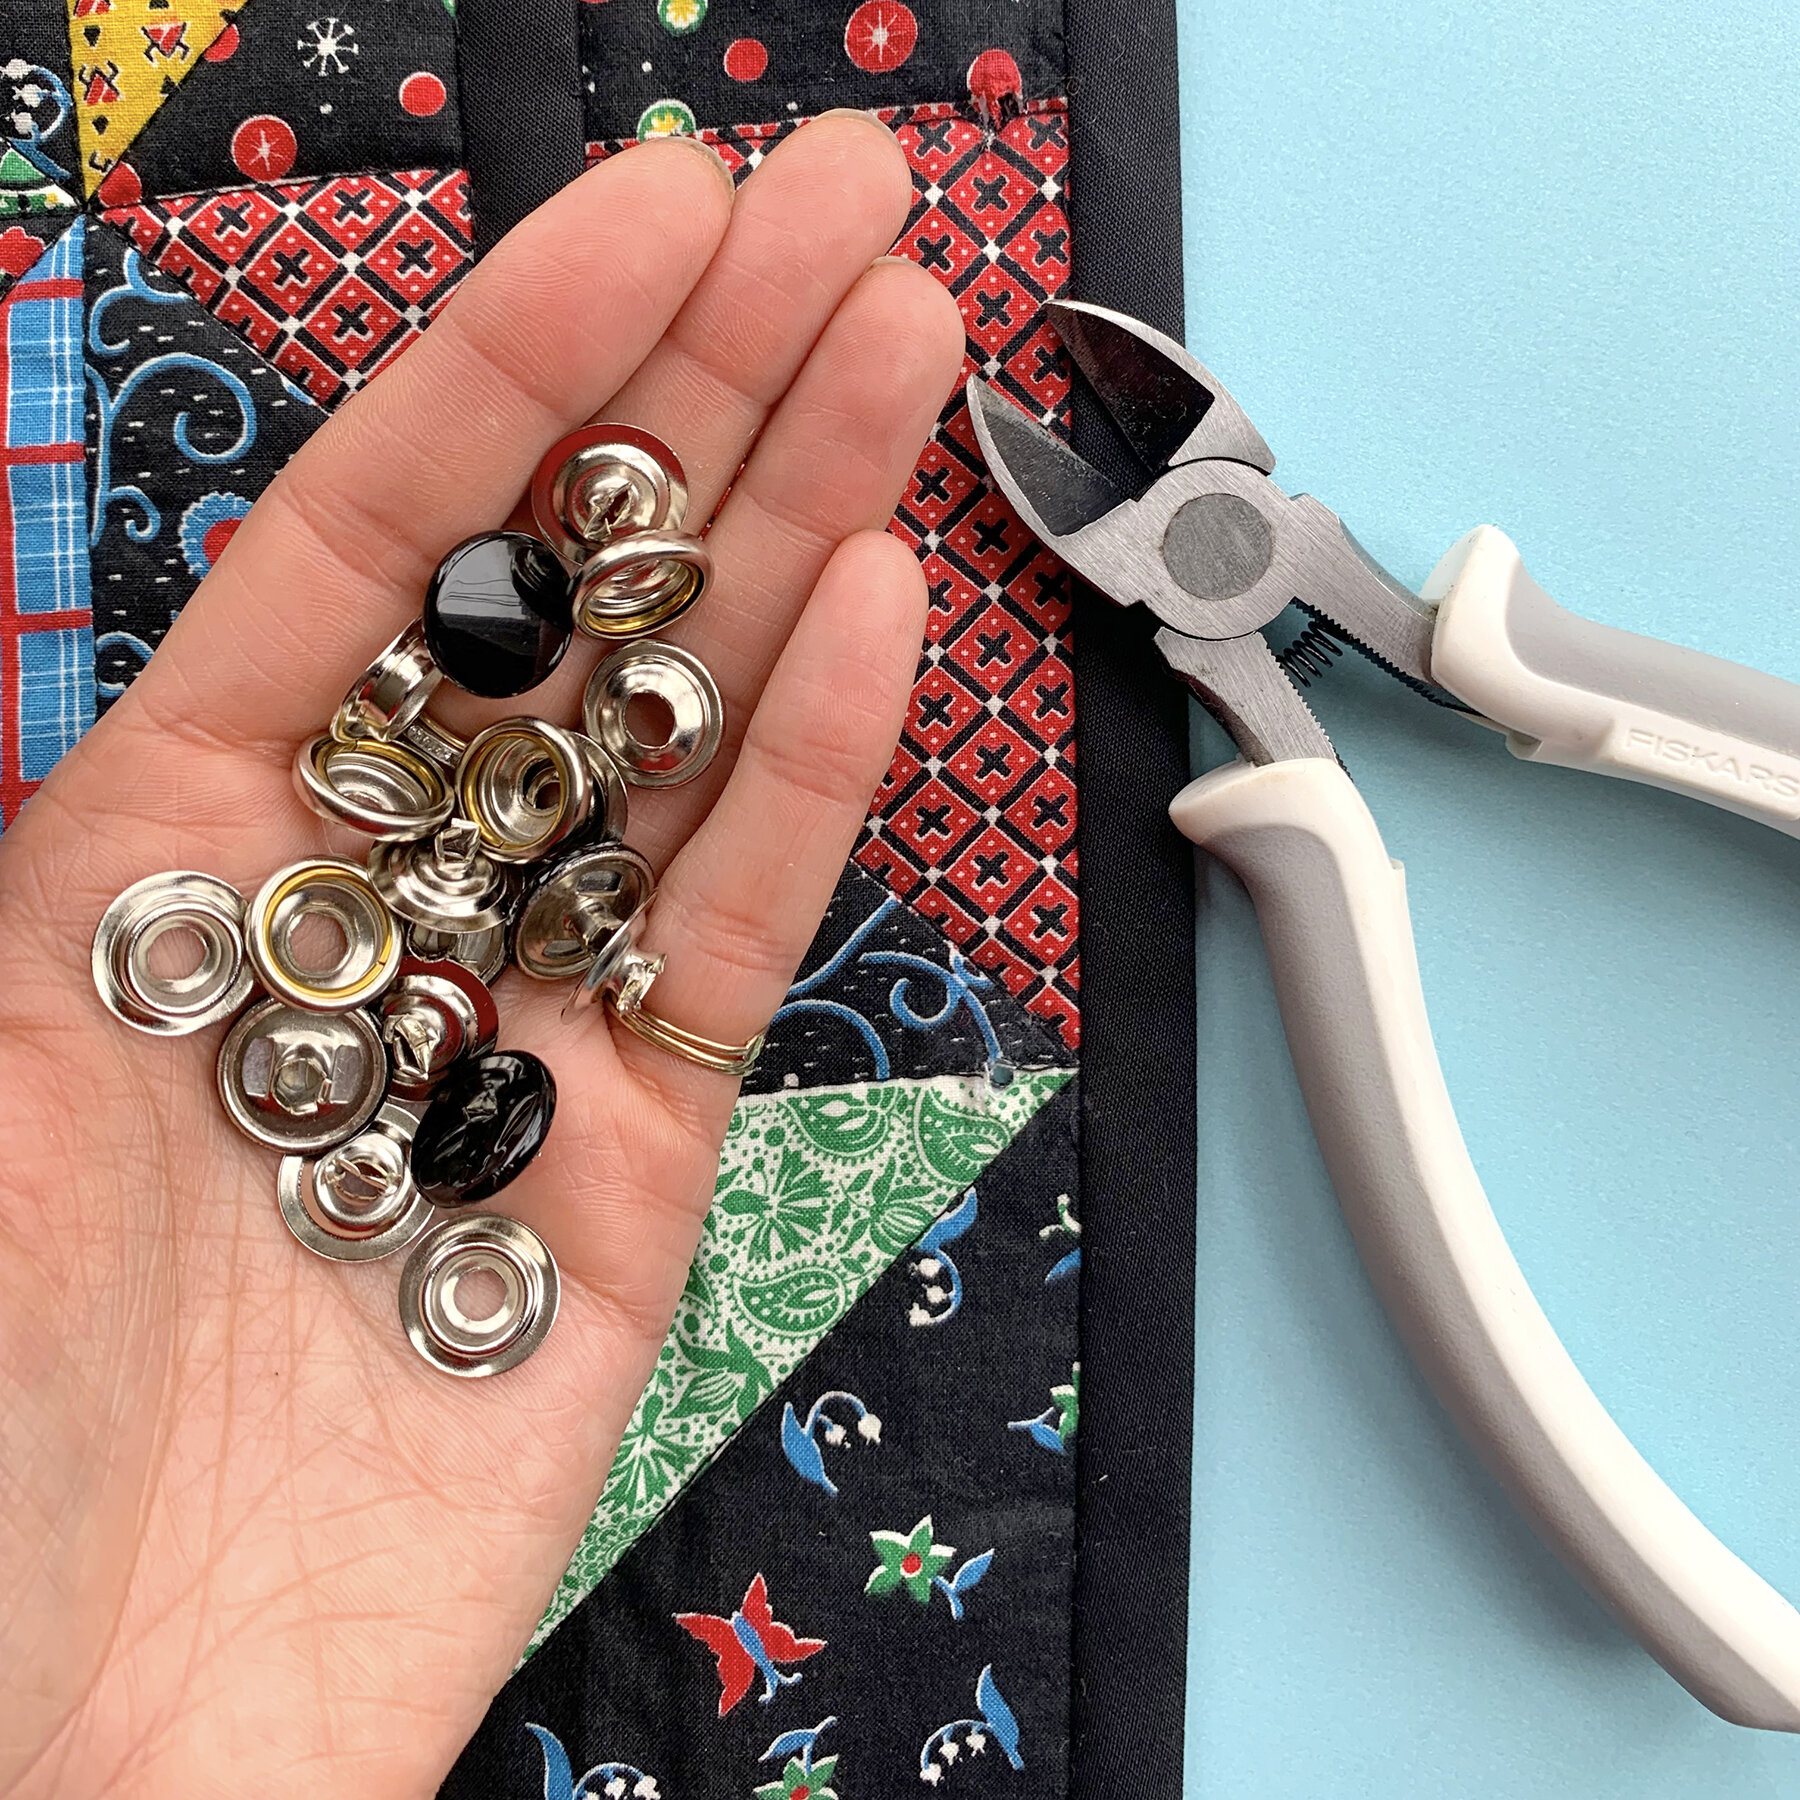
Well, as I shared in my recent post about this cheater quilt quilted jacket, I made my test snaps perfectly, and then mixed up the components when it was time to put snaps on my actual jacket. I installed all 5 sets of my snaps incorrectly (10 pairs of components total). It wasn’t until I completed my hammering and tried on the jacket that my heart sank. What had I done!?
Did you know you can remove heavy duty snaps? I didn’t! But after sharing my blunder on my Instagram stories, I received a lovely direct message form someone who told me she had made the same mistake. She also included a link to this YouTube clip, which demonstrates how to remove snaps! I was nervous to do it, and the video doesn’t include close ups, so I documented the process. I hope you will never need this tutorial. But if you do, take a deep breath, set your project aside for a day or two, and know it can be repaired!
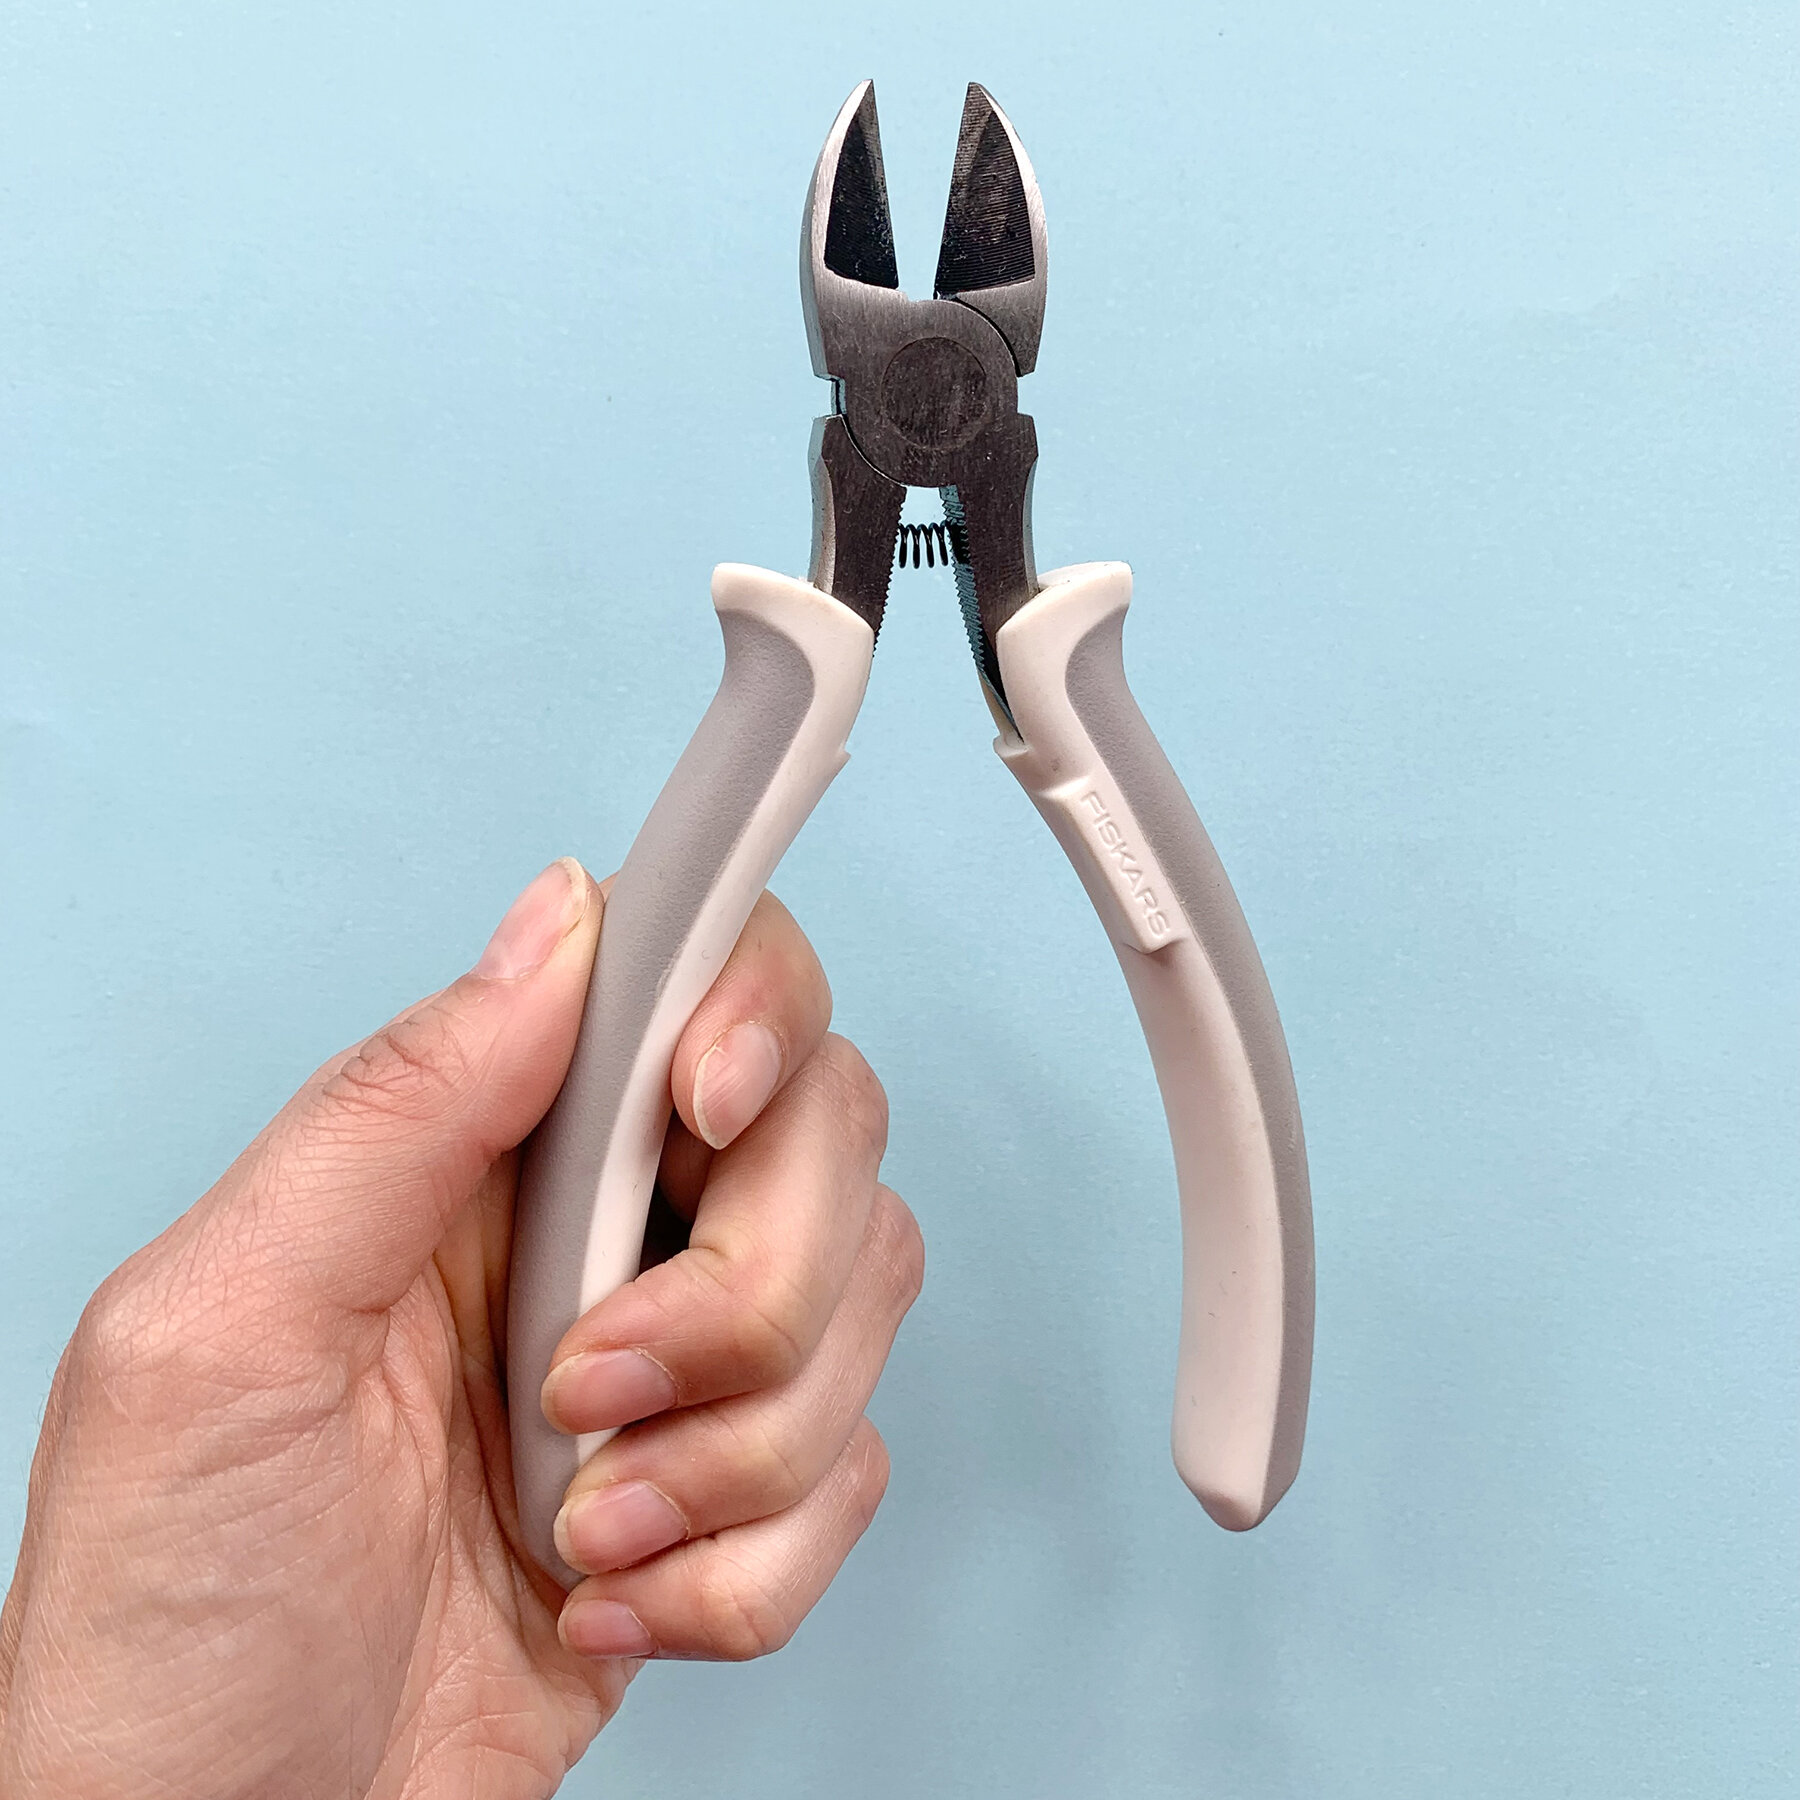
The main thing you will need is patience and a clam state of mind. But also, diagonal pliers - make sure they are clean so they don’t soil your fabric. You will also need replacement snaps, because you cannot re-use any of the components that you remove. I used Dritz Heavy Duty Snaps, but I own other brands, and they are all functionally the same.
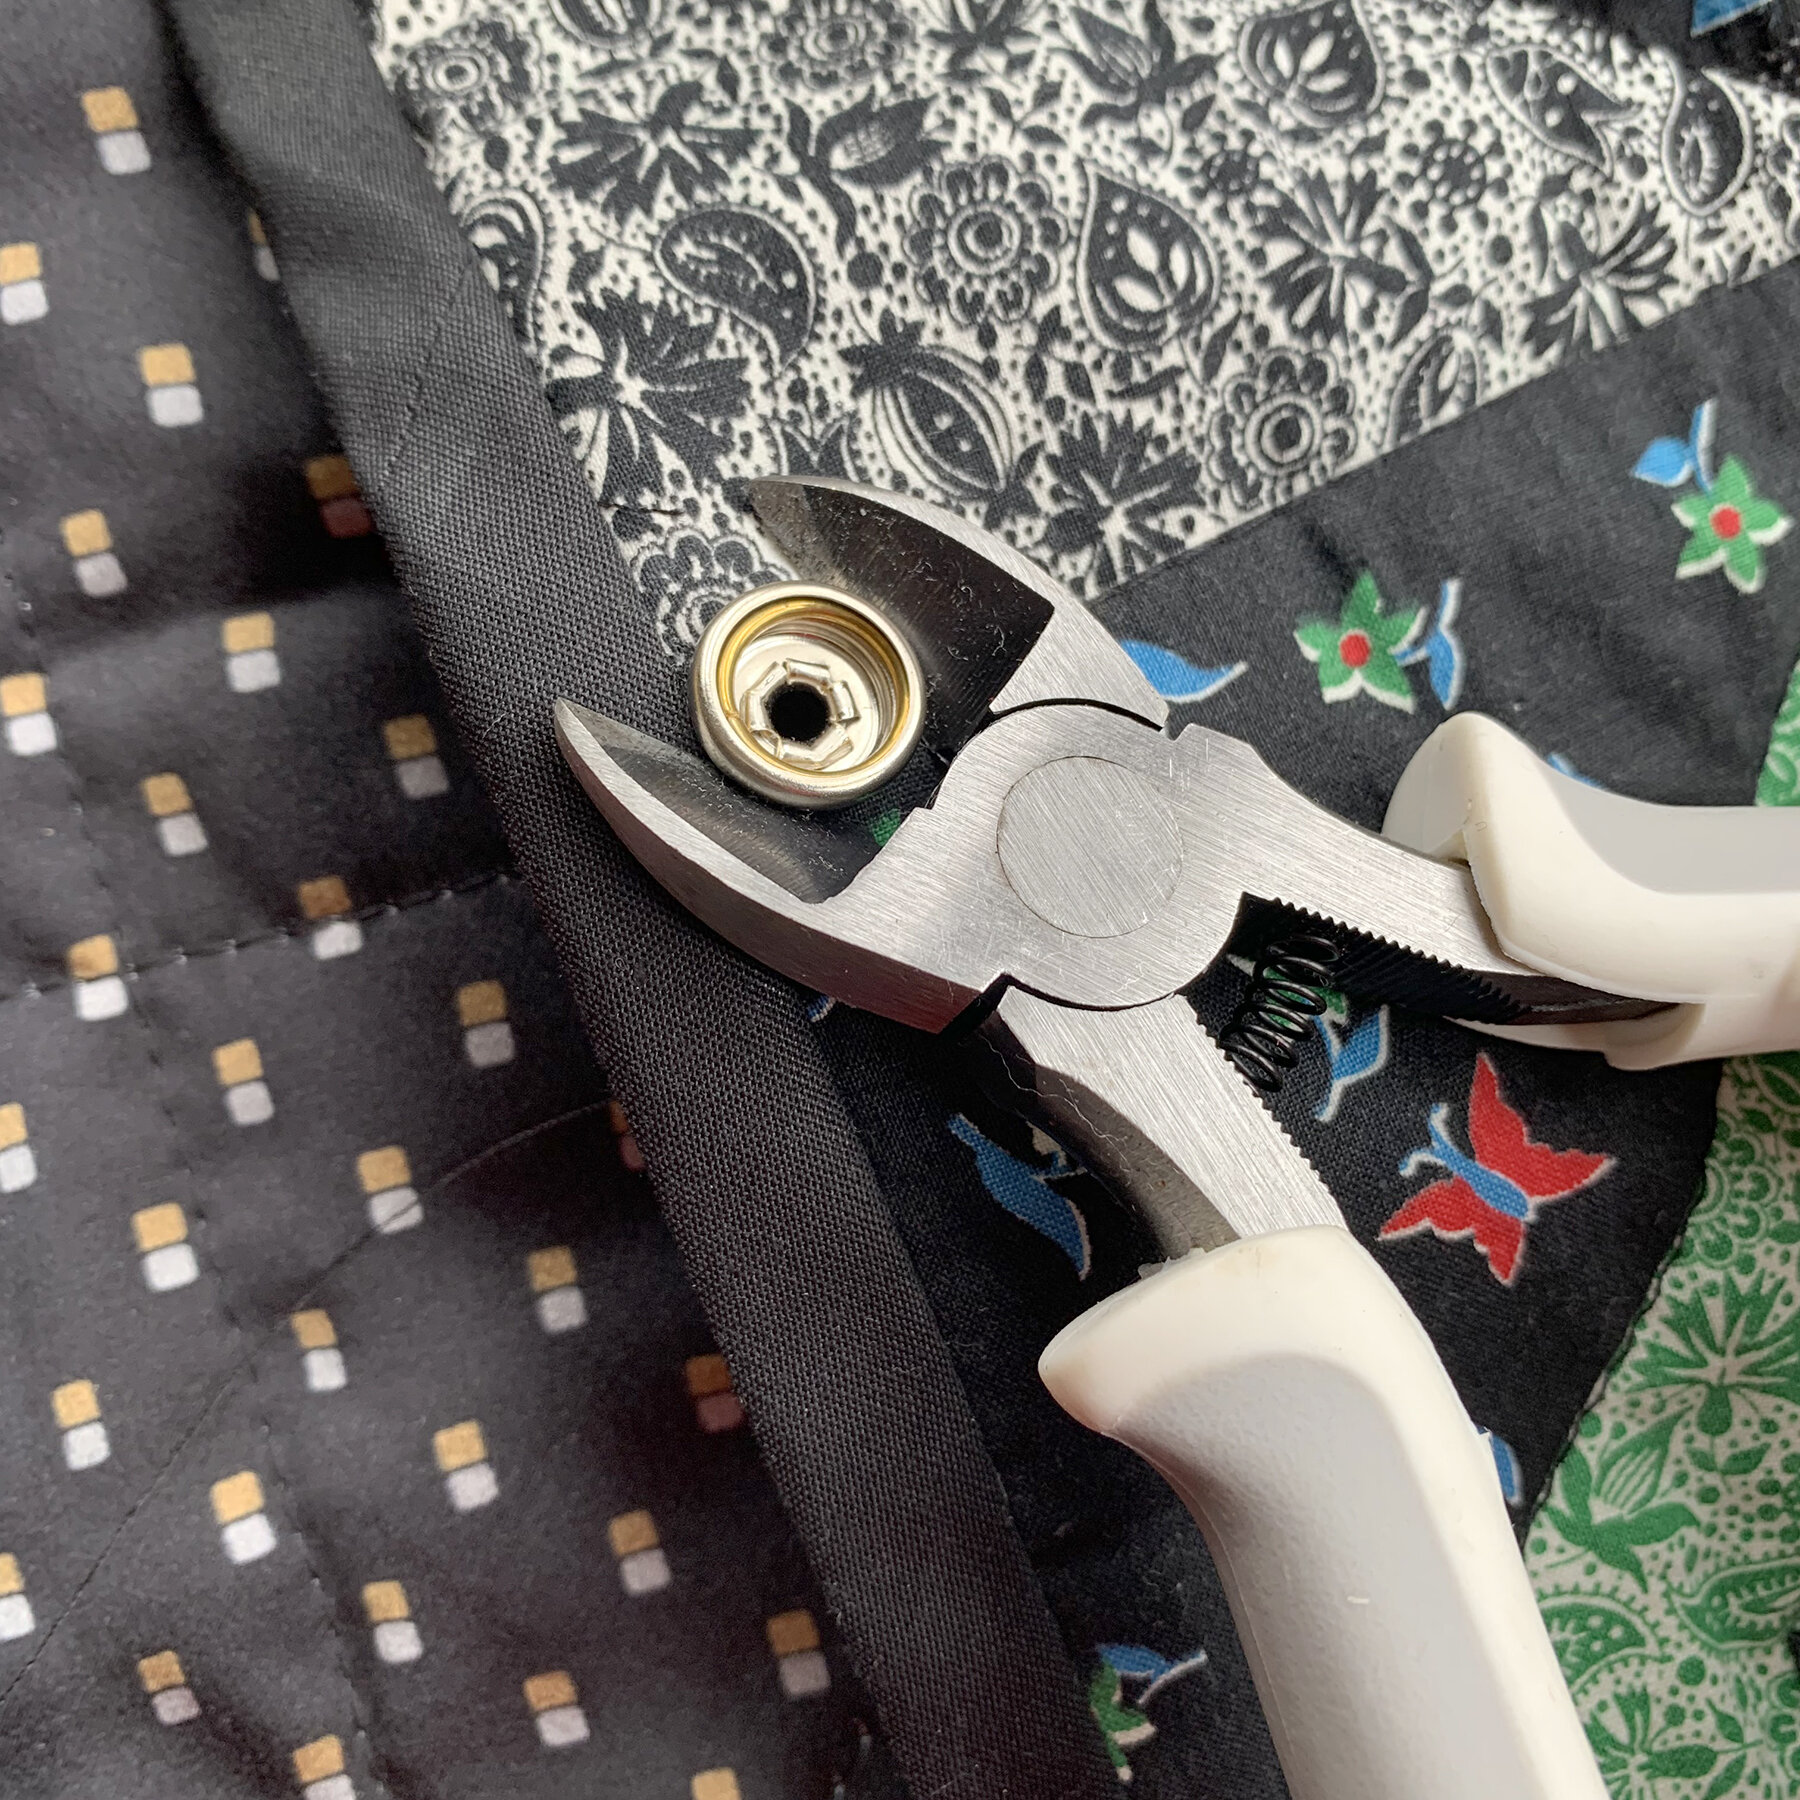
Start slowly! Open the diagonal pliers as wide as possible, and slide the under the snap. You can use your free hand to pull the fabric away from the snap as you do this. Begin to gently squeeze in the pliers.
All my photos are done for one side, but you will use the exact same process, regardless of which pieces you are removing.
Here you can see the snap is starting to curl up. I rotated my pliers to get them underneath all angels. Keep squeezing the pliers, a little tighter and tighter….

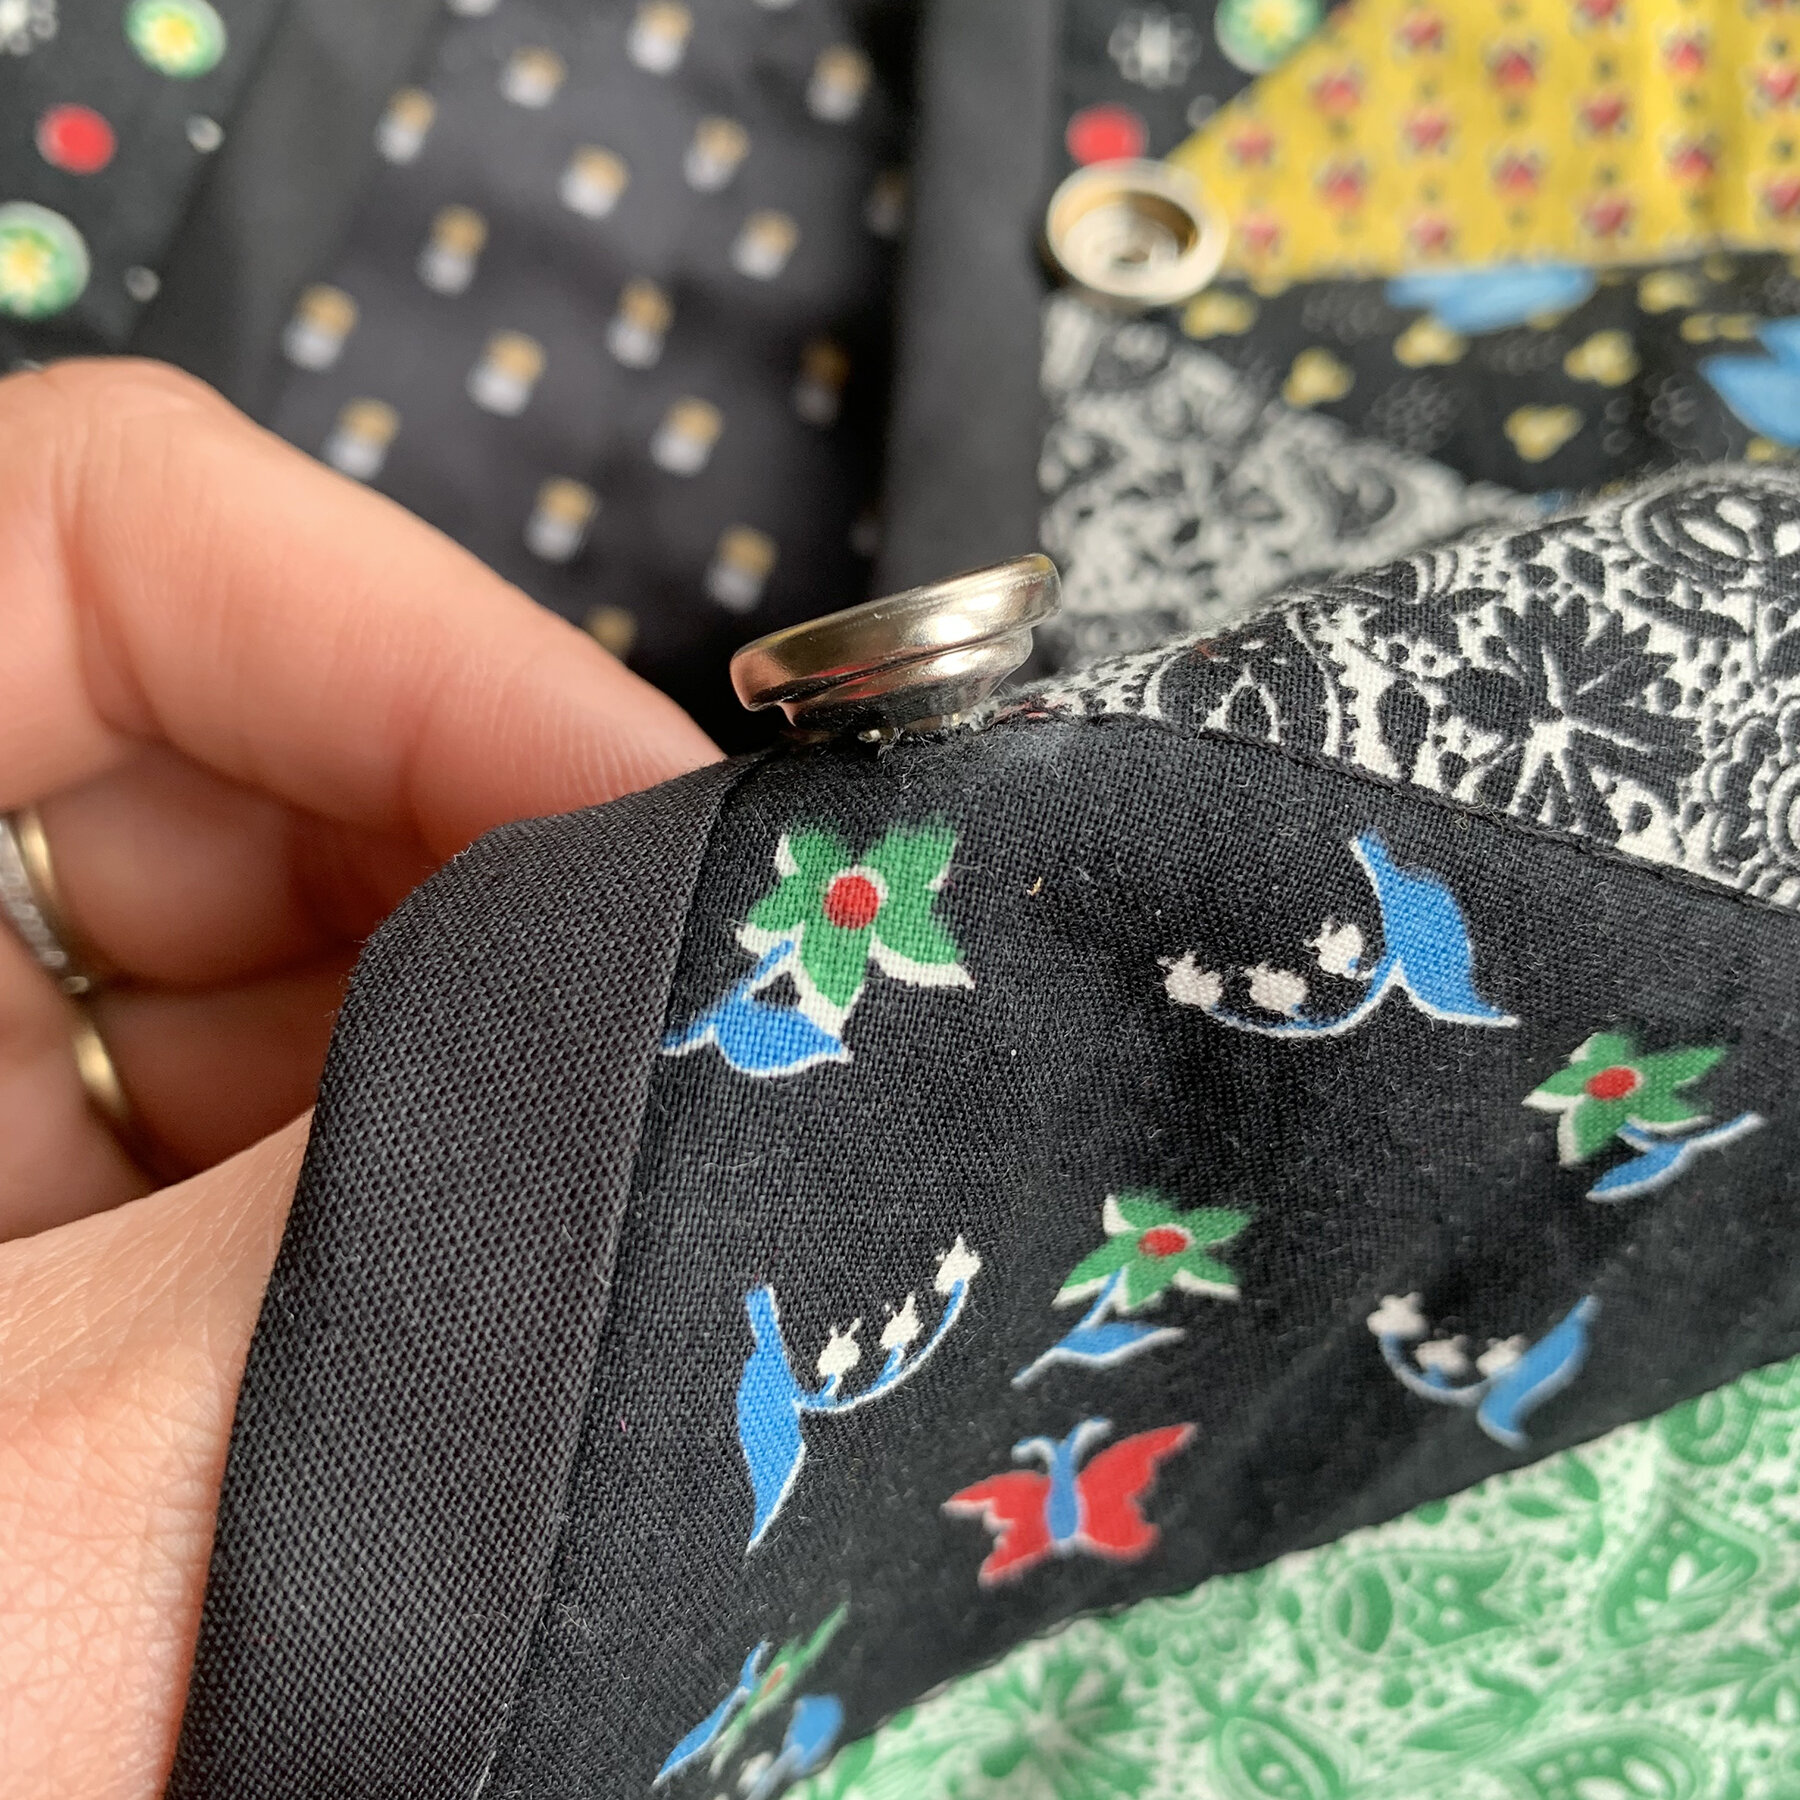
Pop! It doesn’t take long before the top component pops right off! You have clipped through it. Be careful, it might fly across the room when this happens.
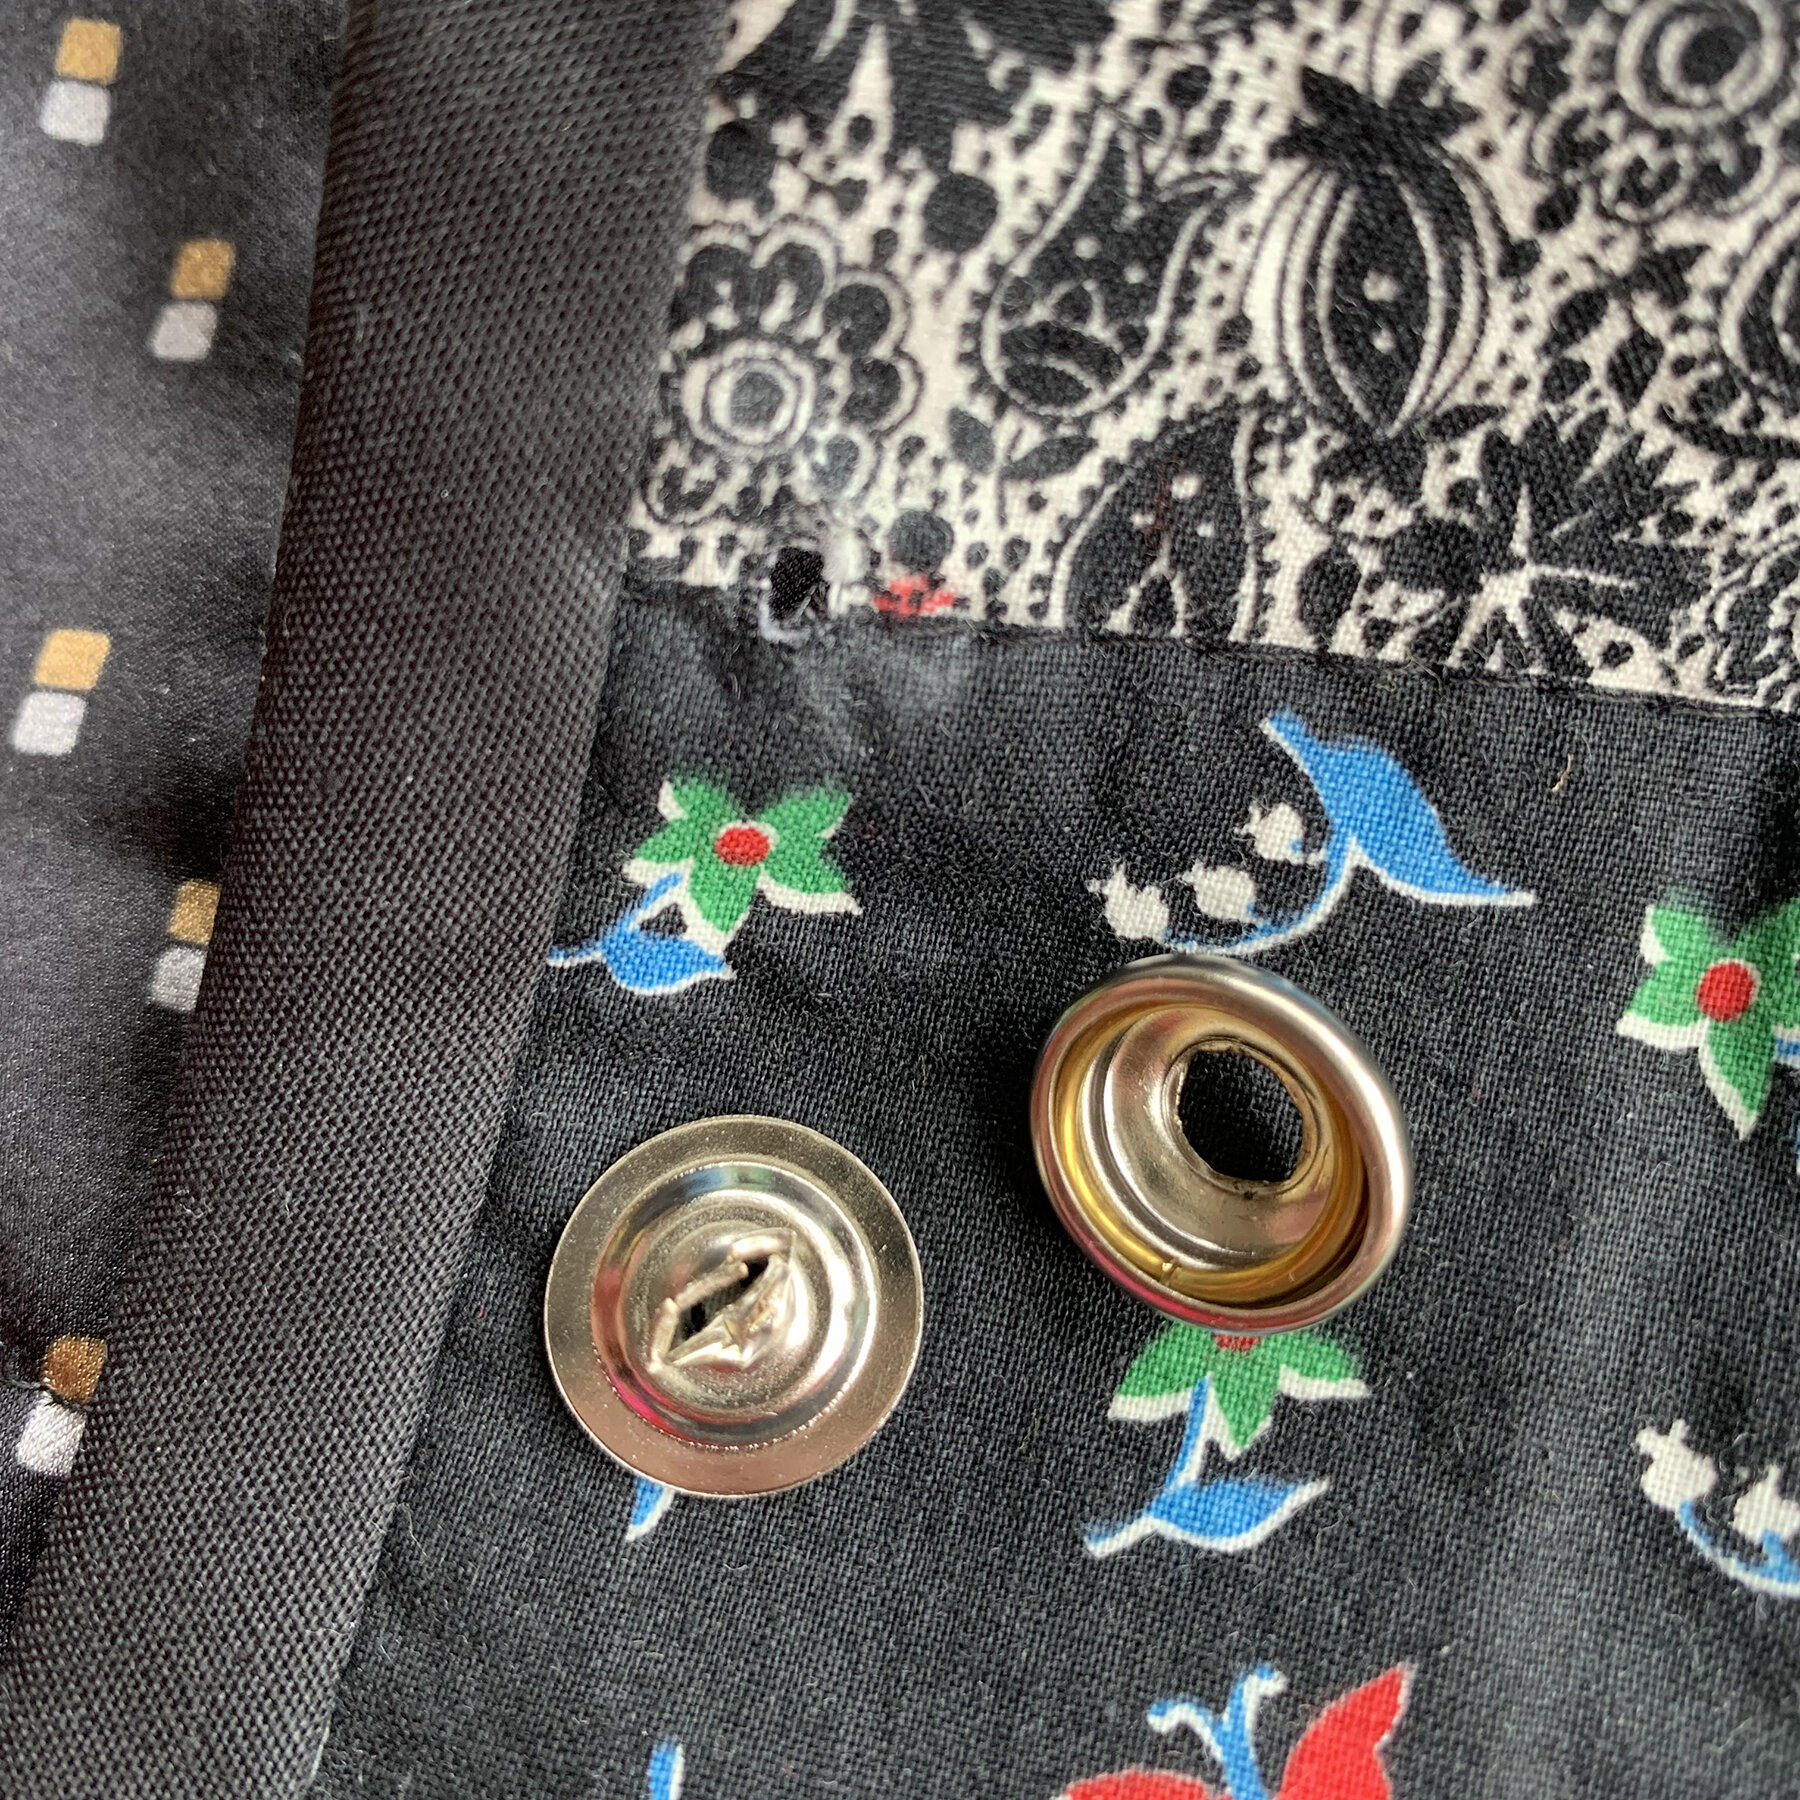
Carefully wiggle out the bottom piece, taking care not to rip or distort your fabric. Discard these components, they are damaged and cannot be reused.

I use a die to punch holes in my fabric, which has been reinforced with fusible interfacing. I think both these things helped the holes hold up through this process.
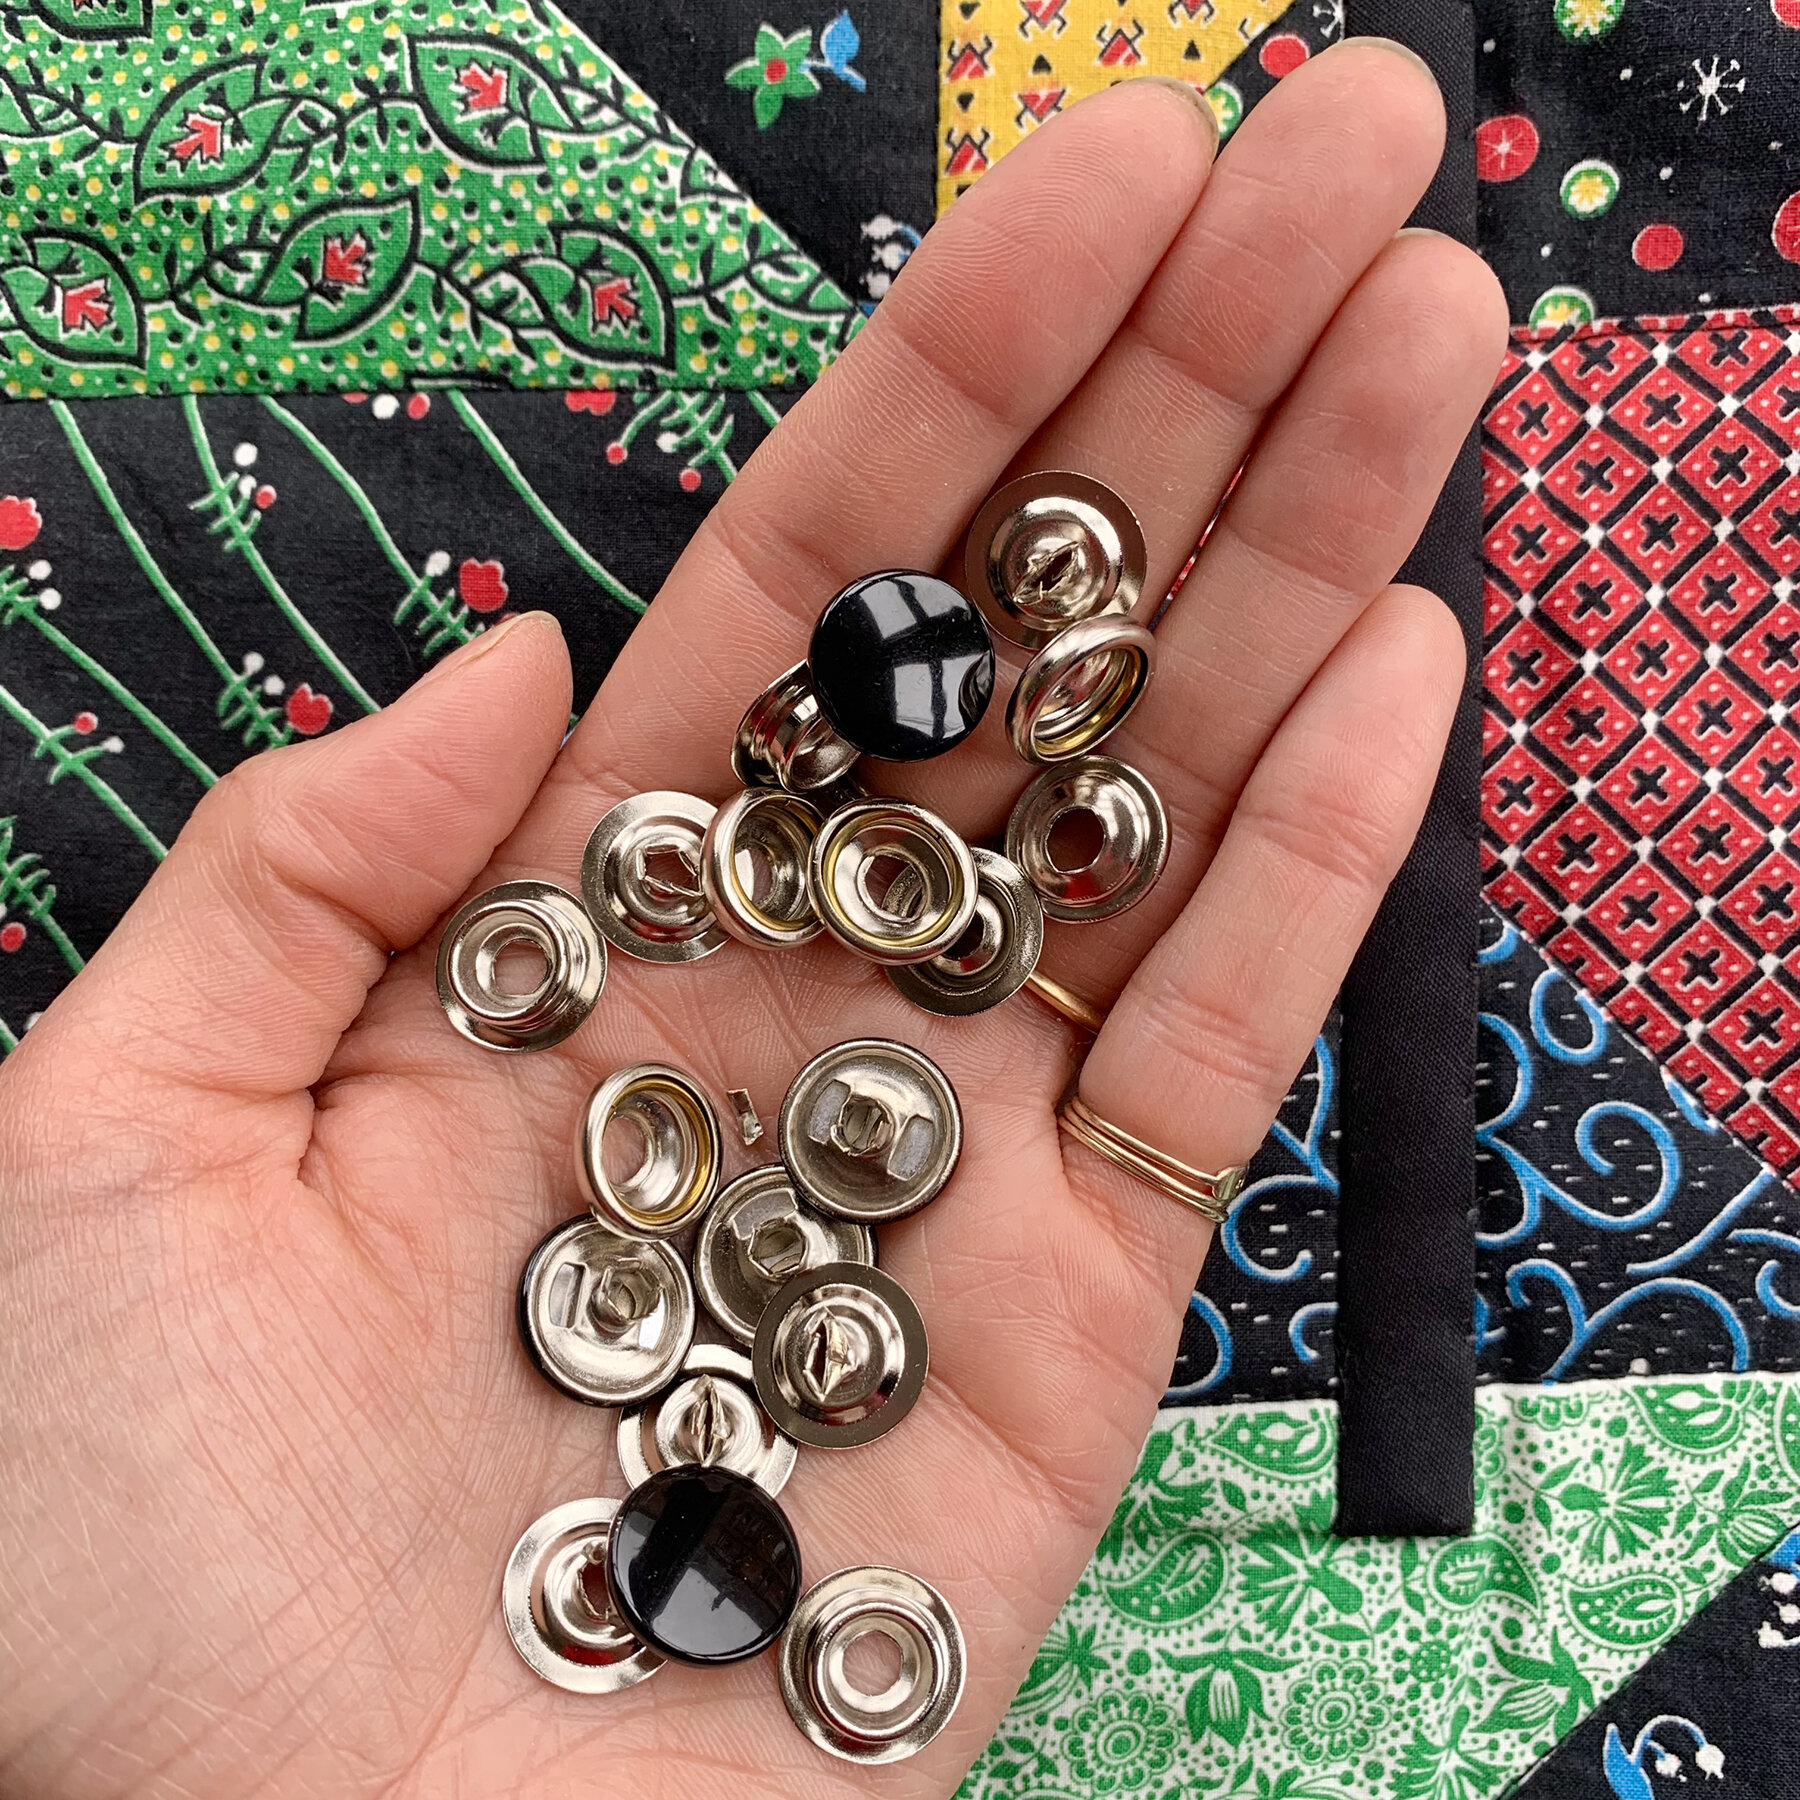
Throw these away! It’s all behind you now!

You can now install new snaps. Correctly! This also works if you lost a snap or one got damaged over time - they are surprisingly easy to replace and repair.
Like I said, I hope you never need this info! But it’s here for you just in case. Happy sewing, and happy snap installing! XO, Martha