HOW TO ATTACH A COLLAR TO A QUILTED JACKET - QUILTED COLLAR TUTORIAL
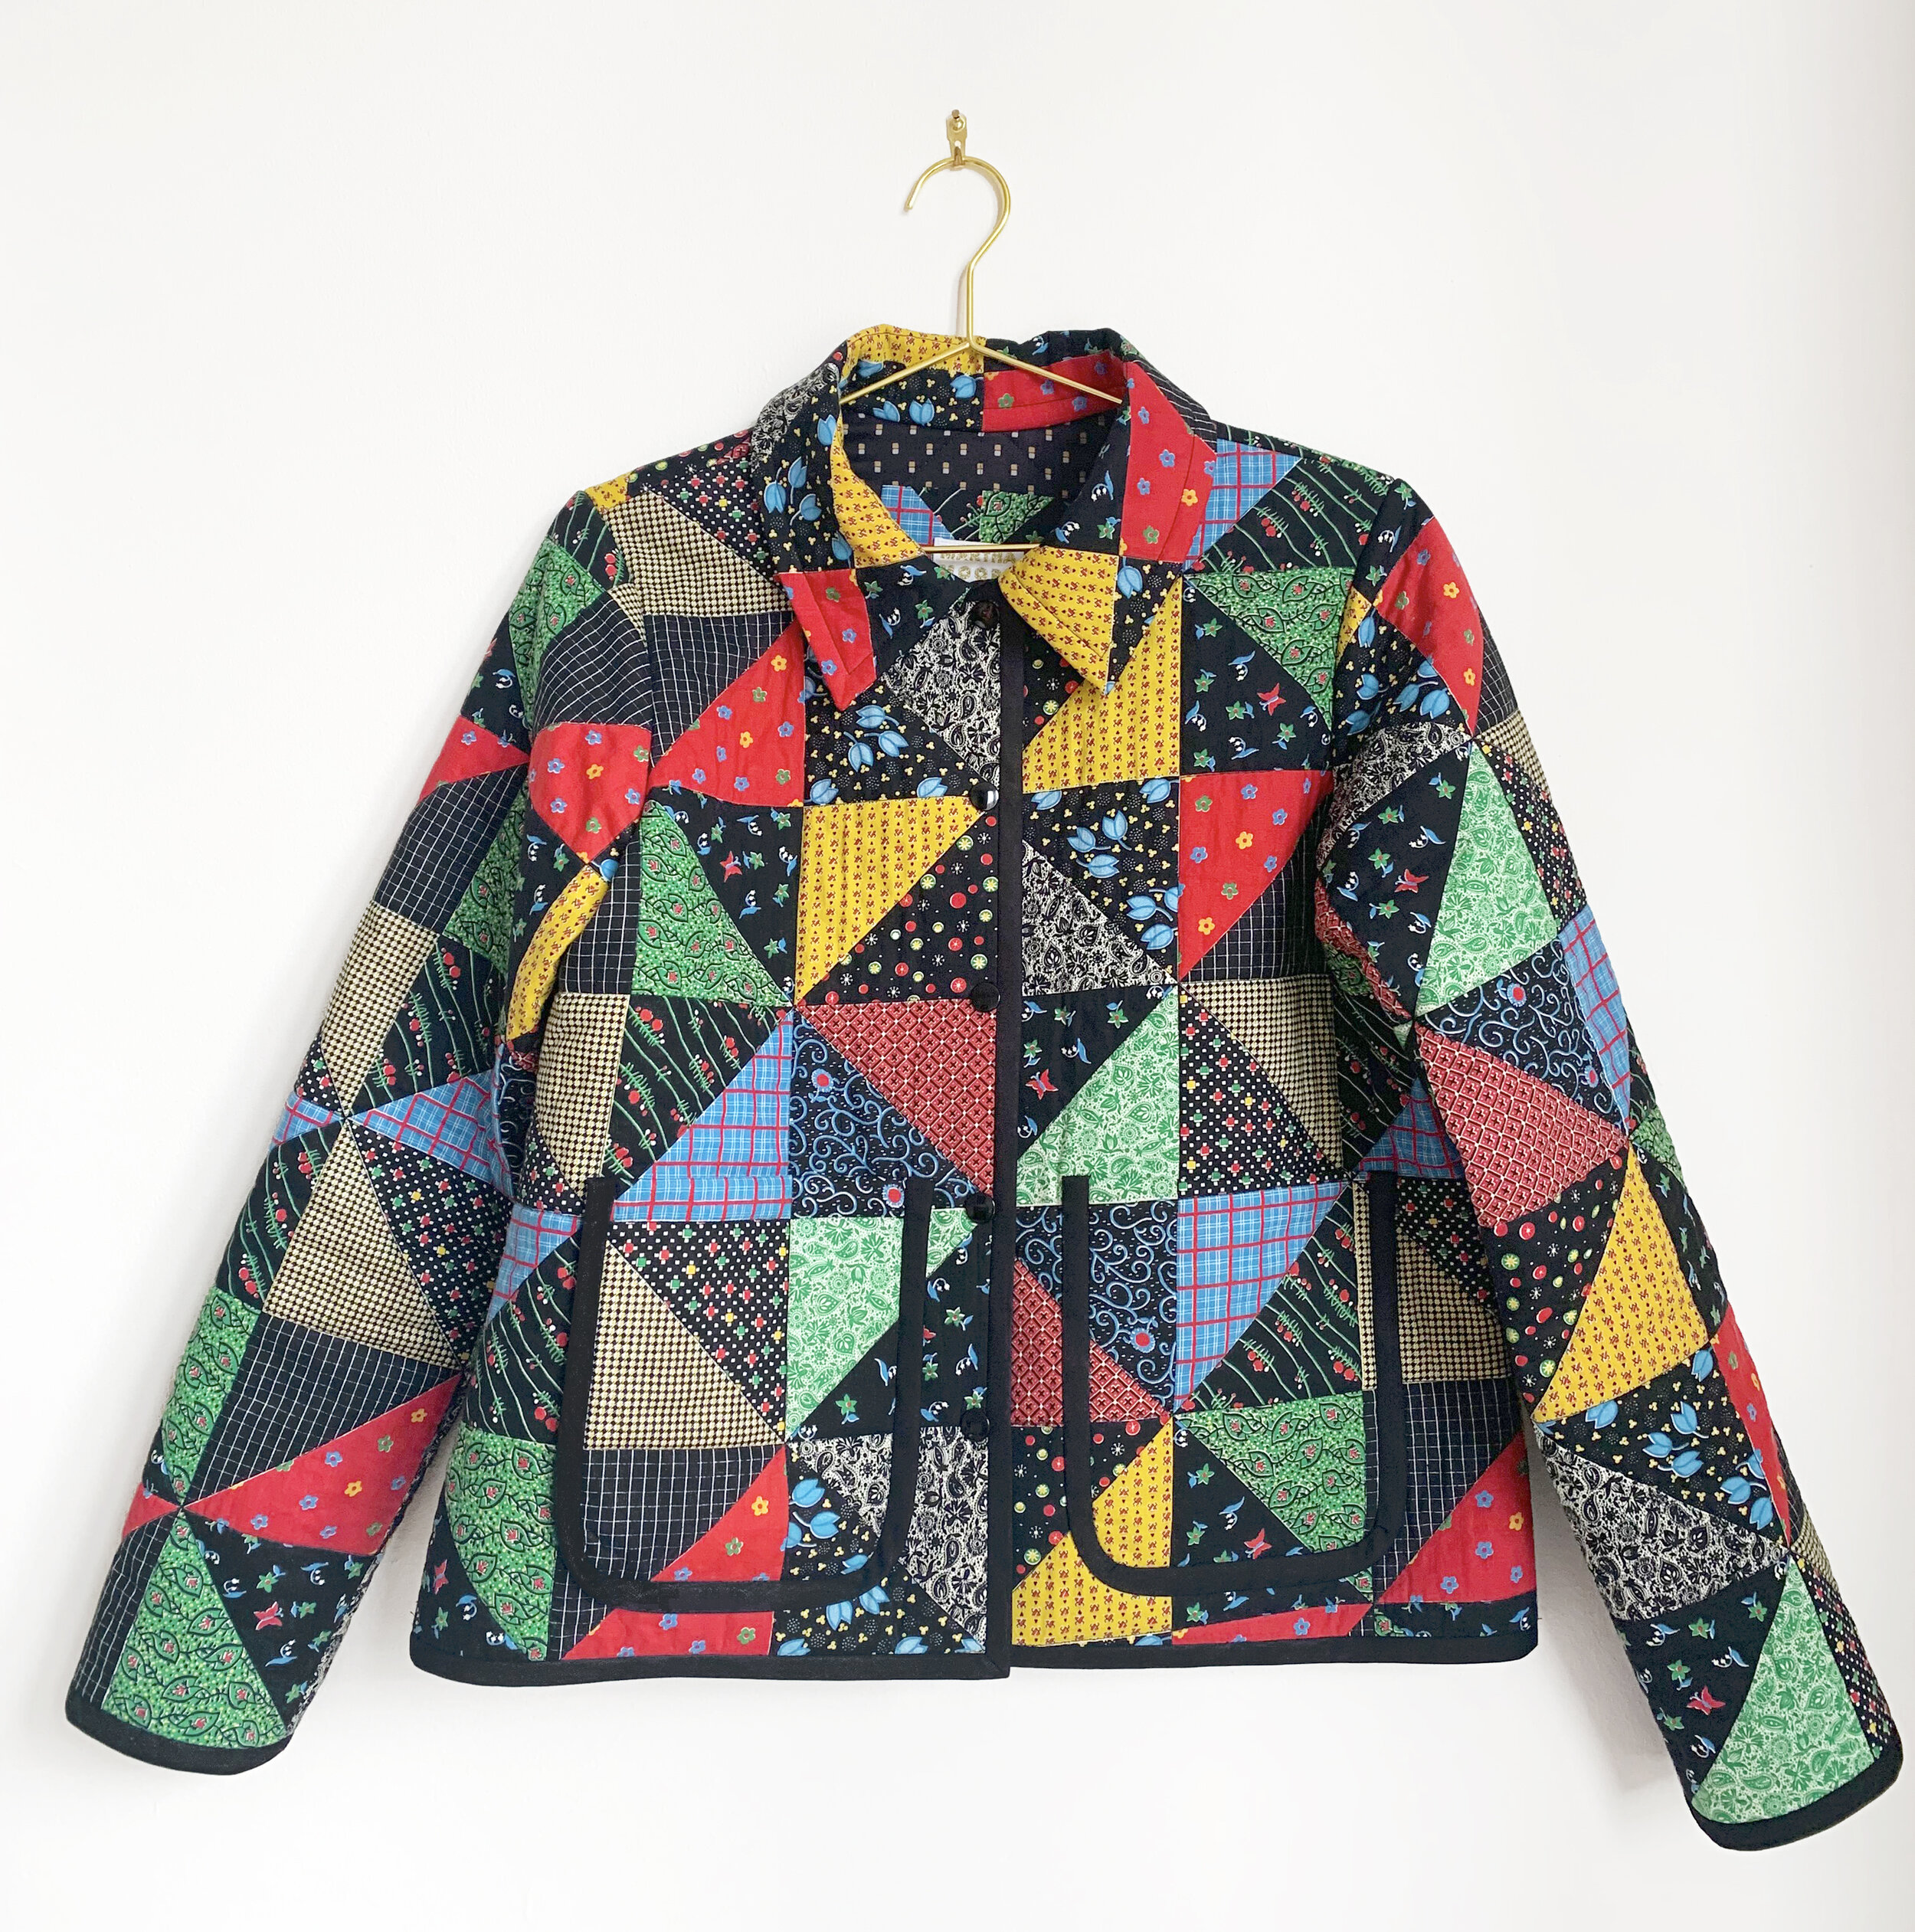
I’ve already written at length about making this cheater cloth quilted coat, as well as the process for my patchwork quilted coat. Both of them have collars. You can read up about the overall process for making each jacket in their respective blog posts, in today’s post, I will focus on how I attach a collar to a quilted jacket.
As mentioned in my other posts, I used two patterns when making these coats: Grainline Studio’s Tamarack Jacket, and the Japanese sewing book Step Up Sewing for the collar. I will not be covering how to draft a collar onto your jacket pattern, so you either need to start with a pattern that includes a collar, or do that pattern hacking yourself first.
If you find this tutorial helpful, please consider making a “tip” to my Kofi account. Any amount is greatly appreciated. Tips help offset the cost of materials used when creating my blog content, as well as helping keep this blog ad free. Thank you & happy sewing!
Without further ado, here it the tutorial:
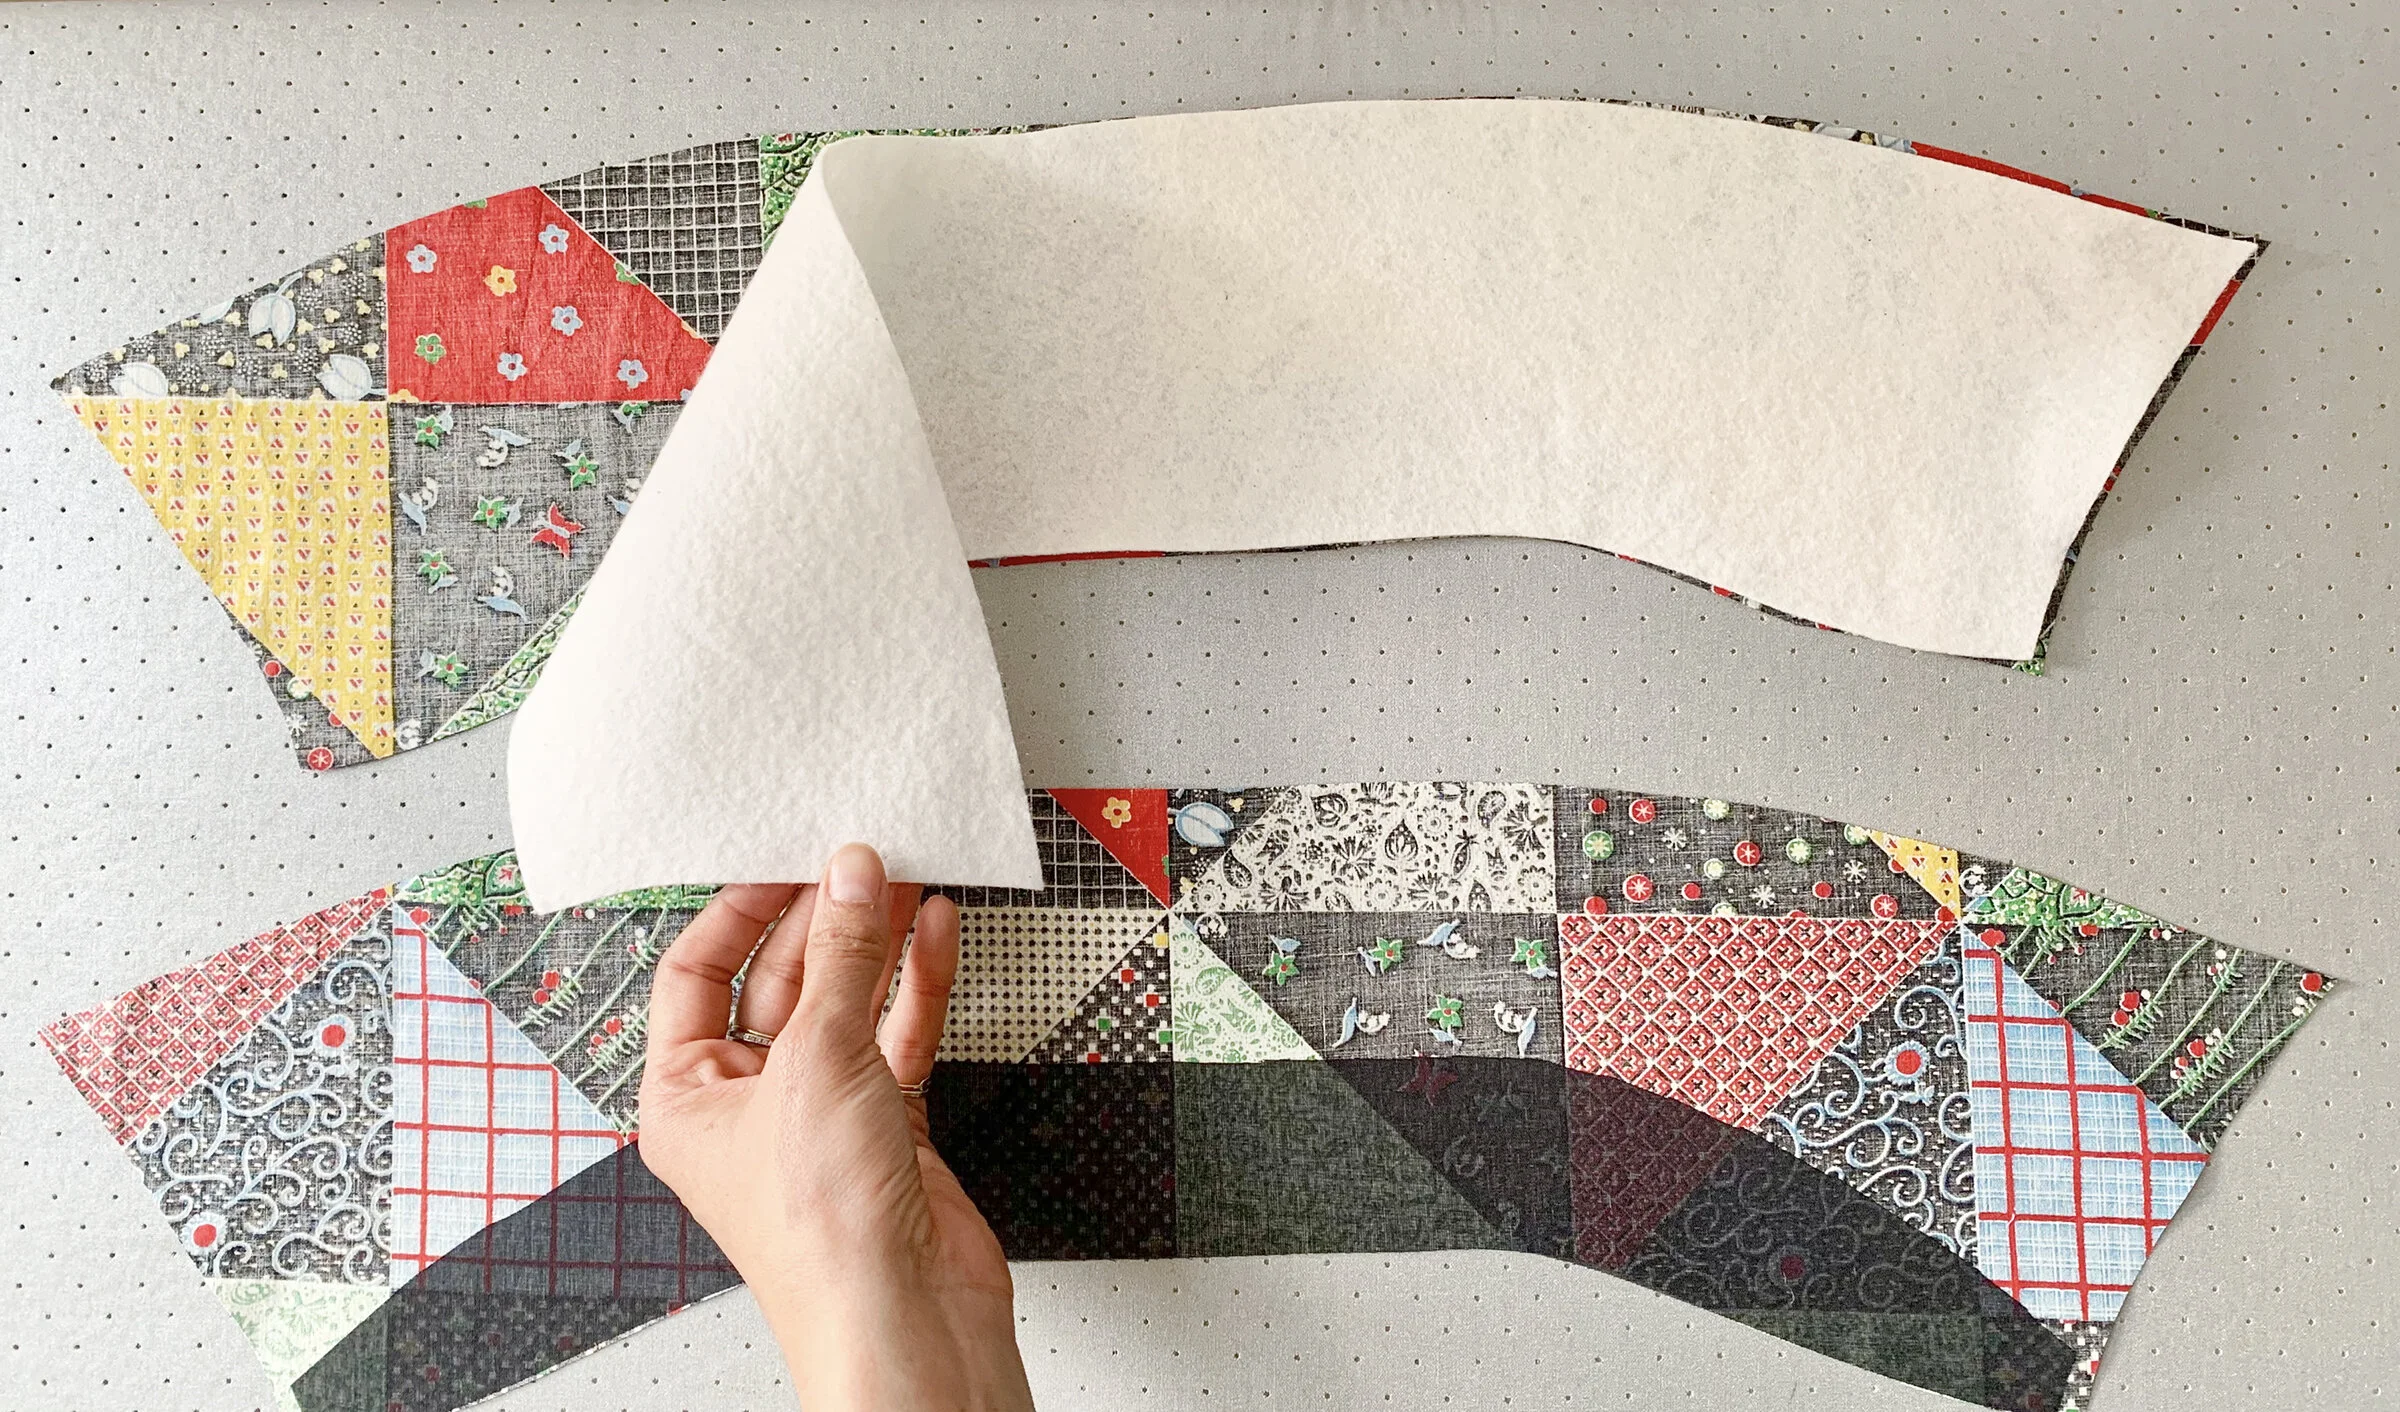
I have cut 2 of the collar pattern piece from self fabric. If you are using a different fabric for your under collar, no problem, go ahead and do that.
I have also cut 1 of the pattern piece in batting, this is spray basted to the top collar. I have cut a piece of firm woven fusible interfacing, that will go below the collar’s roll line, and is fused to the under collar.

Place your collar and under collar right sides together. Mark your turning points for the collar points. My seam allowance is 1/2”. I have marked where I will stop sewing, 1/2” from the long edge where the collar attaches to the neckline, which will allow us to turn in the seam allowance later in the process.

Everything has been sewn together.

Trim and grade your seam allowances, and clip the corners for turning. Remove as much batting as possible to reduce bulk.

Turn your collar right side out, and get your collar points nice and sharp. Give the whole collar a press.

Make sure your neckline is prepped for the collar to be attached. Here I have stay stitched the neckline, made sure all notches are clearly marked, and finished the center front edges of my jacket.

Matching all notches, attach your collar to the jacket. To do this, I sew the top collar (side with batting fused to it) to the inside (lining side) of my jacket. This ensures neat, machine sewn stitches are what shows on the inside of the jacket. Keep the under collar free from this stitching.

Trim, grade, and clip the seam allowances along the seam you have just sewn. Press it so the seam allowances are going inside the collar. You can now begin pinning the under collar into place, enclosing its seam allowance inside the collar as well.

Pin everything into place. I prefer to invisibly hand sew this seam.

Once the collar is fully attached, it’s time to quilt it! I like to quilt around the edge, and then “stitch in the ditch” following the pattern. I also sew a line of stitching along the roll line - following the edge of the fusible interfacing that is fused to the under collar. Doing so helps the collar roll correctly and stay in shape over time.

Here is the finished collar! You can see the quilting around the edge, and at the roll line. The remaining quilting is hidden by the print. I am really pleased with how this turned out, and hope it helps you understand how to add a sharp looking collar to any quilted jacket or coat.
If you use my tutorial, please give me a shoutout! I really appreciate the credit. If you’re making a quilted jacket, I hope you are enjoying the process, I’ve found they are one of my favorite things to create. Happy sewing! XO, Martha