McCALLS 7848 - SEWING A COAT PART 4: LINING & FACINGS

Making this coat was smooth sailing until it came time to do the lining. If you’re just joining me on this journey, you can read about collecting my materials, altering the pattern tissue, and sewing the shell. I had a bit of a mental block when sewing the lining because, I had already just sewn the same thing (the shell), and because as I’ve mentioned in my previous posts, I didn’t have enough fabric for the facings. And I bought the end of the bolt. Oof.
I kept myself motivated by taking advantage of this opportunity to customize my lining with special details. I took to my Pinterest boards for inspiration, and decided I would definitely want to add a chain and some contrast trim where the facings and linings meet.
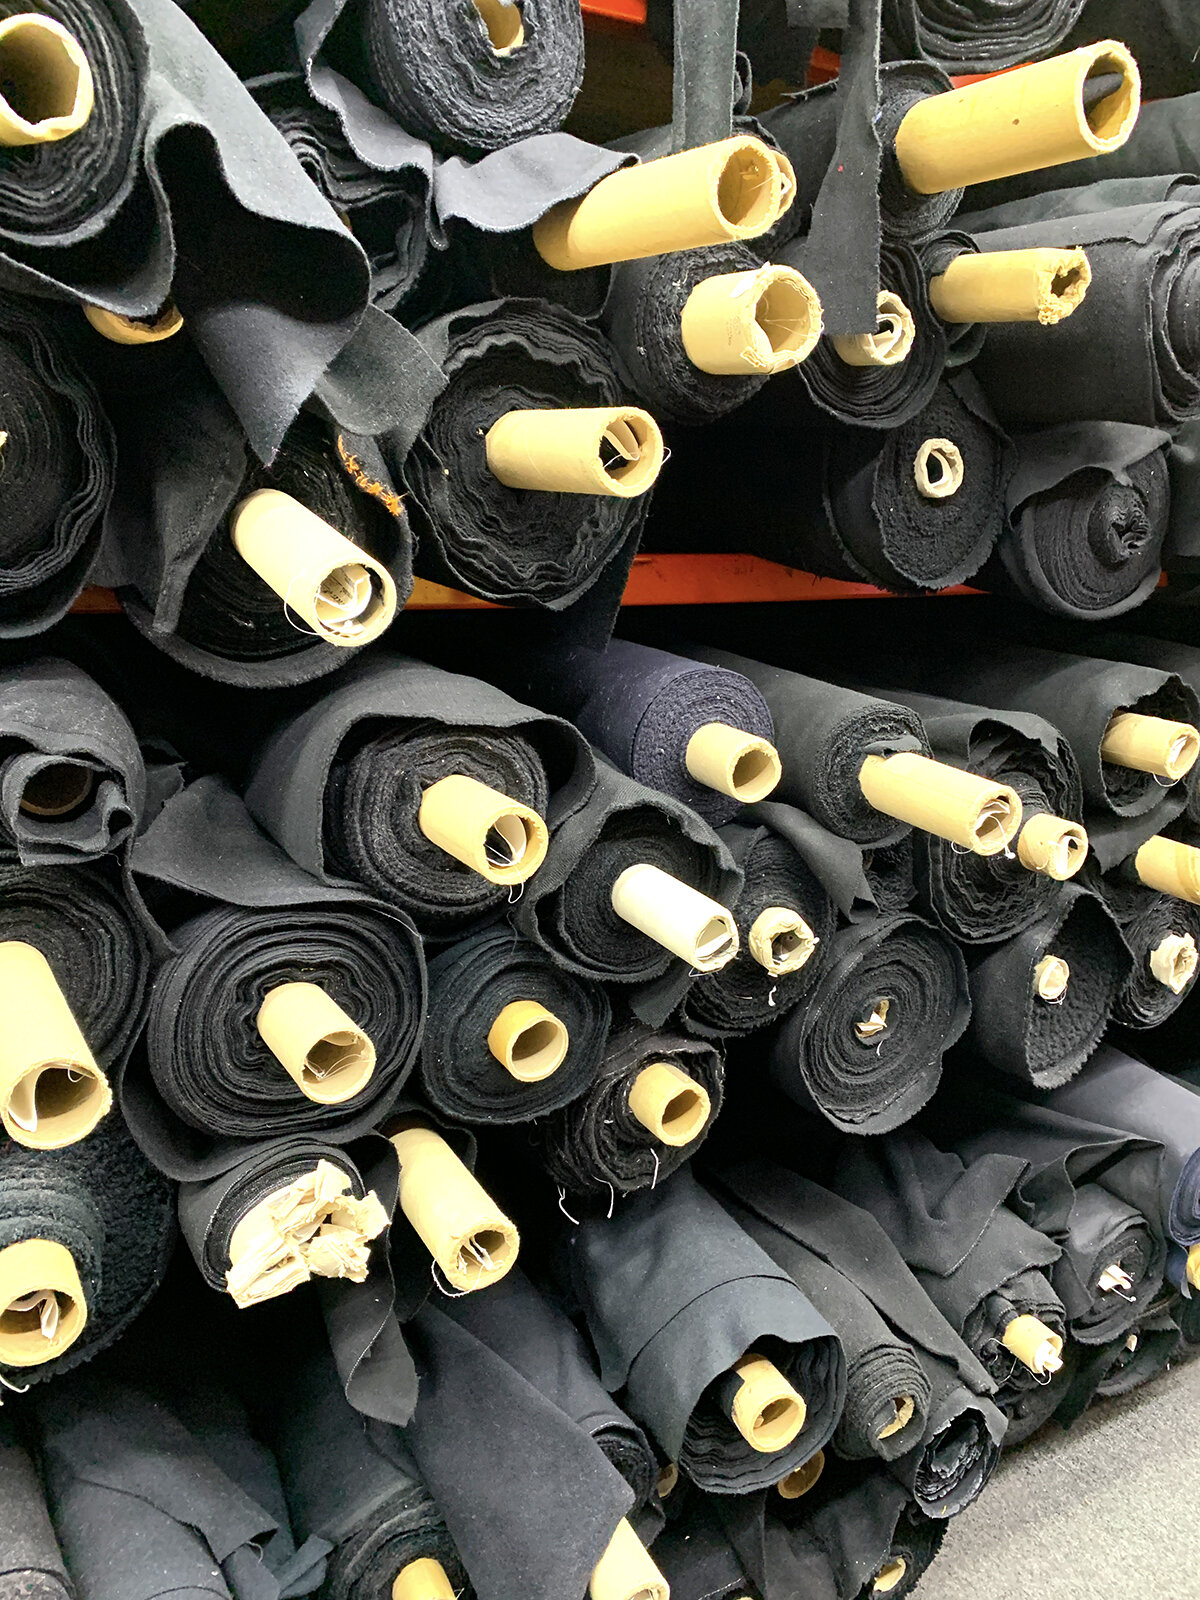
A small section of the black wool aisle at Mood Fabrics in Manhattan.
Ok, I bought the end of the bolt of the green wool. The end! And then, I made the rookie mistake of not reading all my pattern pieces and instructions before cutting (in this case, the info was on the pattern pieces). I’m not sure I could have squeezed the facings out of my yardage anyway, but I was kicking myself when I couldn’t cut those 4 substantially sized pieces out of my wool. Because I couldn’t get more! I headed back to Mood (where I purchased my green wool) anyway, in hopes of finding a black wool for my facings.
I stood in the black wool aisle in dispair, uninspired. Everything looked the same, I kept sneezing. I knew I couldn’t leave empty handed. I took a deep breath and looked UP to collect myself. There was a HUGE green bolt, all the way at the top of the shelf. I waved down one of the guys, and he was sweet enough to grab a ladder even after telling me, “You know it won’t be a match.” I handed him my swatch as he climbed up. He said, “No, this one is darker.” But I knew it was just the shading issue! He kindly pulled down the enormous bolt, and as we unrolled and examined it, concluded, IT WAS A MATCH. I bought a yard, and went home triumphant.
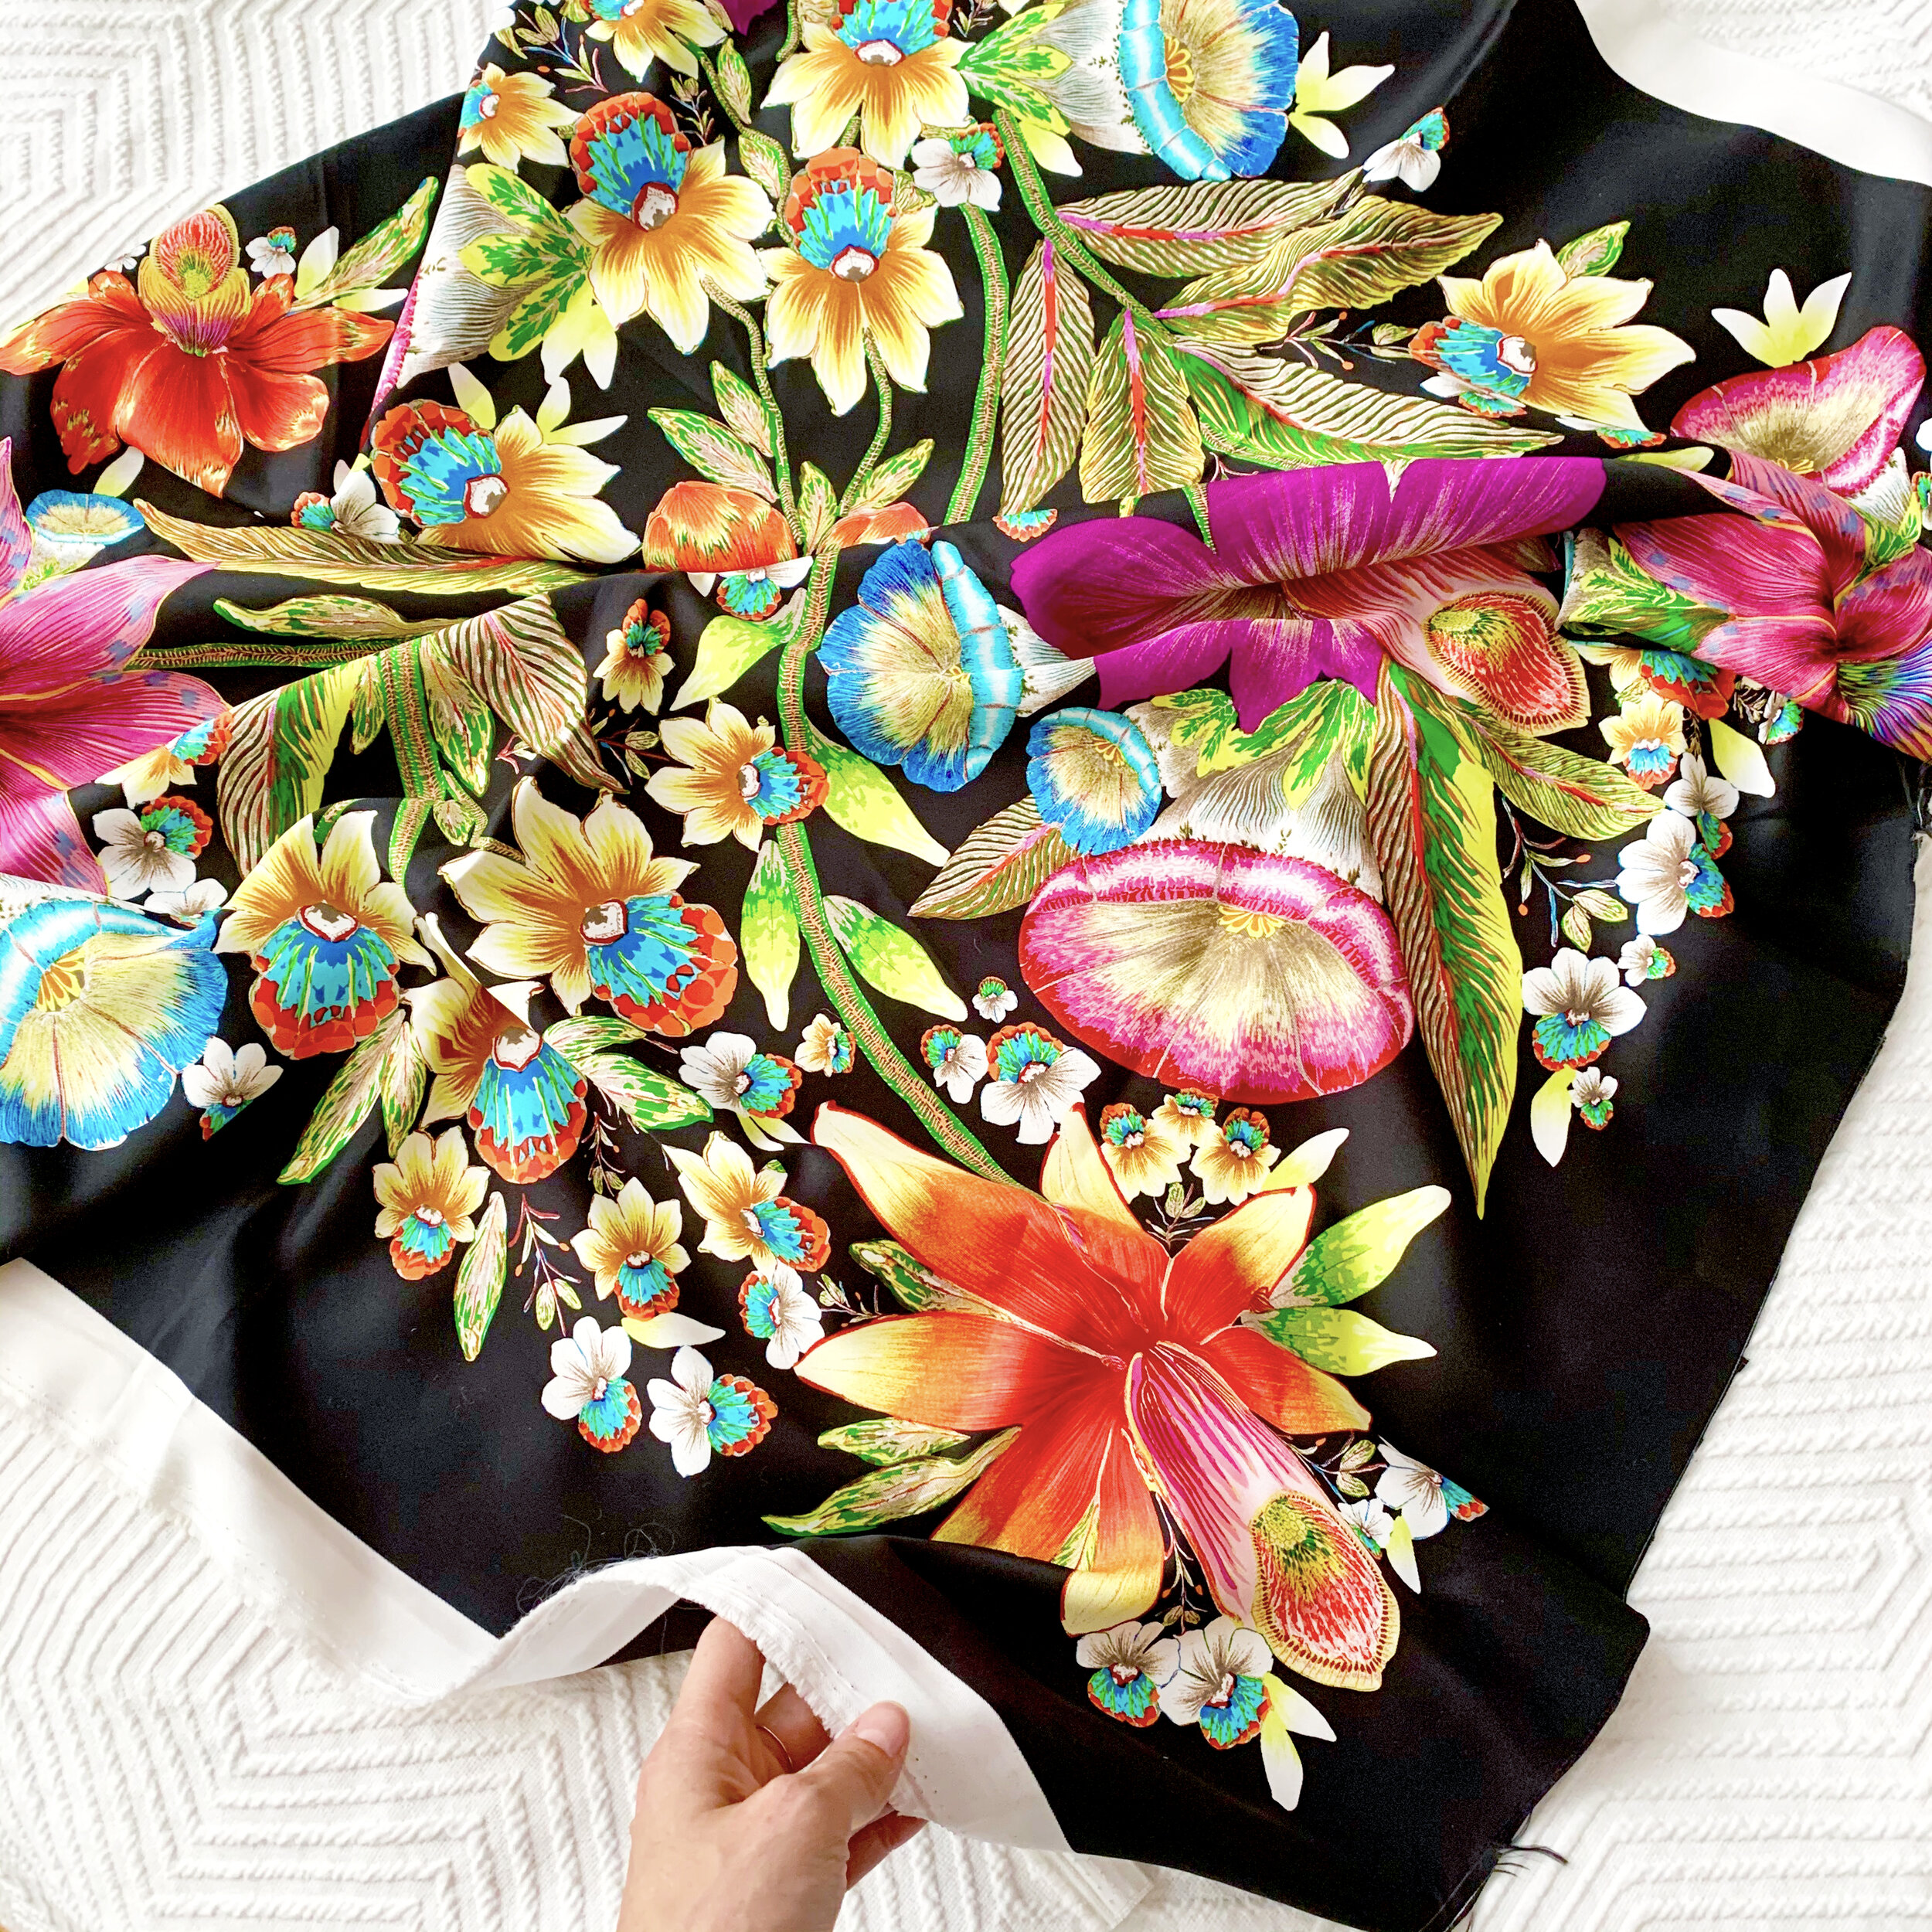
I loved the colors in this print, especially when I imagined it cut into a small sliver inside my coat.
Now that I was back on track, I was ready to add some flair and make things more complicated for myself. I decided to add some bias trim between the front facings and the lining. I went rummaging in my stash and settled on this polyester twill scarf strike off that I plucked from the Free Bin at one on my freelance textile design jobs. A strike off is basically a color and screen test for a new printed textile. You can see in my photo the unfinished selvedges. The finished product of a scarf would have rolled hems.

I squared up my fabric by lining up the selvedge with one of the straight lines on my cutting mat - the print was printed totally off grain. I then cut it into 1” bias strips, which I sewed together to make yards of bias trim. I pressed the trim in half, to be 1/2” wide.

I made more trim than I would need, so I could select the areas with my favorite colors to be in the most prominent places.

The Clover chacopen is a popular marking tool, but I only find it useful for super temporary markings, because it rubs off almost immediatly after you apply it. That said, it gets you a crisp, thin line on textured fabrics (it’s more difficult to use on smooth surfaces). My seam allowances are 5/8”, my trim is 1/2”, and I marked with chalk 3/8” from the cut edge. I aligned the cut edge of my trim with the chalk line and basted it in place. This means, when I sew my lining to my facing with a 5/8” seam allowance, 1/4” of the trim will be exposed, with the clean folded side out.

Inside the jacket! You can also see my understitching by the zipper closure.
Looking at this photo makes me think of two things. First, this polyester twill was a nightmare to work with: unstable, wiggley, would not hold a press at all. I tried my best to make the trim show in an even 1/4” all along the seams, and after tweaking a few extra wobbly spots, finally concluded I could live with it as is. Second, in order to insert the trim in a seamless manner, I first assembled the entire lining, and then the entire facings, and then connected them in 2 long seams. This way, there is no seam or bulk in the trim, where the bodice and skirt meet.

I used petersham ribbon from my stash, signature Buried Diamond charm necklace chain, and a scrap of the scarf to emphasize my label.
Before completely attaching my wool coat shell and the lining, I decided to add a few details. I always want a loop to hang up my coat. I used chain from my Buried Diamond jewelry making stash. I also wanted to jazz up my label by adding a rectangle of the printed scarf behind it. Because the scarf fabric wouldn’t hold a press, I pressed it hard, left it under my clapper until it cooled, and then machine basted the seam allowances flat. I hand stitched this into my lining with pink thread and a decorative backstitch, which melted right into the print and is barely visible.

I know I did this part wrong! It was a learning experience, and I’m glad it is over.
I dreaded doing this part - where the facings and hems meet. I don’t even know what this is called! Hemming and facing?? I referenced all my sewing books, numerous online tutorials, everything I could consume. I think I need to take a class, I just found it really fiddley and frustrating. My wool is so thick, there are a lot of little moves, like clipping a seam allowance and pressing it different directions. The pattern has you hem the shell and lining separately, but I wanted to seal everything up so I won’t need to ever see the guts of my coat again! I could have bagged the lining, but I decided to hem the sleeves and the hem by hand. I’m glad I did that because I had close control, and ultimately it only took about an hour. But I didn’t enjoy it, I was kind of over it with the project. But you know what? Once I did it, the whole project was done!! Just needs one final pressing, and I can take some photos of my finished coat. I’ll show you soon. XO, Martha